Air layering or marcotting, a tutorial

Can’t wait to buy Duke avocado fruits to make rootstock seedlings so I tried air layering or marcotting my Duke tree. Am experimenting with different branch ages. I’ve read that younger branches are easier to root than older ones. We shall see! I’ve improved the basic technique and I will make an update maybe after 3 months.

Air layering can be done on most plants. It can be done on blueberries, citruses, plums, apples, vines, papayas, roses… Usually the best time to do is when the bark starts to slip like early days of spring when you see growth flushes and you can do it well into summer.

Prepare a branch for air layering by removing the leaves where you want it to root. in this case about 2"-4" from the main branch.

Score around the limb with a sharp knife, cutting the bark only and stopping at the wood. Make two circular cuts about 1/2" wide band.

Then remove the ring of bark.

Ring of bark completely removed.

slice lightly starting at an inch above the ring of bark to expose the cambiums of the limb to enhance more places for rooting.


the side slice is done.

Do the other side also.

slightly scrape off the exposed wood, all around to remove most of the cambium cells on the hard wood.

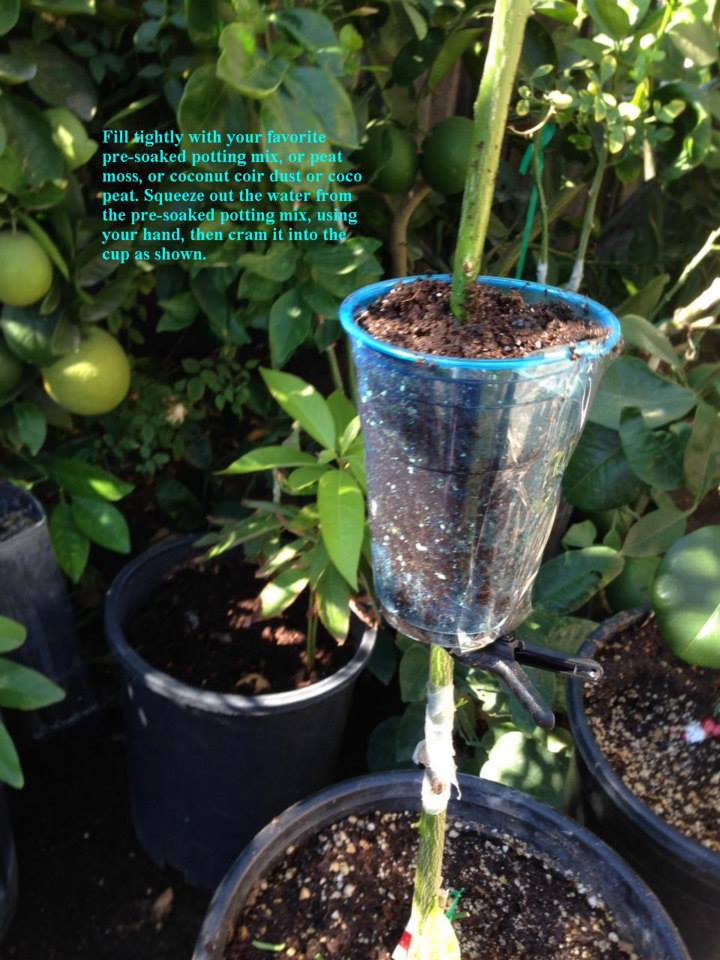
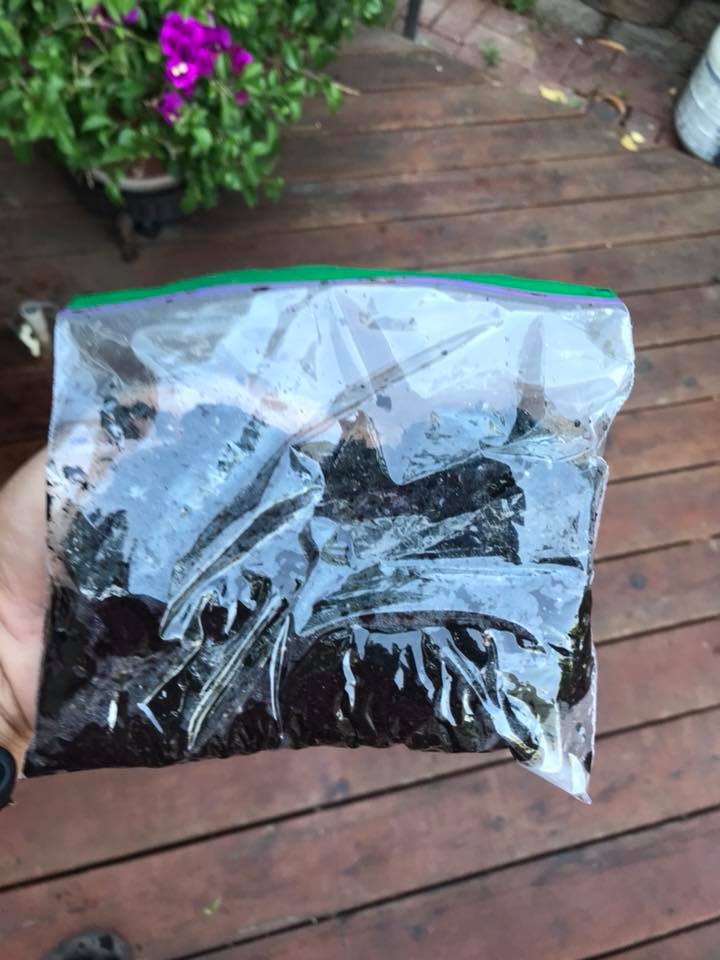
this is a seed start potting media, thoroughly wet, and placed inside a sandwich ziploc bag, just enough media to cover the limb about 1" all around.

split one side of the bag open in the middle.

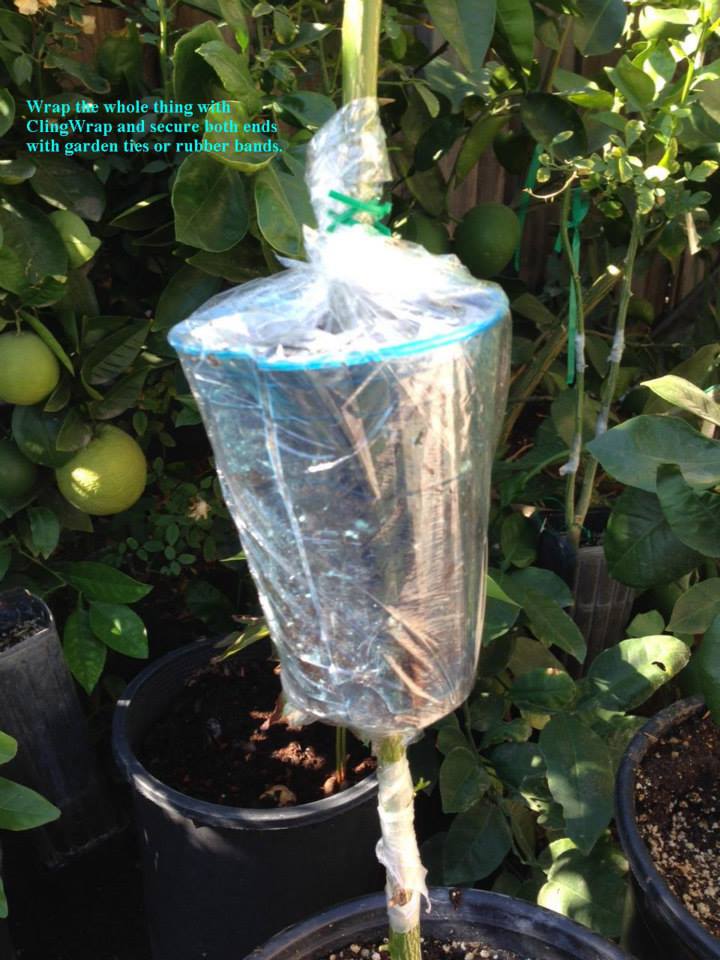
spread apart the cut area of plastic and then wrap it around to cover the exposed wood on the limb.

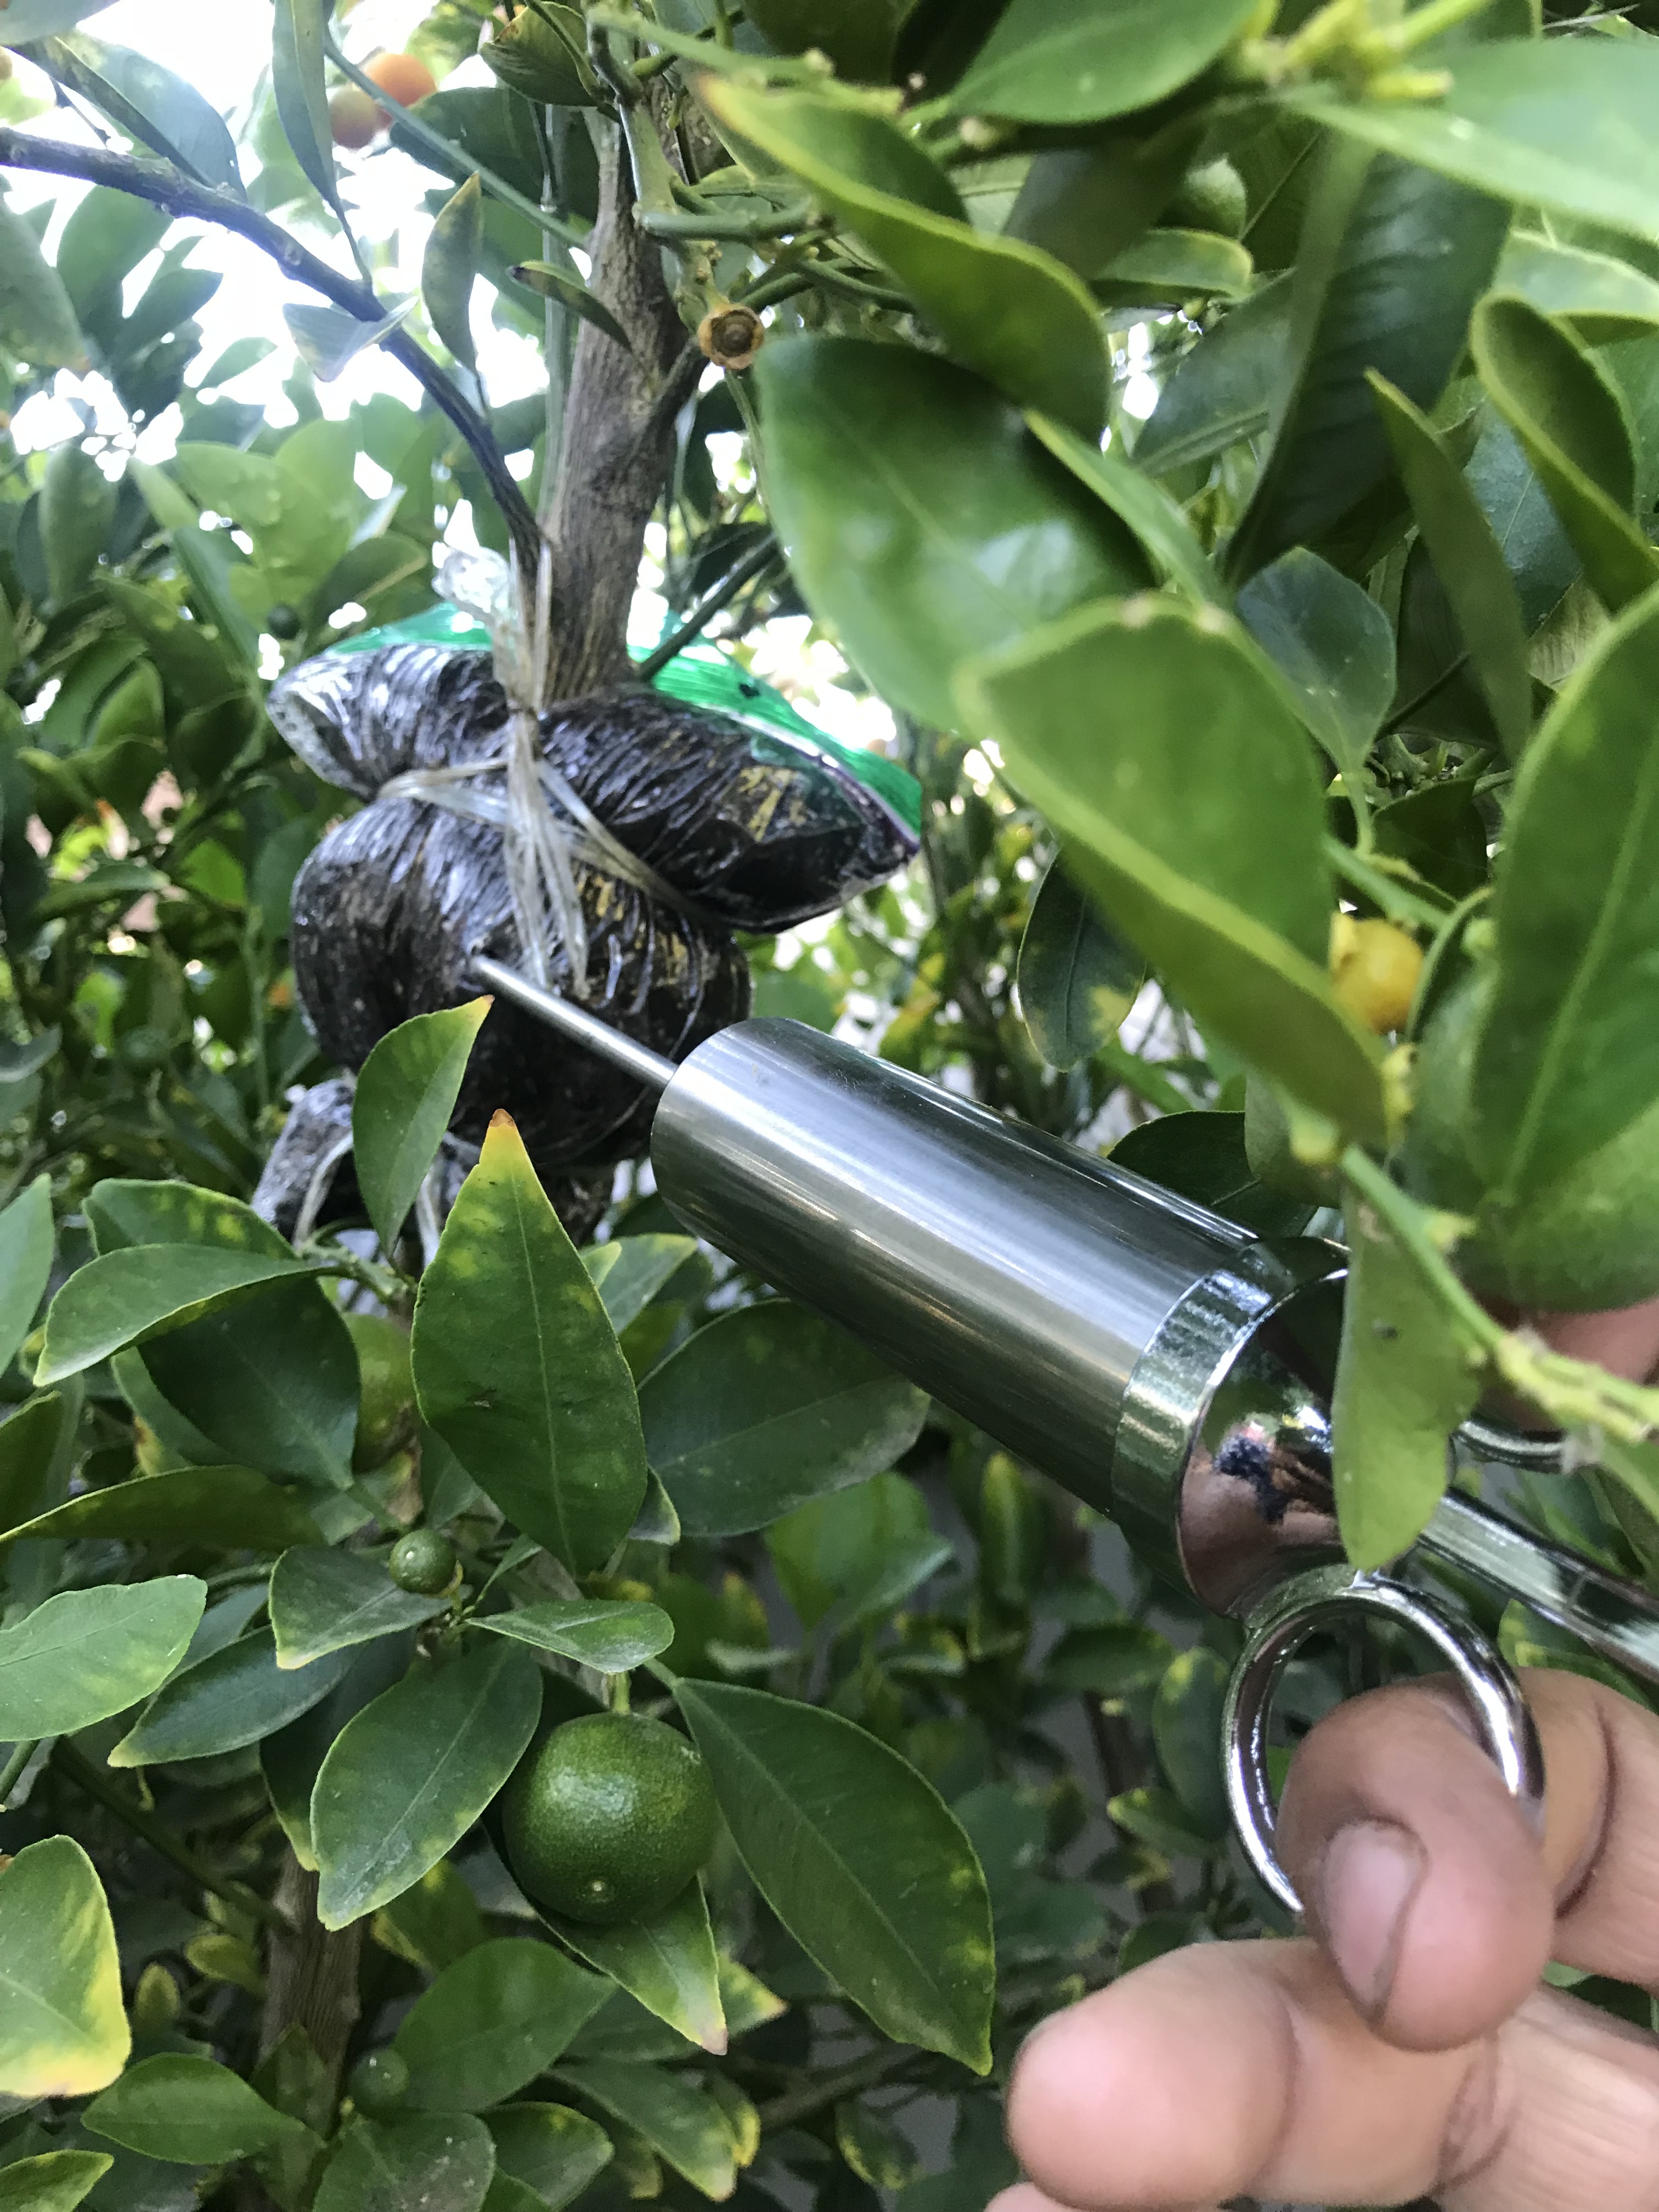
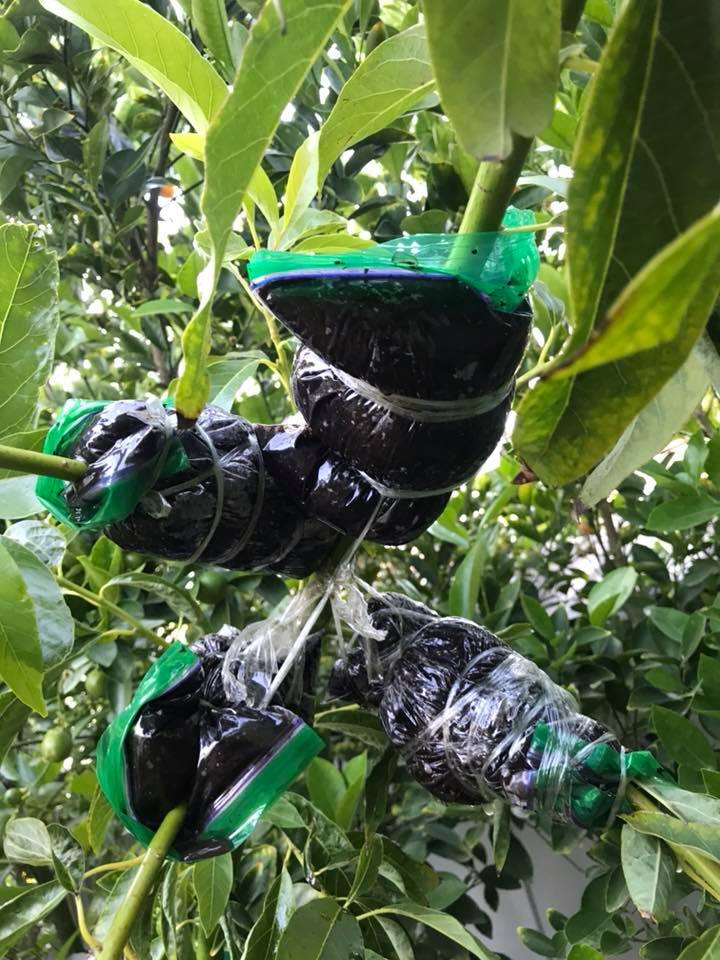
wrap very tightly until the water oozes out of the media. then poke a couple of holes on the bag with a BBQ stick. And it’s done.

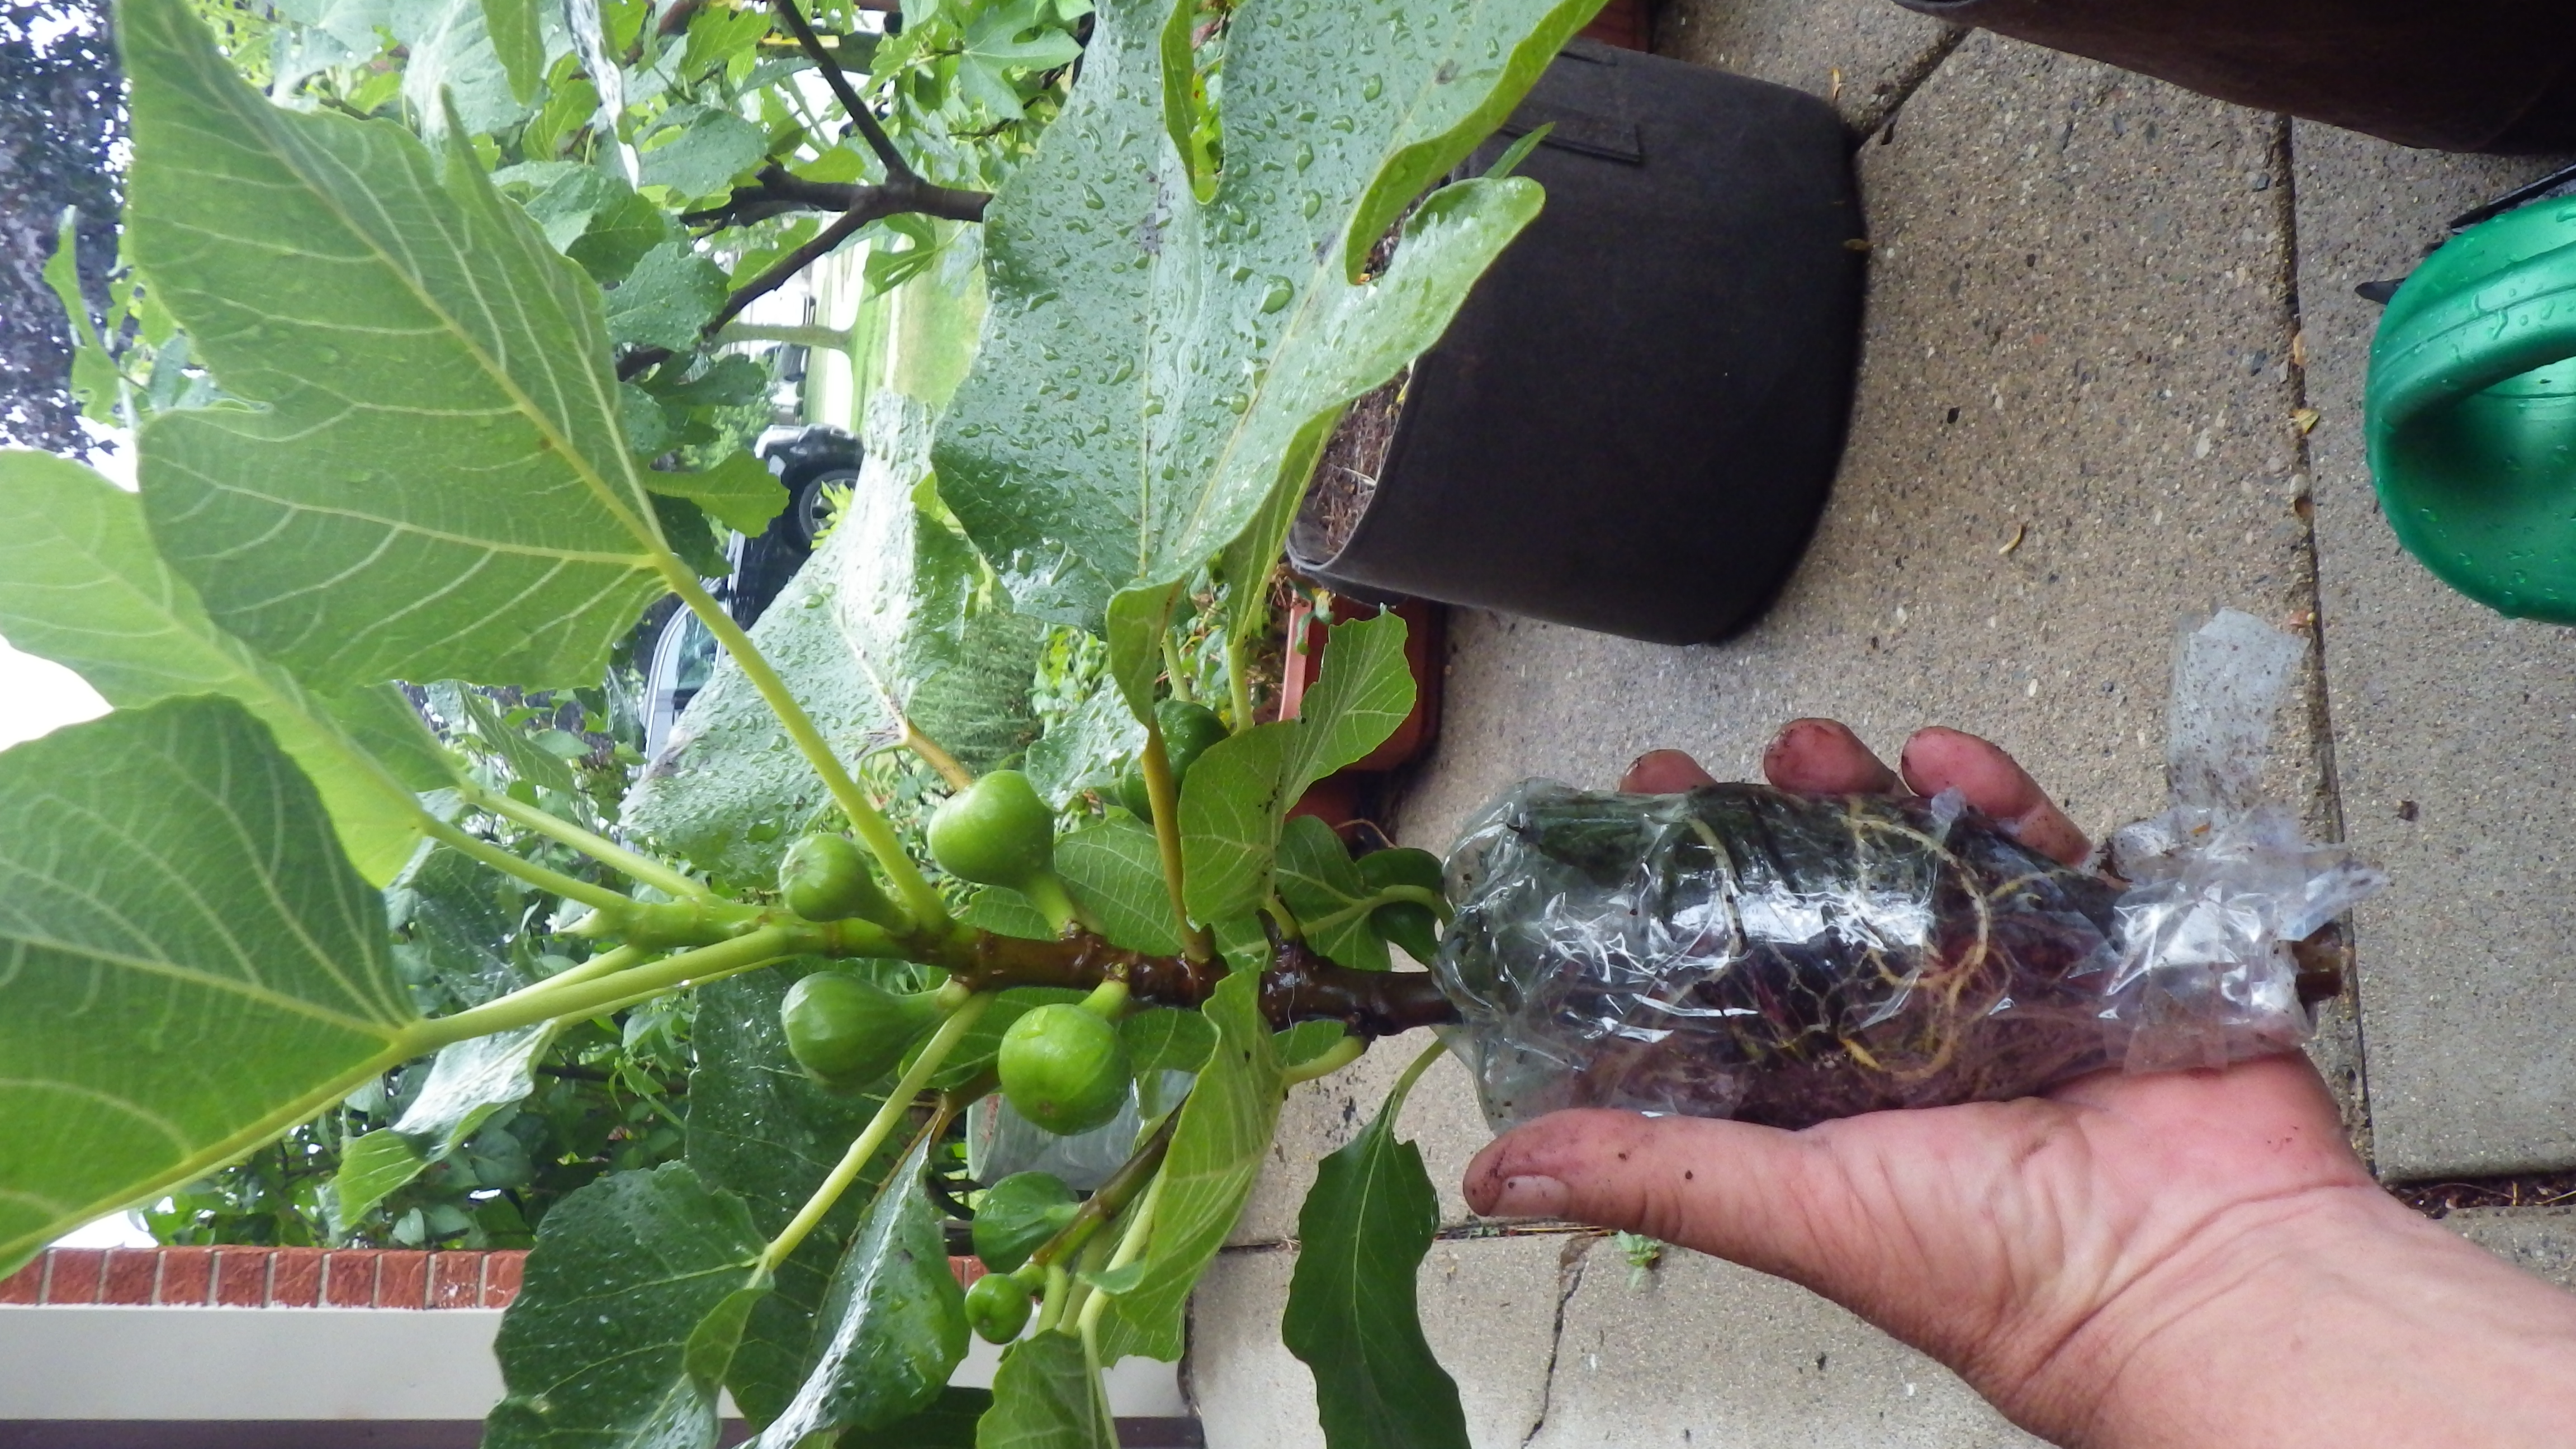
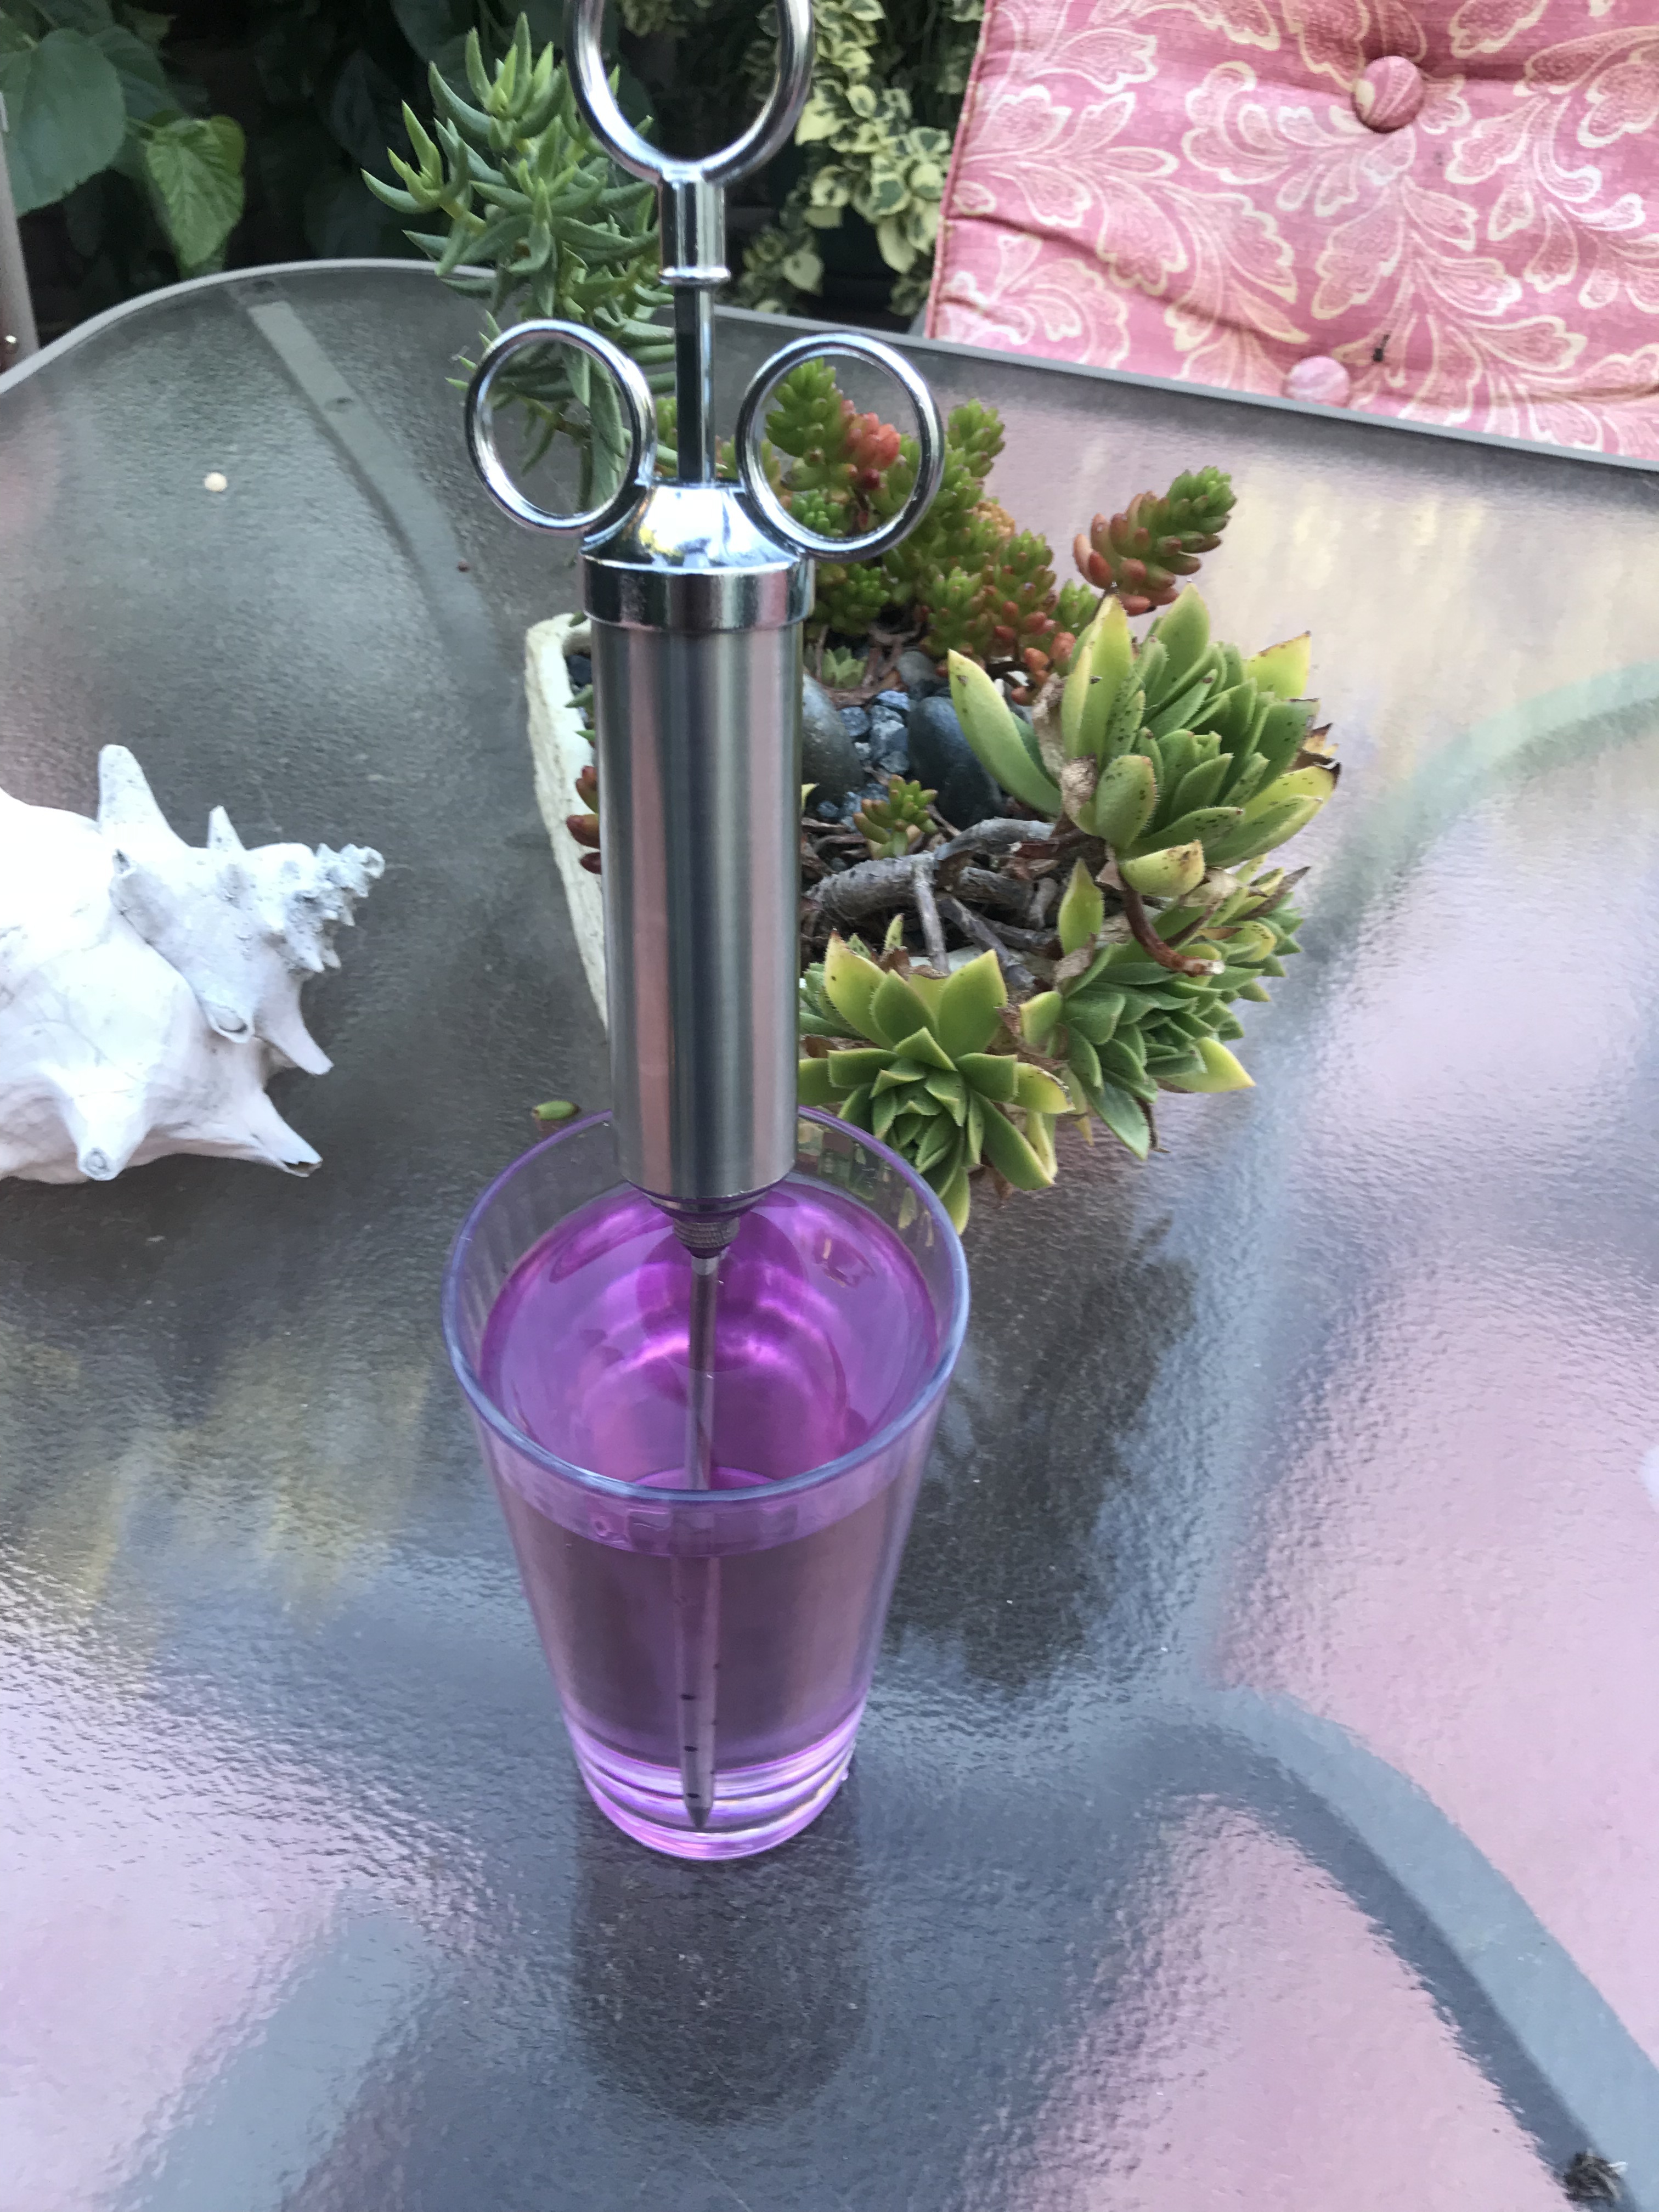
And all you have to do is wait. You may need to inject water if it dries out, so observe every other week! I tried different sized branches and ages to see which one would be easier. Make sure to anchor your rooting bags so that they don’t move around or slide up and down. if they move around, it will snap off the developing roots.

You can optionally add rooting hormone and fungicide to the cut area. Here, I used diluted honey followed up with cinnamon before enclosing it with rooting media. Some rooting media that you buy will contain rooting hormone already, but they’re too expensive for me. So I use honey and cinnamon.

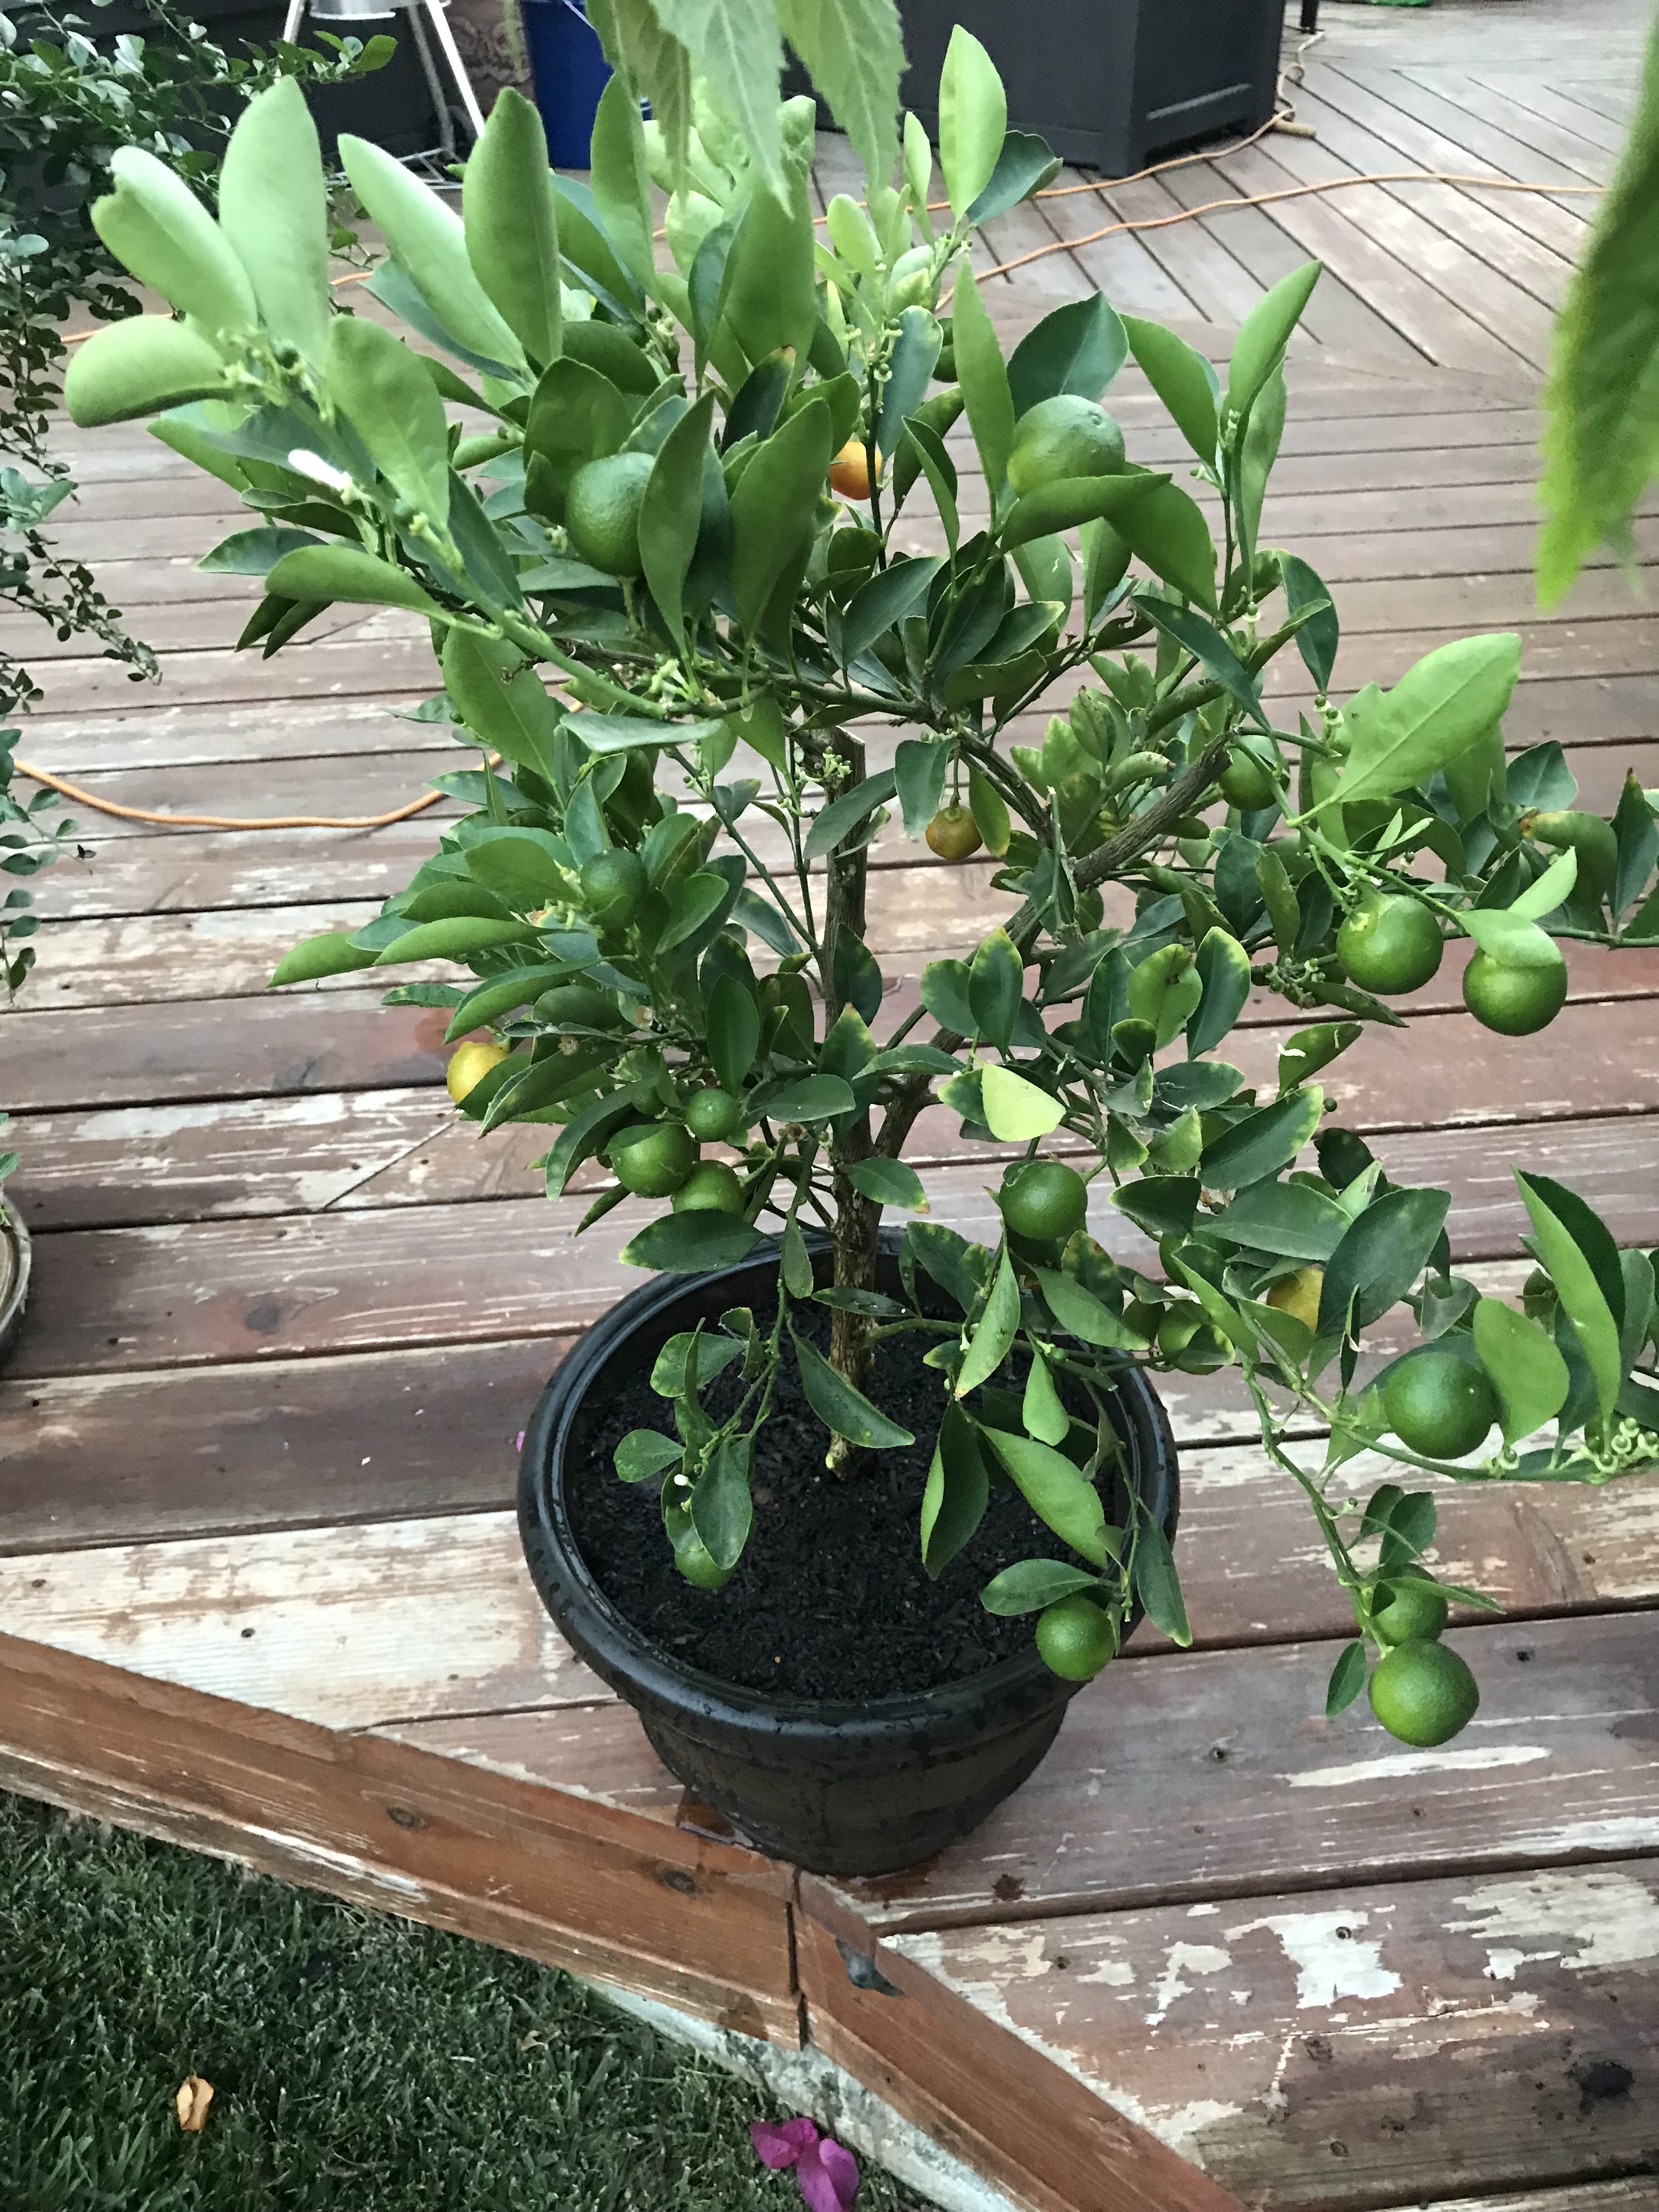
this one marcotted Calamondin. Hopefully after three months, I will have a new plant!

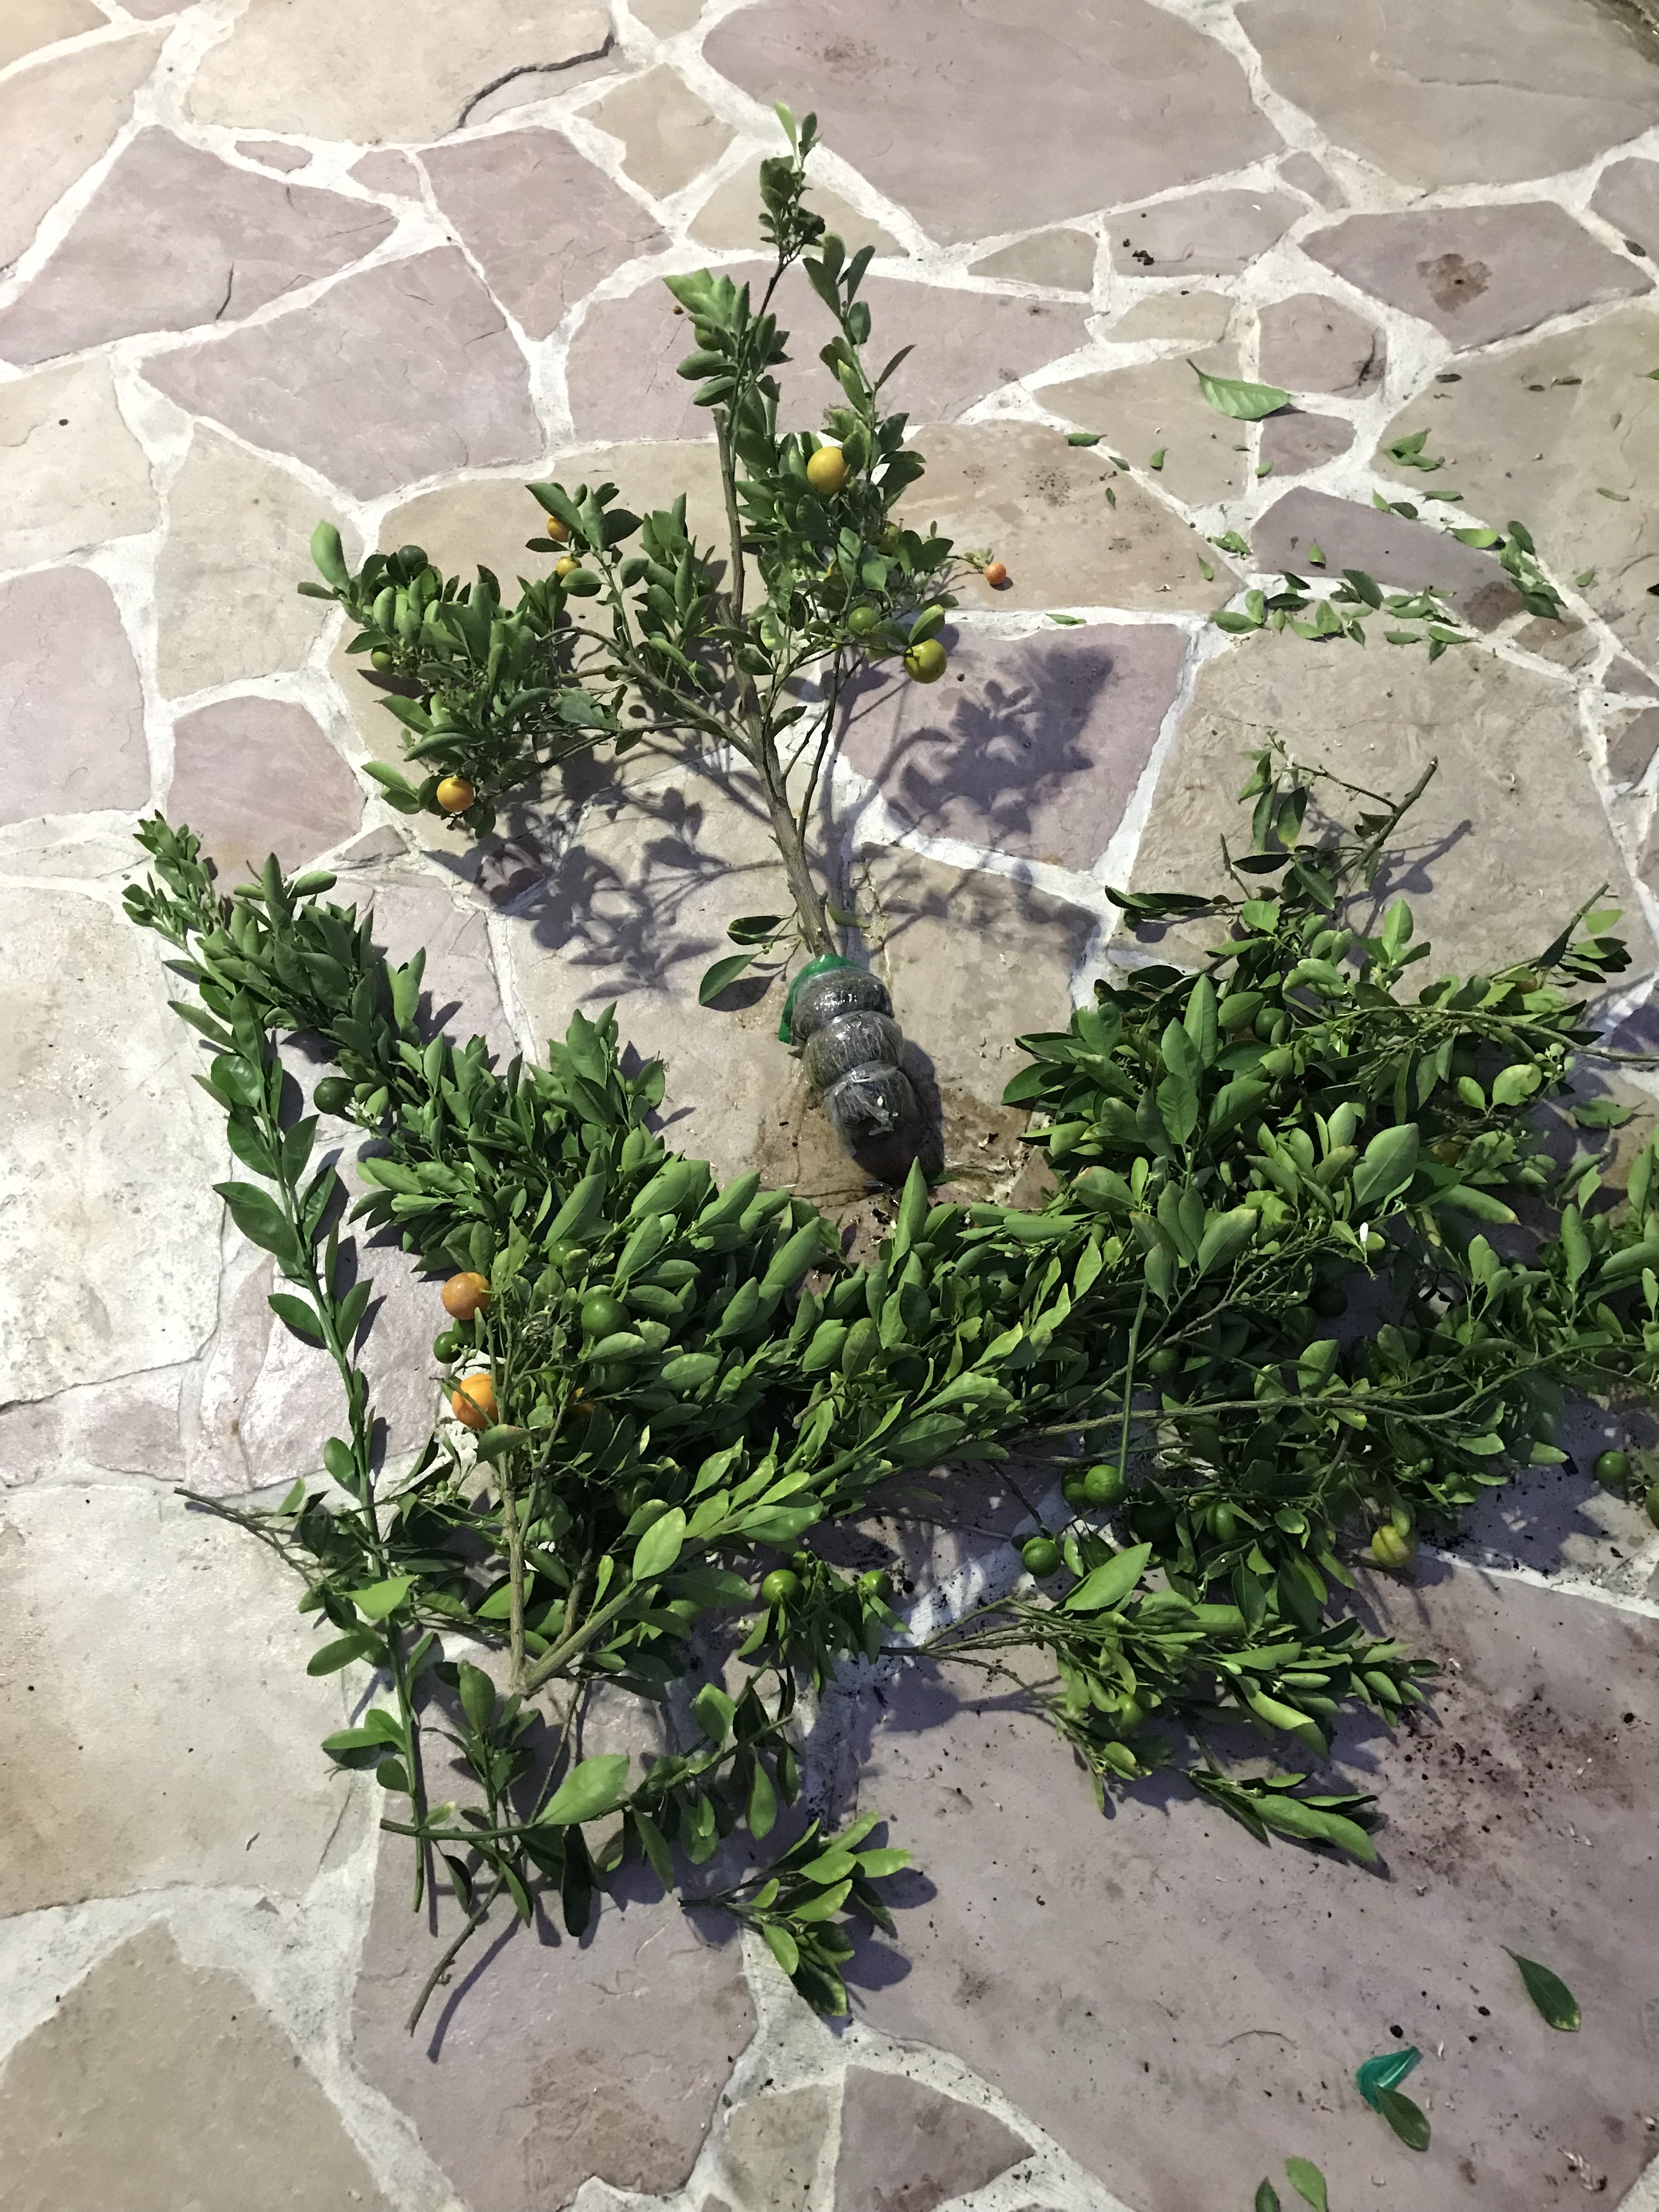
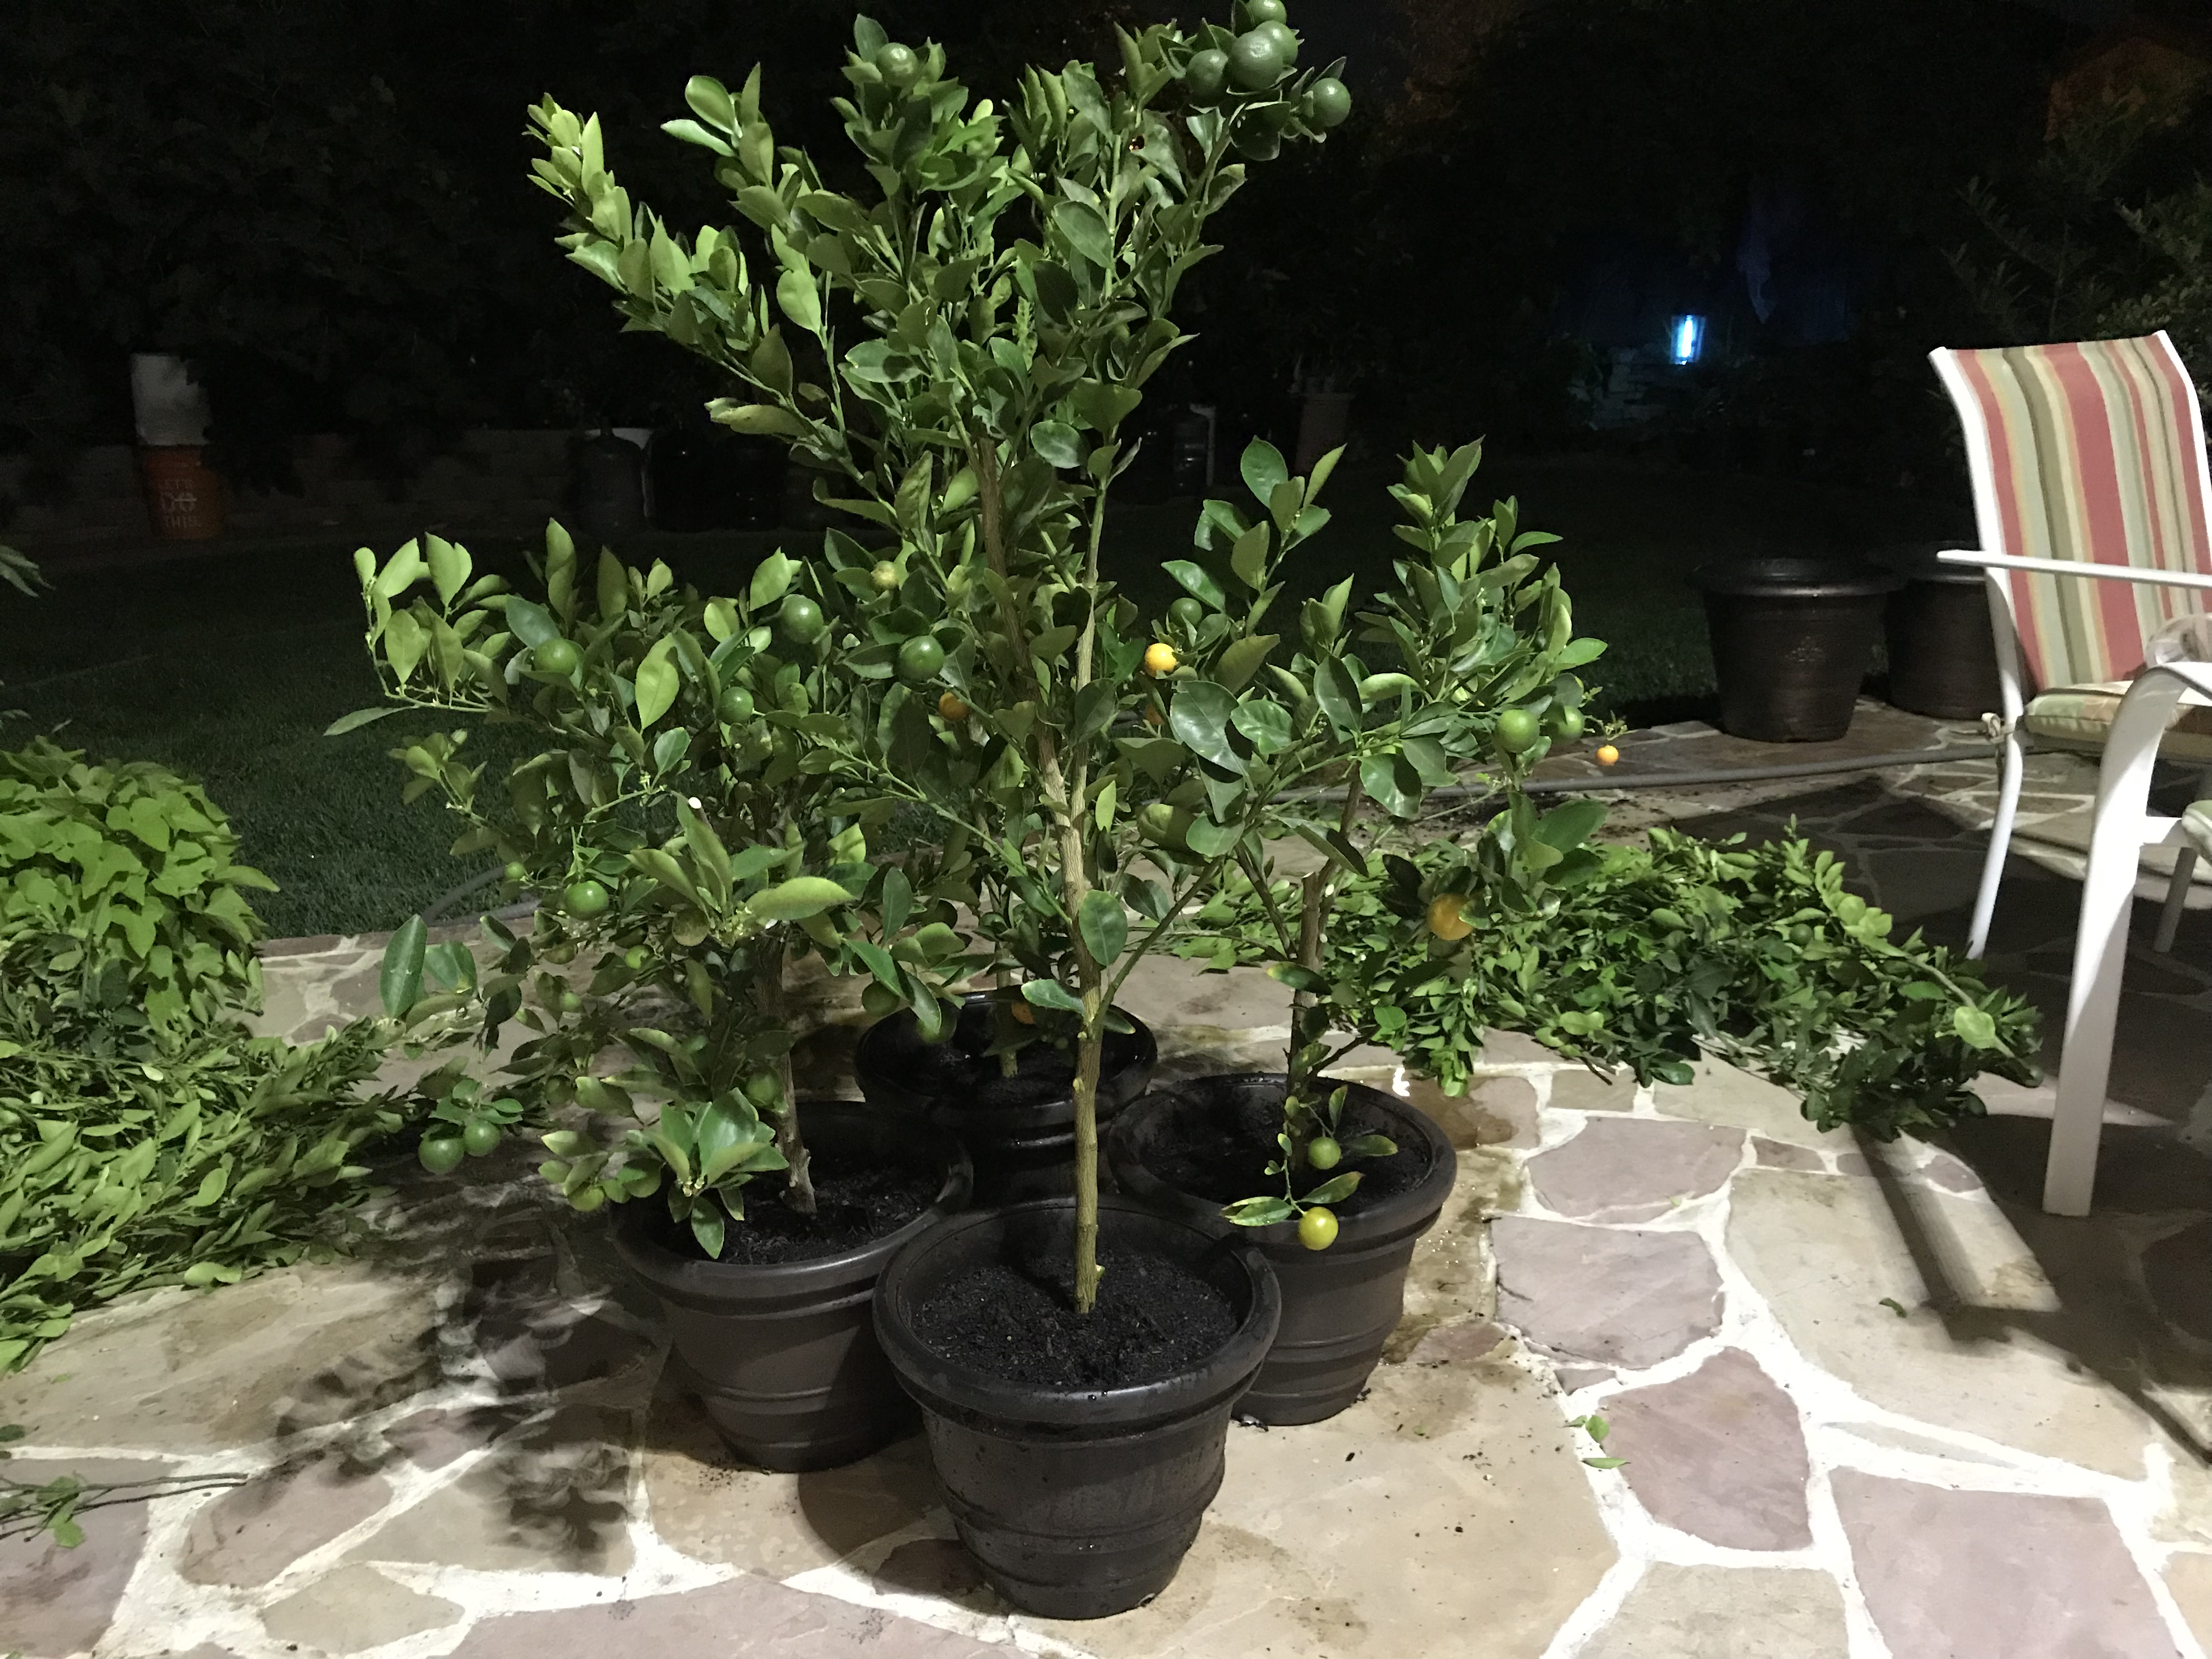
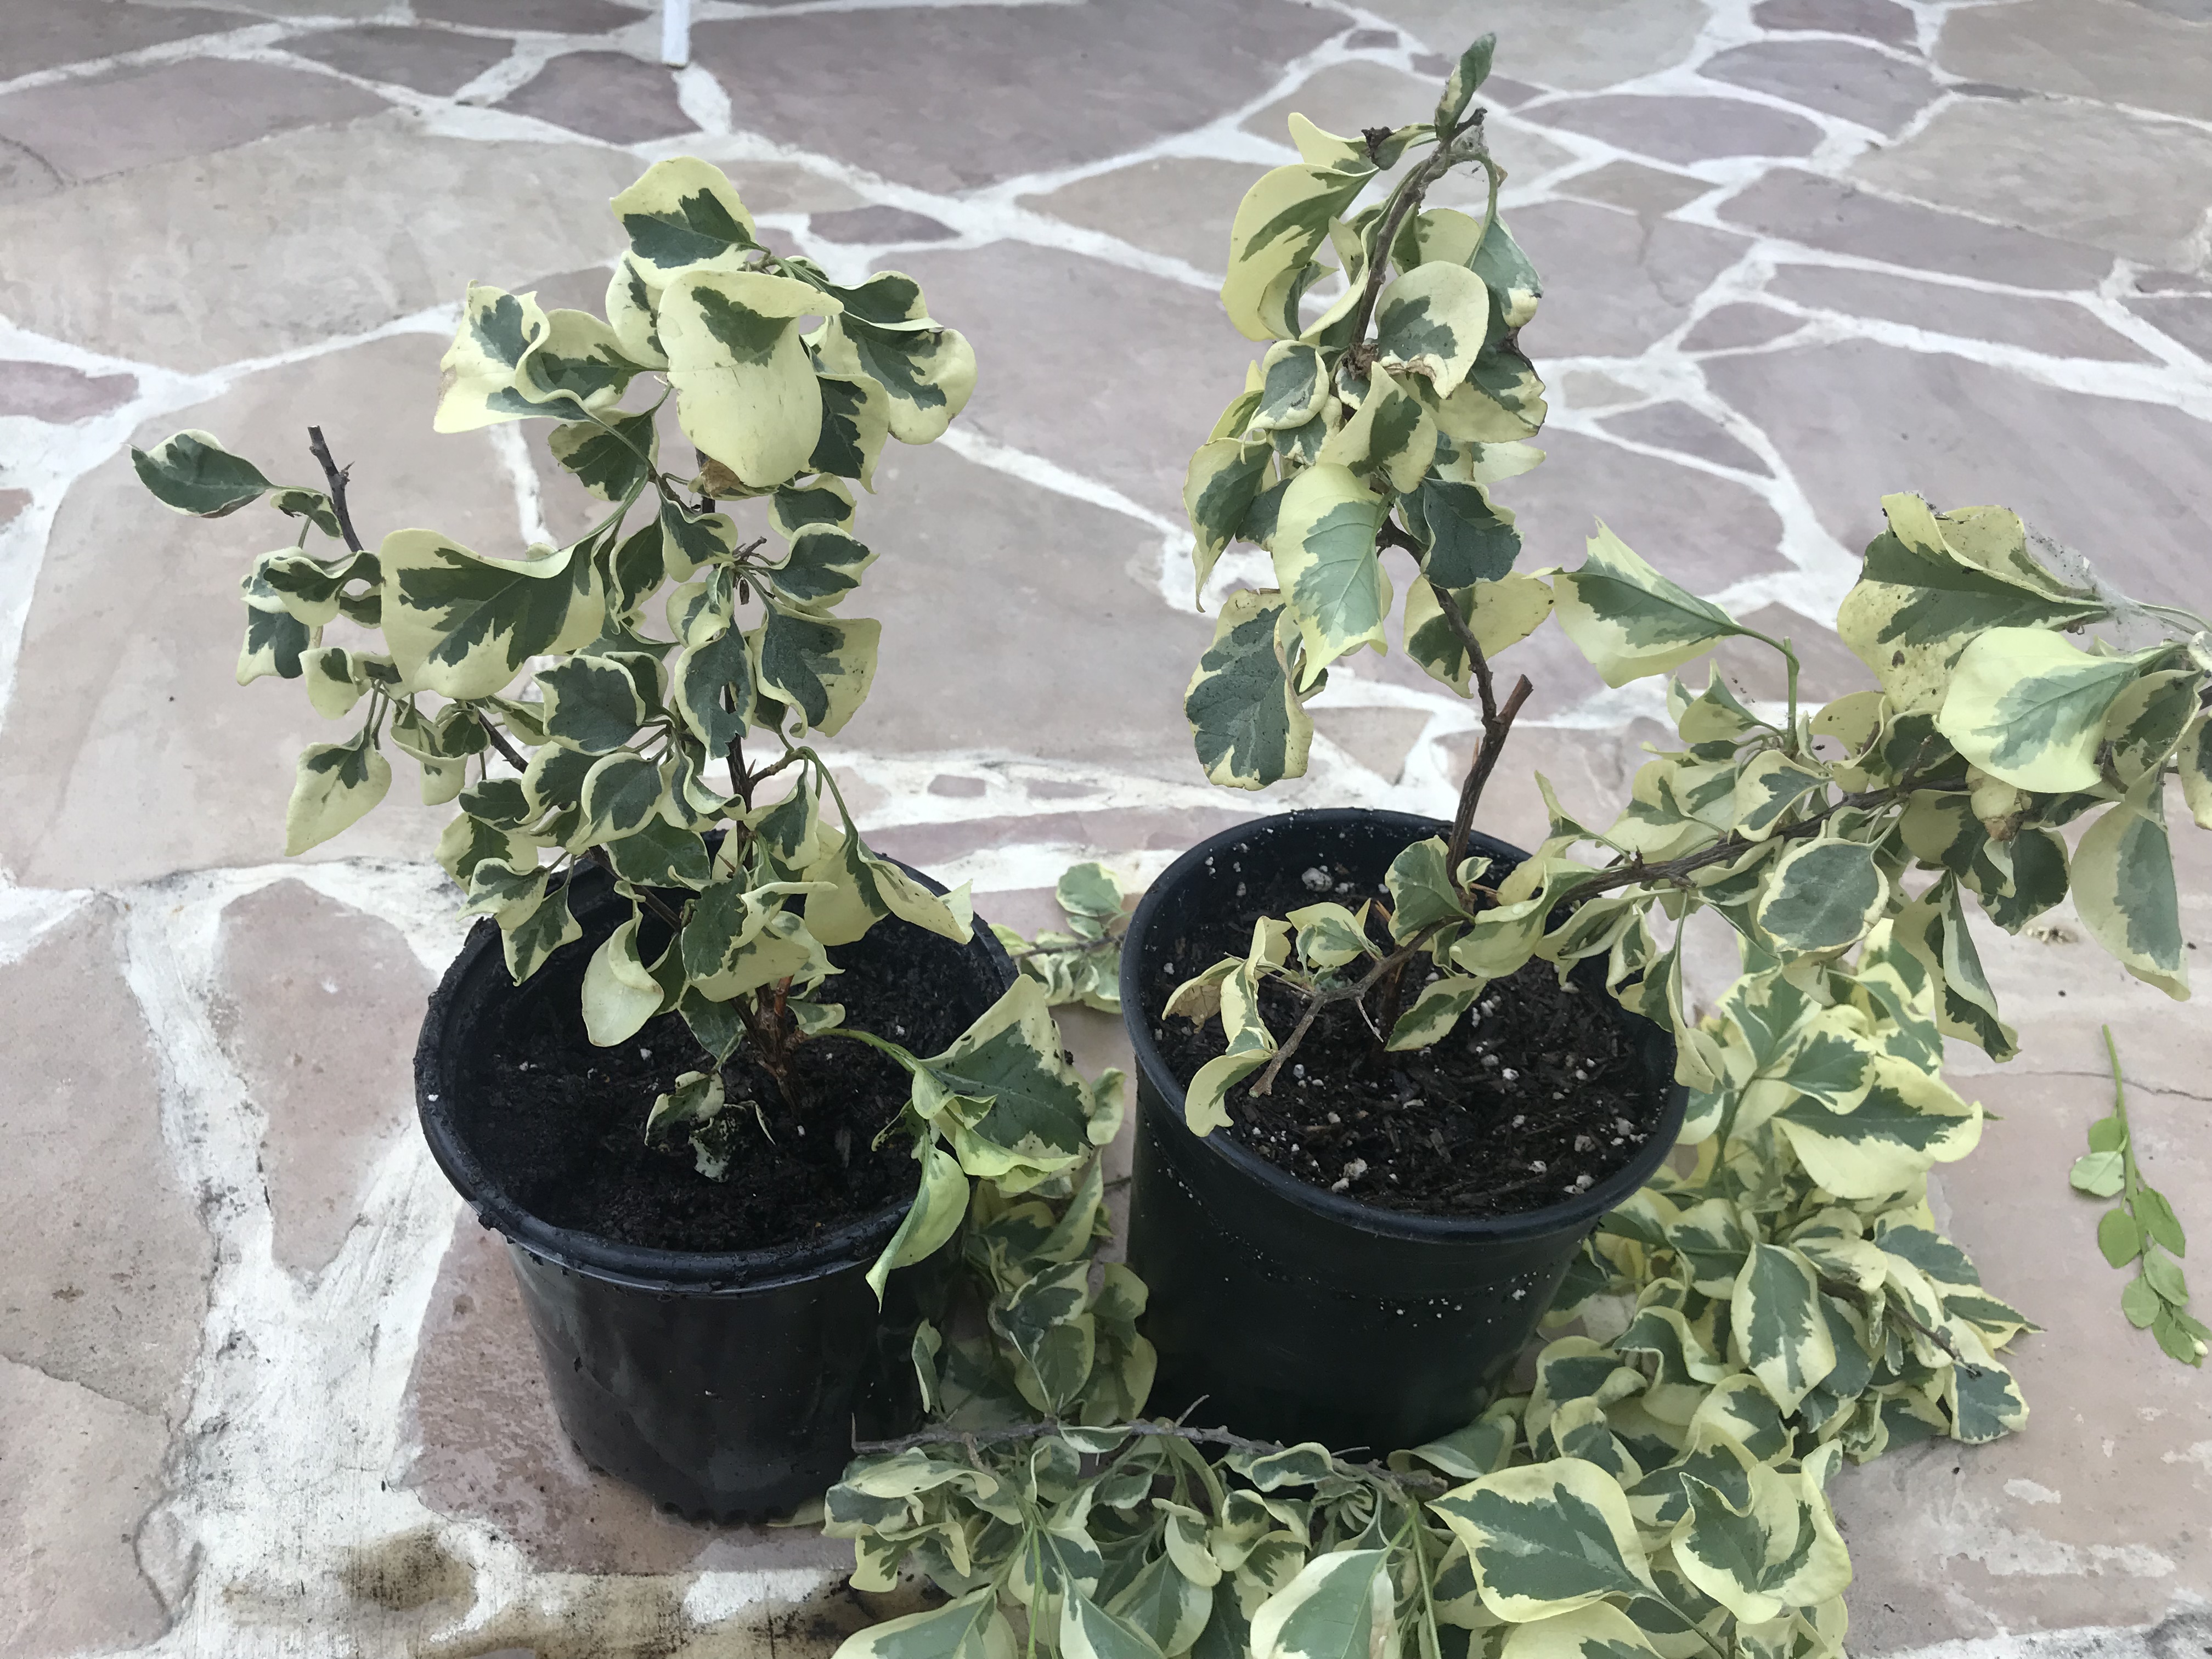
And when you see roots forming and decide to cut it off and transplant, beware of the most common mistake in transplanting the marcot. When cut as is and then planted it could wilt and die. You’ll have to reduce the canopy size of your marcot in proportion to the size of the root system that has developed, and that means reducing the canopy size down to 1/4 or less by removing 3/4 of the canopy on the marcot. If you have bigger bag and bigger root system, you can retain bigger sized canopy. You prune the marcot while it is still attached, not after you cut it. This way, your marcot won’t lose a lot of water while you prepare the transplanting site. You only cut the prepared marcot from the mother tree when you’re ready to plant it immediately, so the marcot is prepped beforehand. You can retain the marcot as is, fruits and all, without pruning if you pot it in bigger container and then placed inside in a high humidity plant growth chamber so that it can further develop its roots without wilting and dying.

Depending on the type of plant that you air layer, don’t expect these plants to have the same strength as those plants with primary tap root system such as those grafted to seedlings. Some marcotted plants develop nice strong roots as well, but not all of them. Marcotted plants that don’t produce good root system are ideal for container growing as they can remain dwarf and are slow growers.

8 Likes

https://www.facebook.com/media/set/?set=a.10156390068766804.1073742156.762176803&type=1&l=e69580ef00

2 Likes

I prefer to use a bottle myself. I find it easier to protect area with a bottle. Soil is near black, if left in sun will fry any possible roots. i always cover with foil. Also it’s not easy to get a bag on. I don’t have time to mess with tying. No need to tie anything with a bottle.
Here’s a Honeyberry i did last year.

Here is a fig

4 Likes

Bottles are hard to pack the media around and I found it quicker to use a ziploc bag pre-loaded with potting media slit it open and wrap around. Very quick to do rather than cutting the bottle so that you can place it on a branch, then packing the media in, and then taping the bottle, wrapping it and tying. I used to do that with this other tutorial on making perpetual rootstock for citruses. I now found that the ziploc method is way faster, but of course it depends upon how comfortable you can do the techniques. One could be faster than the other but I found that I have more flexibility with the ziploc method.

https://www.facebook.com/media/set/?set=a.10152772896321804.1073741907.762176803&type=1&l=1fe4d18dc4

3 Likes

The most common mistake in transplanting the marcot is that it is cut and then planted right away but not preparing the marcot properly. That is a horrible mistake and the reason why most transplants die. The moment it shows roots and you decide it’s time to transplant, you’ll have to reduce the canopy size of your marcot in proportion to the size of the root system that has developed, and that means reducing the canopy size down to 1/4 or less by removing 3/4 of the canopy on the marcot. If you have bigger bag and bigger root system, you can retain bigger sized canopy. You prune the marcot while it is still attached, not after you cut it. This way, your marcot won’t lose a lot of water while you prepare the transplanting site. You only cut the prepared marcot from the mother tree when you’re ready to plant it immediately, so the marcot is prepped beforehand.

I would disagree with that completely. I find it easiest part of the whole procedure. No harder than planting a plant in a pot. Your method, when I do it, all the soil is on the ground by the time I finish. And that cup method i don’t like either. Too unstable for me. Takes a lot of time for all that wrapping and tying which takes way too long. To each his own. No right way to do it. I can do them in 5 minutes, and that works for me. That fig I show grew so well, that I took cuttings from it and those cuttings rooted already. It’s not even a year yet. I prefer to cut foliage off after planted. As some for me show no wilt on anything. If I see wilt, i will prune at that time. Again whatever works for you. Those pictured, both the figs, and the honeyberry had zero wilt. I did remove the figs. The only thing I really do different, is I don’t girdle them. I know it is a must on some plants, but not figs or honeyberries. Also the addition of foil to protect the roots from light and heat. Maybe why you’re getting wilting? I do have wilting on some, so it may be the type of plants you’re doing. I think cutting the foliage off first is probably a good idea. Thanks for that tip! I will do that on plants I never tried before. Honeyberries never wilt, or at least have not for me, so not needed there.

4 Likes

I tried peat moss in bags last year on a bunch of air layers but most of them died so I suspect I girdled them to much initially. I used clonex rooting gel which readily roots cuttings so I was shocked my success rate was so low! Some people use tinfoil on the outside of the bag and I see that as a benefit but what are your thoughts?

There’s no need for tin foil as the rooting site is shaded anyway. Maybe your peat moss dried out. I use a turkey syringe to inject water when I notice the media is drying out. I also make sure that the material that I use to anchor the bag to the stem won’t girdle the stem.

1 Like

I set mine sealed, so they never really dry out, that is too much work to keep an eye on them. Plus rooting depends on not too little, or too much water. Their is no way to tell once installed. I tried open types, but found I could not keep up with watering so moisture level was never ideal. If sealed with the proper amount of moisture, roots form very quickly. Another reason I like bottles, easy to seal. Most of mine are done in full sun, so I need the foil.

I have heard people say air layers are weaker rooted and such, but that has not been the case for me. I have yet to lose one. One was lost in transit once. I didn’t lose it though, the mail did! All I have kept have done super well and are huge plants now. I think people remove them early, and not let them root well. I find the spring air layers form the best roots. I decided to only do them in the spring. The one lost in transit was done in the summer. The hardest air layers I know about are on stone fruits. It can be done, but requires expert skill. Alcedo perfected a method I use which require wire girdling, the only way it will work.I’m going to put some stone fruit air layers on in a couple weeks. Perfect the technique, and see where I can improve it. I use Bonsai wire.

1 Like

As I am a gadget freak, I’ve been using this one with nice results.
E3E2A16B-52CE-4B55-8B26-04FC44C57FAF|690x517

!

1 Like

Tell us more! What is that?

It is this one here:

http://www.leevalley.com/us/wood/page.aspx?cat=2,47236&p=46938

It has a nice reservoir at the bottom to hold water. Kind of a self watering pot. Also it has two compartments so very easy to get on.
The price wasn’t too bad and I like the convenience of it.

1 Like

It used to be sold via Amazon where it didn’t get very good reviews, which I think are mostly user errors. So they pulled the product out from Amazon and instead linked their products to Amazon. Still very pricey for me compared to ziploc bags or discarded water bottles.

I do get tired of cutting bottles. Thanks for the link.

I like this turkey basting syringe as it has holes along the needle stem. Perfect for watering my rooting bags of marcot. Am experimenting with root hormone as supplement.

2 Likes

I’m air-layering on Bardsey apple, because the tree handles dry conditions well here. It gets only the water the lawn gets once a week, after the initial two years of soaking the whip each week in summer. Bardsey apples are juicy, with lemon in its taste. Both tree and fruit are disease free. A natural semi-dwarf, I am hoping it will anchor well once in the ground as a root stock.

I also hope the stock will influence the bud wood over time, per the 2016 blog by Eliza Greenman, Root Stock Effect. On Bardsey this first season since the idea struck me: Rosemary Russet and a cider apple from Maine: Bitter Pew. The BP graft took just this past week.

Since I had more scions than stocks, I also grafted onto GoldRush and Rambour Franc. One take each of cider apples from Maine: Tarecap Bitter on GR and Shavel Sharp on RF. The Shavel Sharp/RF branch is already set up for air-layering. Am waiting for the leaves of Tarecap to make their own photosynthesis before prepping the branch of GR.

RF is vigorous, GR not so much, so the growth of Tarecap this season will determine if I need to bury the graft union for a standard when it gets put into its permanent place.

1 Like

Which raises the question: Is it advantageous to wait until leaves on the scion are fully formed before marcotting?

My reasoning is, yes, that strength coming from both the tree and the scion will feed growth of roots. What say ye?

I only marcot those that have leaves because it helps in root development.

It’s time to emancipate my Calamondin citrus marcots. The weather has cooled down. The trick to get 100% survival rate of the marcot is to make a balanced canopy with respect to the roots that have been formed. It means removing from 50% to 90% of the canopy. If you don’t thin out the canopy for balance, most likely the marcot would wilt and die! In my case I removed between 60% to 80% of the canopy when potting. These will be put in shaded area until established. As a bonus of reducing canopy size, I got to harvest some fruits!

6 Likes

Variegated bougainvilleas can be propagated so easily via marcotting!

2 Likes