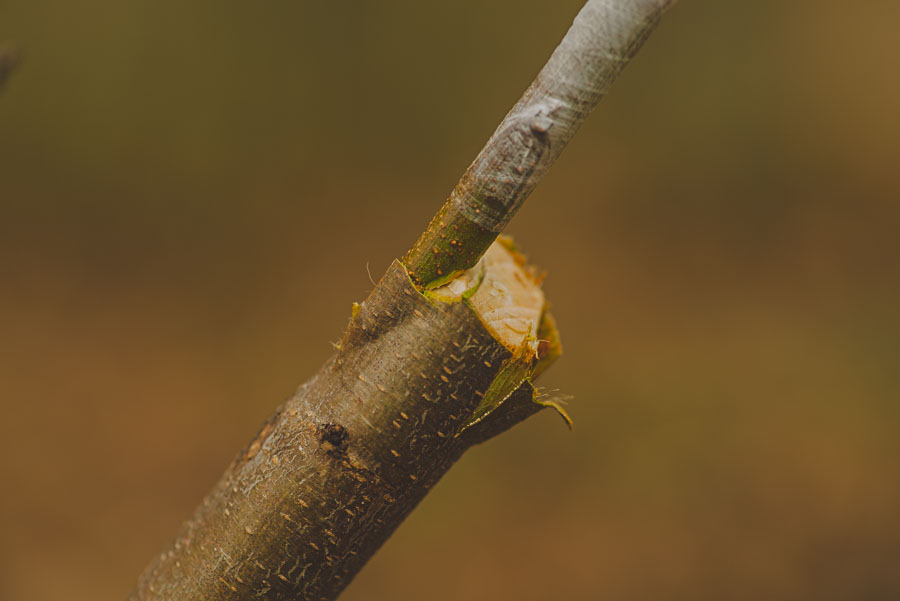
Basic Tips For New Grafters #2: Different Grafts (Discussion Needed)

I’m really hoping that others here will tear into this stuff and fix it fill it out as they see the need. Please do! Please!!

When I started grafting I didn’t know the difference between grafts, so I thought it might be useful to lay out a few points.

A lot of people graft in the spring as the destination tree is getting ready to take off. Typically grafters like to wait until the tree has small leaves on it, and the grafts generally used are splice (also known as whip), or cleft, or a splice with a tongue cut in it, called a whip and tongue, or bark. But it’s also possible to do a chip at this time, and if the bark is slipping budding can be done.

There’s also a lot of summer grafting done, and usually that means budding or chipping.

Spring grafts are expected to take and grow within a week or three and usually will; Budding and chipping done in the summer are expected to heal in and then emerge in the following spring.

Spring grafts use dormant wood from the previous season’s new growth, so in 2018 you’d use the youngest growth from 2017.

Summer grafts use the dormant buds from the current year’s growth. That confused me. What it means is that you go out in the summer of 2018 and cut a “bud stick”- a nice, healthy new shoot that first grew in the summer of 2018 and is only a few weeks old. It’ll have a number of buds on it that are dormant. If you don’t see any they’re hiding under the stems of a leaf. These dormant buds can be used for budding or chipping.

There are other useful grafts, but these are pretty basic and common and a good place to start. A lot can be learned about all of these grafts just by using the search function on this board. There are good tutorials and discussions put together by several regulars here. If I weren’t so lazy I’d try to do a bunch of searching and list them all here, but I’d leave somebody and something out and that wouldn’t be right, so I’ll let you leave them out instead!

Thanks for reading.

28 Likes

If we’re discussing grafting, a few thoughts of my own:

  1. Cleft grafts–learn to lock your thumbs. That said, if you cant, dont understand the mechanics, or it isnt an option for some reason: if your bench grafting you can either use one of the general cutting tool things from Sears that has been referenced here before, or you can leave your rootstock on a cutting board and cut your cleft cut with a solid backstop and your knife by splitting the rootstock laying it flat on the board and splitting it there… my very first cleft graft I cut my self deep enough I lost all feeling in my finger for close to a year so it’s worth making sure that you’re in control of the knife.

  2. On trees or decent size in-ground rootstock, you can also cheat the cleft cut by lopping your branch/top of rootstoch perpendicular to the frowth, so you have a flat stump end, and then, instead of easing the knife into splitting the rootstock with your other hand holding rootstock, you can place the knife in the center of your cut and split it for cleft grafts by tapping the back side of the blade, with your hand or something else like a hammer. Again, it will split the rootstock without your hand being in the parh of the knife…

  3. Parafilm rocks. You dont need it but it forgives a lot of errors in cut, match, etc. by keeping things from drying out.

8 Likes

When learning to do cleft grafts or make a tongue on WT grafts, I was taught to use a CD. I still use this technique today and gives me a measure of confidence while making cuts.

Pass a CD over the rootstock (or scion). Hold the wood with your non dominant hand below the CD. You can now cut the cleft or the tongue without worry that you will cut your hand.

10 Likes

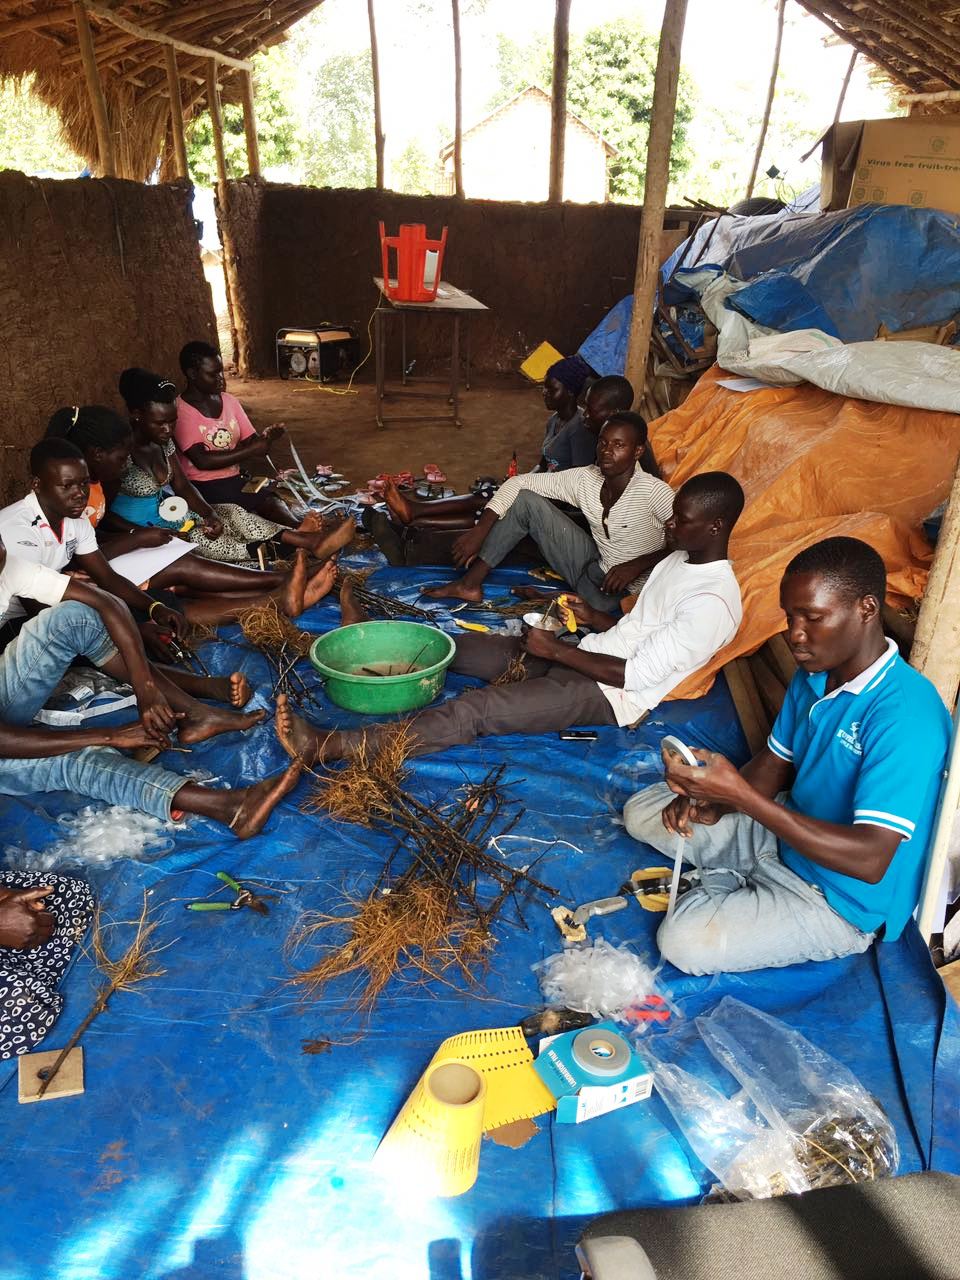
Or a donut; see the guy on the bottom left.

OK, they use CDs too, the guy in the white shirt, while the girl on the bottom left has a board with a hole in it.

7 Likes

My favorite graft type needs some pictures to explain, because it’s a two cut graft. I got it from Konrad over on the original garden web forum. He called it Konrads modified bark graft, and it kind combines some techniques to t budding with a top working technique. What you do is start with a rootstock thicker than the scion wood. You cut a clean cut across the rootstock, and cut lines down from top so you have a slit on each side of the trunks hemisphere, which you lift with your knife or thumbnail to make flaps. Then you take a 45 degree wedge off the top of the slit, so there’s a little slanted ledge at the top of the pocket flaps of bark.
On the scion, you cut 60 to 70 percent across the scion at the same angle to match the ledge, and then down the scion, like the scion has a wide tail. You then lightly expose the cambium on the sides of the tail, and slip it gently under the flaps until the two wedge portions seat against each other. Then you start binding it at bottom to hold the flaps of bark tight and wrap up.

You can use this technique as soon as the bark is even KIND of slipping in the spring, because if you wrap well even ripped bark can heal if it doesn’t dry out. I have gotten ridiculous amounts of first year growth from this method combined with parafilm to protect the scion. You can easily swallow the donor stub in the first year of growing, with the new wood almost completely the size of the wood you topped.

Here’s a link to the original discussion:

1 Like

Thank you for posting that link. Konrad has always done beautiful work, and I wish he’d come over to this board.

I’d love for others to post links to good sources like this. That’s so much easier for me than chasing them down myself … :wink:

3 Likes

I am not allowed to see any pictures—says I have to have a photo bucket account. I’m always reluctant to just sign up for new accounts. Any advice on this?

Me too!

Yeah, me too. And it looks like it’s that way for a lot of the older posts, which is too bad. I don’t have any suggestions. Wish I were good enough to replicated it for you, but I’m not and am not likely to be!

Only that I will try to take pictures to replace them!

4 Likes

Thank you- that would be terrific.

1 Like

I think it’s Konrad that needs to update his Photobucket account,by paying them something like $300-$400 a year.
I chose not to and any place outside of PB on the net,that my pictures are stored and displayed,they want the paid upgrade done. Brady

I hope I don’t get in trouble for doing this…

Konrad’s modified bark grafting
https://www.houzz.com/discussions/1512618/konrads-modified-bark-grafting

Finally!..I have some pictures together and should be self-explanatory.

Why is it different you might ask,…there are two angles cut instead of one.

For two reasons, first, I find it will match better, therefore a better take.

Second, creating a kind of well, where the sealant can run down the slope and making a better seal.

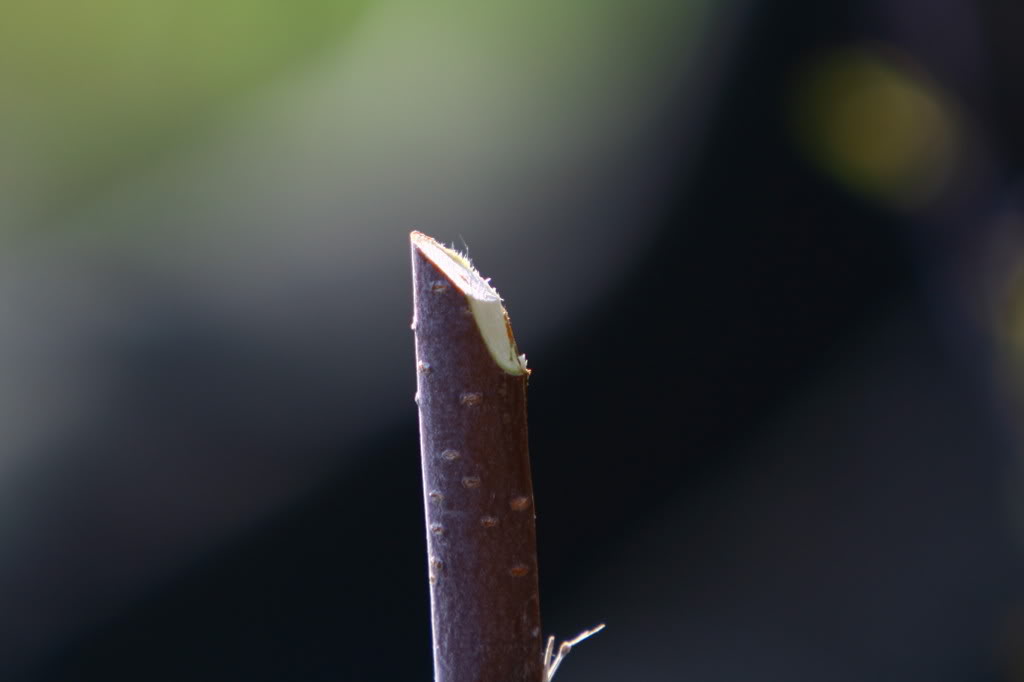
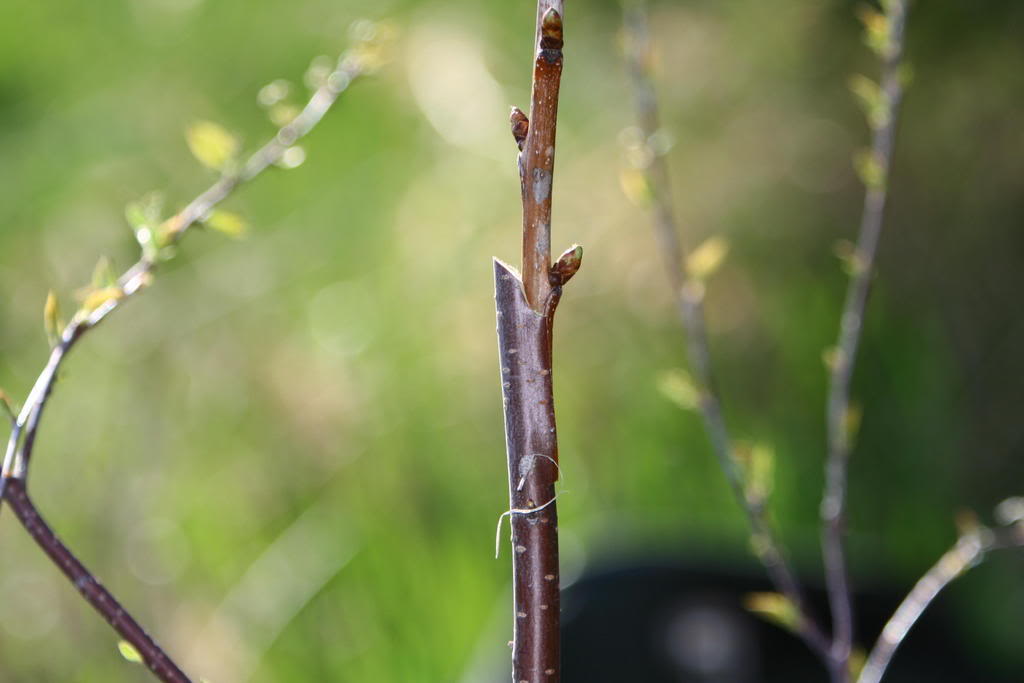
May 12 / 07 cutting the cherry scion wood, note: angle cut, and parallel cut.

Cutting the root stock, note: after the two angle cut, another vetical cut, here, it’s going down to

the bottom of picture.

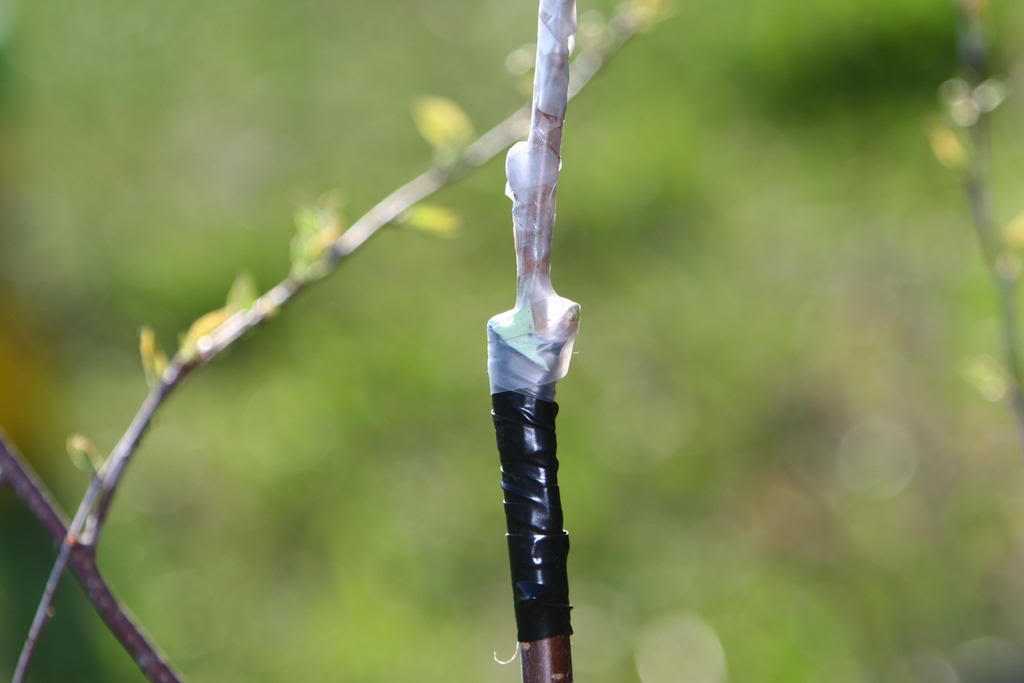
Joining, taping and sealing…

Note: The top angle cut, perhaps a little too much angle,… is helping tying the graft and helping for the sealant to run down

towards the graft.

June 2 / 07

This graft is one year old…from another graft.

Konrad

12 Likes

I dont get the Konrad modified bark graft, seems not a bark graft for me as the scionwood is never inserted under the bark of the rootstock ?

2 Likes

My favorite grafting technique is the “pendule graft”, that mixes some techniques of other grafting methods

http://www.greffer.net/?p=695

3 Likes

Thank you!

Here’s the translation for that link:

The pendulum graft

I wanted to introduce a transplant method that I use regularly and that I consider almost universal. I gave him my name on the graft.net website.

The origin of this transplant dates back to visualisations of videos showing the usual ways to transplant in the Asian countries, particularly promoted in the advertising clip of the “buddy tape” and of which we find multiple equivalent videos on the internet (links at the end of the article ). Having realized well after viewing these videos and no longer have a fresh memory of how to proceed, I have developed by accident this variant that gives me great satisfaction.

This graft is a mixture of Asian graft (in the spirit, but more aesthetic), cleft, crown, chip budding, English galloping, etc.

It is important to wrap the base of the graft so that you do not let in air or water and cover the end of the graft.

When cutting the graft, think of leaving enough room to properly wrap the base.

It is also possible to cut the bevel of the graft on the side of the eye in order to refocus it in the axis of the rootstock.
Advantages of this method:

  • Works well with a low sapwood rootstock (such as the benefits of chip-budding grafting).

  • No need to have rootstock and grafts of the same diameter, we can graft “micro” grafts without problems.

  • The graft is all alone, we have both hands to ligate, which is not the case with a simple English
    Here’s my quick cut and paste from Google Translates.

  • Advantageously replaces the graft slit (less traumatic), the incrustation (more difficult execution), the crown graft (limited execution period at a stage well sap rootstock)

  • Increased possibilities of contact between graft cambium and rootstock (front and back graft)

  • No need to adjust the graft positioning: the cut of the graft being oval (bevel) there are at least two contacts insured on each side with the cambium of the rootstock, which is cut in a straight line.

Cambium of the graft represented in green, that of the PG in orange

1 Like

Here are translations for the photograph captions:

Here’s how to perform this transplant (tabletop simulation).

1- Decapitate the rootstock and clean the wound

2- Cut of the graft (one eye is enough, but you can keep several if you want it)

2a - realization of a classic bevel type “simple English graft”
2b - on the opposite side, cutting of the tip of the bevel at 45 ° (this step is optional as to the recovery of the graft, it is only intended to facilitate mechanical insertion)
The finished graft preparation:
3 - the vertical incision of the rootstock to form a tongue:
4- graft insertion:
5- ligating with only buddy-tape
It is important to wrap the base of the graft so that you do not let in air or water and cover the end of the graft.

When cutting the graft, think of leaving enough room to properly wrap the base.

Possibility of also cutting the bevel graft side eye to refocus in the axis of the rootstock.

1 Like

Konrad’s work was impeccable!

3 Likes

Yes it is, there’s only contact under the flaps of bark along the side of the scion. His version lets you match very different sized wood. I didn’t realize someone was going to be able to pull his pictures over, so I went out and shot my own showing how I personally topworked my peaches with his method.

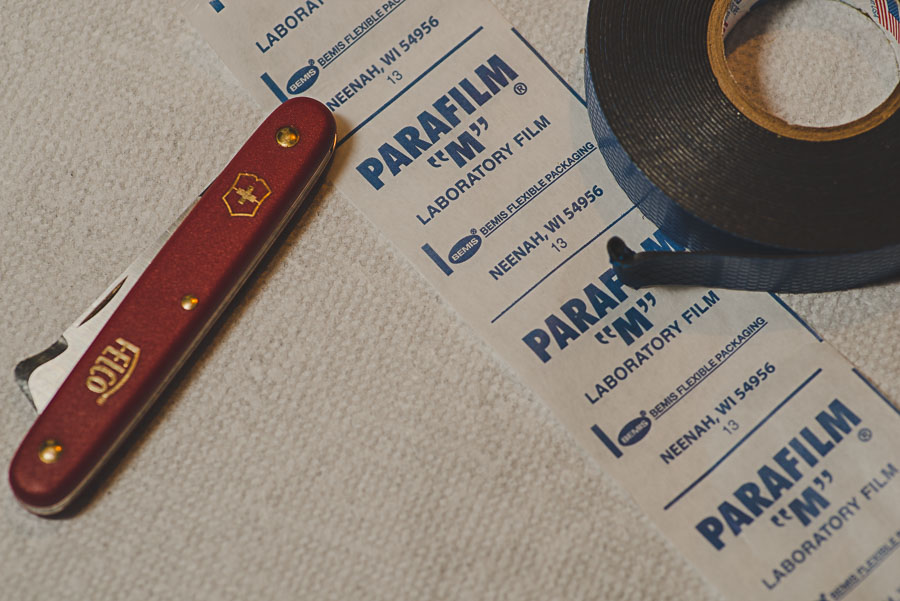
The tools.

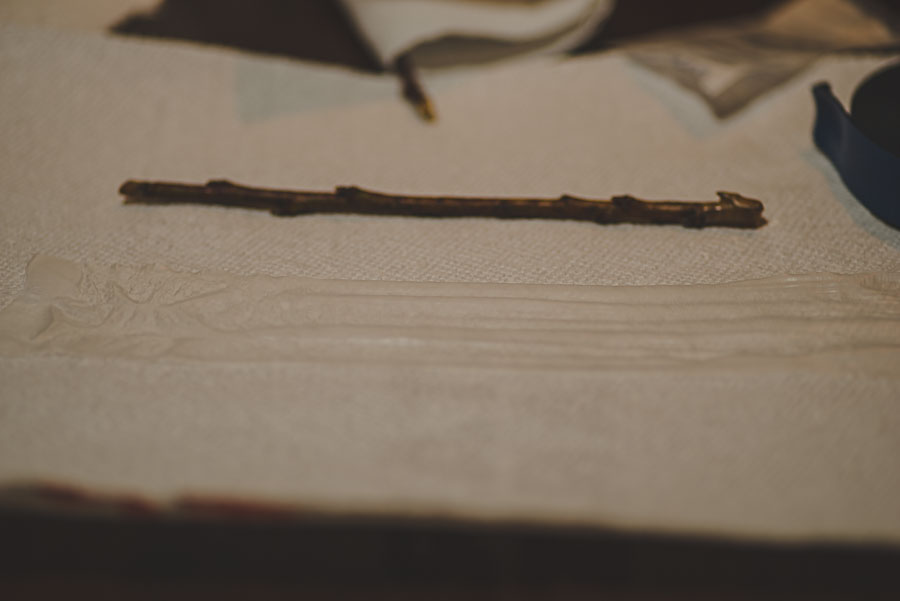
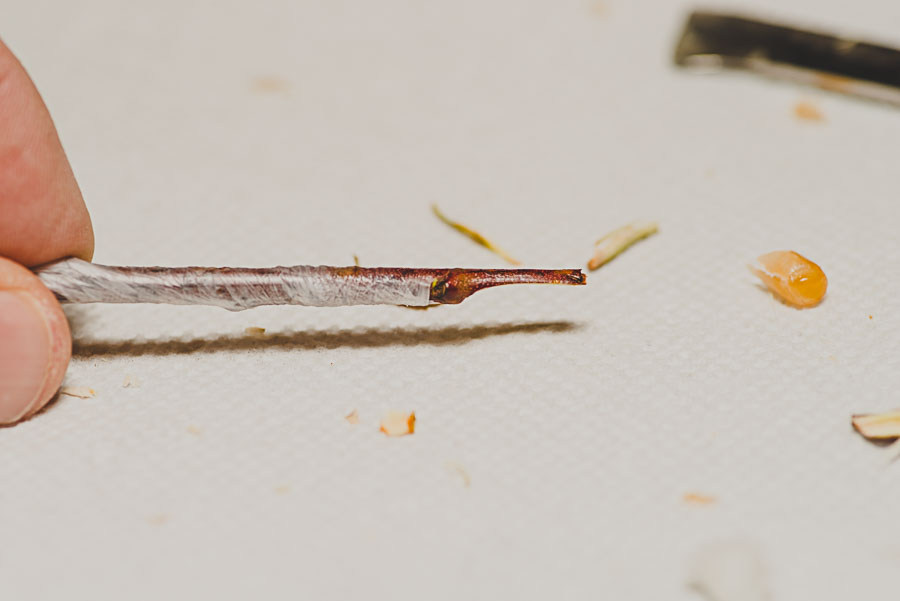
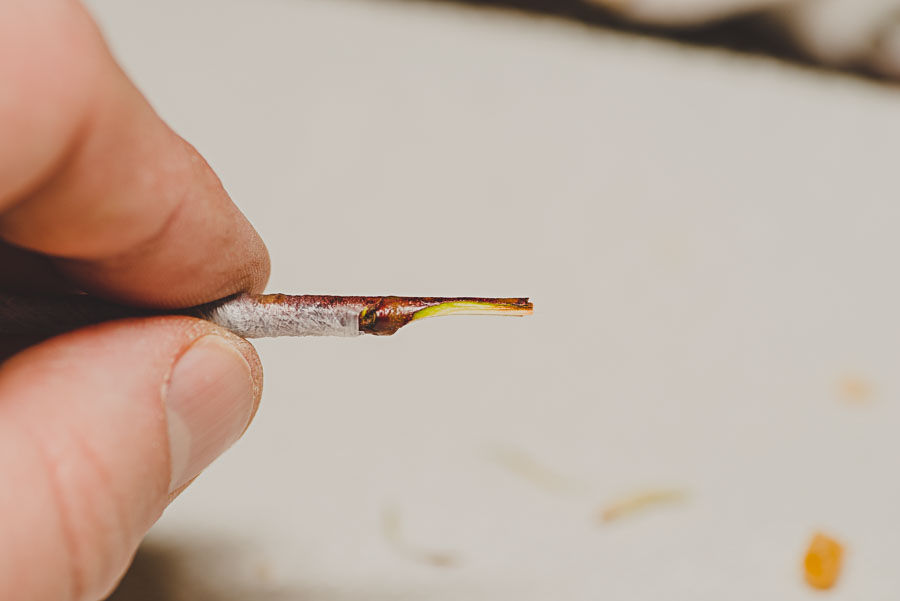
Scion prep:

Tree prep:

K1A_0640

K1A_0642

Two methods of wrapping. This is what I do in hot southern weather that doesn’t need much heat from the tape to heal:

In cooler climates, it’s my understanding you may want to leave the black rubber exposed and fully seal it:

Final tree:

K1A_0671

I’ll let y’all know how it goes.

13 Likes