Really enjoying reading about this. My husband and I only got through our gh build because my father GC’d it. We were clueless on our own. What you have done is really impressive and I love the red. I can’t wait to see what you grow in there!
3 Likes
We’re certainly clueless. 
3 Likes
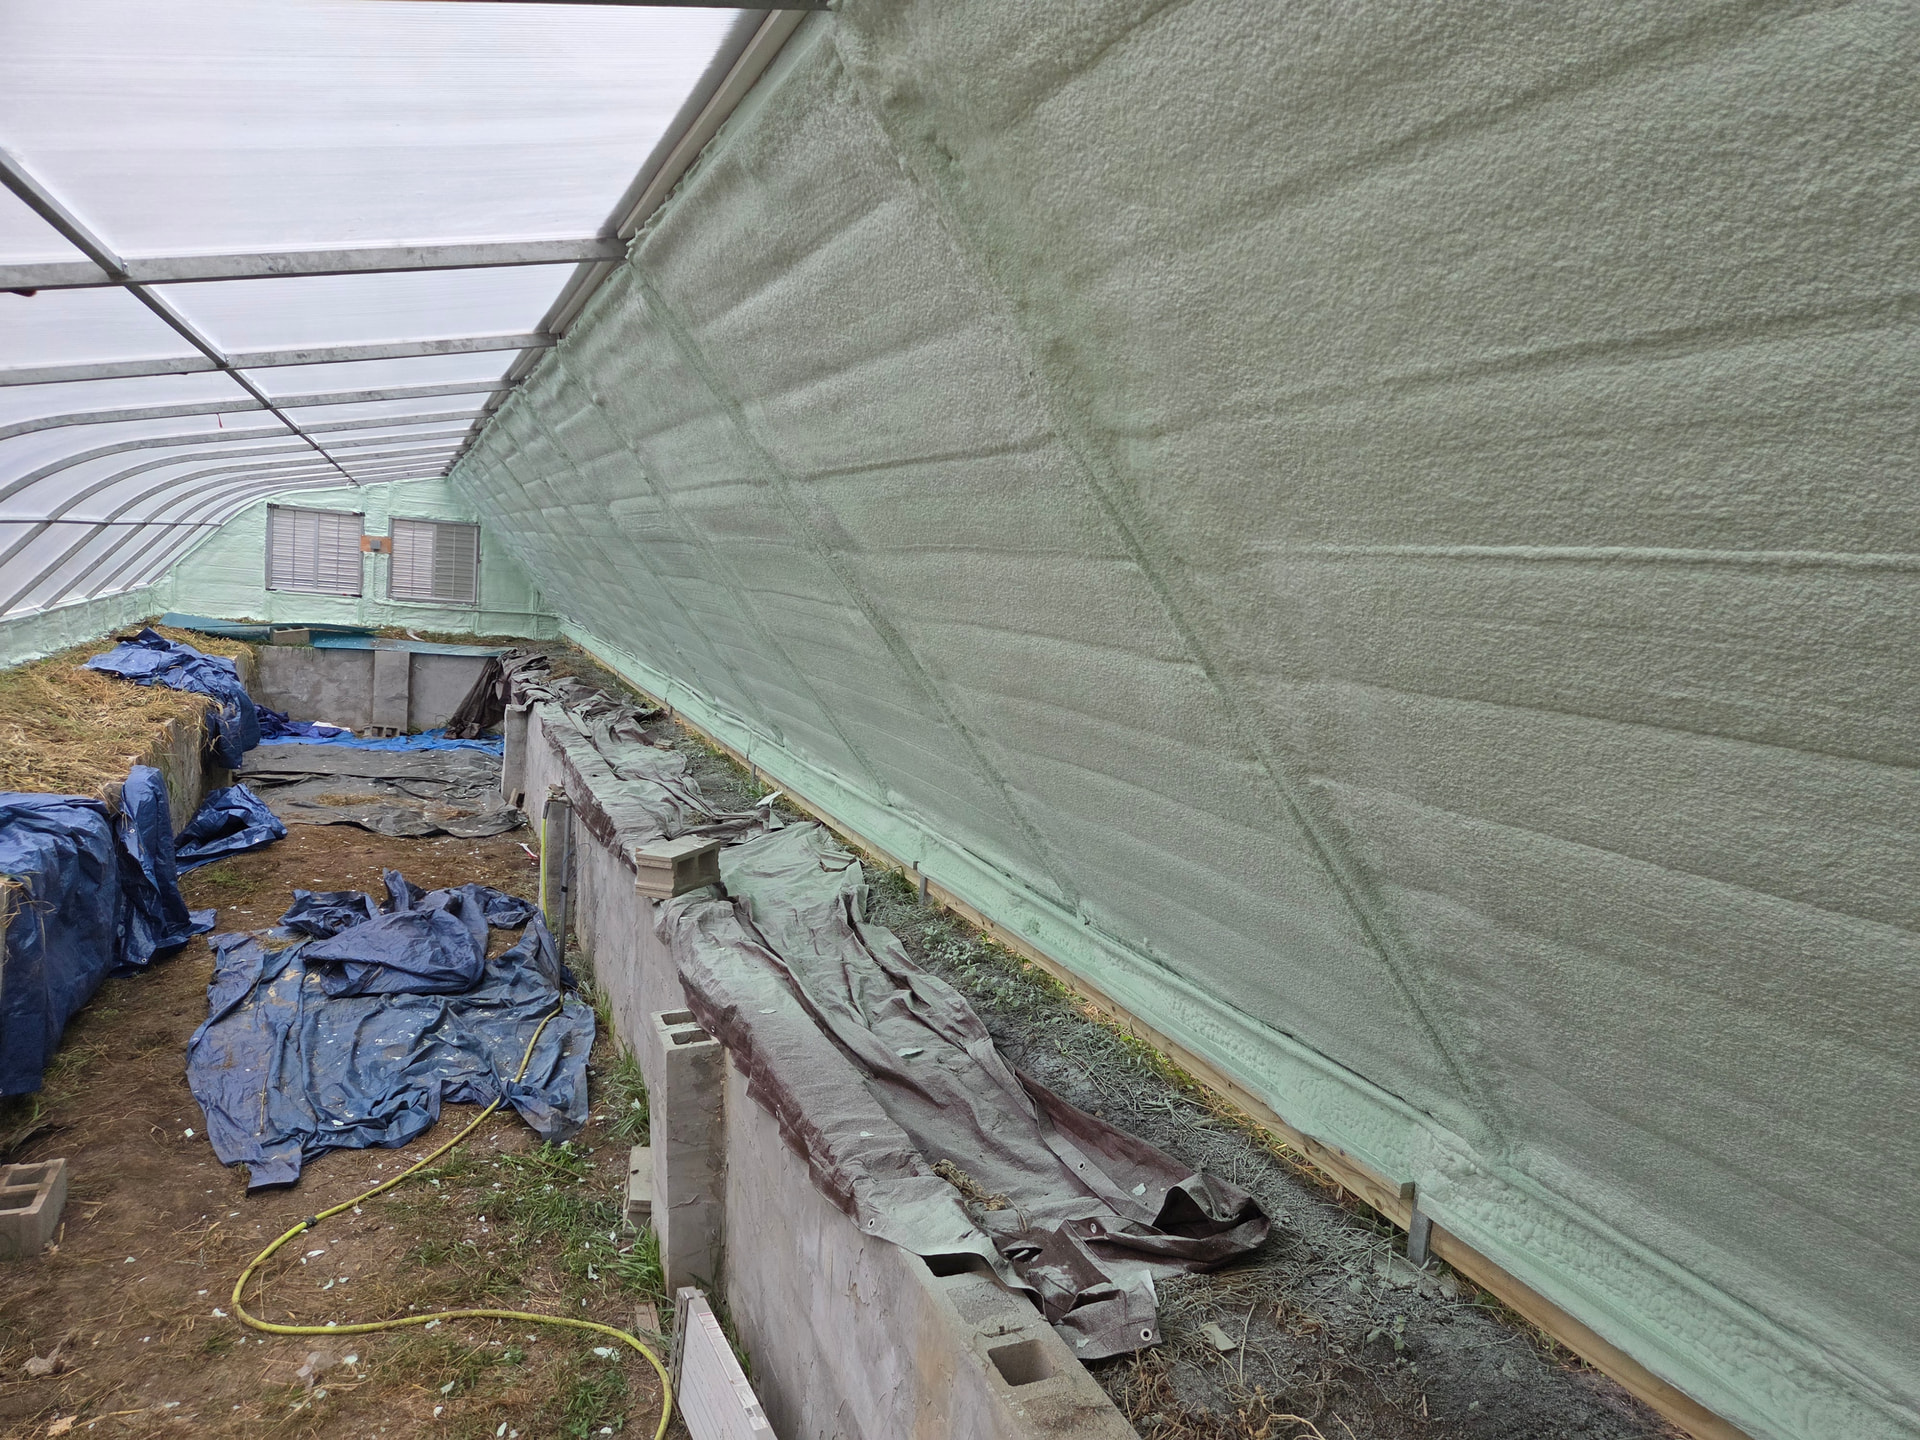
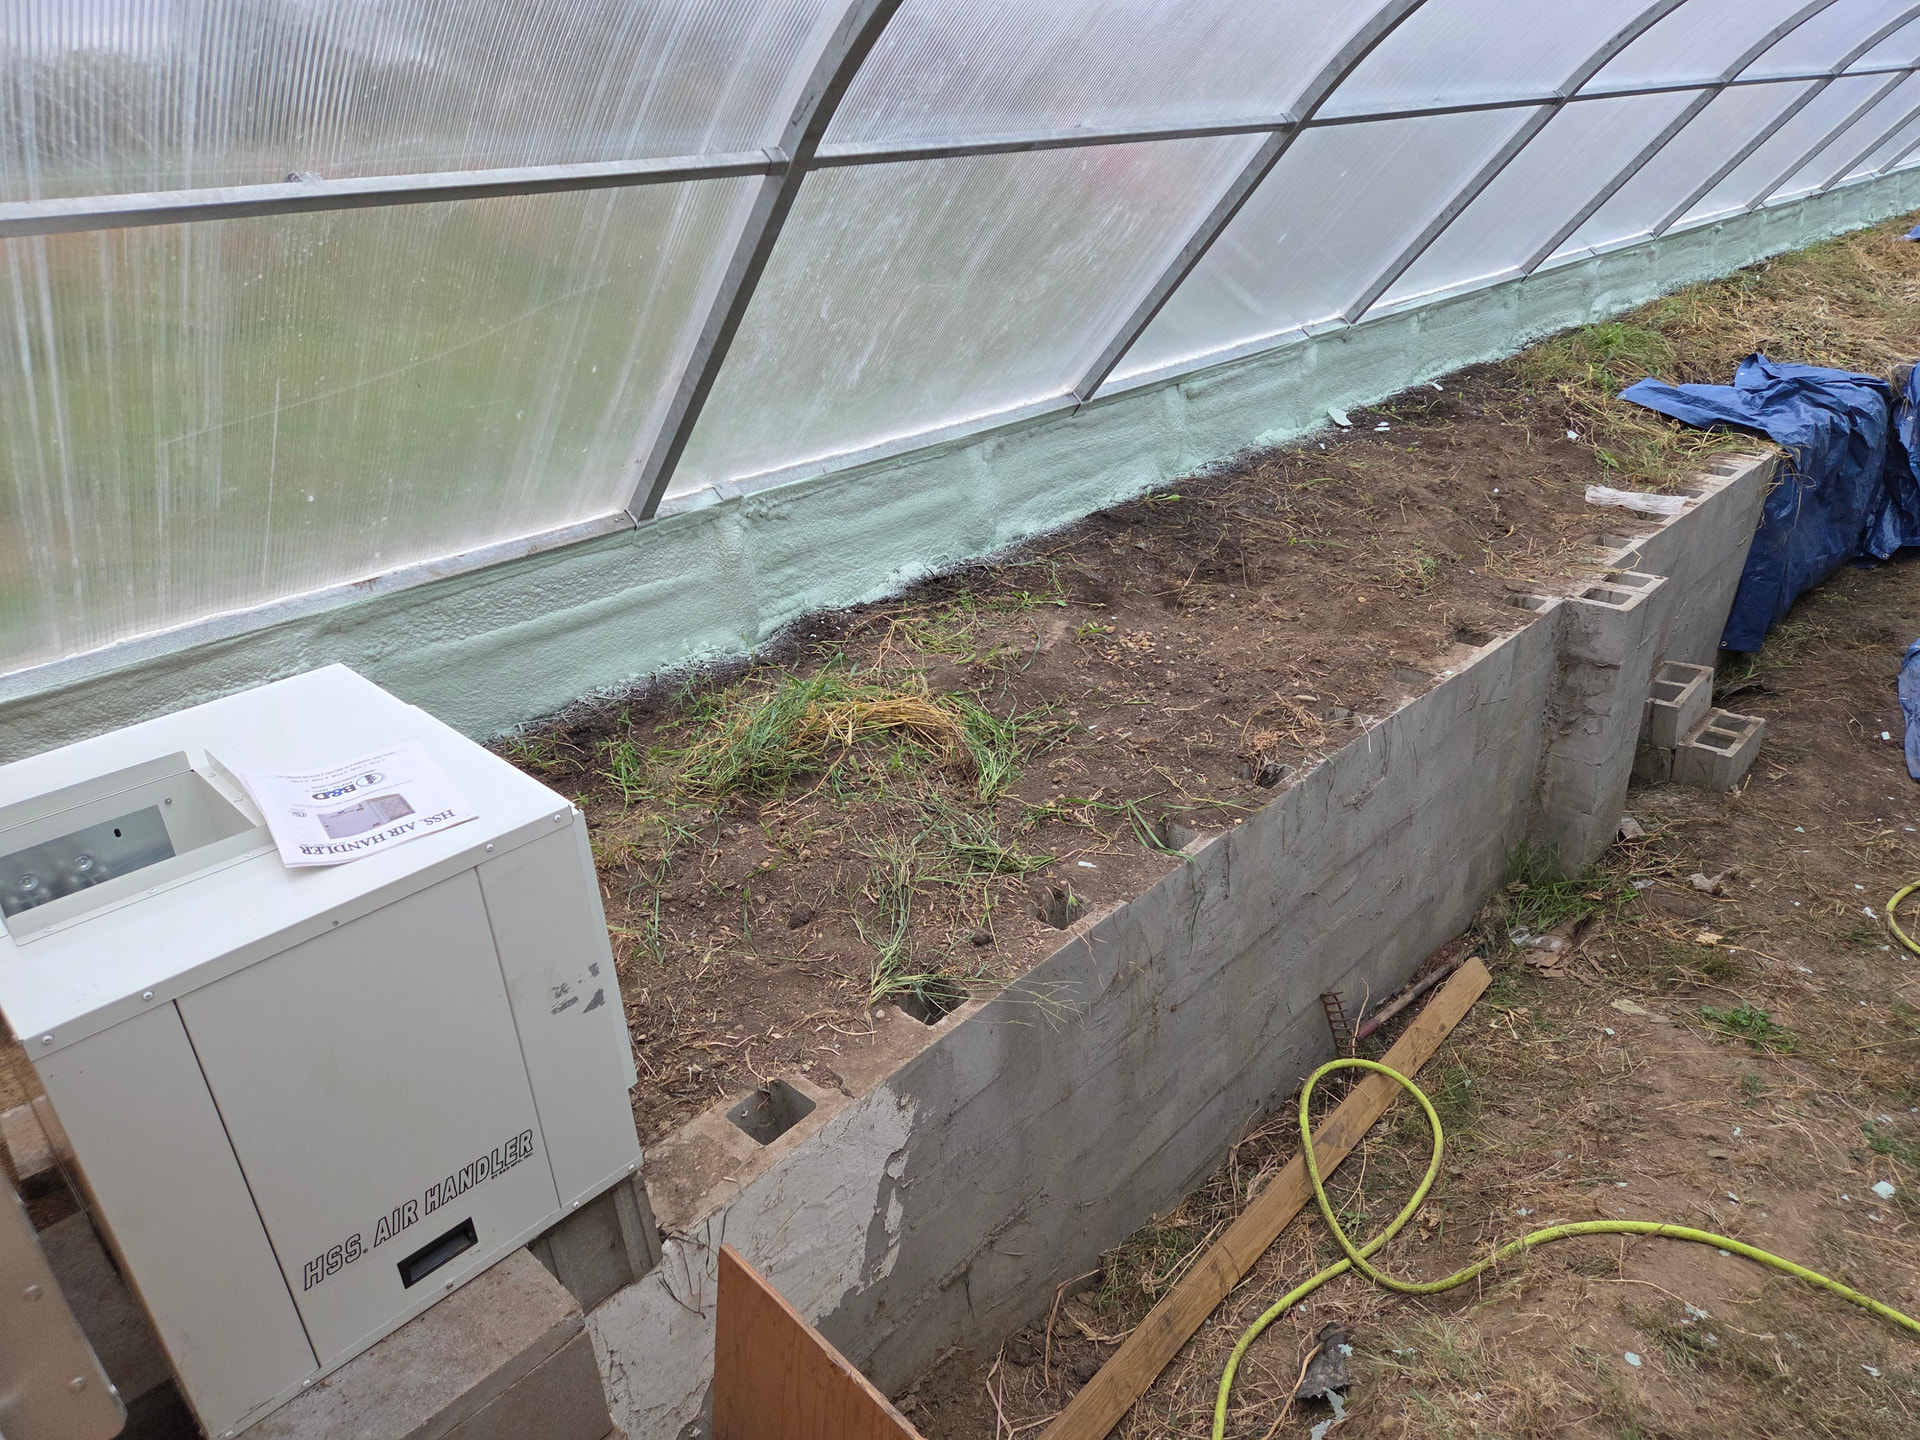
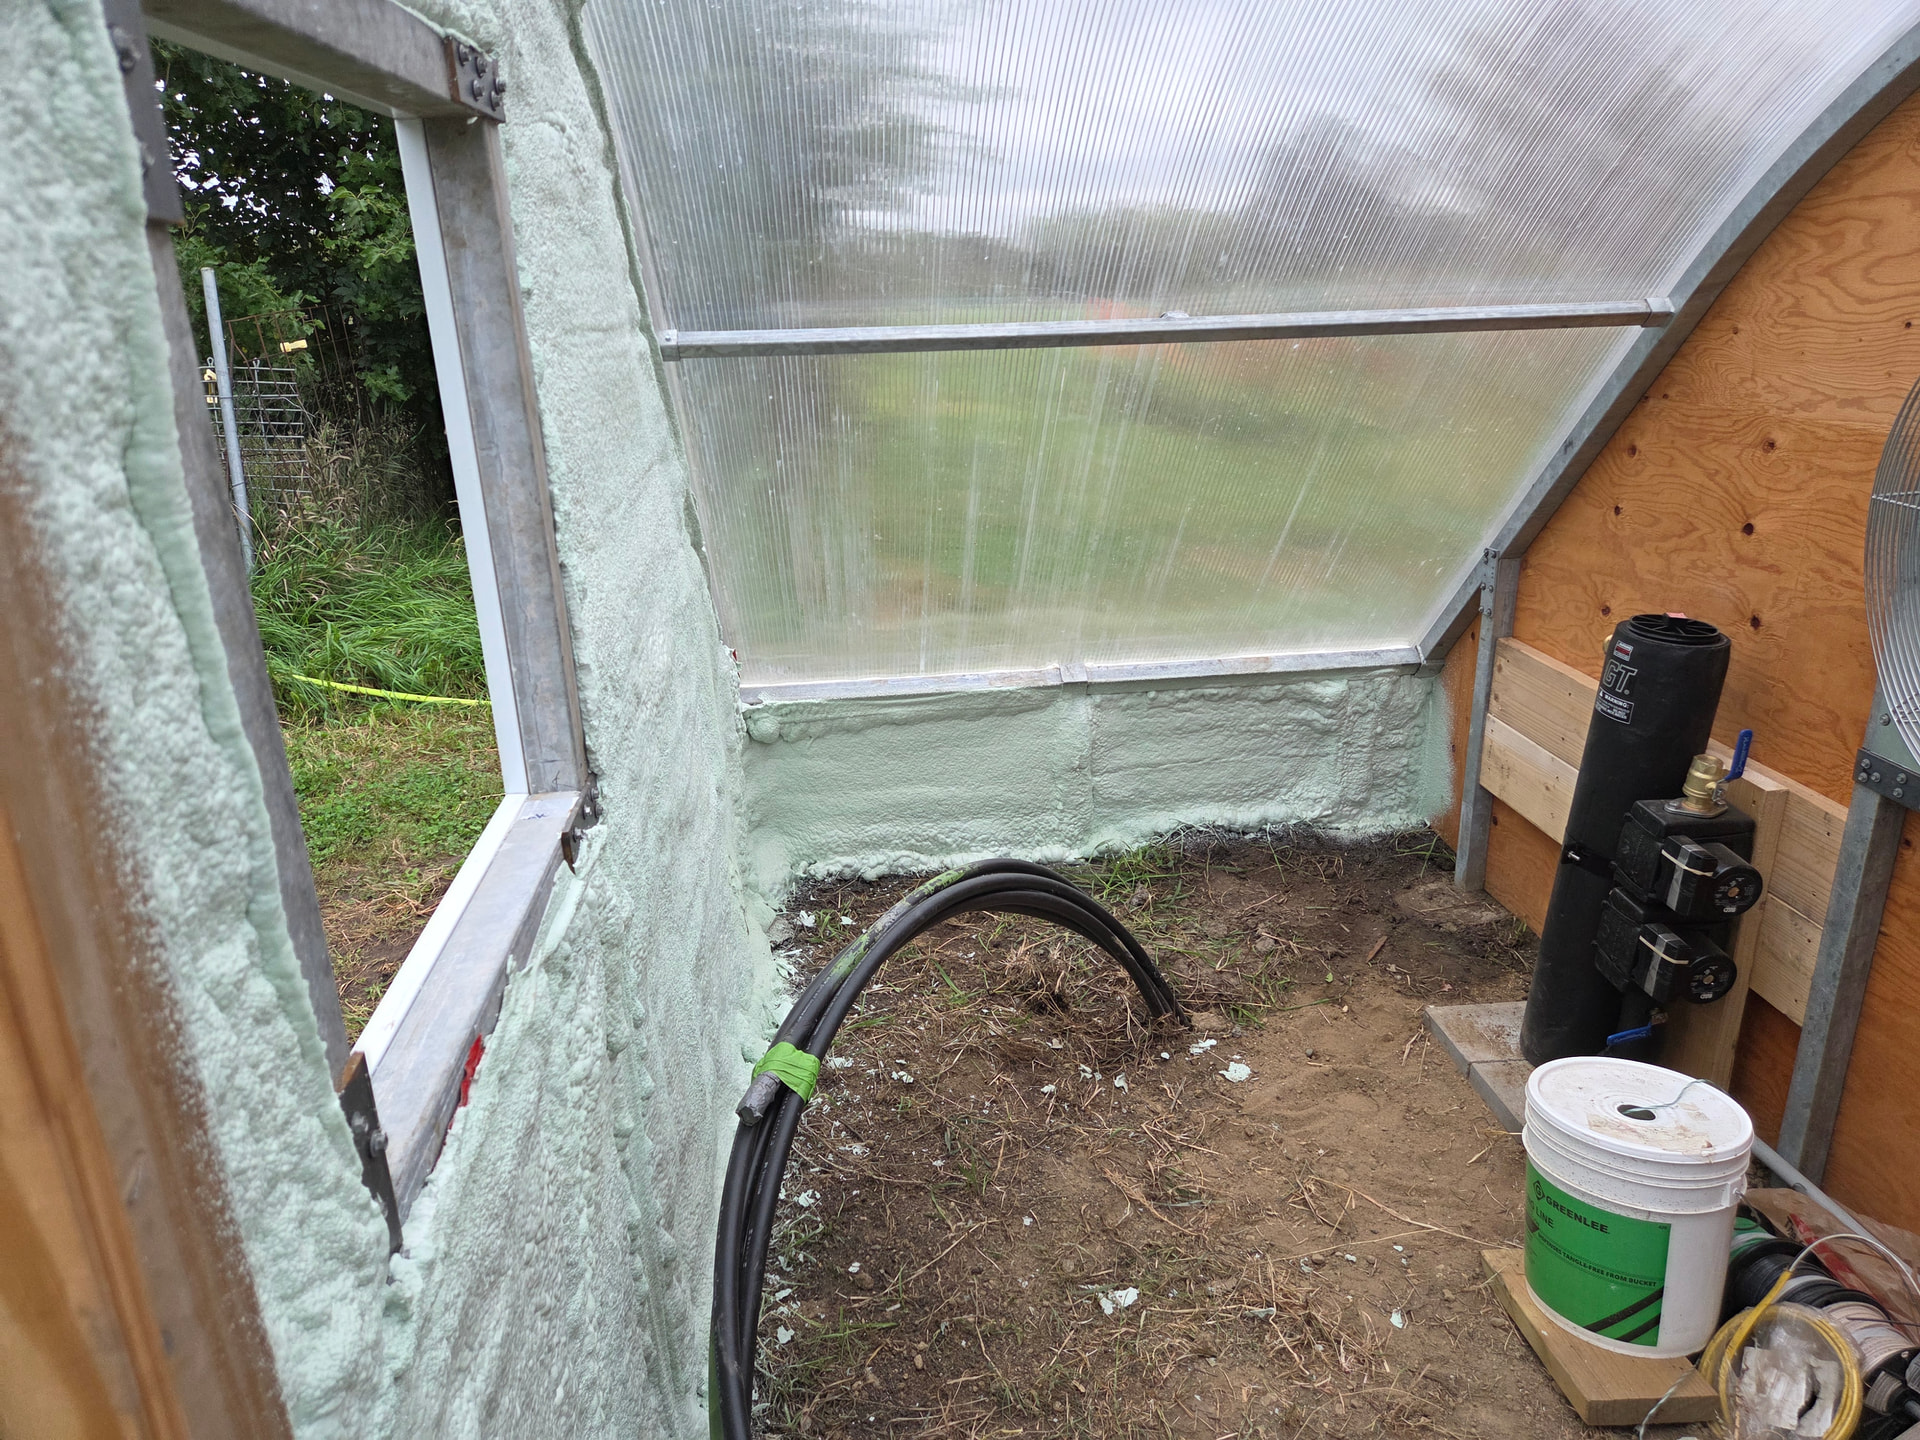
September 2026 (current update). Last week we had our contractor place the glycol pump (black cylinder in front room) and air handler (white metal box in main greenhouse area). Tuesday we had an insulation company spray a thin layer of insulation foam on the north side metal siding, on the wood wall portion of the south wall. This should help the greenhouse retain at least a bit more heat at night.
11 Likes
This weekend I planted the first plants (maypop, thanks to @kinghat) and seeds (mostly lettuce, given our geothermal heat isn’t hooked up yet). I’m absolutely thrilled to be at this point, despite all we have left to do. It has rained for about 2 weeks straight, so being in the dry greenhouse felt great.

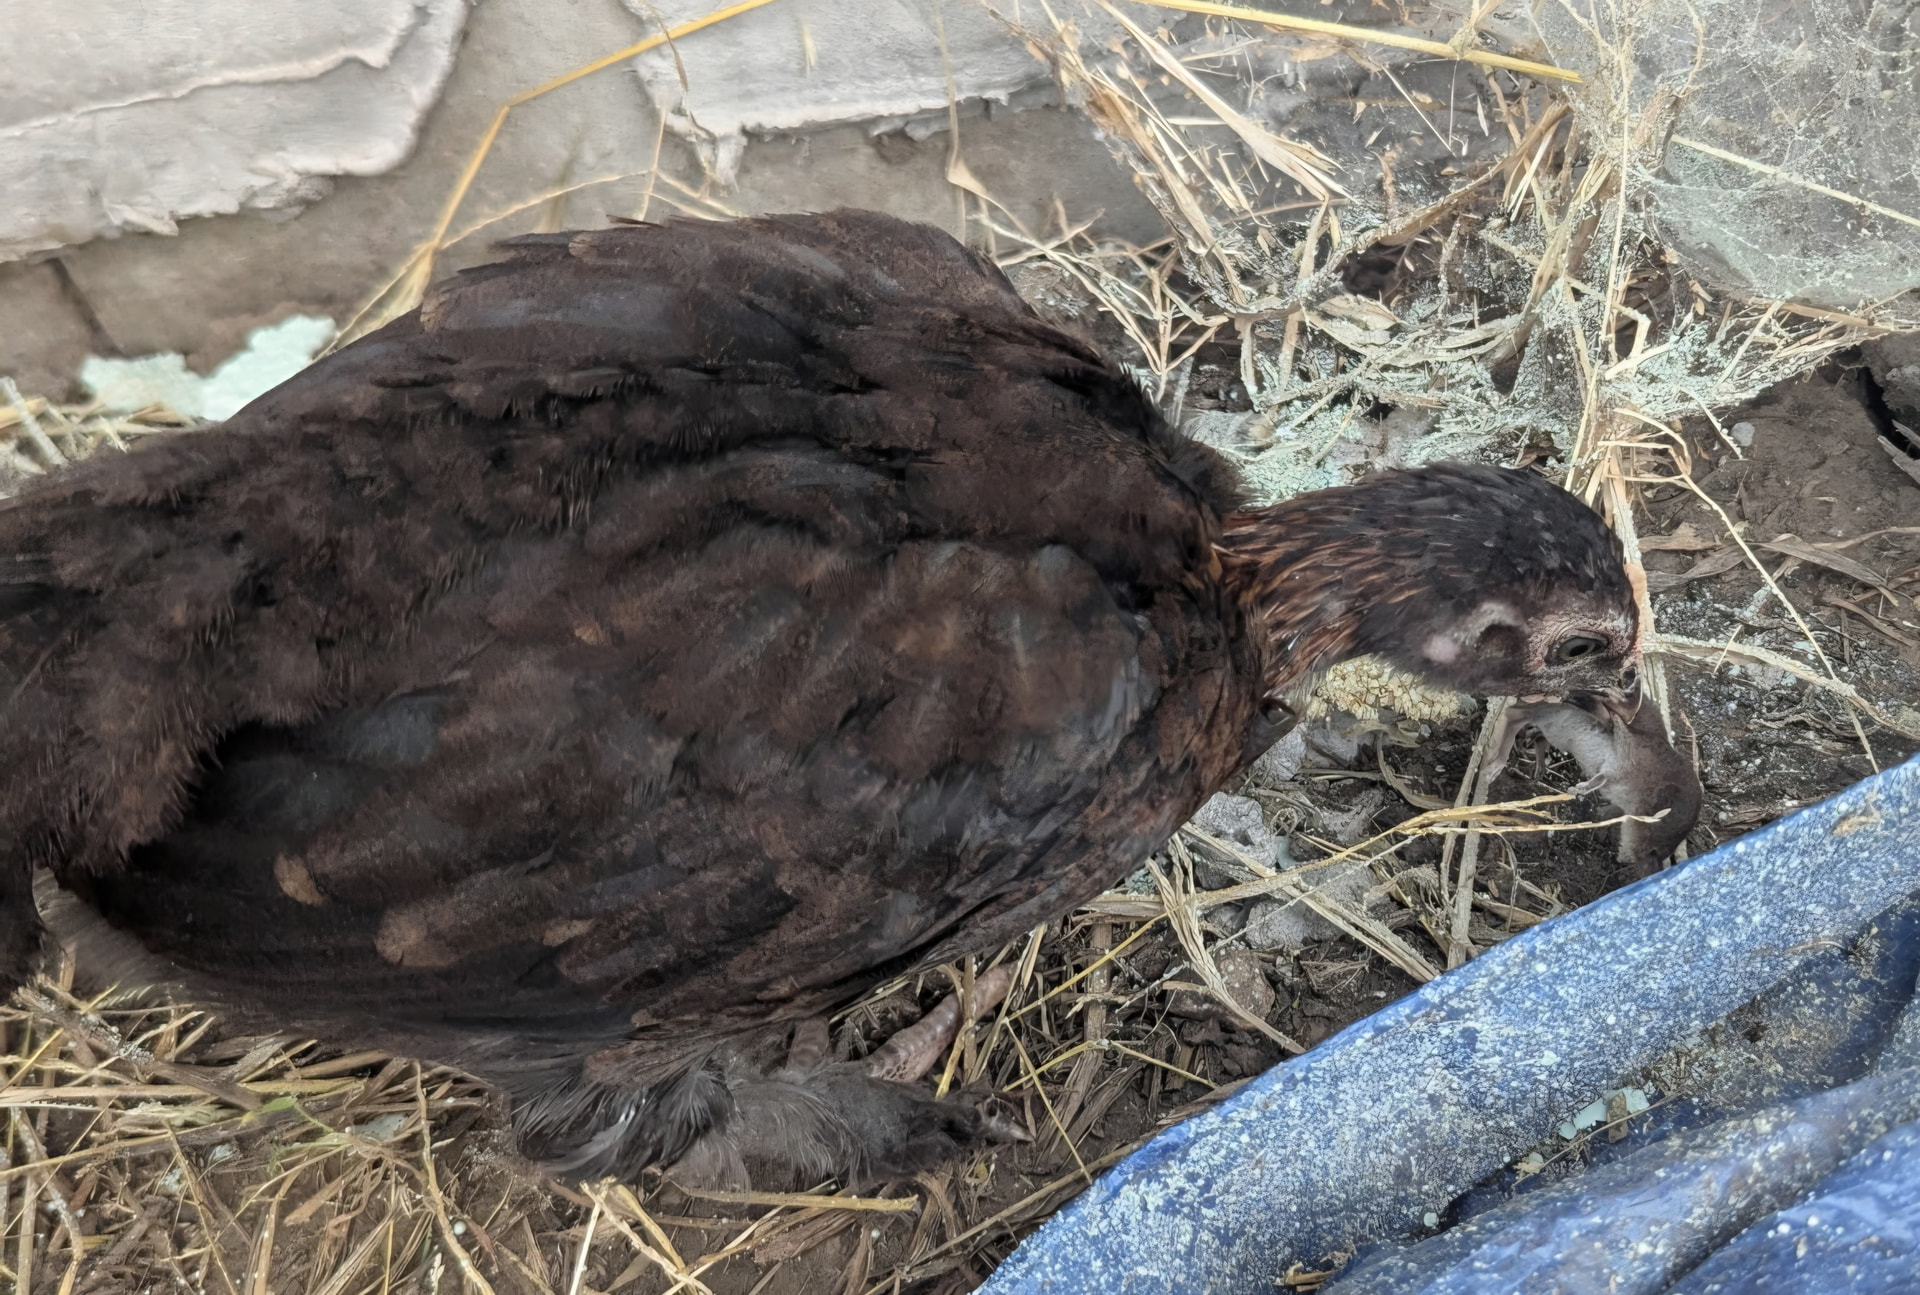
I also learned how useful chickens can be in a greenhouse. We had an infestation of flying ants in the front room that they quickly gobbled up, and then one of them found and caught a… baby vole?

9 Likes
Wow good job chickens!
4 Likes
Fantastic job on your greenhouse. Have you kept track of your costs, not counting your own labor. I save bundle by using my own labor but I am limited what I can spend on materials.
2 Likes
@poncirusguy I certainly can’t tell myself that I’ll be saving money by growing my own food any time soon. For a 72’ x 17’ greenhouse in the snow kit, we paid approximately $18k. Then our excavator told us the open air system wouldn’t be good on our land (we live on a river), so we paid another $5k for the closed loop system. Then throw in $13k in excavation costs (the dig plus the water line), $4k in materials (cement blocks, metal siding, electric wire), $9k in builder costs, $3k for insulation… and that first crop we pick is going to be the most expensive lettuce ever, ha!
So… even with some money saving measures (us building the retaining wall, my hubby doing the electric work), we’re already in $52k, and there will likely be at least a few more thousand in costs with the excavator coming to backfill around the base of the greenhouse and getting a plumber to fill the lines with glycol. 
11 Likes
Just make sure you know what you’re getting into with that Maypop. I made the mistake of planting one in my garden a few years ago and I’m still trying to kill it!
When established they grow really, really, really fast and big. They could easily take over your entire greenhouse. They also throw up root sprouts like crazy.
5 Likes
How do you feel about the width and length you went with now that you are on the home stretch?
I’m still idling in the planning stages for my walipini geothermal set up. Hoping to finalize it this winter borrowing equipment from work (I am the excavation + plumber + electrician)
3 Likes
Well… of course I’d LIKE it to be bigger (length-wise) in theory, but honestly for the time and money we had for it, I think we made a good choice. The width is great because it allows for raised beds on each side, plus trees in the middle. I’ll probably have more to say once we really get things going. 
6 Likes
Thankyou; I have 2 greenhouses, 1 is 8 feet by 3 feet by 7feet tall made from sliding glass doors and the other a 3 foot by 4 foot by 4 foot tall made from scrap windows. They go up in fall and come down in sprig. I grow Meiwa kumquats in both of them. I have spent about $100 and have yet to break even. top removed for summet.
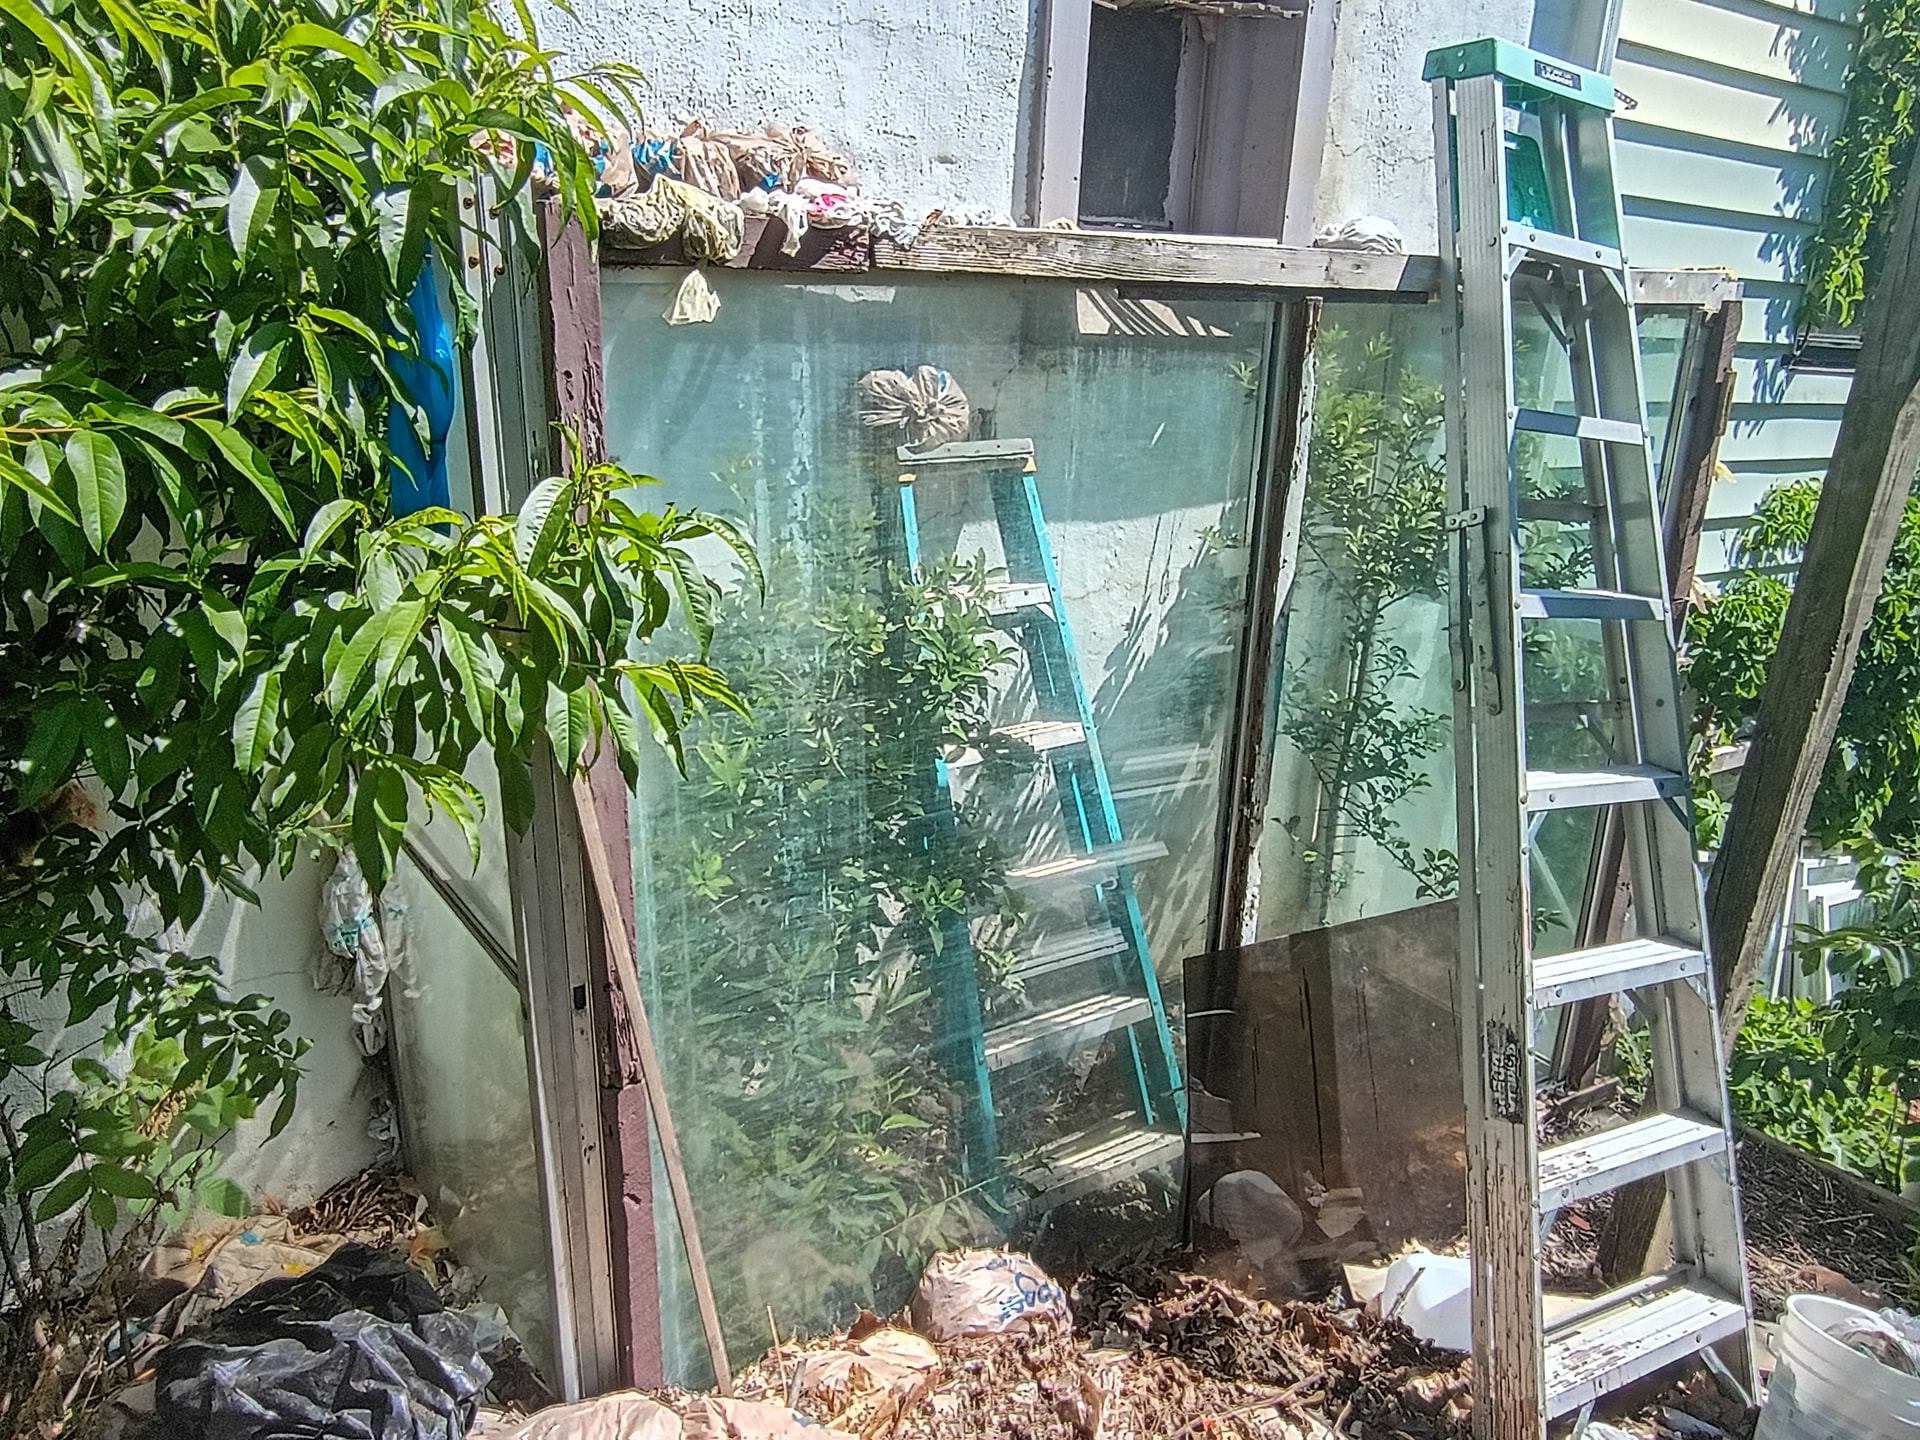
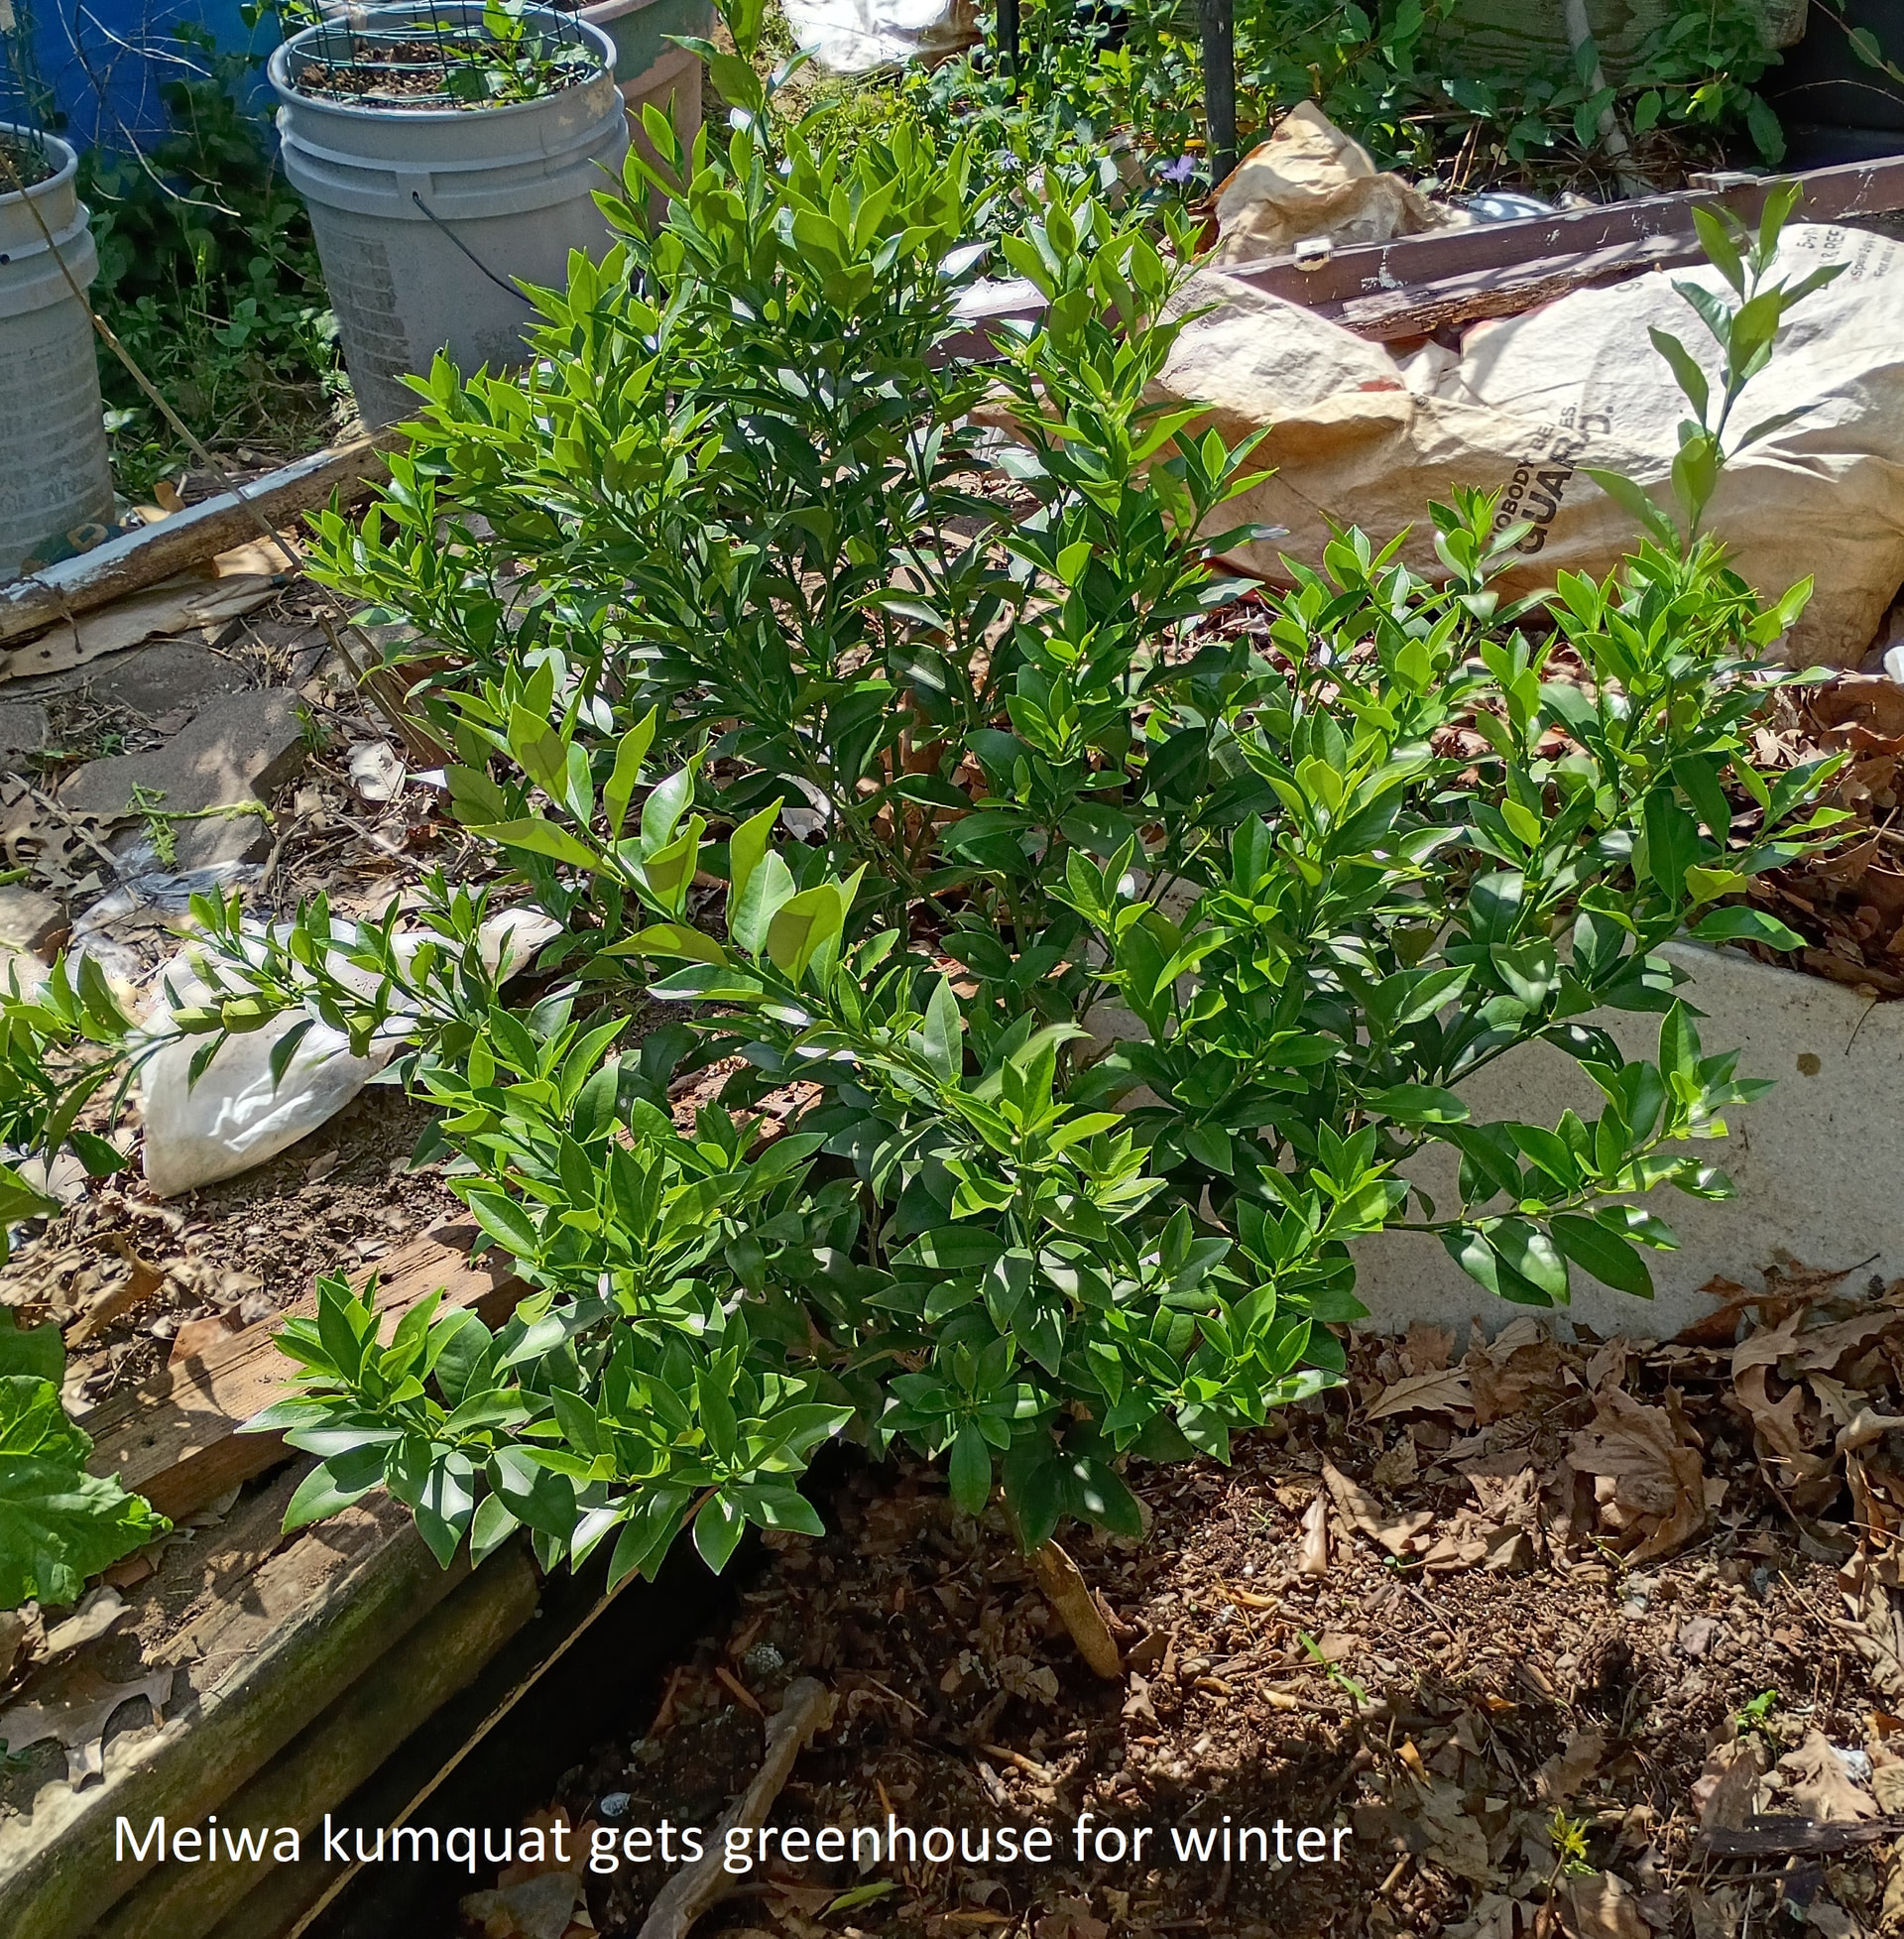
Hobbies are hobbies. Best of luck and skill with your growing project.
5 Likes
If you haven’t broken even yet, there’s little hope I ever will… but as you said, hobbies are hobbies.
I love seeing creative designs for greenhouses and ways to grow things outside of what normally grow in our zones. Hope your kumquat gives you a great harvest this year!
2 Likes