I hope I don’t get in trouble for doing this…
Konrad’s modified bark grafting
Konrad's modified bark graftingFinally!..I have some pictures together and should be self-explanatory.
Why is it different you might ask,…there are two angles cut instead of one.
For two reasons, first, I find it will match better, therefore a better take.
Second, creating a kind of well, where the sealant can run down the slope and making a better seal.
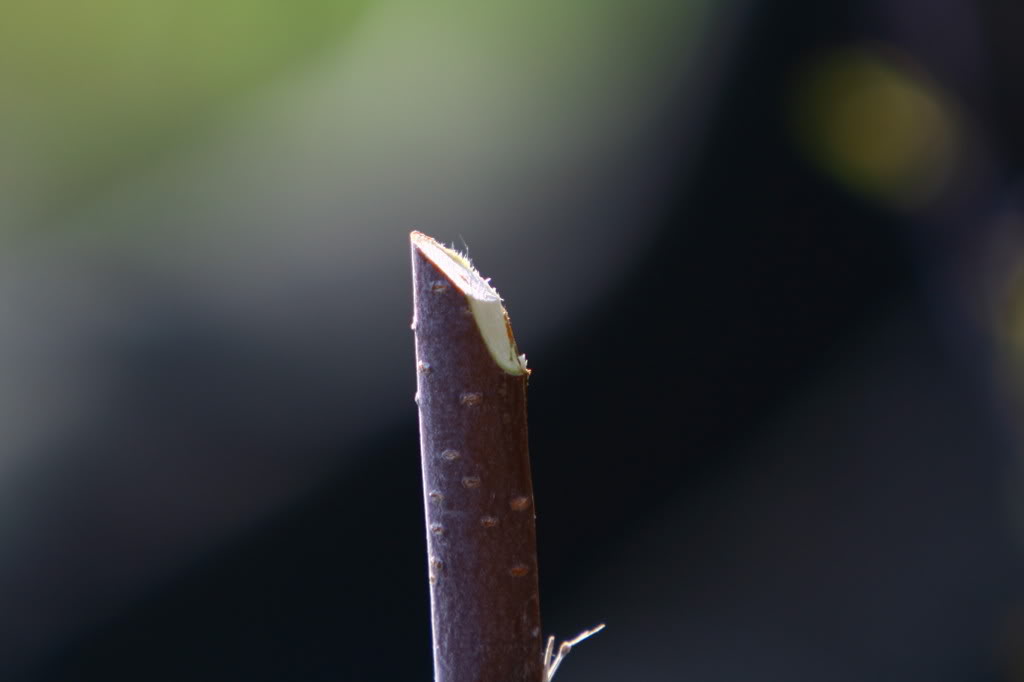
May 12 / 07 cutting the cherry scion wood, note: angle cut, and parallel cut.
…
Cutting the root stock, note: after the two angle cut, another vetical cut, here, it’s going down to
the bottom of picture.
…
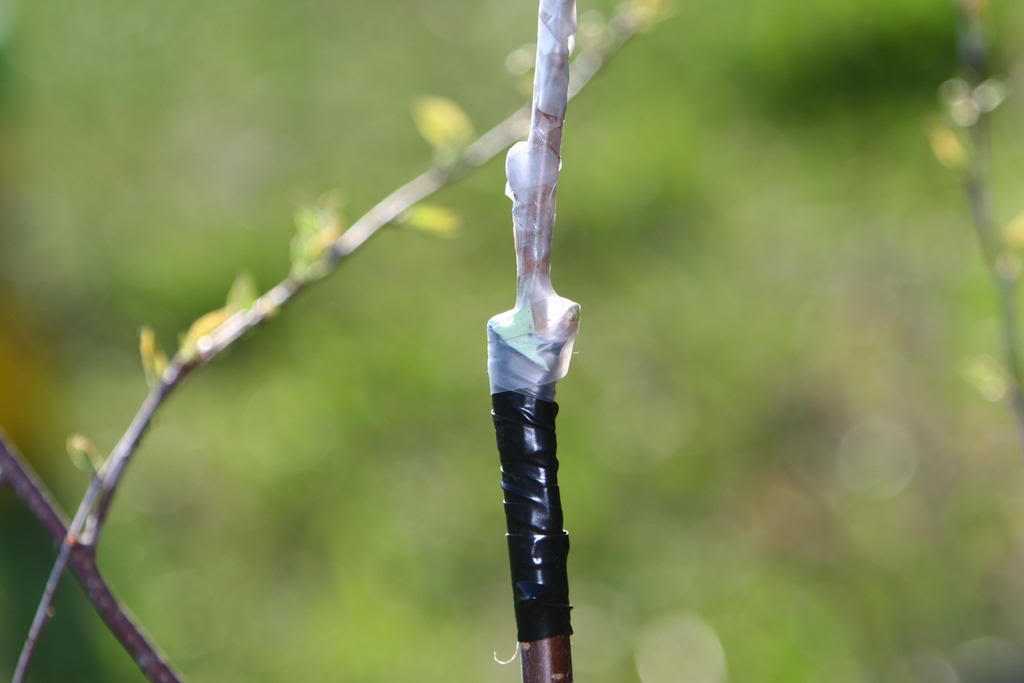
Joining, taping and sealing…
…
…
Note: The top angle cut, perhaps a little too much angle,… is helping tying the graft and helping for the sealant to run down
towards the graft.
…
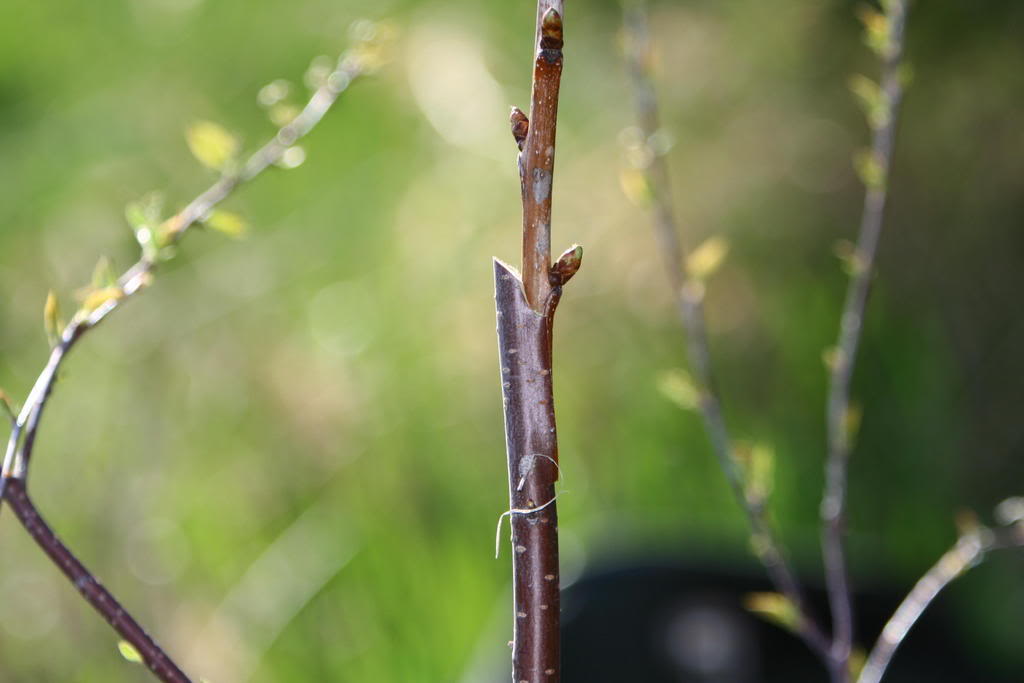
June 2 / 07
…
This graft is one year old…from another graft.
…
Konrad