I handed Tom my knife when he brought this method up during conversation. He was showing me a pawpaw cultivar that only has two buds on the end of each branch. And he showed me.
I’ve received graft wood from Jerry Lehman where Jerry labeled on the bags “enough buds” for your rootstocks. I had told Jerry in advance how many and what size caliper I had received. This makes a lot of sense when scionwood is sent stating there are enough buds.
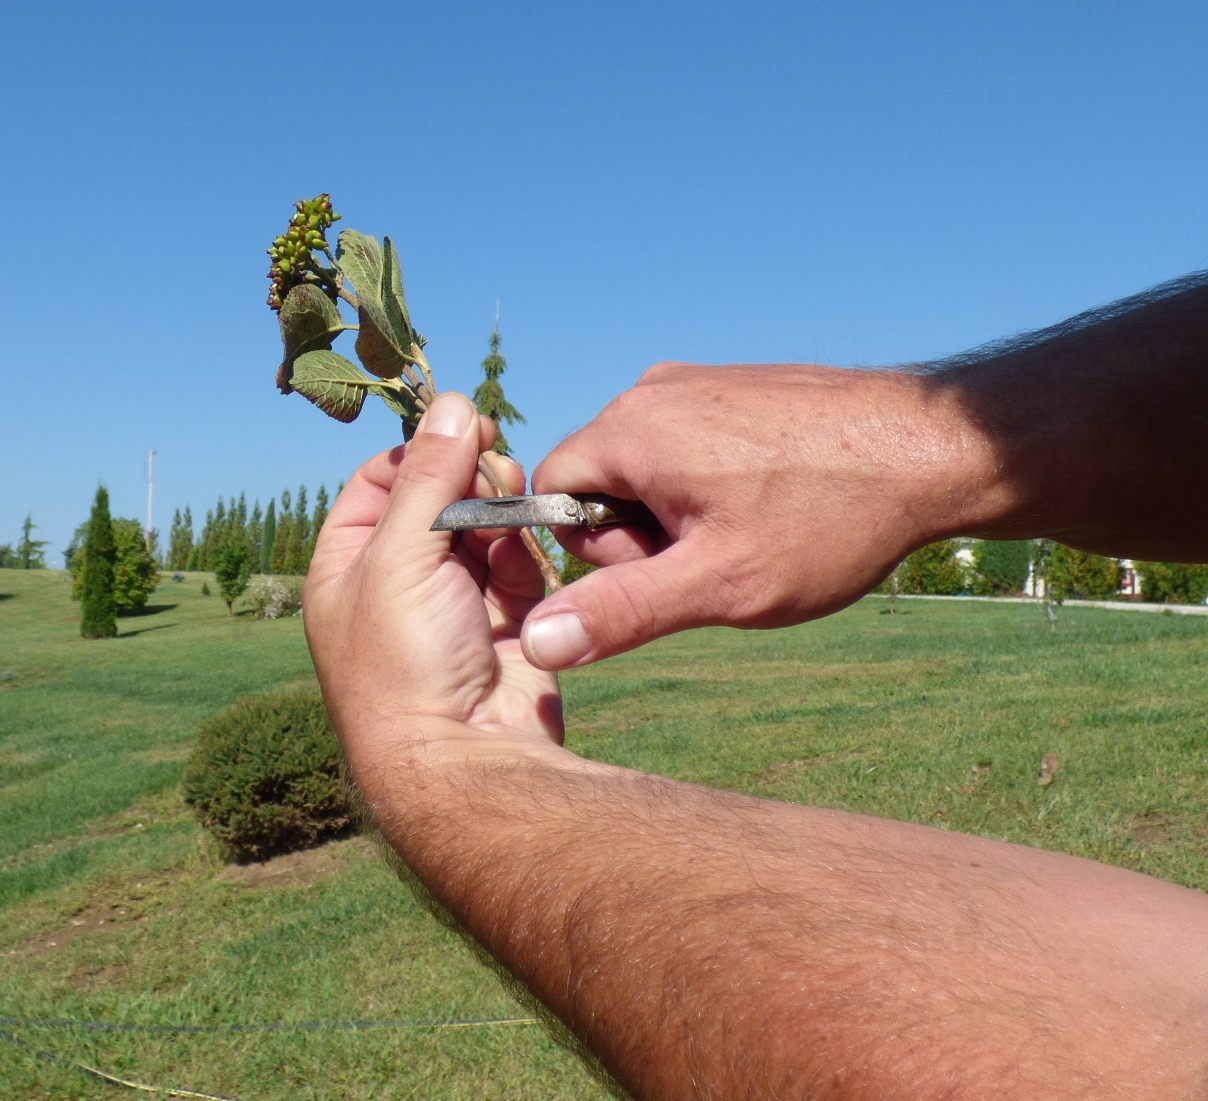
Here’s a demo I just did. Remind you that the bark is not slipping this time of year and the grafting will be done May/June or whenever you’re bench grafting say if you’re in a heated greenhouse and your rootstocks become ready during winter.
Your scionwood is always sent dormant. You are grafting dormant scionwood to rootstocks that are waking up: buds plumping and or their scales are splitting showing green or when leaves are unfurling or when small leaves are on your rootstocks.
For demonstration I simply used a viburnum in front of my house.
My scion:

Top of scion where bud is (buds in this case.) Ready to make my first angled cut:
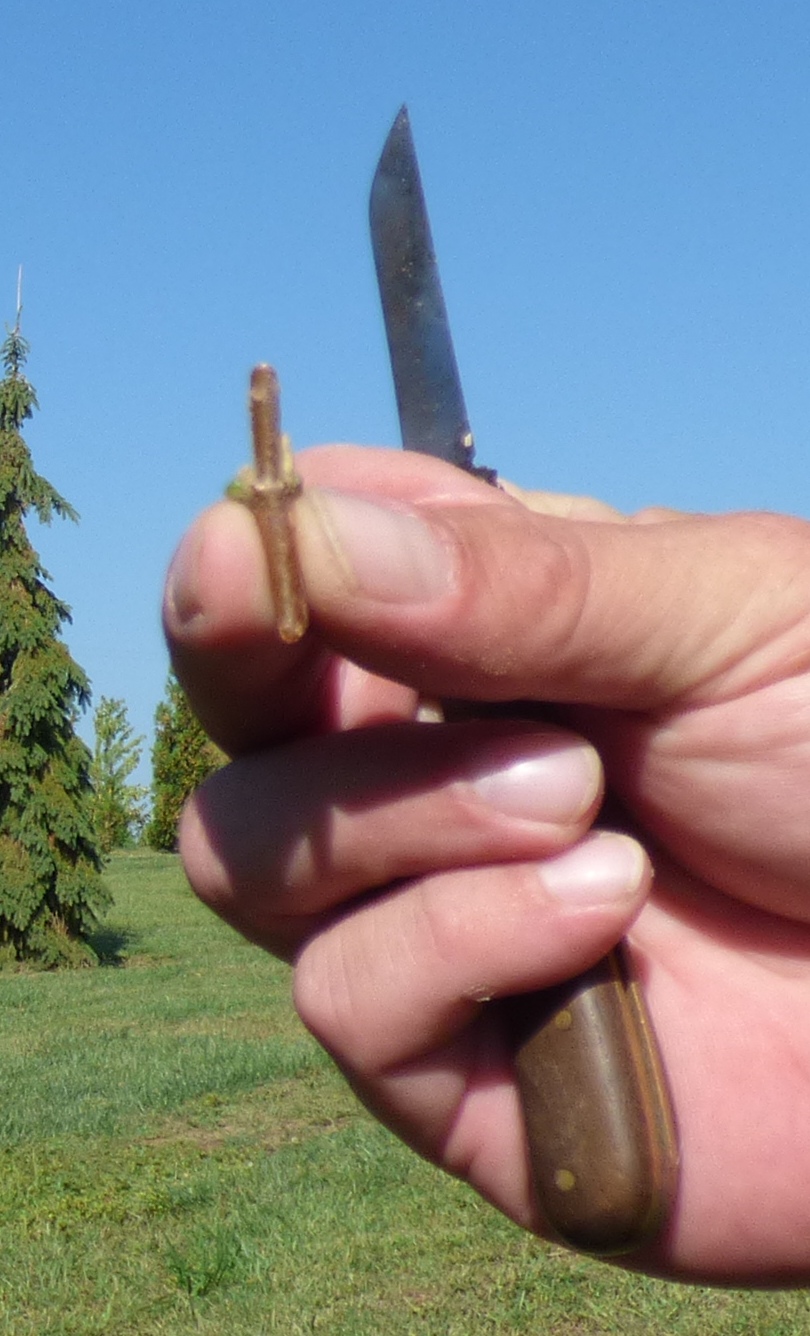
First cut:

One more showing first cut:

Bud we’re using is between these cuts
Ready to make the second angled cut. Scion is flipped over now:

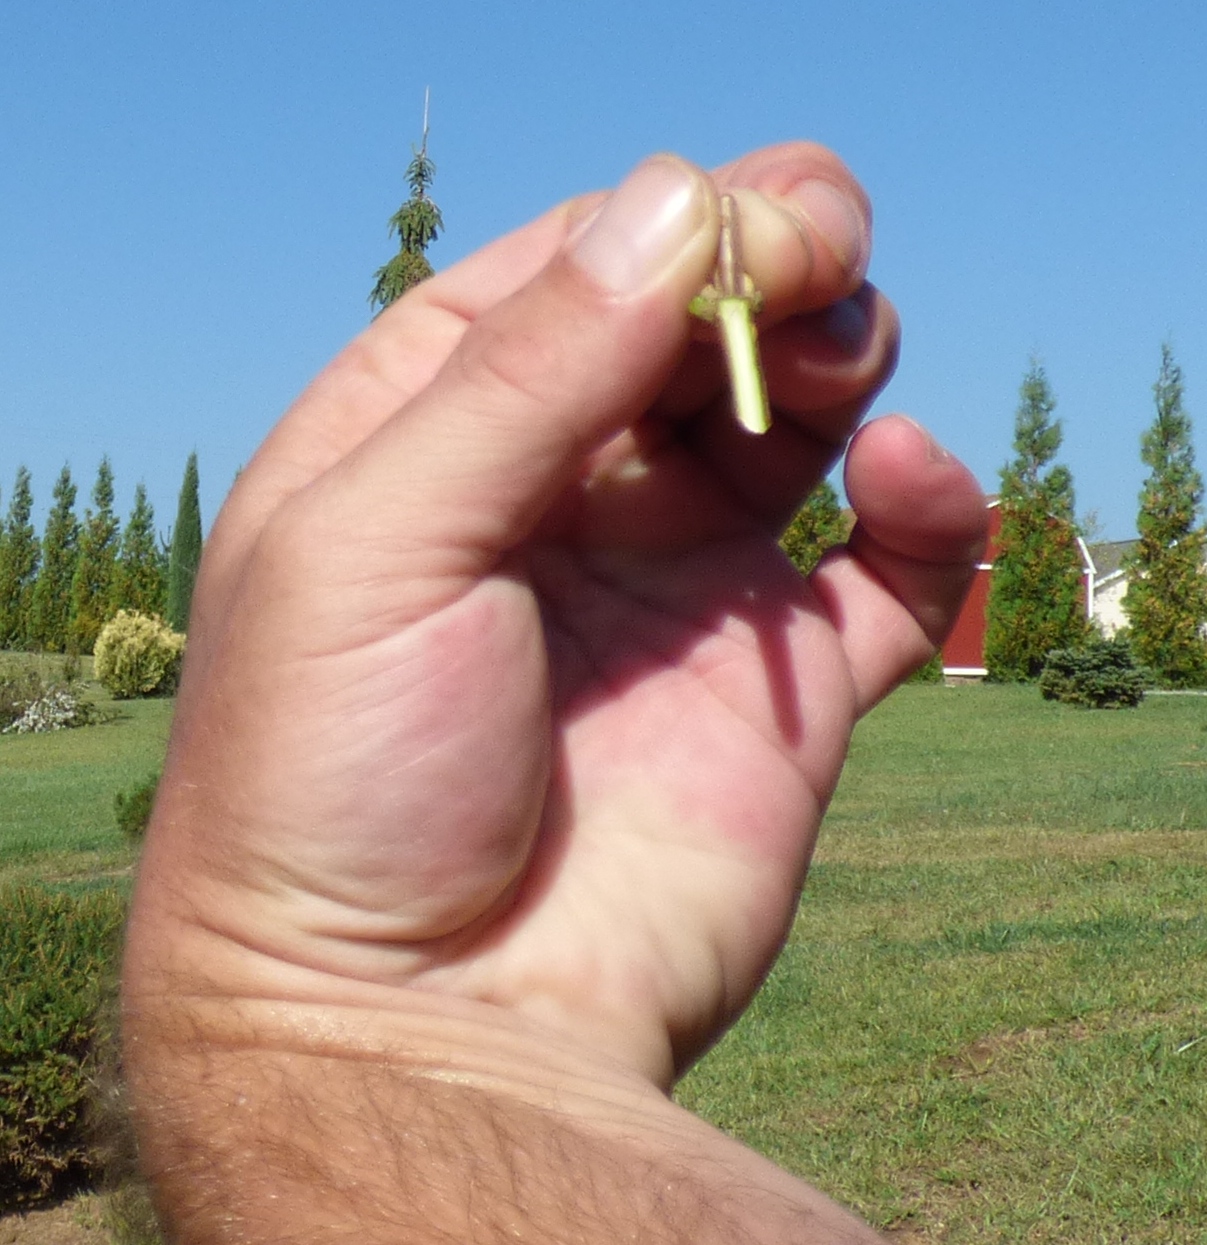
Showing you now what the scion looks like thus far:

first side of the top of the scion is finished now.
Now we will begin our two cuts on the backside. Here I am showing you the backside and then we’ll begin:
Now to make the first cut on the back. You start in the middle and do half now and the other half we will do the same way after I finish this cut. To make the second cut we simply flip the scion once again.
Here my knife is in the middle and I’m now ready to begin:

The first cut on the back side of the scion. The backside is what will lay flat against into the cuts we will soon make into our rootstock:
I flipped/rotated the scion and will now make the second cut again beginning in the middle of the scion:

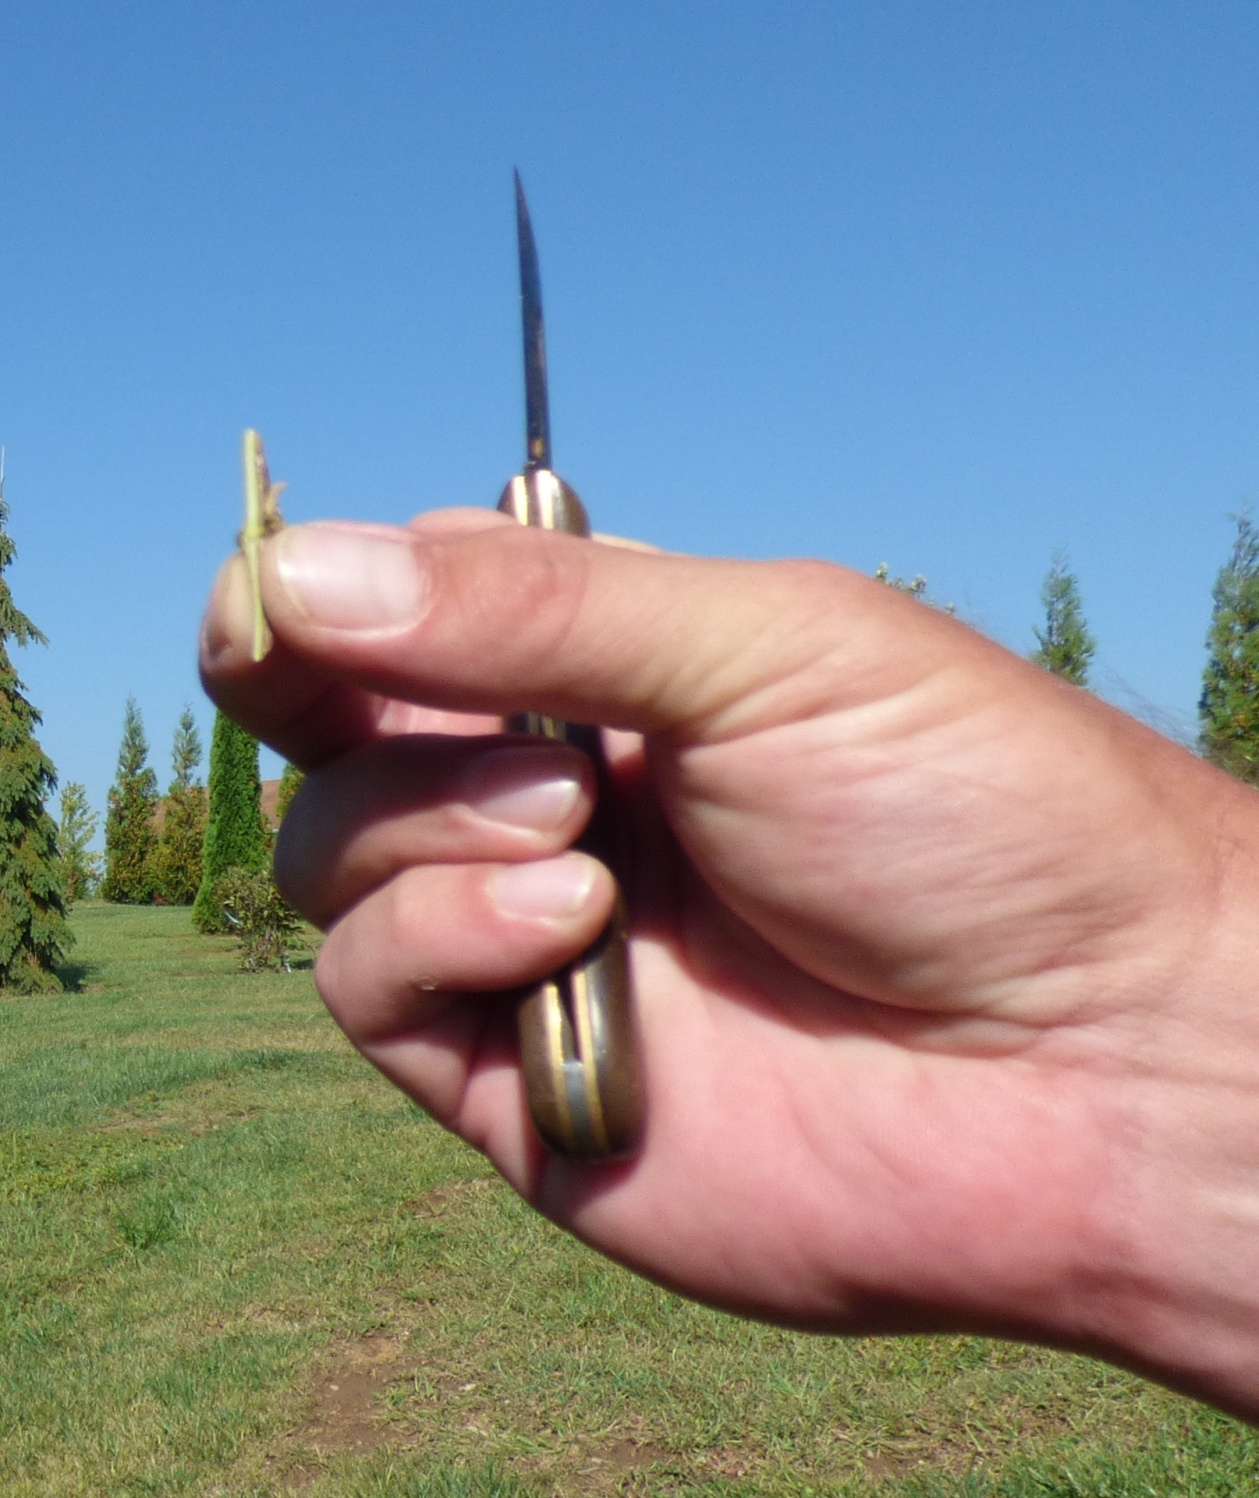
Here I have completed the second cut on the back of the scion. The scion is now finished:

One more view for whatever purposes of the completed scion:
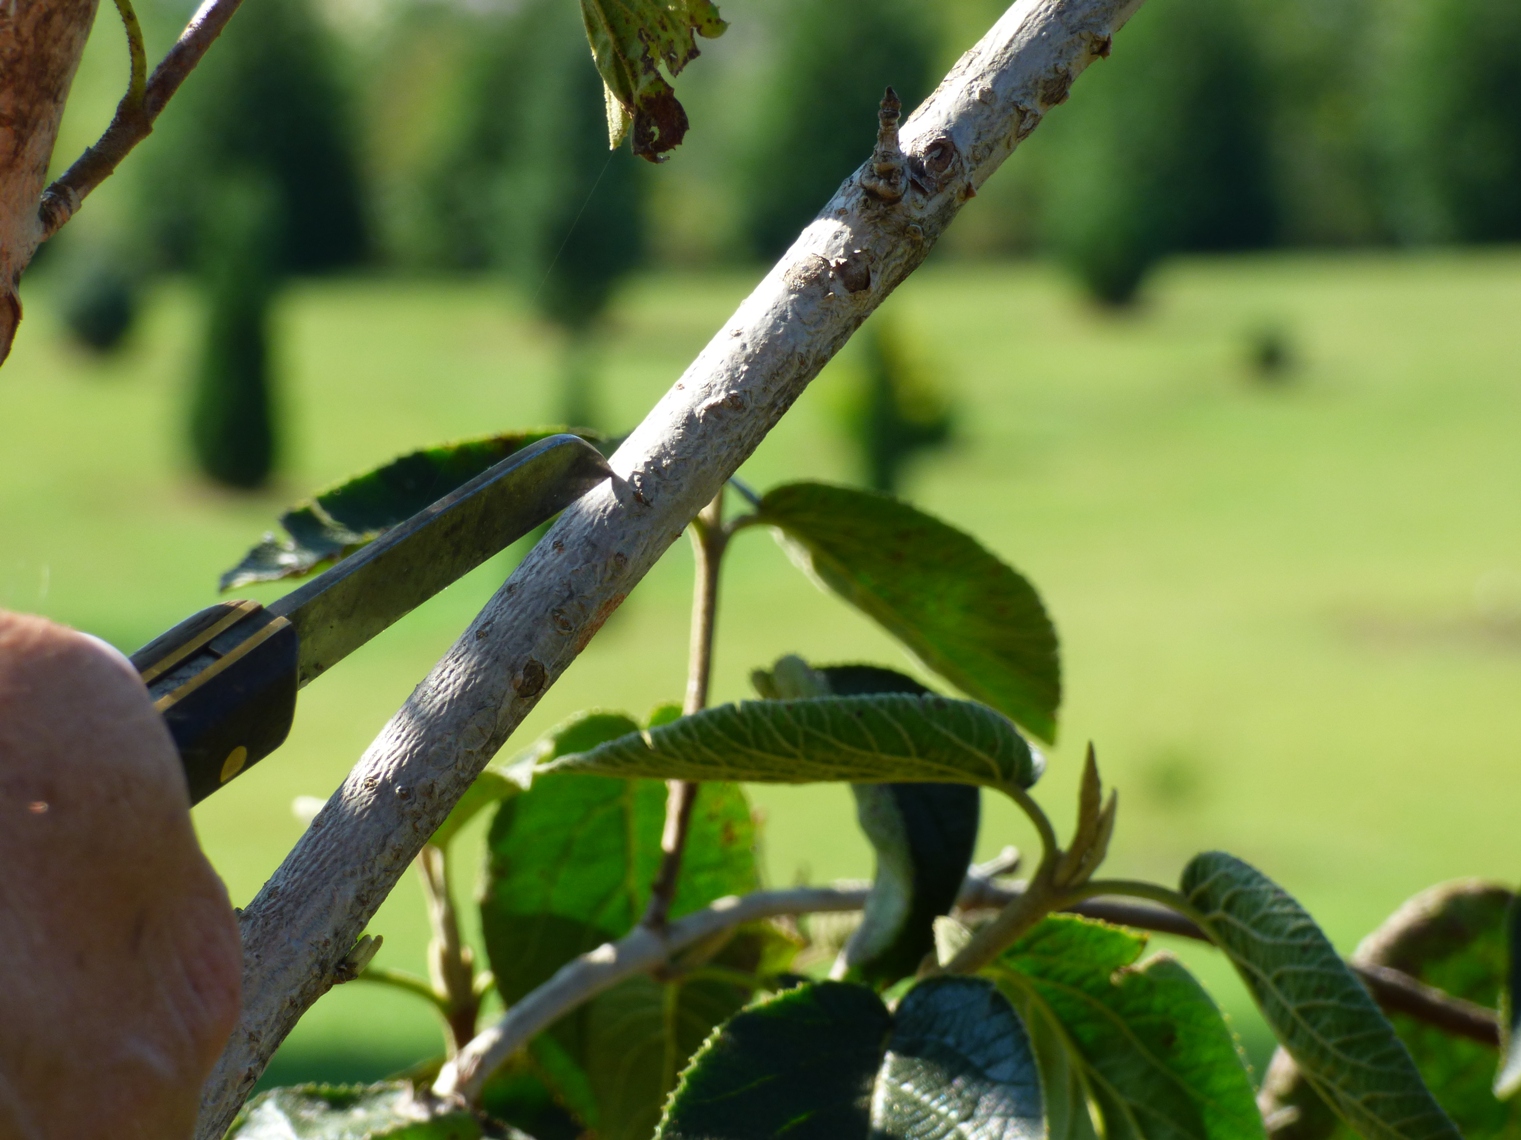
Cutting into the rootstock.
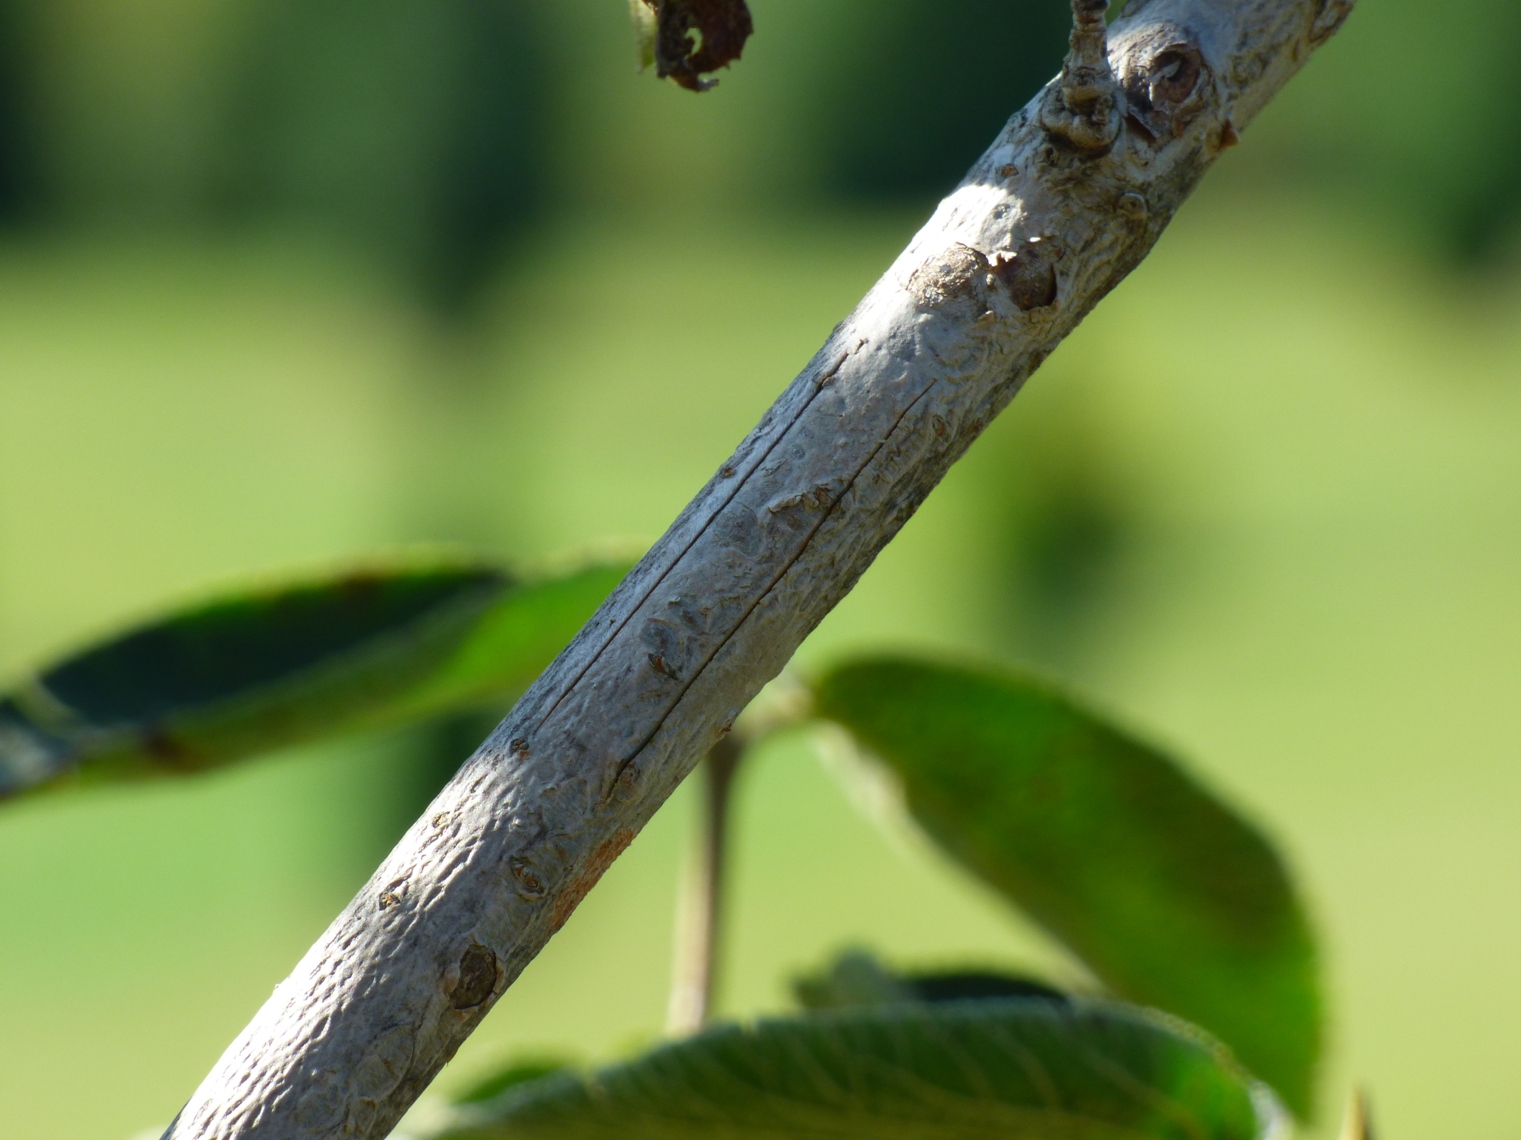
I have chosen where I will insert the scion in advance. I knew this before I began doing anything. Here is the branch I have chosen to insert the scion into:

I’m ready to begin:
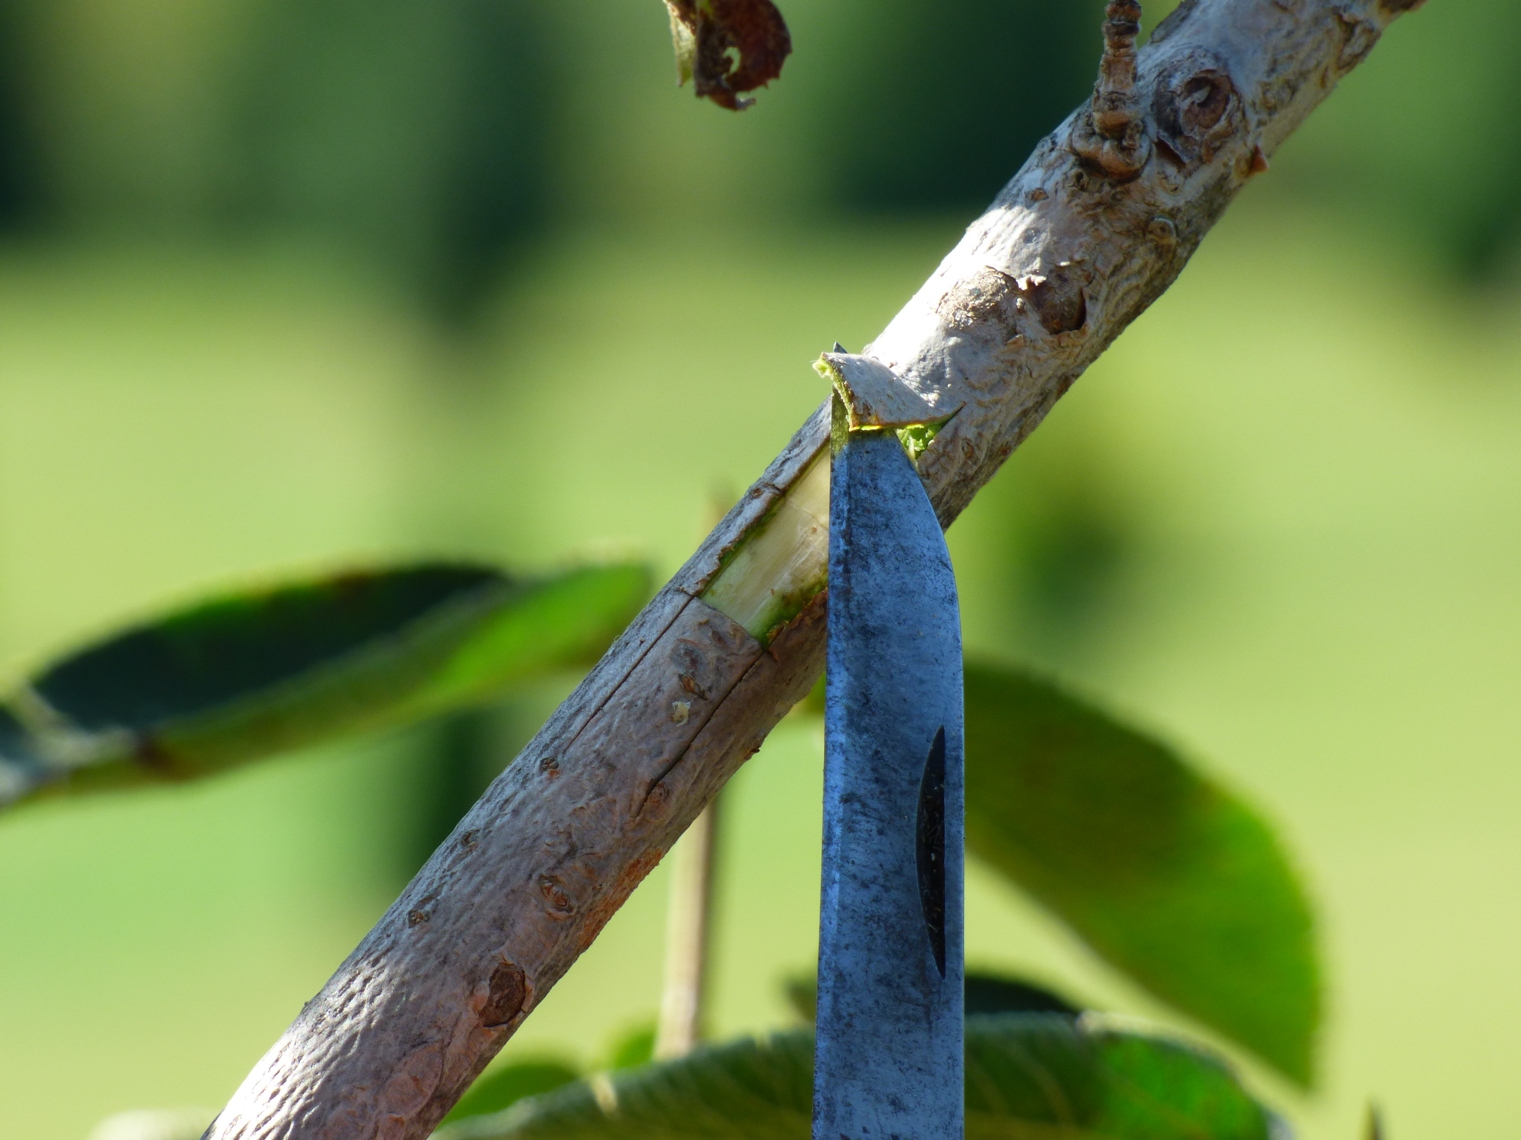
My first cut which is simply a straight line:

My second cut which is simply another straight line. You know the width of your scion and what width you will need make your cuts on the rootstock. It’s fine to make the width on the rootstock slightly wider. It’s actually easier if you do:
I eyeball the length of the scion and then eyeball my cuts on the rootstock.
Now we’re going to make the first cut to cut out the center where the bud on the scion will be exposed. It’s the bud that’s going to take over and produce the desired tree. The reason you are grafting in the first place. Roll the knife back and forth on the stem to achieve this:

Look at your scion again and see how much needs to be cut out of the stem on the rootstock where you’ll be sliding/placing the scion into… using the same rolling motion with your knife:

Now use your knife or a knife with a bark slipping tool and remove that center:

The center is now removed:

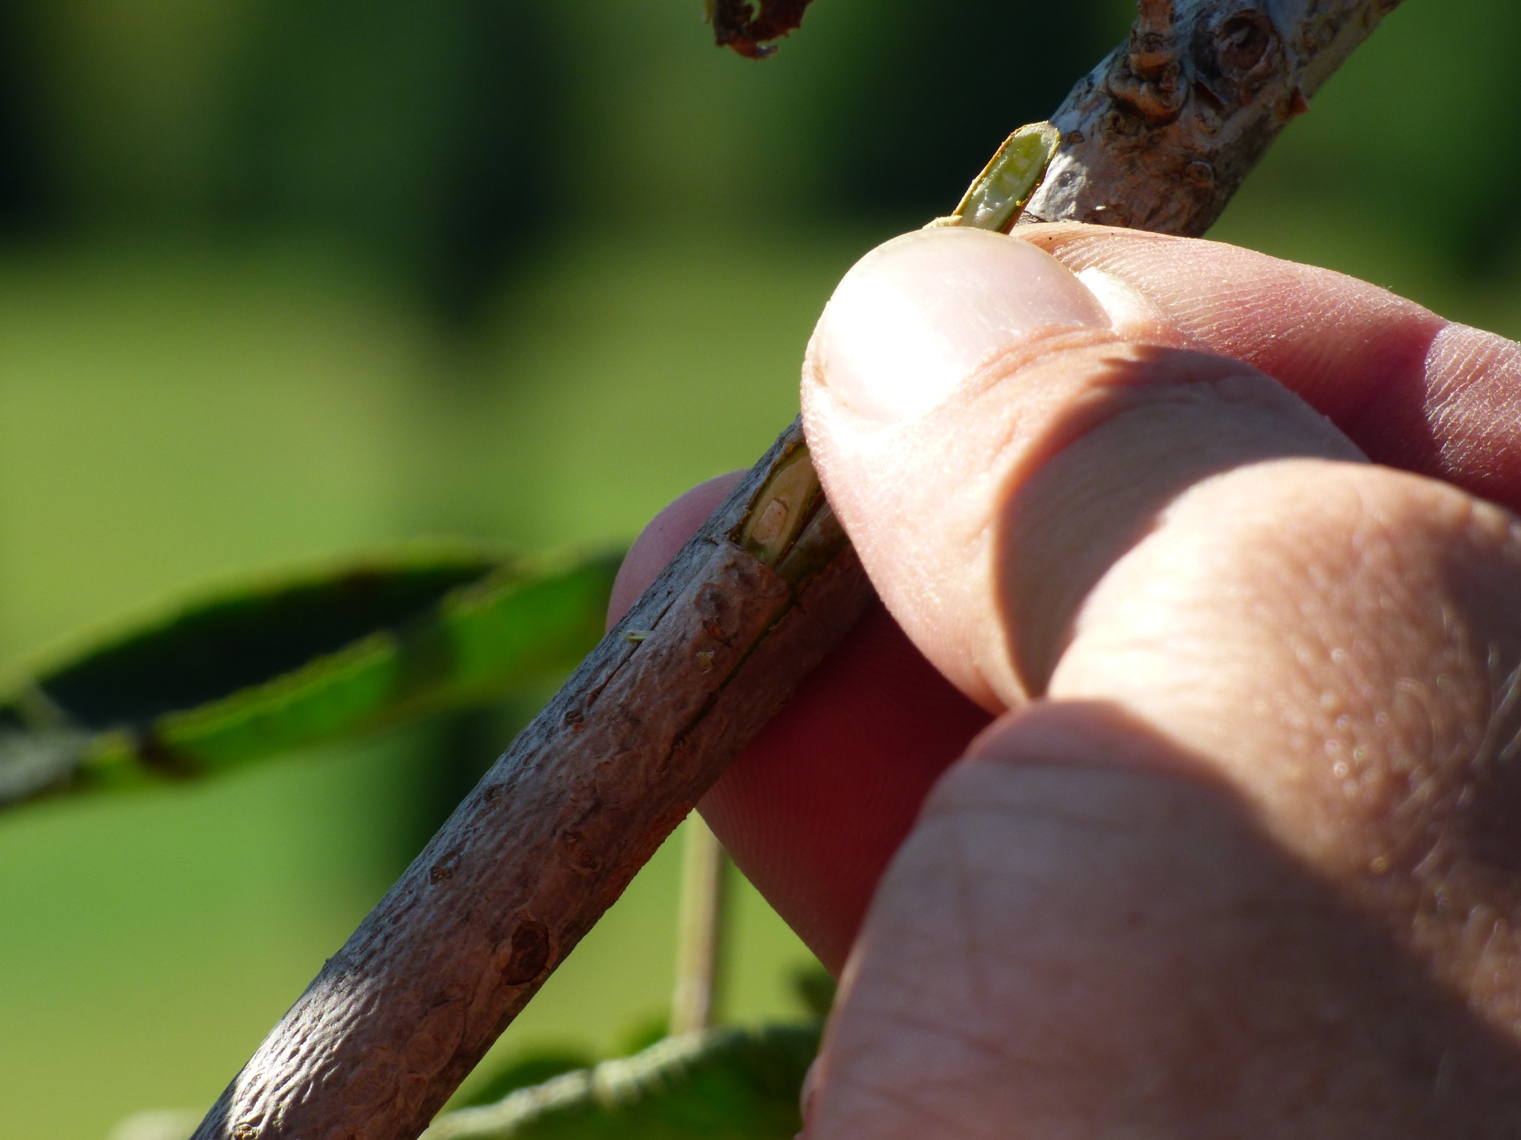
Lift up the “flaps” with your knife or a bark lifter on a knife. I use my fingernails to get them started even though it’s said oil on human skin is not a good thing. It’s never made a difference for me or others I know that use their fingernail and touch the cut areas of the rootstock or scion. I’m just telling you this if you don’t have a bark lifter and aren’t that comfortable using the tip of a knife to lift these. I used my knife but I had to because the bark isn’t slipping this time of the year:
Lift up the bottom flap to prepare the rootstock to receive the scion, next:

Insert the scion. Now you should be beginning to see why those first angled cuts were made when we first began. Those angled cuts are now making contact under each flap and will grow together (callous) with the rootstock stem. And, the flat cuts you made to the bottom of the scion which created one long cut will also mate up (callous) to the stem/rootstock the same way. It’s all about surface area contact:
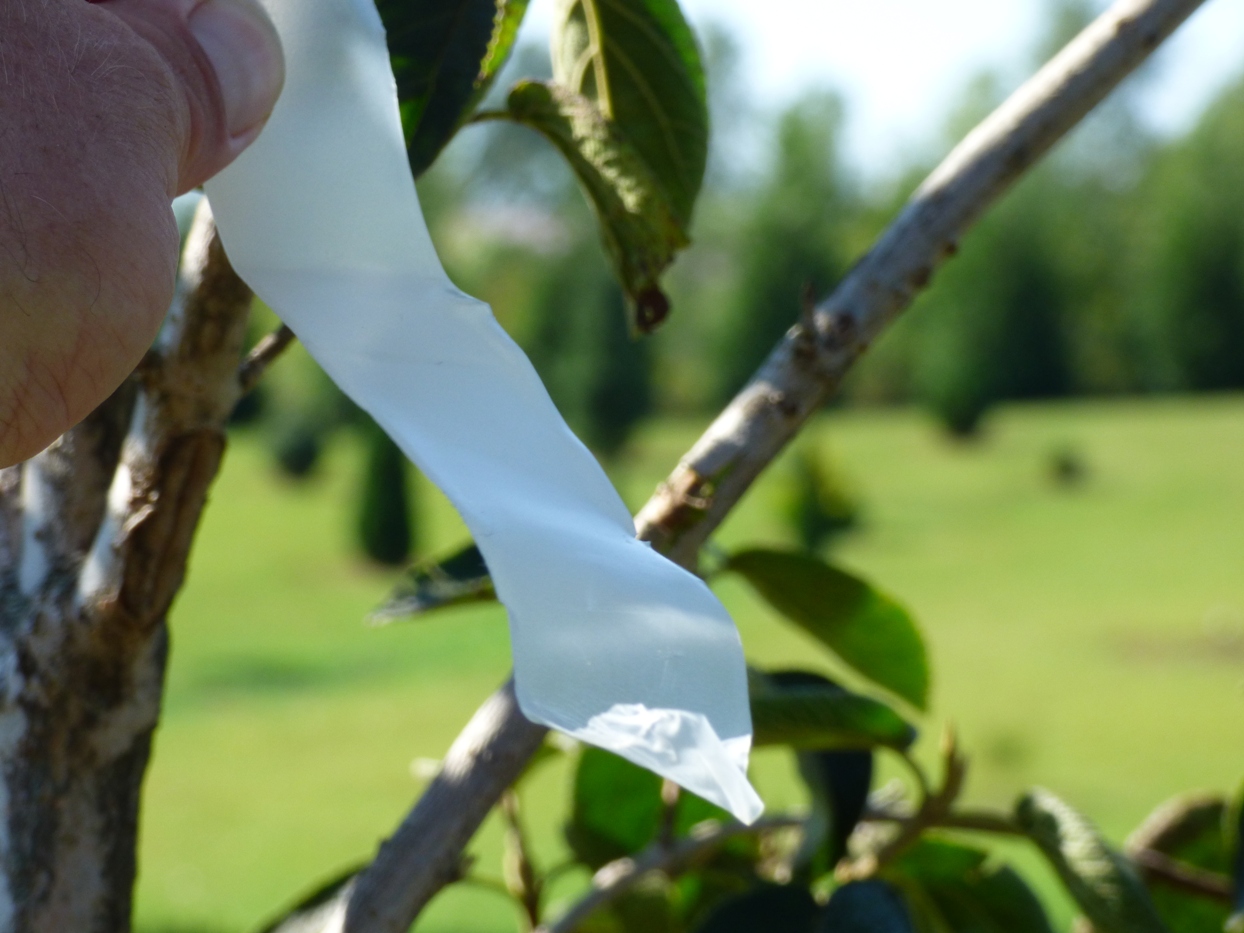
Here the scion is fully inserted and we will begin to wrap with parafilm or buddy tape to hold the scion in contact snugly to all portions of the rootstock:

Grab some parafilm/buddy tape. We will begin wrapping and not wrapping over the bud until the very end. You will want the flaps and scion completely covered for now leaving the bud exposed while at the same time applying enough pressure that you are certain there are no gaps/bridges anywhere between the scion and rootstock when held in place:
I’ve started above my cuts on the rootstock and have sealed the top half. The scion is snugly-tight and held in place on the top half at this point:

I’m now going to pass the bud and begin to wrap the bottom half in place snugly into place. We will finish the graft passing over the bud at the very end:

You see how I went under the bud passing it above.
Now to wrap the bottom half so the flaps and scion are all in tight/‘snug’ contact:

Continuing wrapping to get a snug fit so there is contact on all sides of the scion between the rootstock. There will never be any gaps when you attach your scion to the rootstock:

I’ve passed the bottom cuts on the rootstock sealing anywhere there was a cut, and have now returned heading toward the top again of which I will finish the graft by passing over the bud:

Now to go over the bud and then squeeze with your fingers the grafting tape so there are no loose portions anywhere. The tape sticks to itself and stays in place. You’re just doing a final feel of all the places the tape made contact either with the wood or the tape itself:
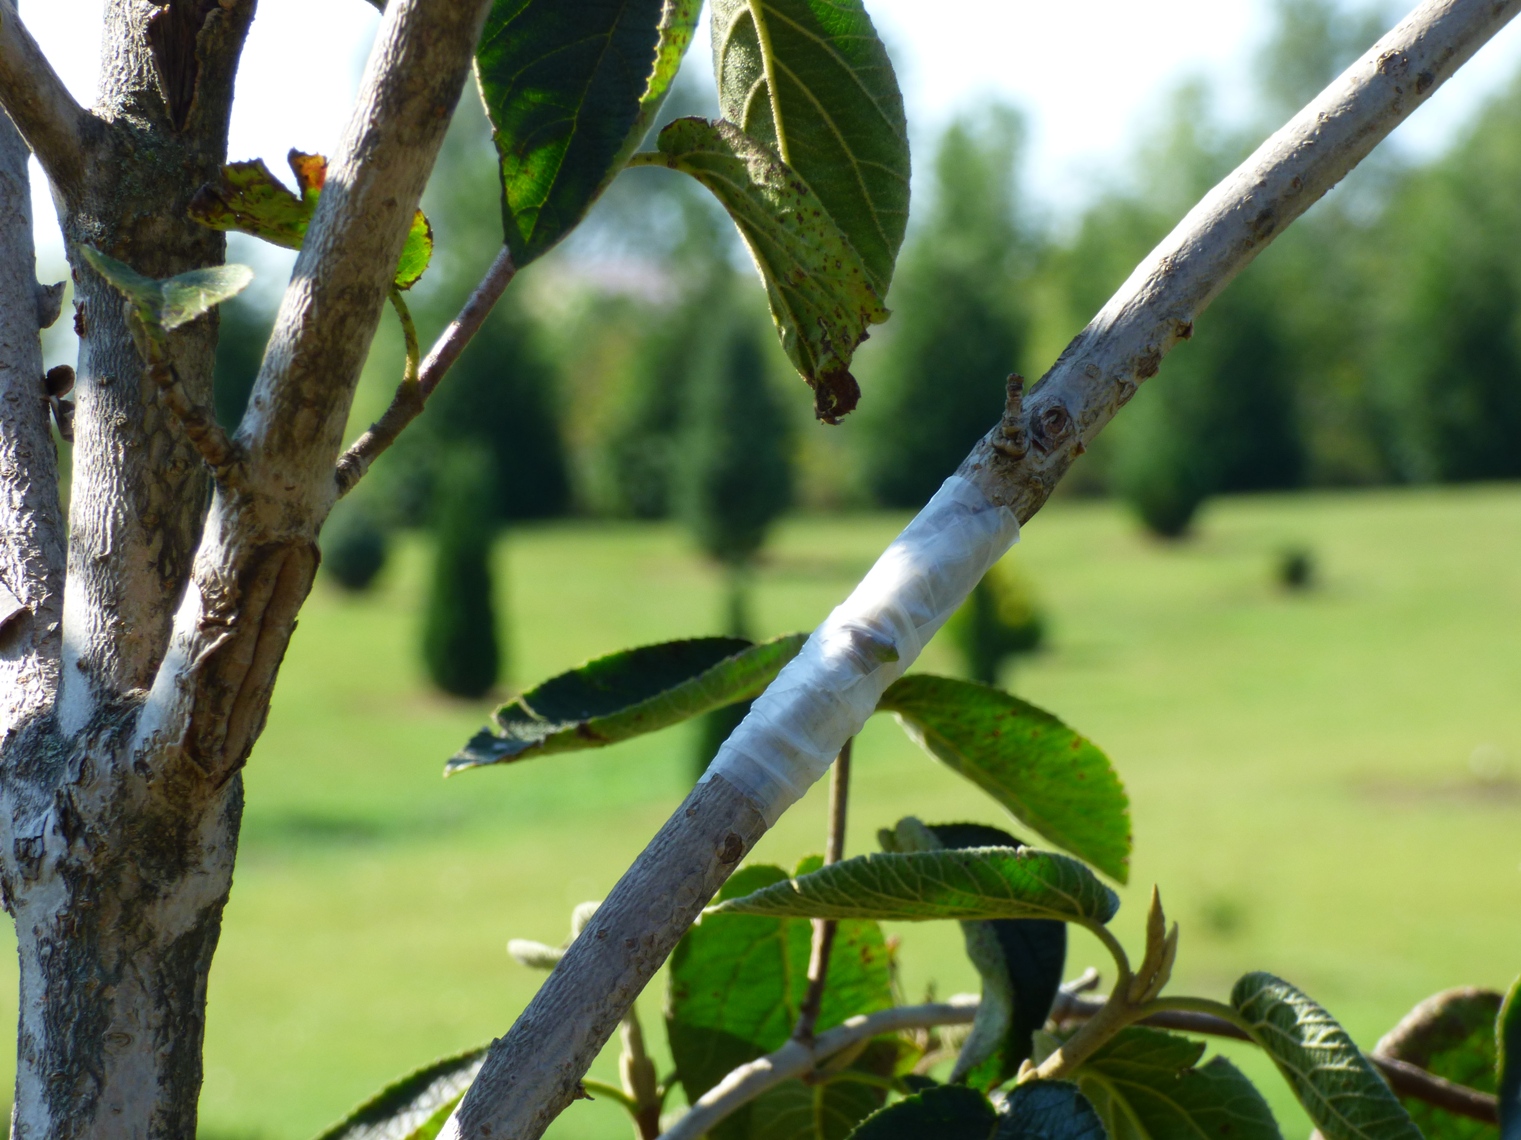
Graft is completed.
A close up:

Dax