Which variety is the one with the most roots?bb
I don’t think it has an official name. The way it was described to me was a newly found (in Ohio) black fig from Lebanon.
All 3 of the cuttings from that variety grew roots like crazy…
Are they the Reservoir ones?bb
No, those (Reservoir) are Italian ones found in CT. The Lebanese were cutting sent to me after I sent out the Reservoir prunings.
Bob,
It really depends on the varieties. I also had some that produced roots in 2 weeks, while others took 8-9 weeks to root.
Most of the times they come from the areas we scored, but the scoring is just a means of introducing the hormone inside the tissues, so it can reach the clumps of undifferentiated cells more quickly.
The greater density of roots should come from near the node. That’s why i cut the bottom to approach it to the nearest node. I don’t like to have much of the cutting below the node, as it can later die and rot in the pot.
Also, one of the reasons for low density of roots in the scored areas can be because those areas are dying as they are much more exposed (i don’t like to score too deep). And that can happen because of excessive moisture.
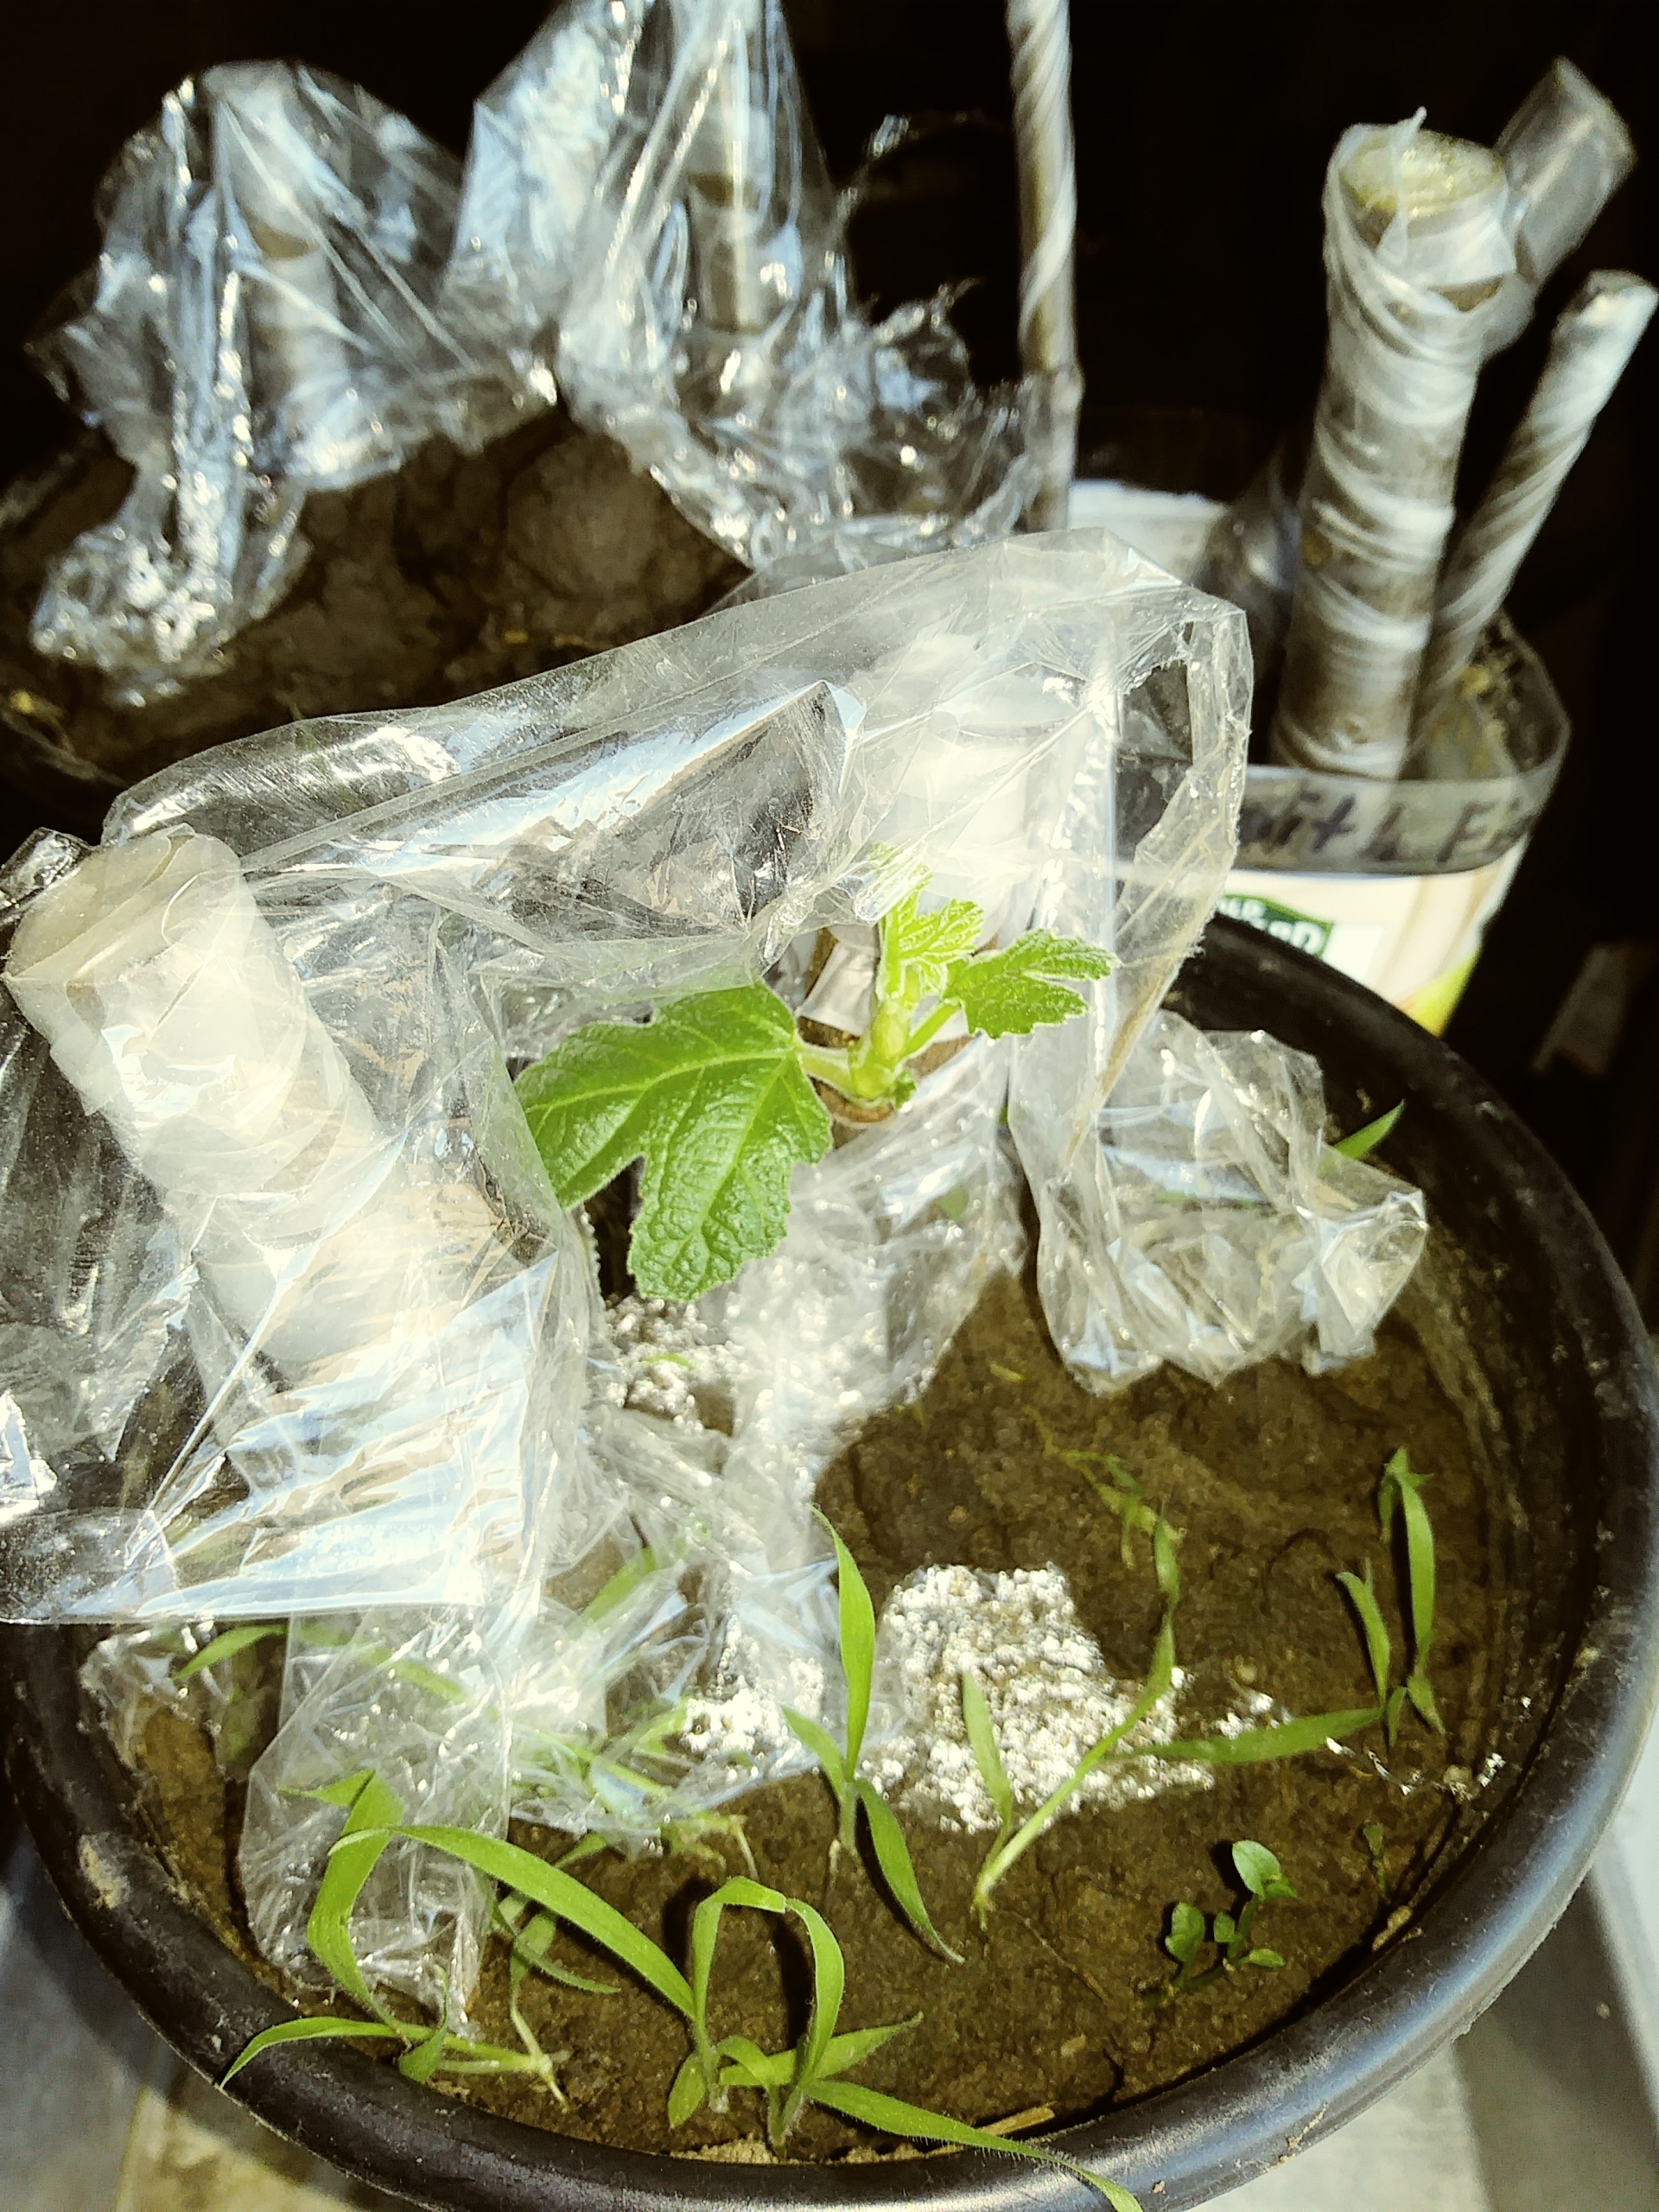
I can’t precisely tell from your photos, but it seems that your coco coir has too much moisture. It really isn’t needed when rooting in coco coir. I usually let my coco start to change color from drying and only add water at the base of the cuttings.
Usually, i have no problem in checking the cuttings for roots and even repositioning them in the coco, according to their development. It has to be a little dry to do this and you should use a tool to lift the cuttings and shake the coco out.
In your photos of the cuttings in the bags we can clearly see lots of spots of fungus mycelium starting to infiltrate the cuttings. That happens a lot more with other methods. Even when reusing the coco coir without doing anything to sterilize it, fungus are not a problem (for the cuttings i rooted in the last video, i reused the coco coir that has been sitting in that box for a year, and i was amazed as i didn’t get a single fungus mycelium (usually they appear on top of the coco, near the cuttings (were they are easily removed) but can’t infiltrate them because of the parafilm.
When those hyphae penetrate the tissues inside the cuttings, they start digesting the cells and the cuttings starts to rot in those spots. I would try to remove them.
3 Likes
It does seem pretty variety dependent. In addition to the coir, I did one fig pop for each type (and extras for the variety I had locally). The first one to start rooting is the same one that rooted in coir. It’s a bit behind, but it isn’t in as warm a spot. Maybe 72-74 vs mid-80’s.
I checked it again today and found one more has rooted. This one looks like all the roots came from one of the scored areas.

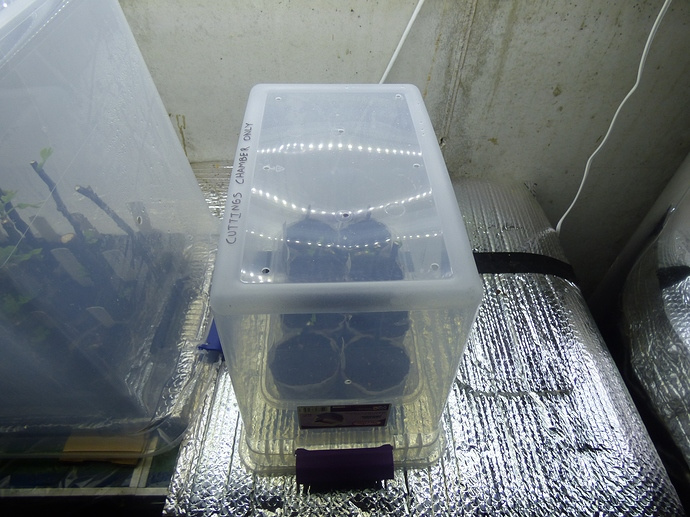
I’m glad you mentioned that- I was thinking about adding more water. Each time I open it, there is a lot of condensation on the lid, some of which is lost. I had a bit of a mess on the ground this time…
Yeah, I don’t see myself doing the bagging with paper towels method again. At least not the way I have so far. Maybe with a bit of coir at the bottom it would work better…
I’m continuing to get more takes on the cuttings I potted up ~42 days ago, after wrapping the tops in parafilm. I found roots on 2 more today, bringing the total to 6. 50% is already much better than I’ve gotten in the past, so I think the parafilm helped quite a bit. 5 of those 6 are the Reservoir fig that I sent out cuttings of earlier this winter, so that is good news for others who are attempting to root it.
2 Likes
That is really nice yall! I am now planning to try this method when i get some new varieties! Ive wasted some z6 hardy cuttings this winter already that i was really hoping would take, i think my rate is about 25% sticking them in a pot of dirt in my window this winter… I just lately added parafilm or plastic wrap to the mix… Glad for something though on this Sunfire!
2 Likes
Dip n’ Grow + Pro-mix + Bottom Heat + Consan 20 Fungicide + Grow Bags + Humidity Dome
Dip n’ Grow
1:10 for softwood 5-10 second dip
1:5 for hardwood 5-10 second dip
Consan 20 Fungicide/Algaecide as fuzz/mold shows up and I spray about once a week all surfaces of the cuttings/leaves for preventative as well as the media. I drench the media pretty well.
Consan 20 rate is 1/4 teaspoon for one of these generic spray bottles from any Wal-mart or Dollar Store:

I’m getting 95% or better rooting of figs and this method works for rooting any hardwoods/softwood/semi-hardwood. For semi-hardwood I use Dip n’ Grow at the 1:10 parts rate and definitely 10 seconds.
Cuttings are scored on each side of a bud. These figs I scored 1.25" / 4 cm
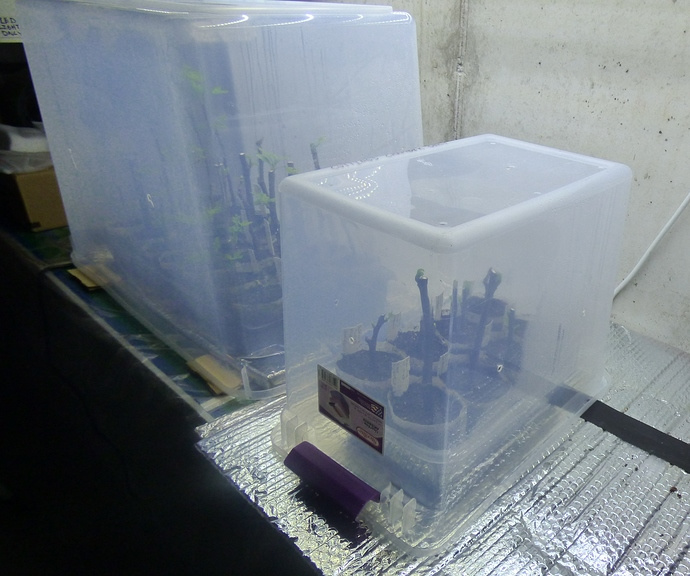
Clear plastic bins I drilled two holes on each side and eight holes on the top.

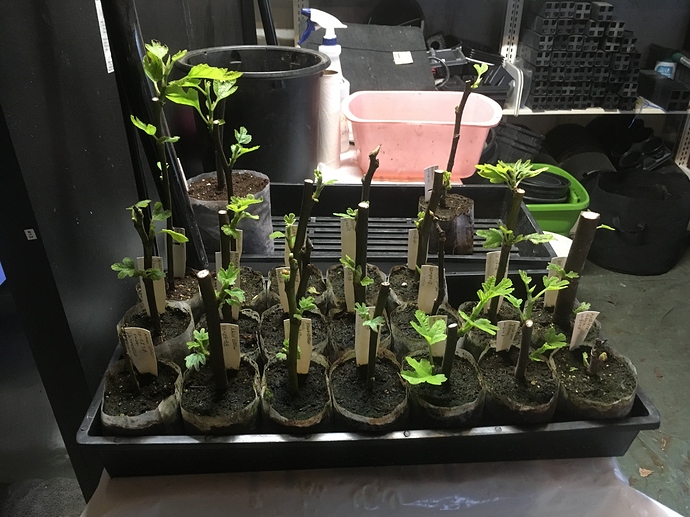
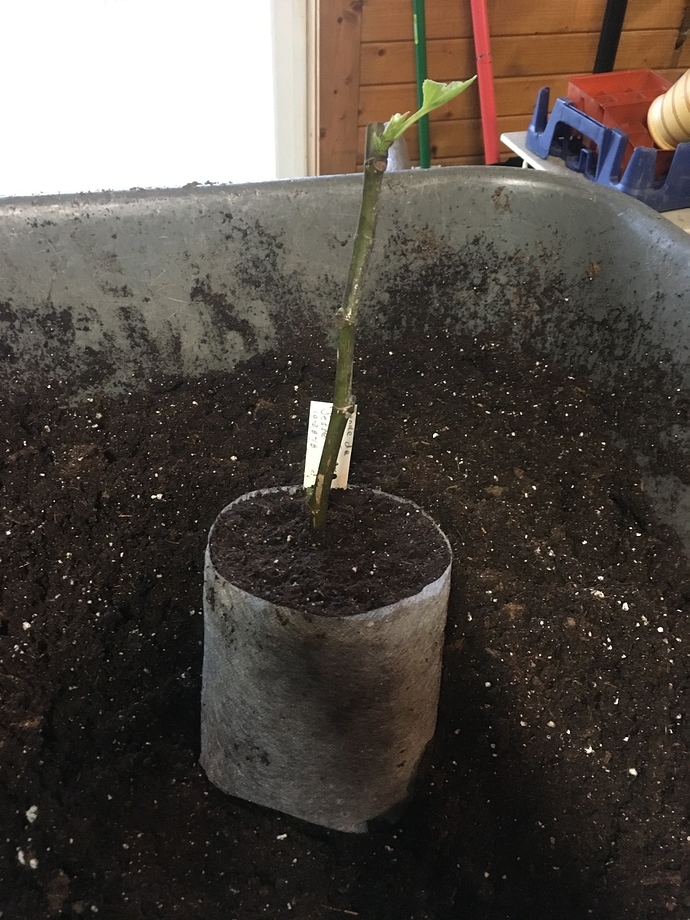
Once roots are visible like this I pot them up. These bags work great for that reason and produce excellent roots.
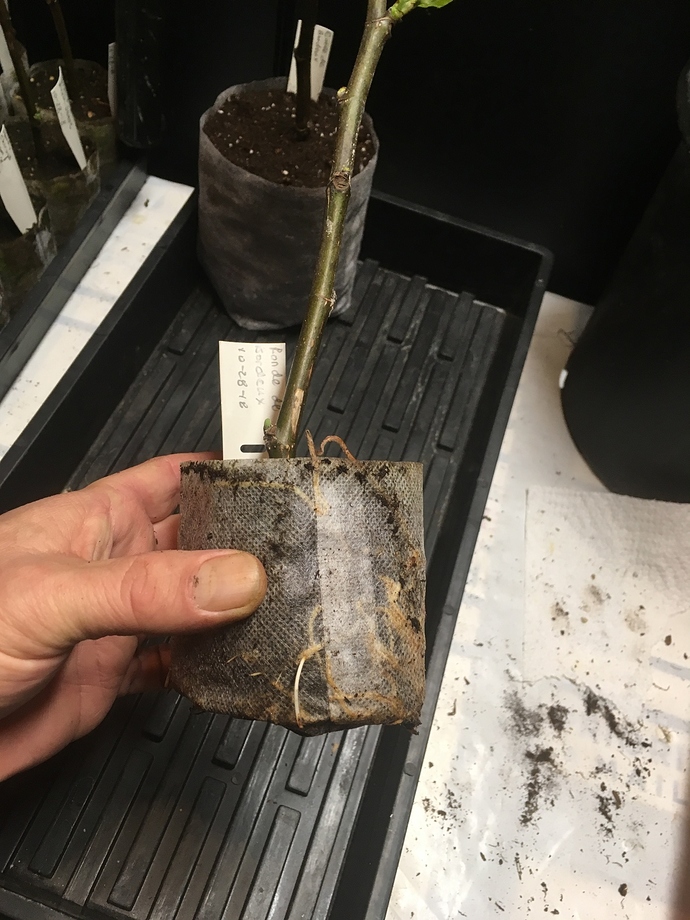


It requires effort to transplant to these bags but I’m not a commercial grower so time is irrevelant for me. You do want to fill these bags to 1/8" to the top with media. If you don’t fill these bags very close to the top the sides cave in while watering.

This is the largest bag sold: 1/2 gallon. Size: 20 cm x 22 cm
https://www.ebay.com/itm/US-100pcs-Round-Fabric-Pots-Plant-Pouch-Root-Container-Grow-Bag-Container-White/202292530259?hash=item2f19930c53:m:m0wiOkvVQONVqvsEKMhMEaA:rk:1:pf:0&var=502261271734
When you use these bags you must turn them inside out. Otherwise the bottoms won’t be flat.
Best deal for bags going but does not include the large 20 cm x 22 cm bags. You can only get those from eBay.
https://www.amazon.com/gp/product/B078N75MG8/ref=oh_aui_search_detailpage?ie=UTF8&psc=1
Extra photos:

Heat mats are sandwiched between reflective insulation to reduce loss of heat. I typically do a double layer below and above the heat mat.
Lastly, I mist them a few times a day after they are potted up and removed from the humidity chamber to acclimate them. Do it for a week or two weeks and you’re good to go.
Dax
13 Likes
This thread has such wonderful info. Thanks Dax and others for taking the time to document what you are doing that works.
So Dax, I love the photos but I don’t understand something. It appears that you are insulating the heat mat from the cuttings. Is it because it can get too hot for them? I use a temp controller set on about 78-80 deg for the heat mats.
Hi Anne,
I can understand your question. Putting the insulation on the bottom of a mat stops the absorption of heat going into the table or into concrete or the atmosphere and/or any type of surface the mat may be resting upon. I’m not very smart so I’m having difficulty thinking this thru for you but an old man told me to do this many years ago. The insulation above the mat the old man told me to do also. I have always been under the impression that I was achieving less heat loss while still receiving the full benefit of the heat produced. Now I don’t know.
Maybe I should only be putting insulation underneath the mat. ?
Thanks for bringing this to my attention.
Dax
2 Likes
The residual heat from using thin insulation is called soft heat, good enough for root growth.
2 Likes
I always ‘listen up’ when ‘old’ people give advice too. ![]()
Someone posted on here how putting the cuttings directly on the heat mat got the soil pretty hot. And actually, that person’s post was timely as I had forgotten to put the mats on the temp controller and the soil of my fig cuttings was pretty toasty. Didn’t lose any though.
I’m guessing that some insulation between mat and the cuttings buffers some of that heat, allowing some heat loss to occur before getting to the soil. That is probably a trial-and-error approach as all heat mats likely vary in their heat production. I usually put foam or corrugated cardboard between the mat and the bench. But the controller takes out the guesswork. ![]()
1 Like
I’ve had plants directly on heat mats in the past that cooked. I guess what I’m doing changed that.
All the best, Anne, thank you.
Dax
Tony,
Cleft graft should work as well as other techniques as long as the cambiums are crossing at any point, between scion and root stock. Don’t try to align them too well. If the diameter is a little different, centering the scion is not good, as the cambiums will likely not touch and the graft will fail. It’s better to skew the scion a little bit, in this case.
That’s one of the reasons i prefer Whip and Tongue grafting technique - lots of possible contact points - although it’s not that easy to do in figs due to the hollow interior of the scions and the soft white pit some present.
Lots of luck for your grafts.
4 Likes
Great tip. I kept cutting the understock down until I matched the two scion and understock. You are right about the hollow center of the fig cuttings.
Tony
1 Like
Dax, that’s quite a setup you have there. Mine is a bit less grand, as I’m actually using the kitchen cabinet. The florescent lights under it keep it warm enough- it seems to be in the mid-80’s on the bottom and 70’s on the top.

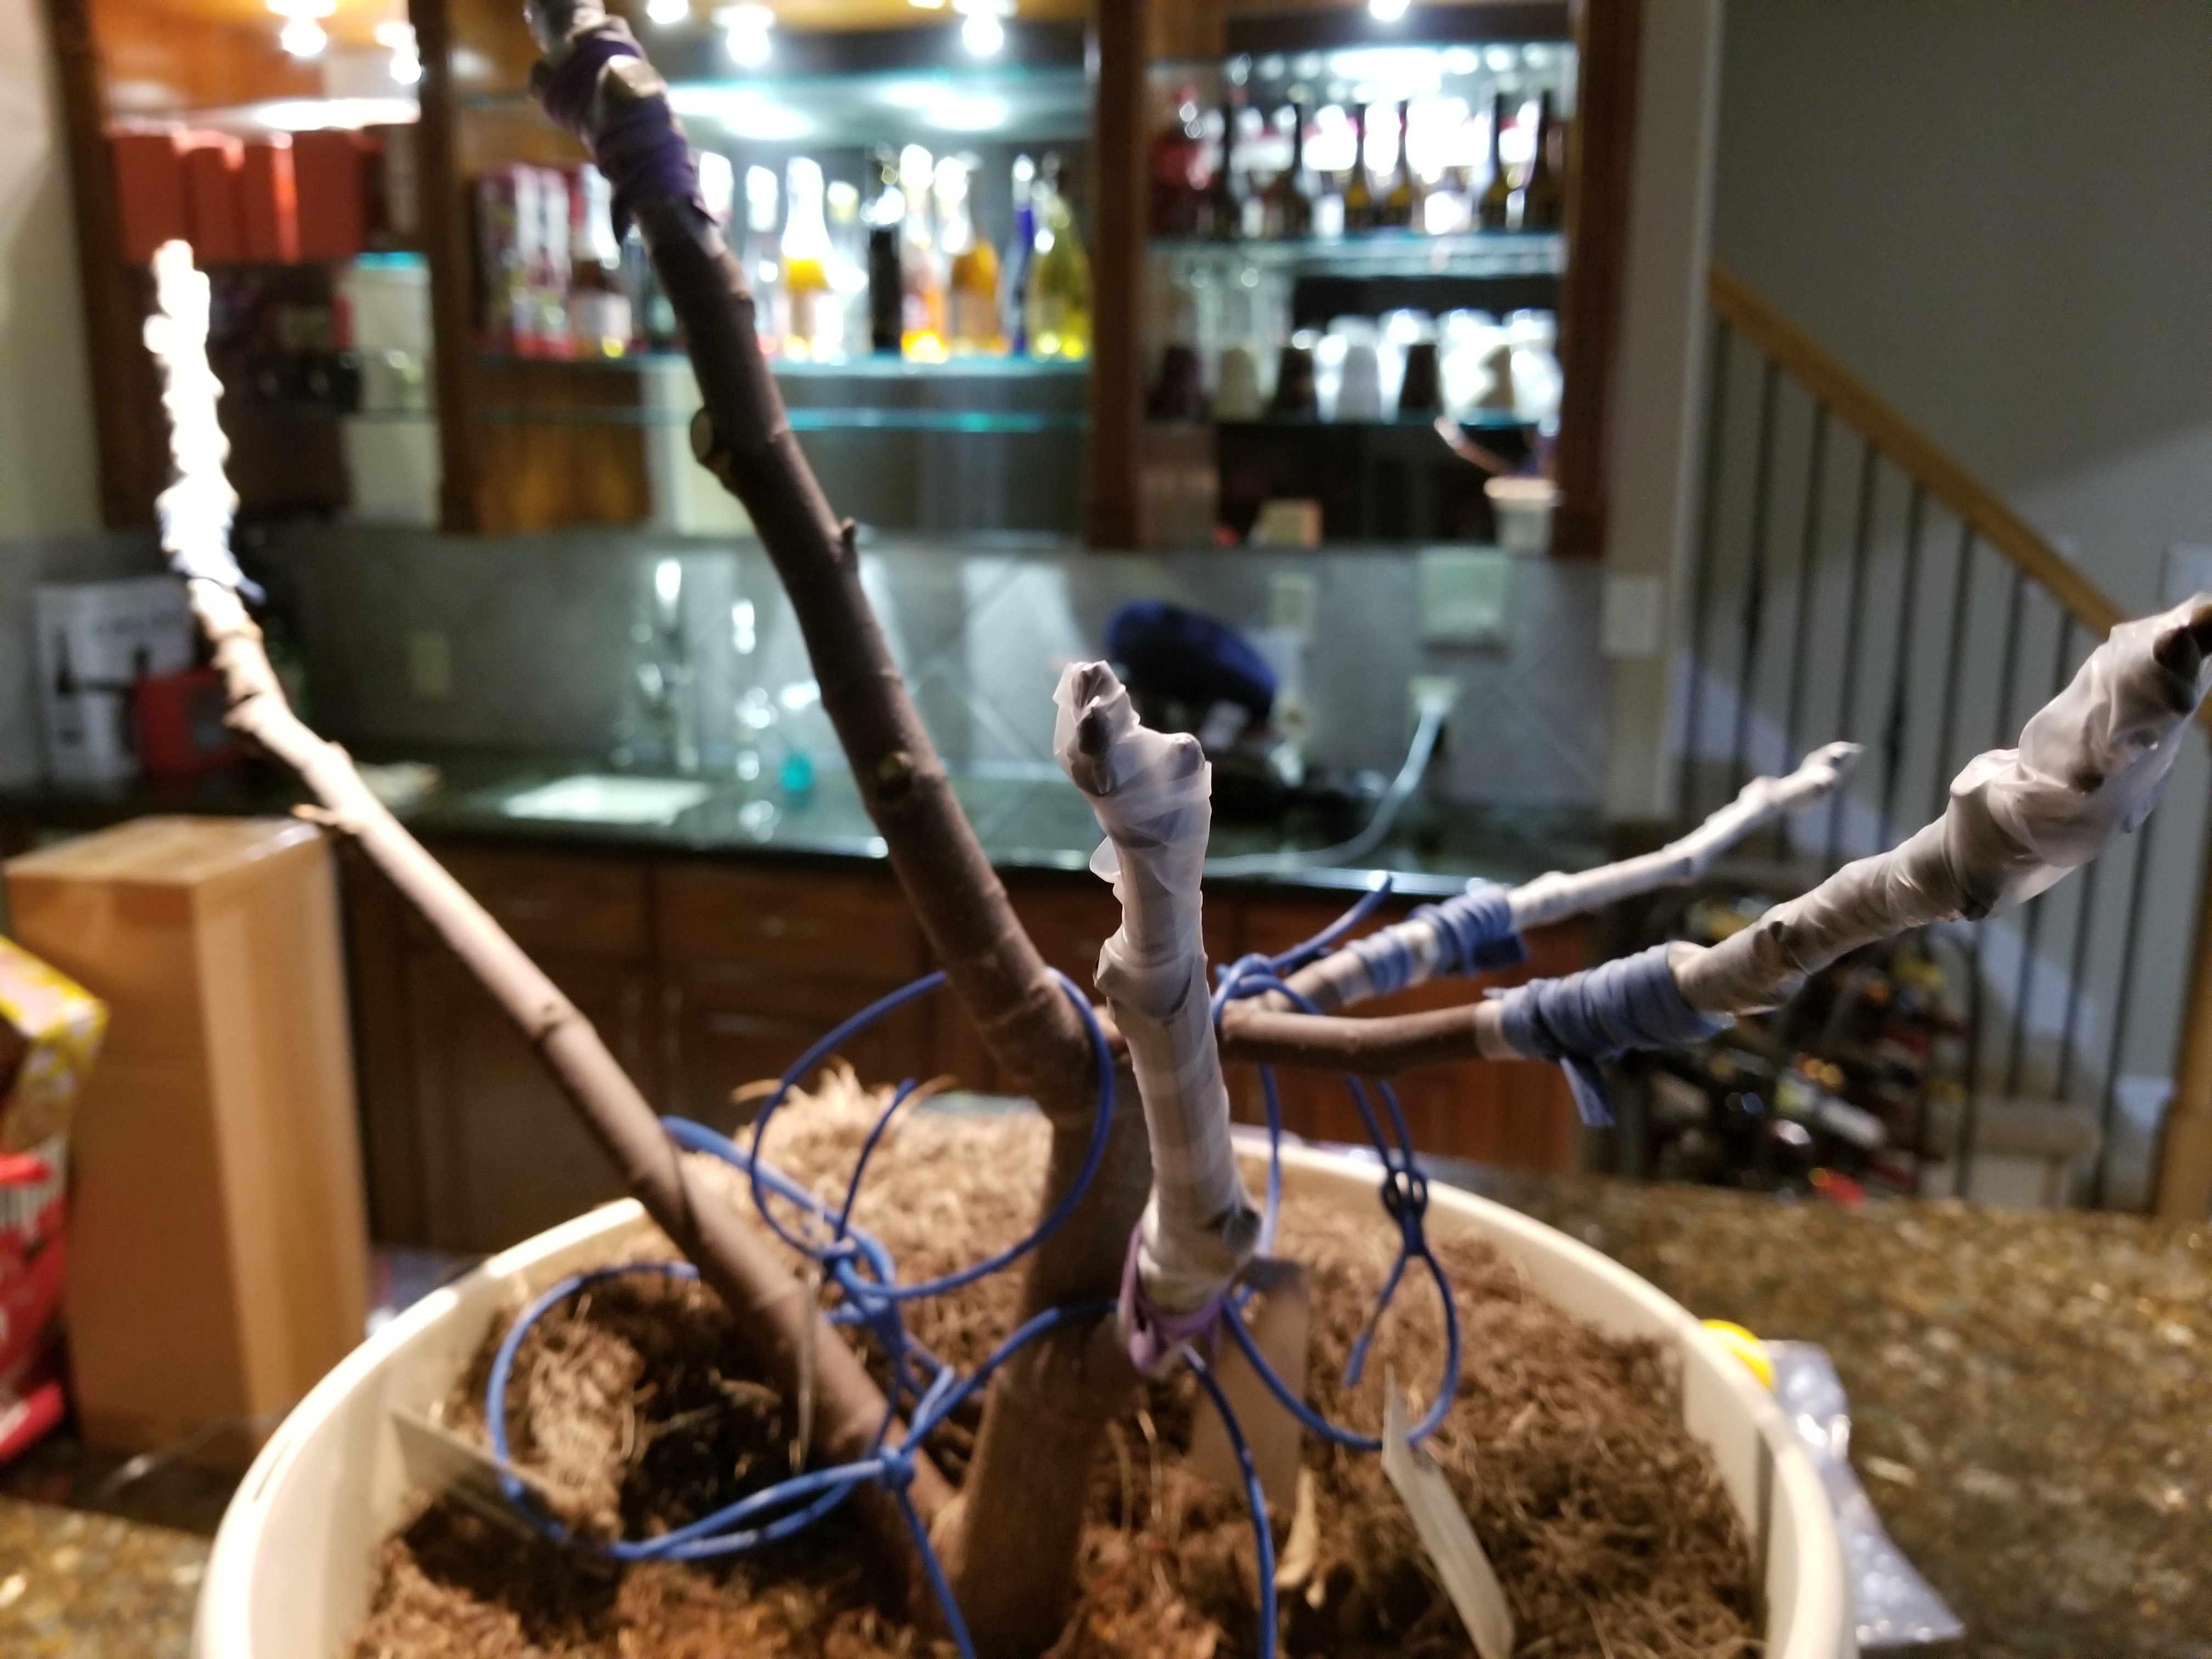
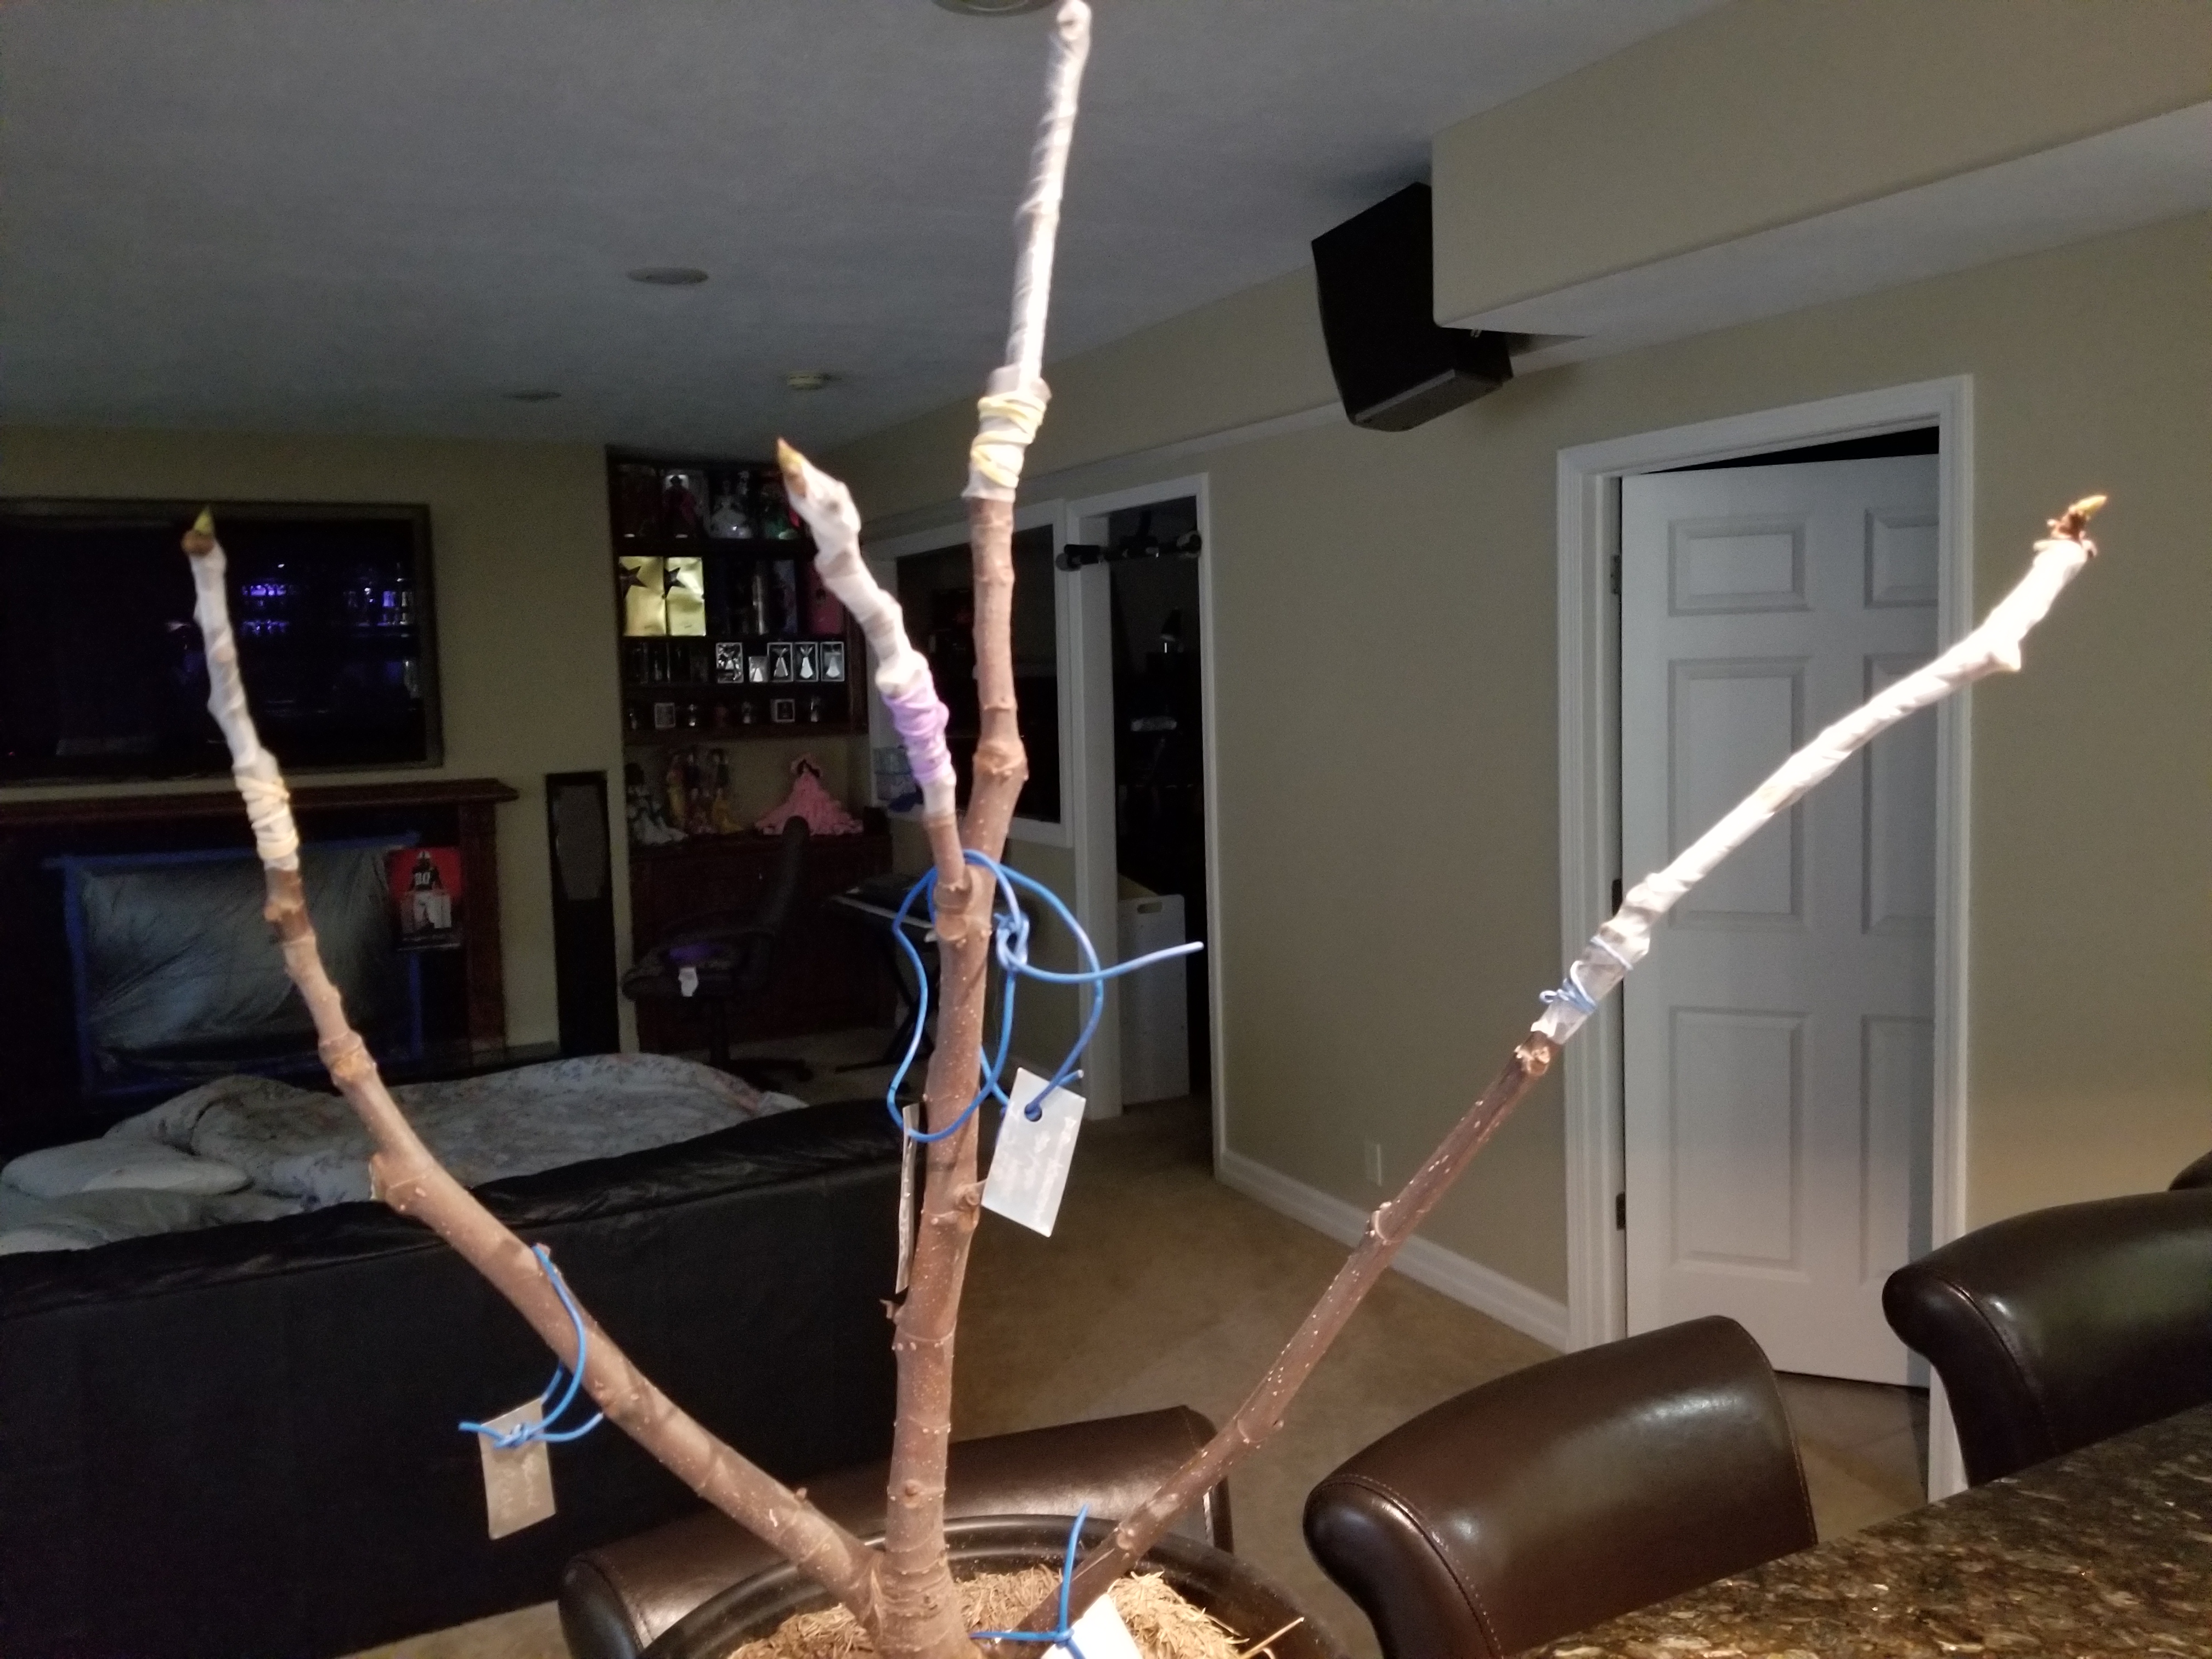
Once I have things potted up, they go in a South facing window, such as this one. There is a larger collection of potted plants in the living room in front of the sliding doors.

Note that the figs in the above pic are all different ages. There are also a couple small jujube seedlings, which are in the pots that appear empty in the pic (I said they are small…  ).
).
5 Likes
Is this a good time of year to graft Figs,if they are not actively growing?bb
1 Like
Yes. I grafted them at this time of the year because they won’t bleed the white latex as much while still in dormant state. I placed them by the west facing window to wake them up after grafting. I won’t water them until the second week to avoid the extra white latex choking the grafts.
Tony
2 Likes
Tony is grafting them indoors so they will wake up and the sap will start moving and the grafts will heal.
Even in my zone 9a i wouldn’t graft them this time of the year outdoors, because they would stay dormant until February and the grafts would fail.
Tony,
I graft fig trees throughout the year and the sap flow isn’t a problem. You just have to do a few shallow cuts below the graft.
Check an example in this video:
at min 3:50 - " If the sap is already flowing heavily, it can ‘drown’ the graft. Do a few shallow cuts so the excess sap can escape". Demonstrated again at 4:05 and 10:00
7 Likes