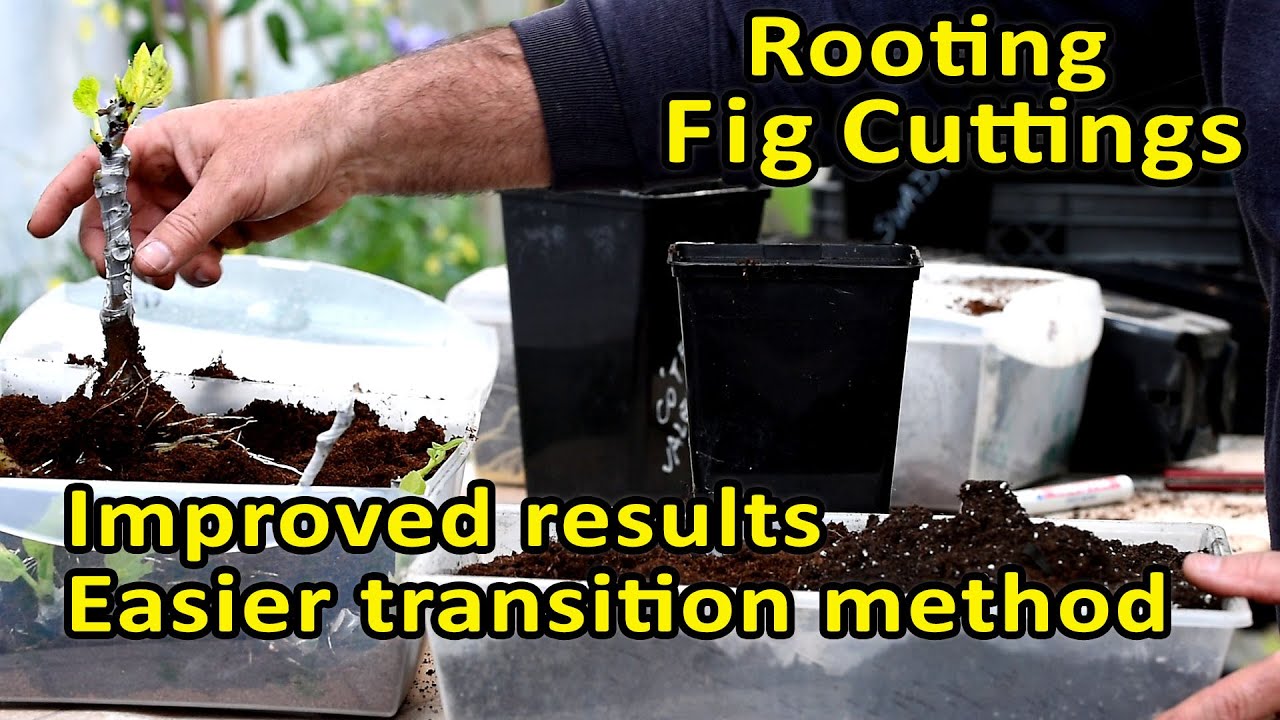
Hi,
Some of you might be using my method of rooting cuttings (https://youtu.be/cwPvmG9sK_Y)
To me, pre-rooting in coco coir, still is one of the easiest methods of producing roots and not have to worry about mold, fungus gnats, rotting roots and other problems. This method produces lots of roots, almost unattended, consistently, every time.
Nevertheless, it does have its issues when transitioning from the coco coir to other potting mediums. The new roots might not like the new medium and the change of environment (choice of medium and level of humidity is key).
As a result, the cuttings may stop growing for some time, until they adapt to the new conditions. If the medium is too heavy or too humid, it may even kill the delicate roots and the cutting might die.
So, adequate care is needed when potting up. Both in choosing the right medium and not overwatering the young plants.
This year i am trying to refine that method and ease the transition to the pot, so that this decisive step can be easier to the rooted cuttings, resulting in less problems and healthier plants.
Here’s what i am experimenting with…

In the pots, the 2 lower layers were almost dry (with only the moisture that the mix had in the original bag - slightly damp).
The coco coir, on top, has the same level of moisture of the box were the cuttings were rooting.
When the coco coir on top shows clear signs of dehydration (it changes to a very light color, so its easy to see) and the pot fells very light, i will water very slightly.
I am counting that if i water gently, once a week, for instance, at the sides of the pot, most of the water will trickle down to the lower layers. On some of the pots i will water from below only and suggest for anyone who tends to overwater to do this.
The reason for this, is that, with the new approach, i am leaving all that coco coir around the roots when up potting. If too much water reaches that rootball, the coco coir might act as a sponge and cause problems.
Until now the plants are reacting very well and no signs of the ‘stop and go’ growth situation, they sometimes did, when they were transplanted to the pot with the new medium.
That is to be expected as the transition is much easier for the rooted cuttings, as the roots are almost undisturbed and stay in the same medium they were rooting. When they grow, they find new layers, with different characteristics, with lots of nutrients and have more time to adapt producing a quick growing, healthier plant.
I am doing some cuttings with the old medium only, for comparison.
Someone asked me if it wouldn’t be better to up pot to coco coir to avoid any transition problems. That could be an option, but as the material is inert, you would have to add all the nutrients in liquid form.
I prefer to adapt the plants to other mediums right from that point on.
Hope this is useful to anyone that is trying this method.


