This is the latest approach I’m taking with fig cuttings. It might not be the best approach but it works on over half the cuttings I receive here.
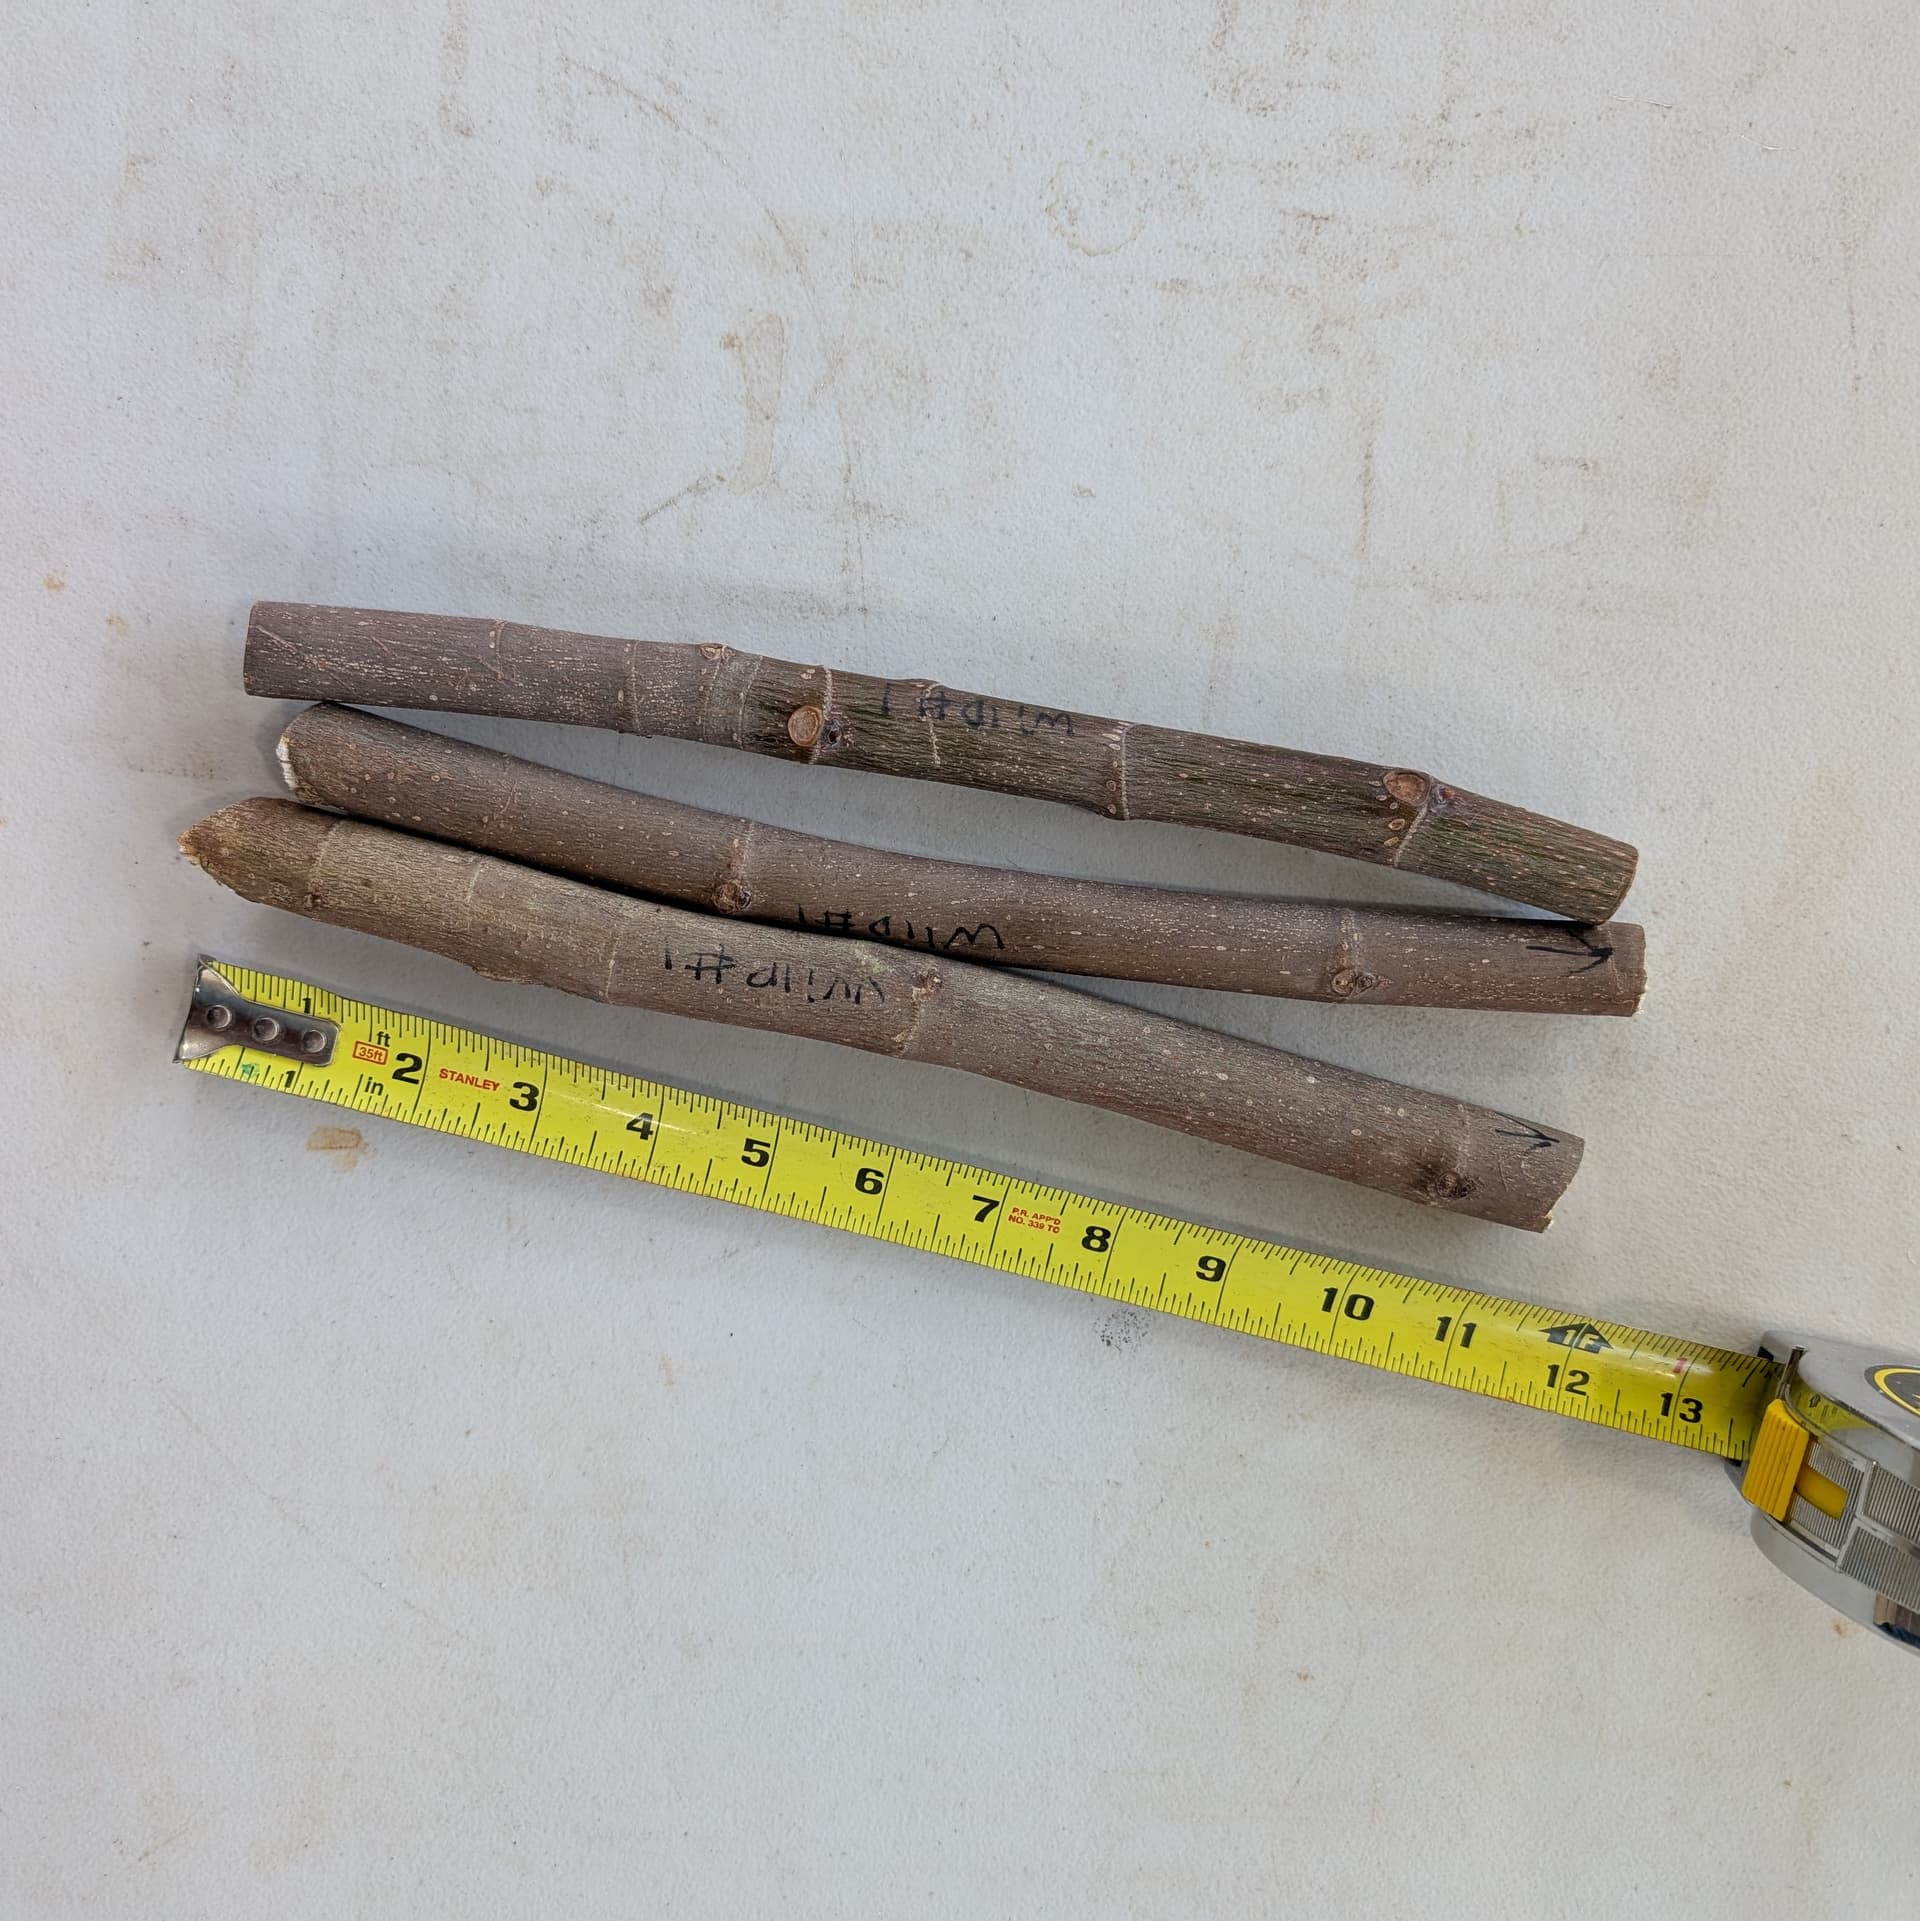
The big picture is that for each variety, I root several of the cuttings and also set aside one or more for grafting. I prefer fig cuttings of well-lignified wood taken March and propagated a.s.a.p.
Rooting
I have standardized on Stuewe MT38 pots and pocket trays and purchase them in kits. For indoor propagation, I also use “supersprouter quad thick 10” x 20" tray holders" (to catch drips and detritus). The Stuewe pocket trays are too wide for the tray holders, so I cut one row off the Stuewe tray so it fits. In fact sometimes I cut more rows off for ease of handling. Outdoors I use full size Stuewe pocket trays.
The MT38’s have a large hole in the bottom. I cut squares of vent screen (hardware cloth, comes in rolls) to cover them. The cut screens are reusable.


With the screens in place, I partially fill the MT38’s with propagation mix – depending on the length of the scions, and press it down for compaction. My goal is to have the scions at least an inch from the bottom and at least an inch higher that the top of the pot. Next, I hold each scion in the center of its pot and pack propagation mix around it until the mix is a half inch below the top of the pot.


Next, I place the pots in 2.5 gallon buckets along with 1/8 teaspoon of high phosphate fertilizer (5-50-17). I then add water to one bucket at a time, holding the pots down during and a short time after filling while the water percolates up into the pots.

After soaking for at least a half hour, the pots go back into the tray. One at a time, each cutting is twisted and then pulled out of its pot – leaving a hole behind. Paying attention to where the soil line was on the cutting, brush off excess soil and wrap parafilm around the cutting from the top down to the soil line. As you wrap from the top, take a couple laps around it to prevent the parafilm from unraveling there. Also while you wrap, stretch the parafilm on the scion every now and then for better adherence. As you work your way down, try to leave a gap where any leaf buds are exposed. This often requires an extra lap above and below the bud with a criss-crossing of laps on the opposite side of the bud. When you reach the soil line location, take an extra lap at that level – stretching the parafilm as you go and pull hard enough to rip the roll away from the film on the scion.
Below the soil line on the scion, dust it with IBA rooting powder and rub it down the entire length. Much of it will fall off so a drop cloth can be helpful. The goal here is to have the scions pores come in contact with the powder. More is not better. Now re-insert the scion into its ready-made hole.


When all the scions have been treated, the tray can go to your propagation area. Now weigh it and write the weight down along with the date. Check the weight every few days. When the weight drops quickly it is time to re-water (right then!) the pots thoroughly, let them drain, and weigh the whole tray assembly again. In the meantime, keep the cuttings in the dark until you have significant leaf sprout. I achieve this by placing a box upside-down over the tray of potted cuttings.


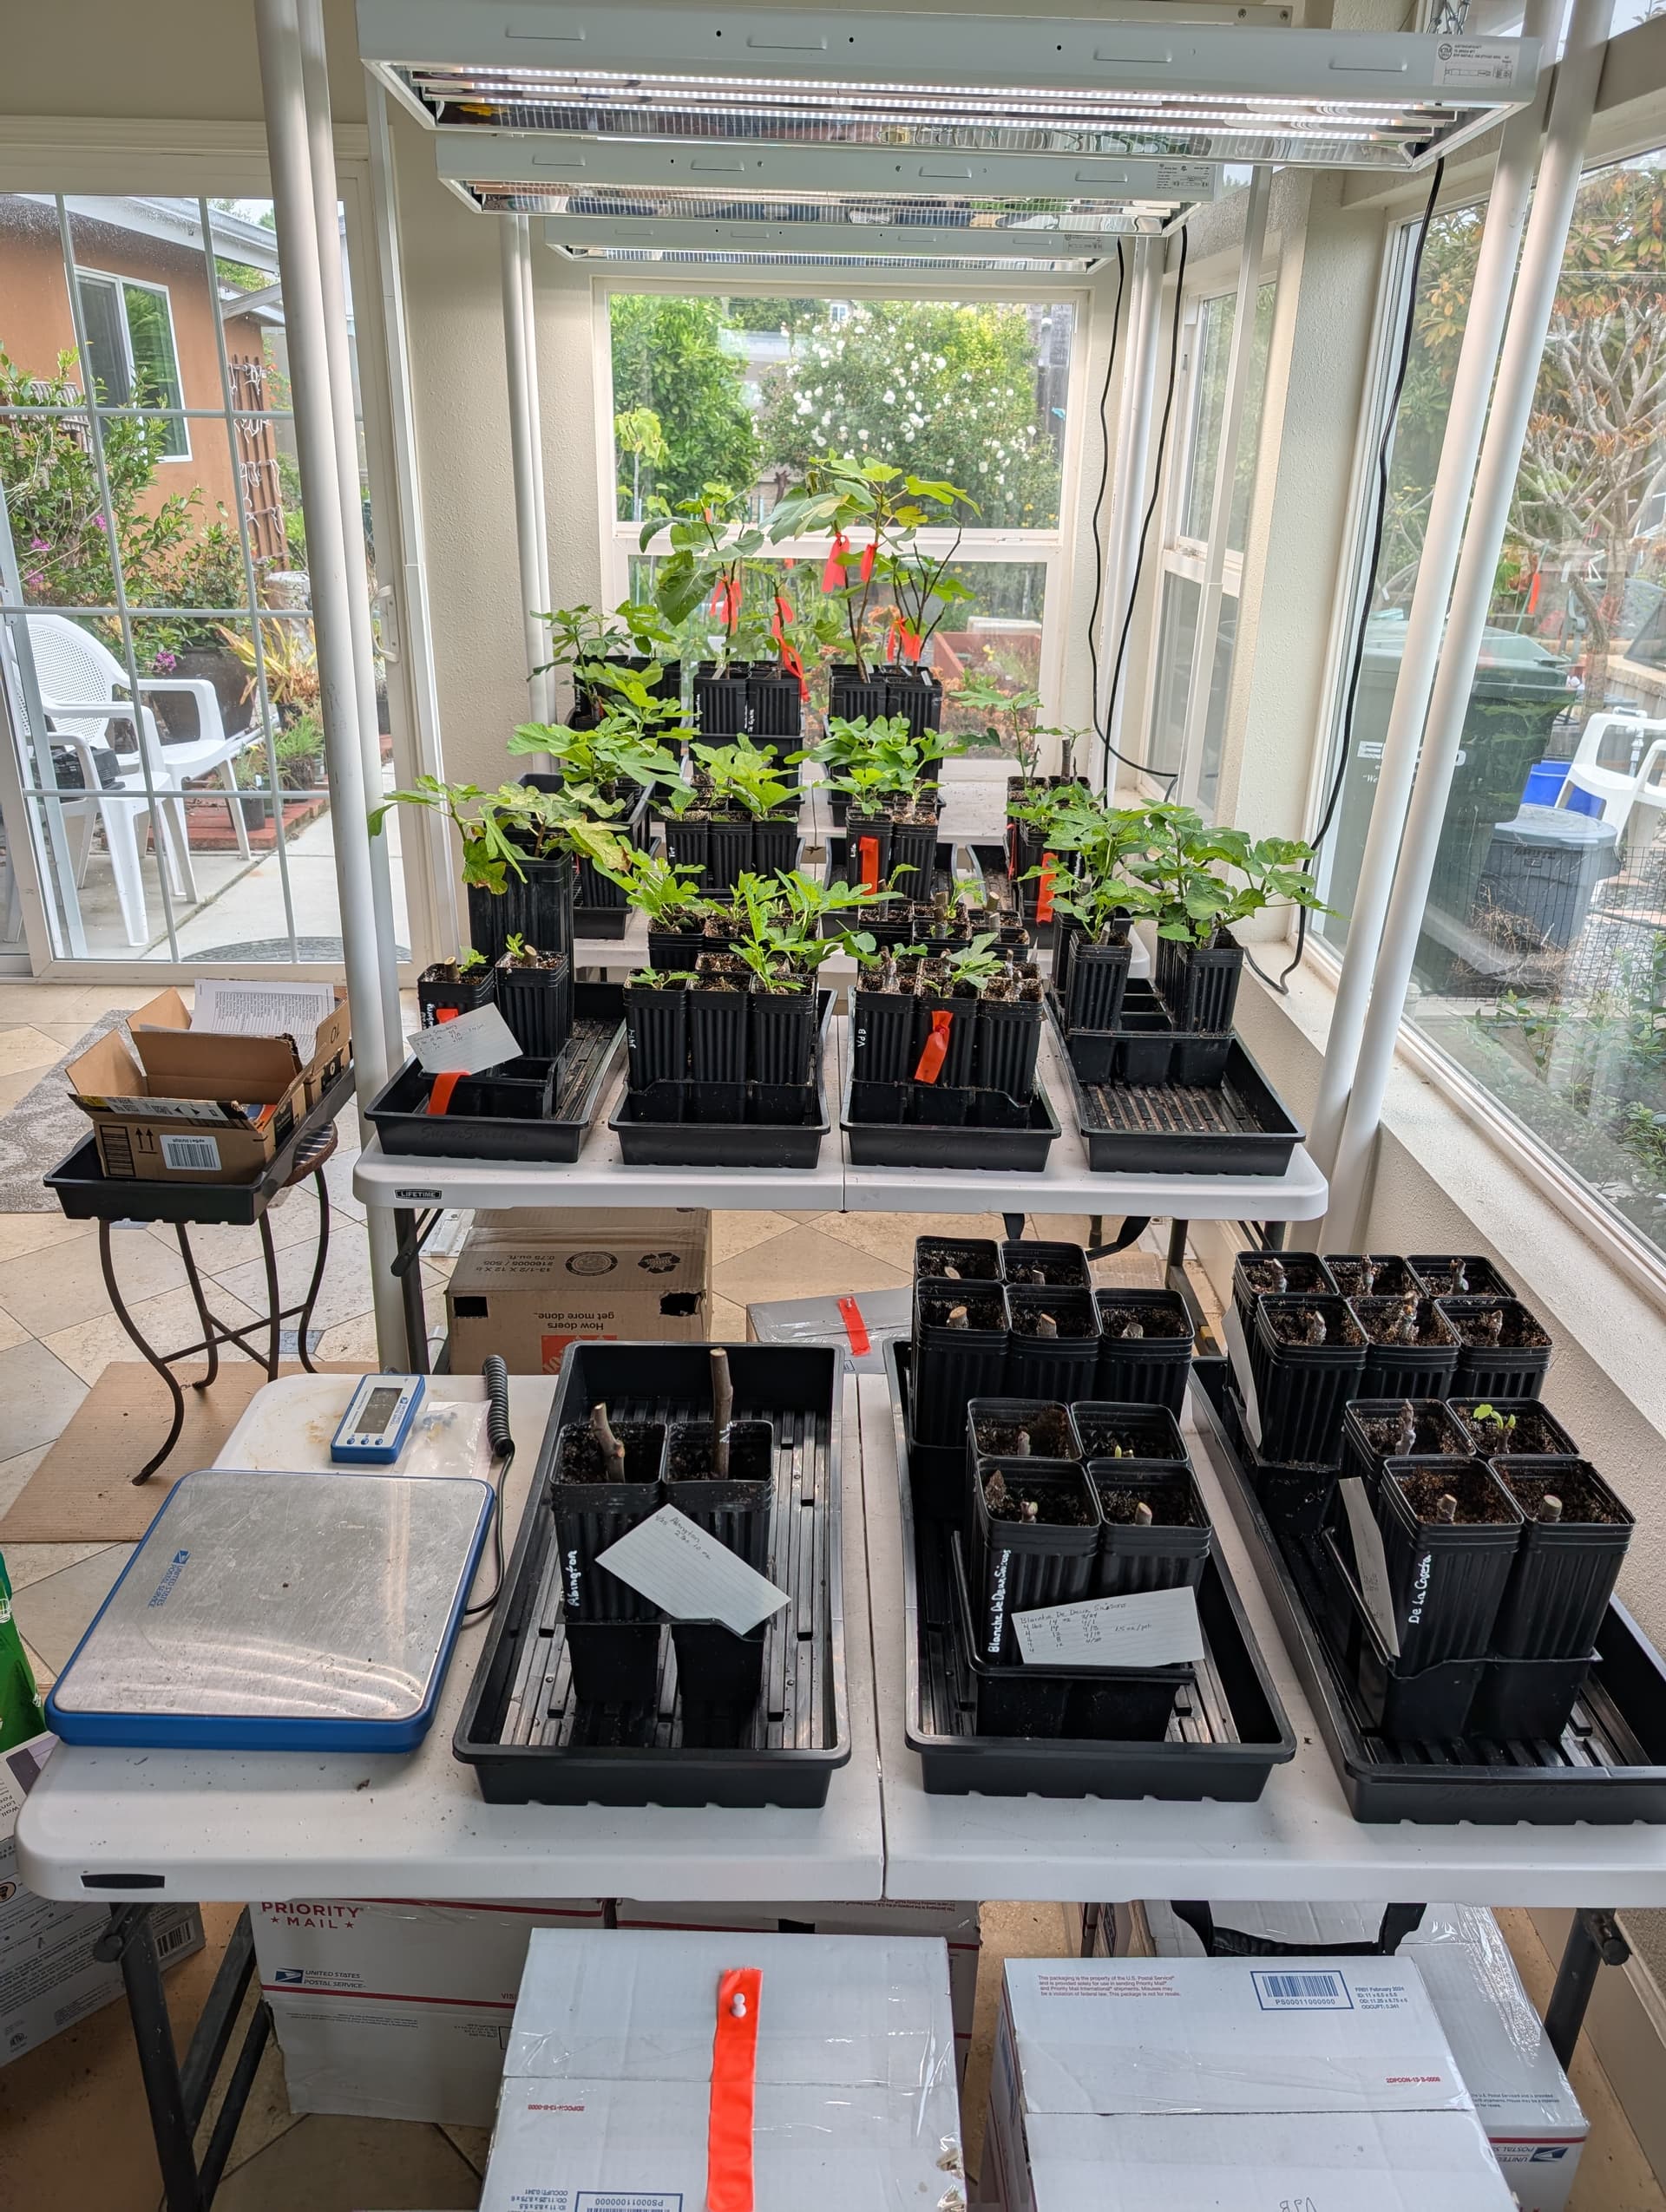
When some of the cuttings have sprouted branches with several leaves, the box needs to come off permanently and overhead plant lights should be on 12 hours a day. At some point later, those with leaves will need water every 2-3 days. These are transplanted into larger Stuewe TP512R pots. For these I use a soil mix of 1/2 cubic foot all-purpose sand with 1.5 cubic feet of Kellogg’s Garden Patio Plus. While indoors under lights, these pots do fine with a weekly watering. One of them is visible on the left side of the last photo above.