Some have asked about these, I apologize for not responding sooner, but here goes what i almost posted to the “Whats Happening 2016” Thread:
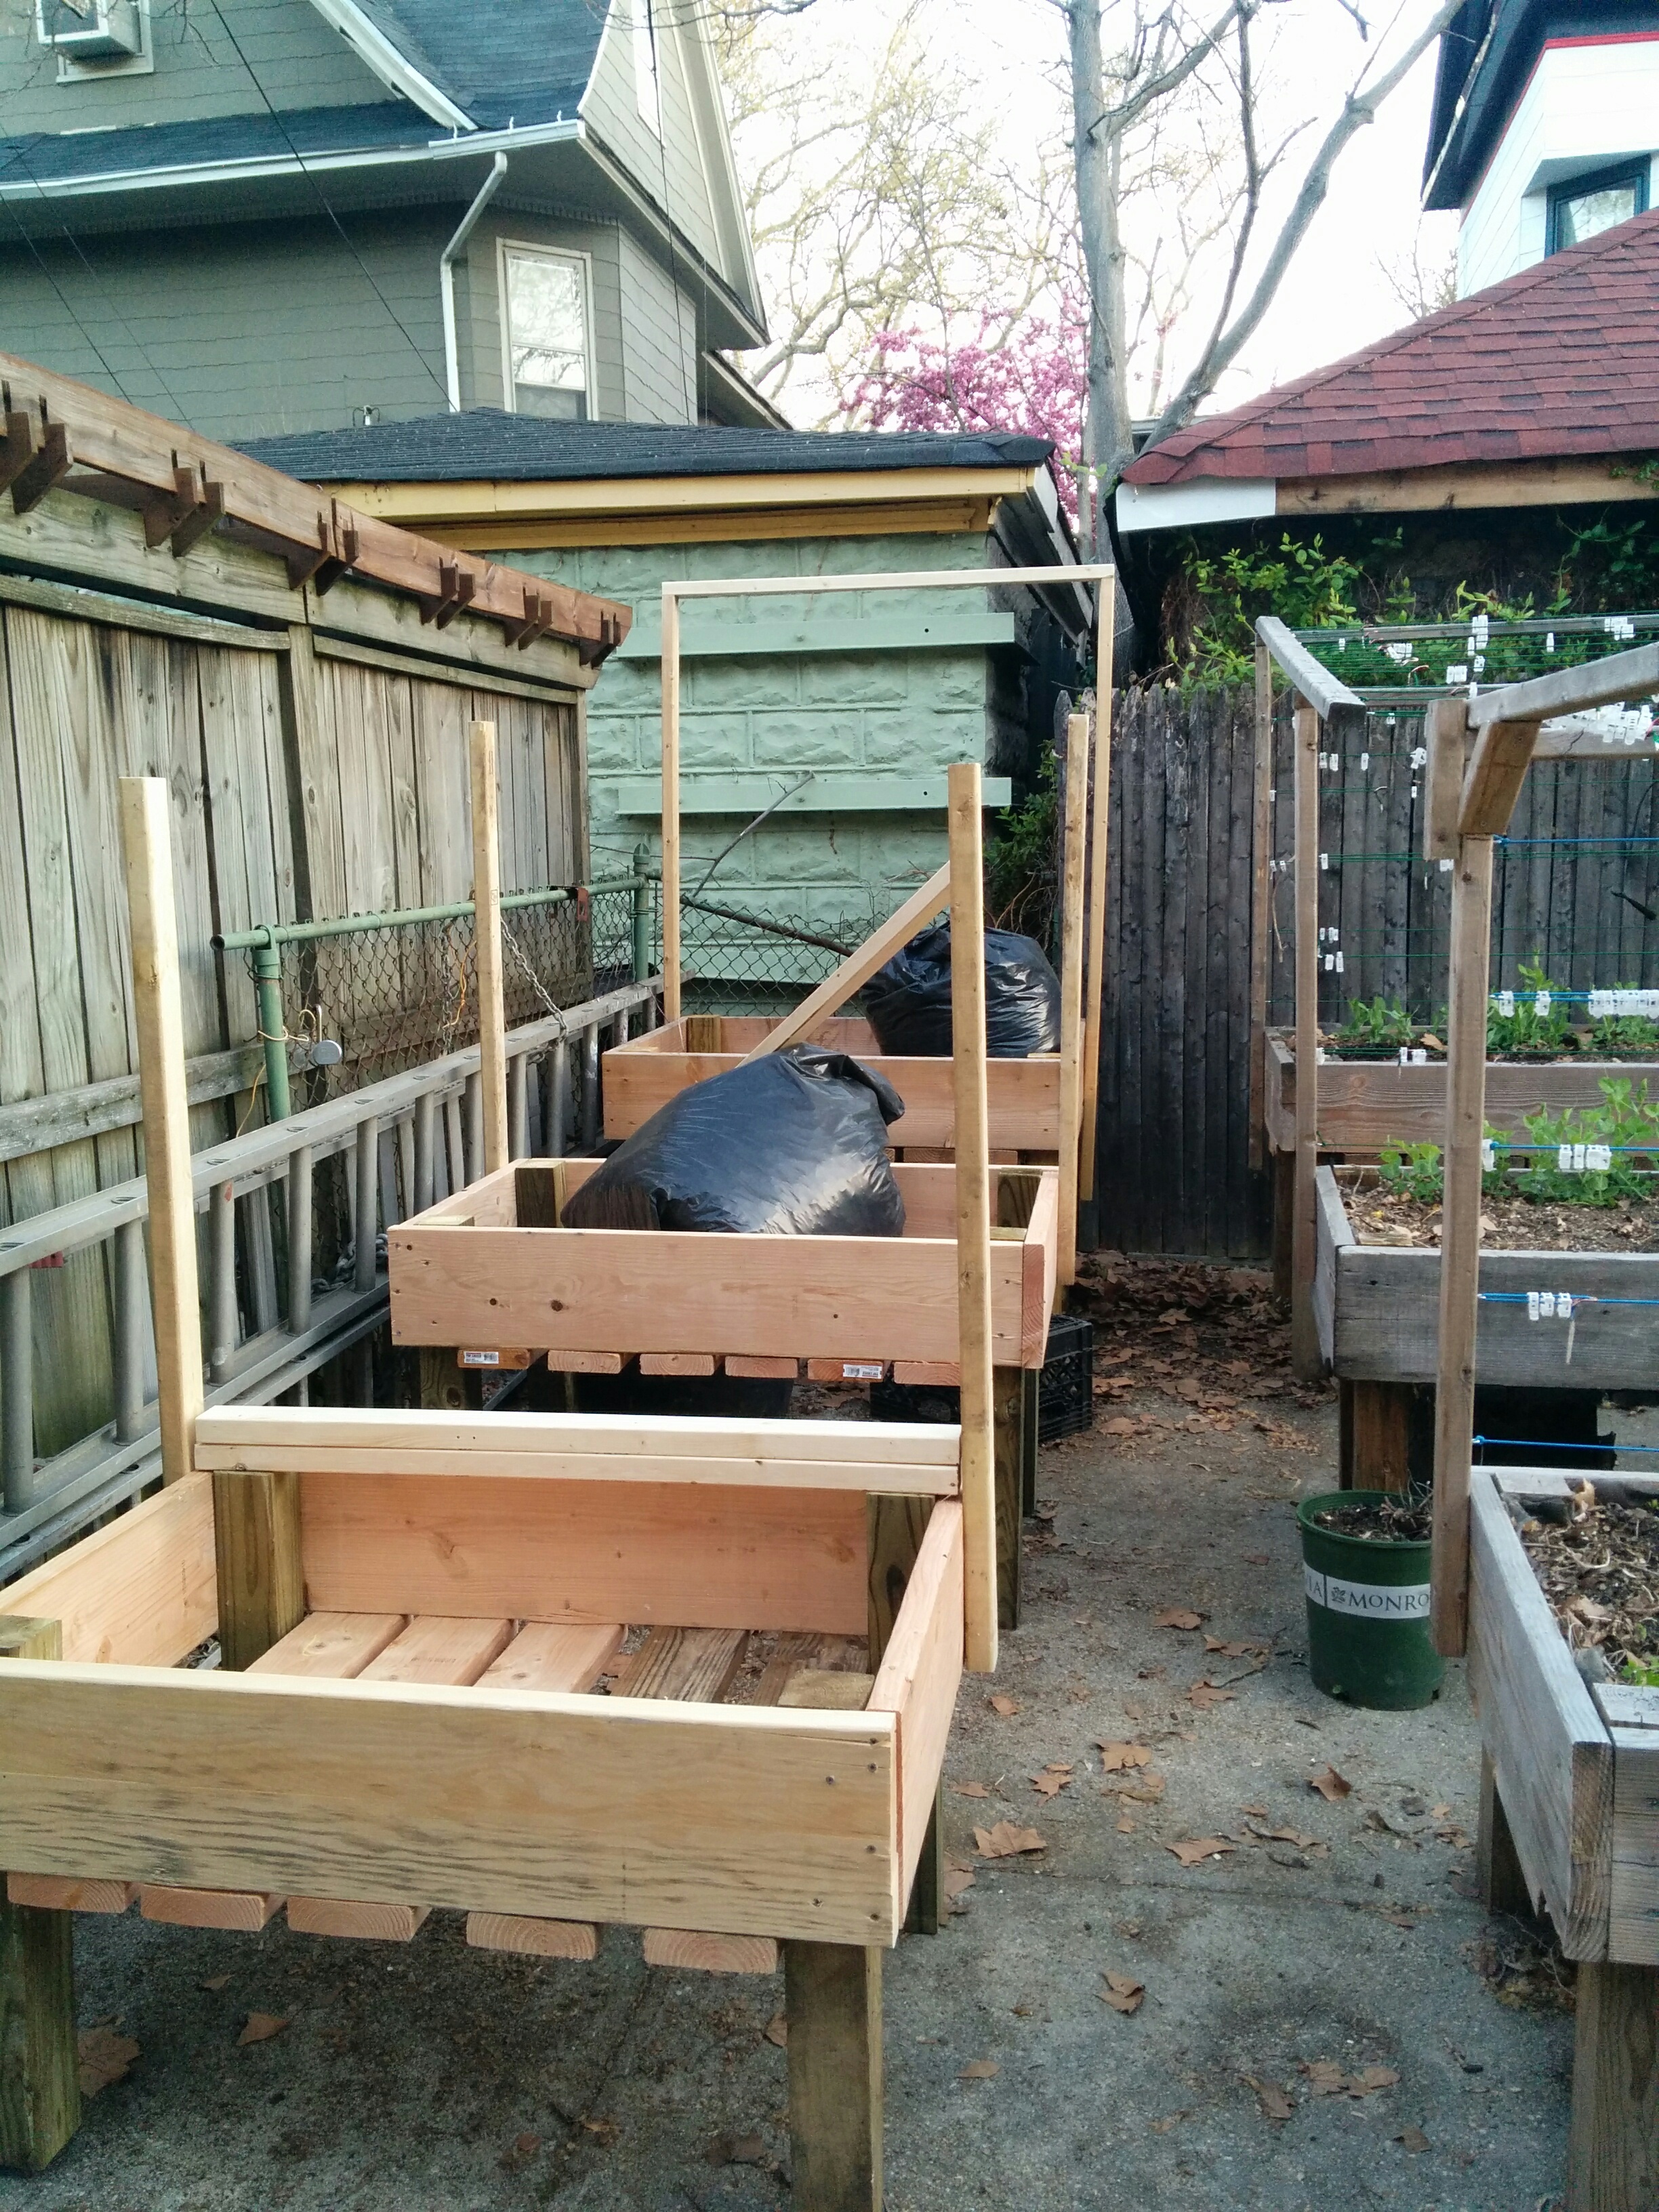
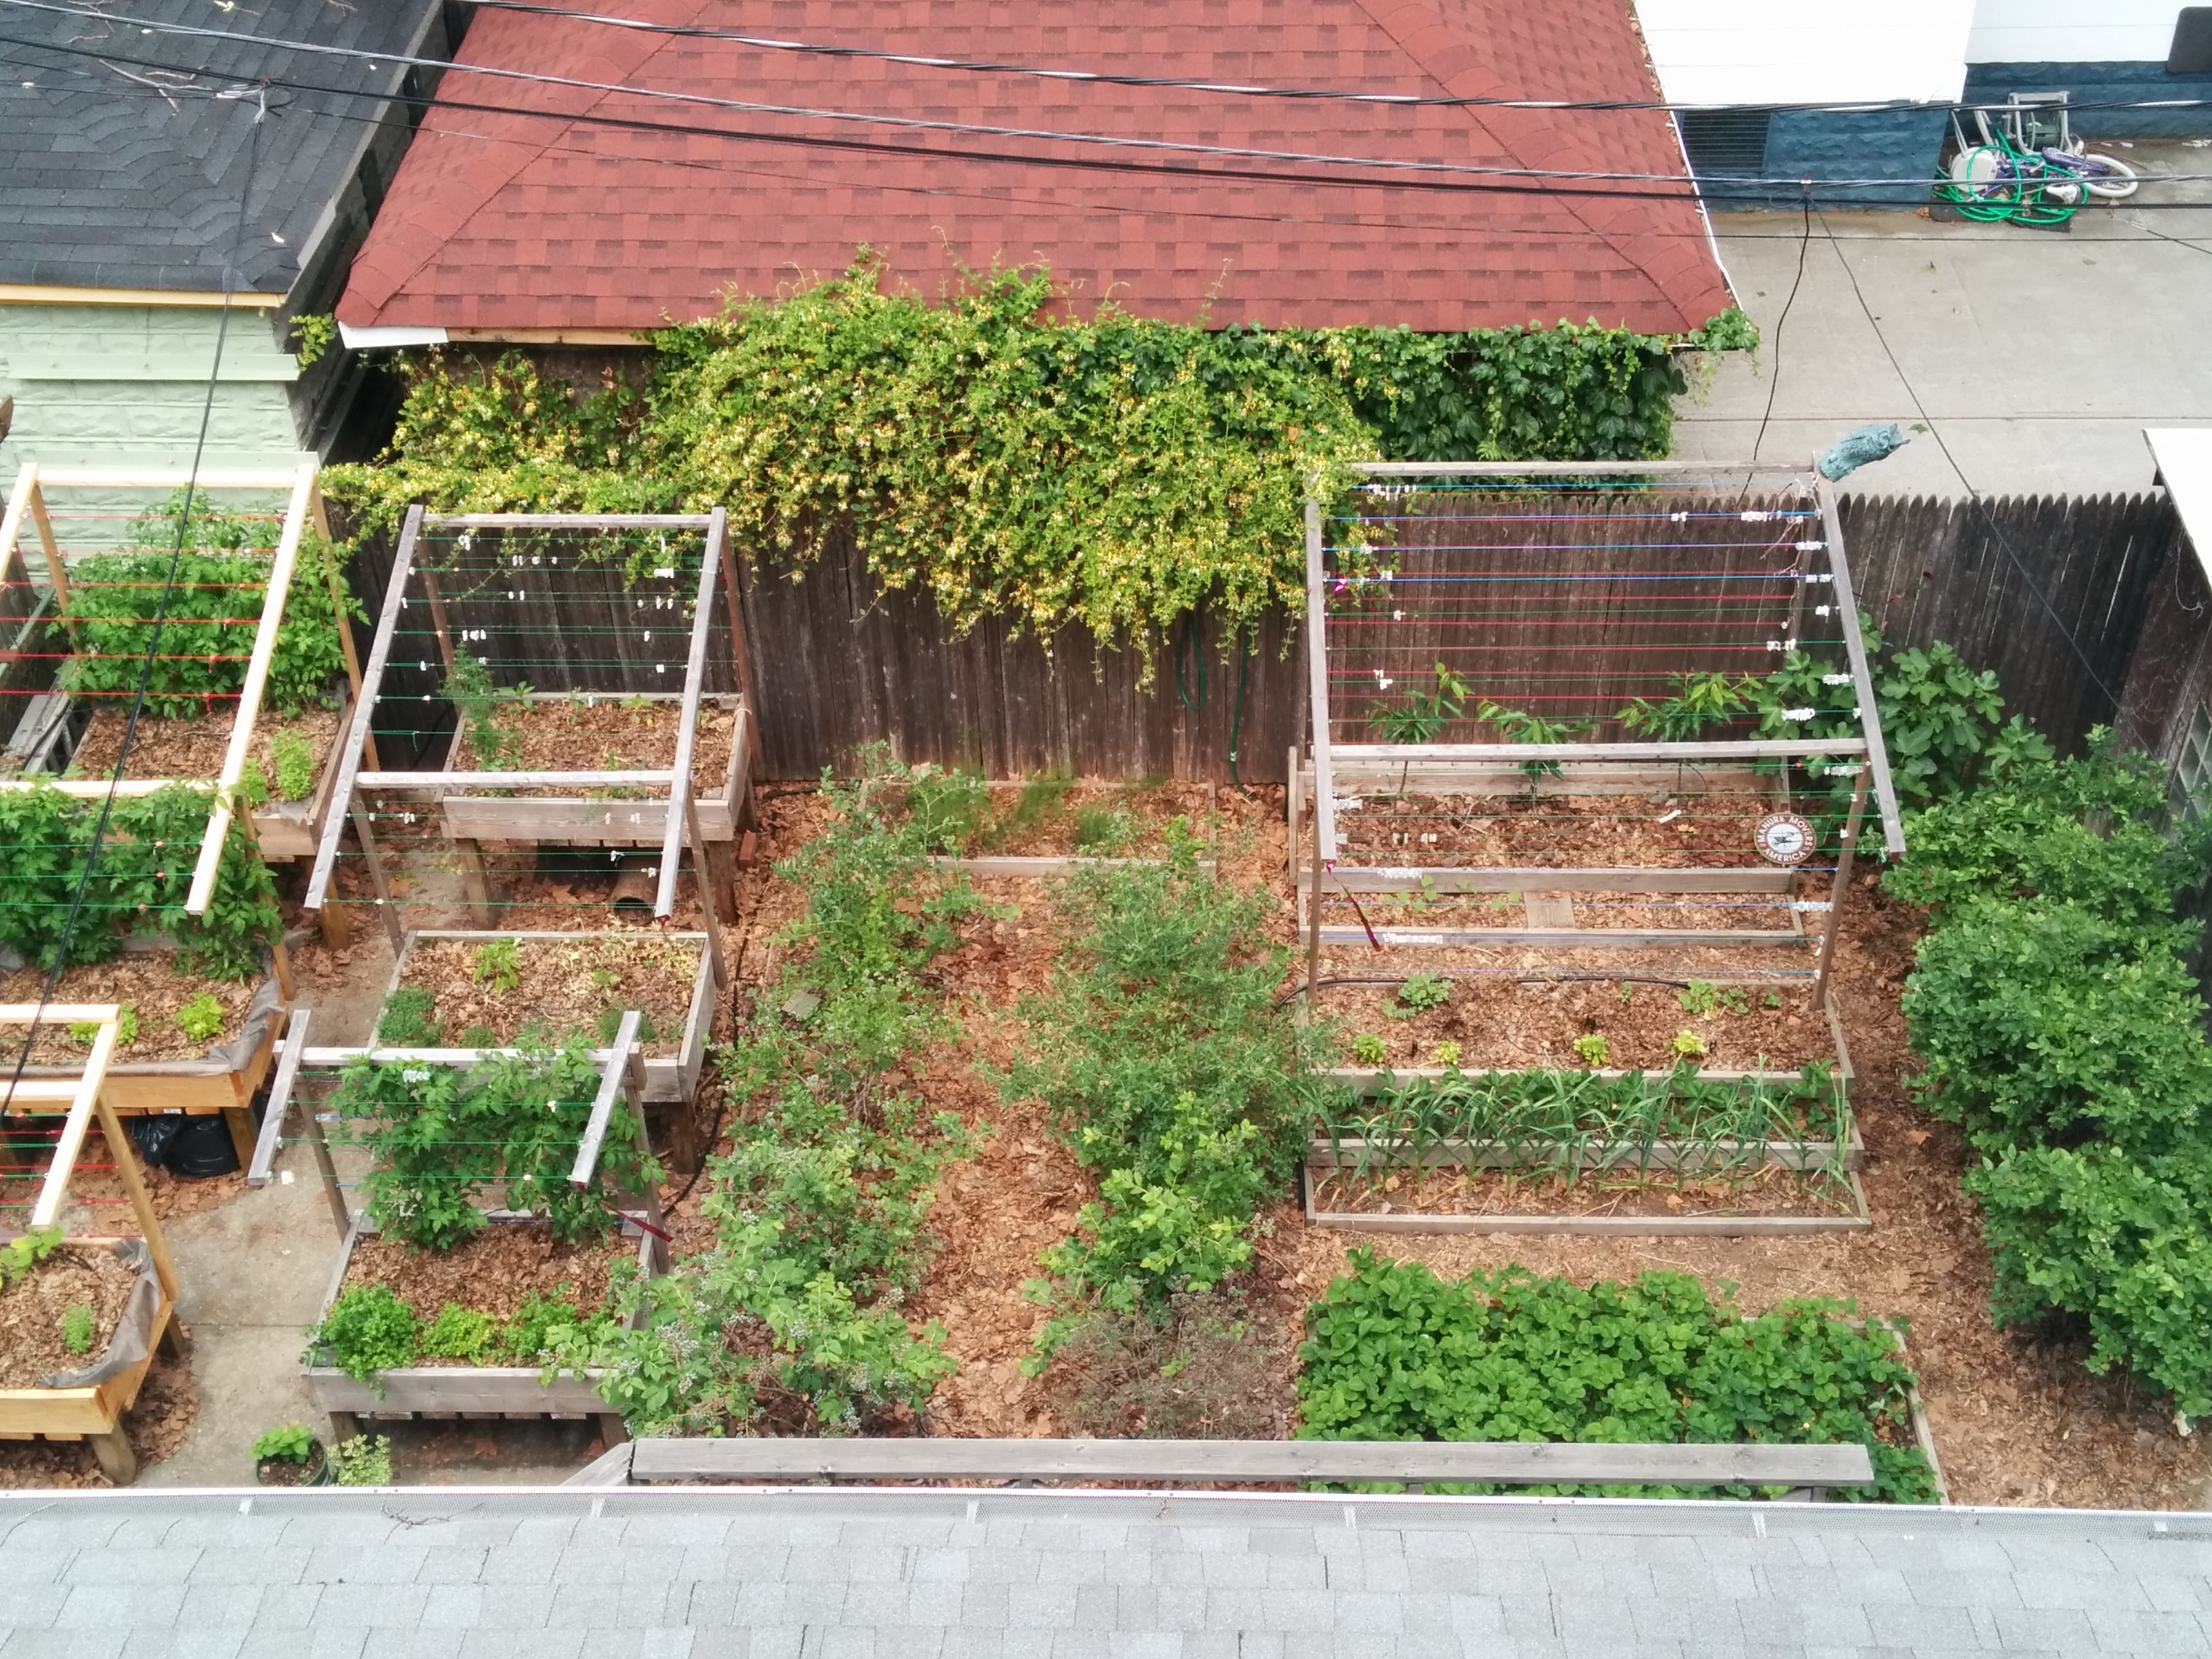
Built some new table top planters to match my 1st set. Some have asked about the process
Materials:
- 2x 4"x4"x8’ ( for 48" tabletops, use 6’ 4x4 for anything smaller)
- 2x 2"x10"x8’
- 2-3x 2"x6"x8’
- 2-3x 1"x3"x8’ (trellis)
- Box of screw Eye Hooks
- 100’ of Parachord Amazon
- Tent Aluminum Guyline Cord Adjuster Amazon
- Impact Driver/Drill
- Mitersaw/Circular Saw
- Box of 3" Deck Screws
- Landscape fabric
Start out by cutting the 4x4 into legs
Cut your 2x10s for the sides to size and screw together alternating joints, 3 screws per corner
Attach legs, making sure flattest cut is facing you ( it will then, once flipped, be the bottom) i like 2 or 3 screws per side per leg, so atleast 4 screws per leg
measure total width and cut 2x6s to size for the bottom slats
screw to bottom, using scrap wood as a spacer
At this point you could also install a cross piece perpendicular to bottom slats (however,I don’t think there is enough weight, even full of wet snow in the winter to warrant it.)
Cut one 1x3 in half, and screw to outside frame for vertical trellis support
Cut another for the cross piece and one more for the trellis arms, use any scrap for support pieces where needed
Fill with your preferred potting mix and enjoy.
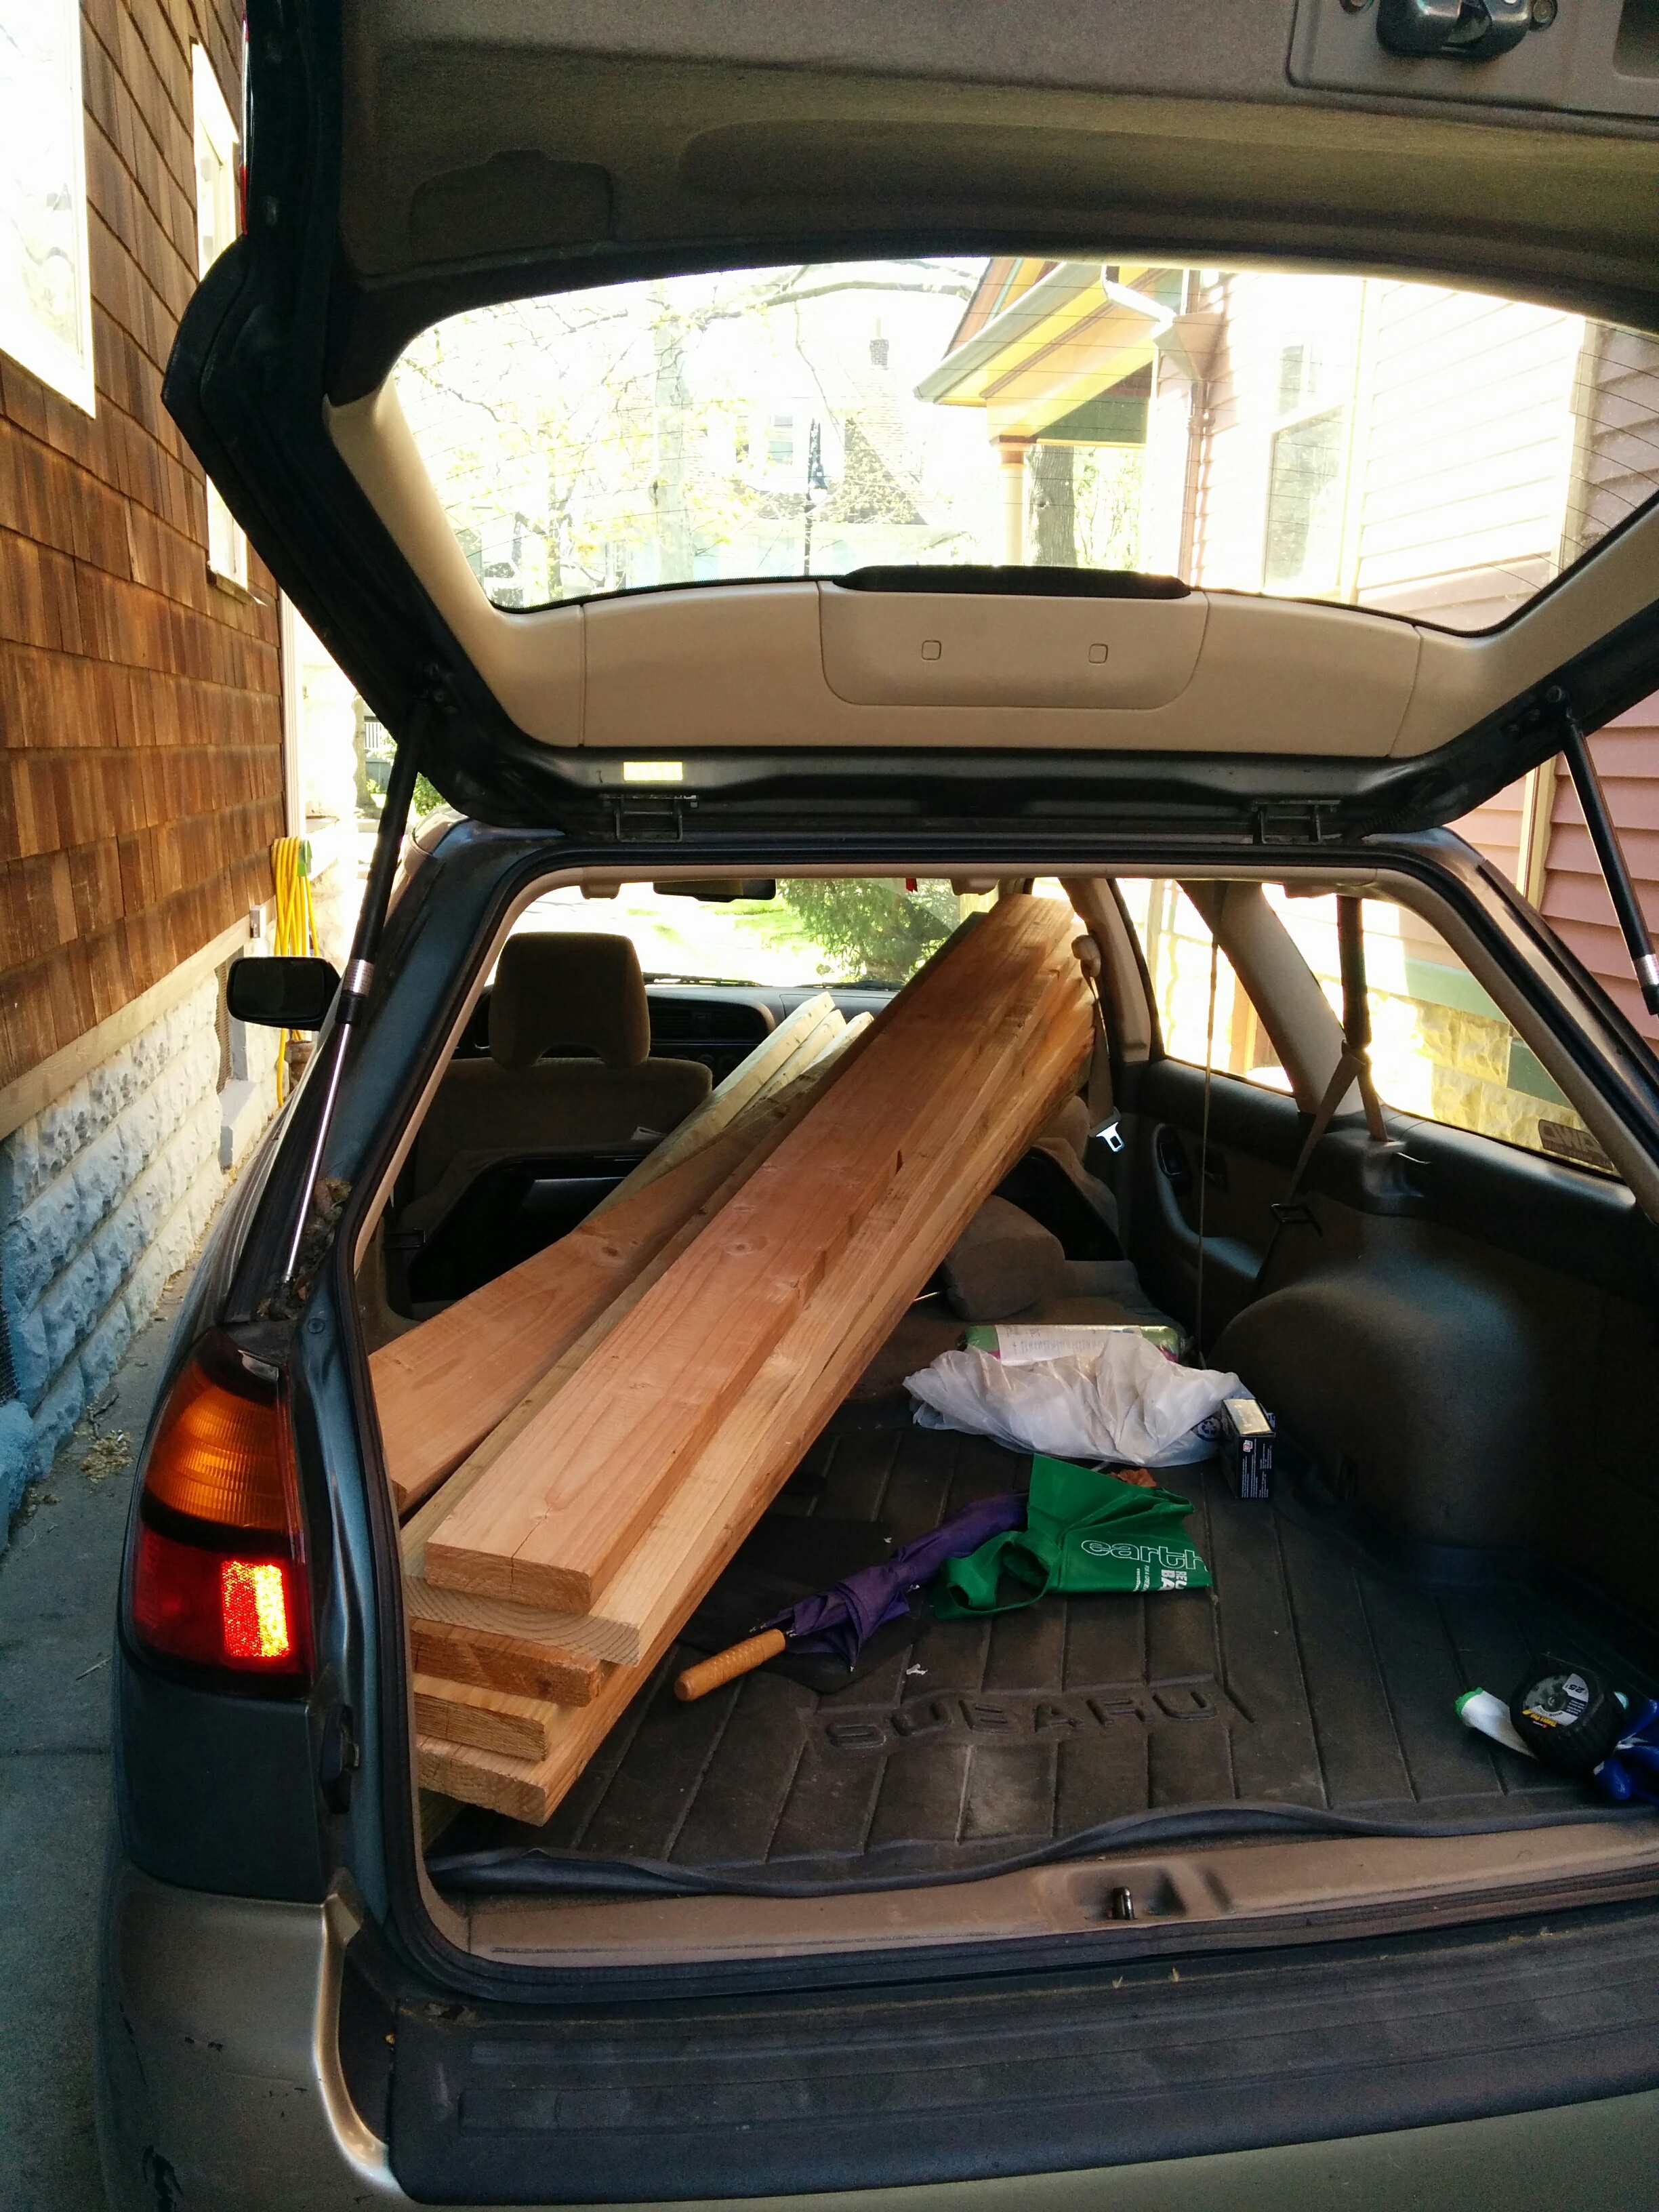
After getting rid of my F250 with the 8’ bed(9miles to gallon in the city, ugh) I was concerned about getting lumber home in the old Subaru, fears averted 

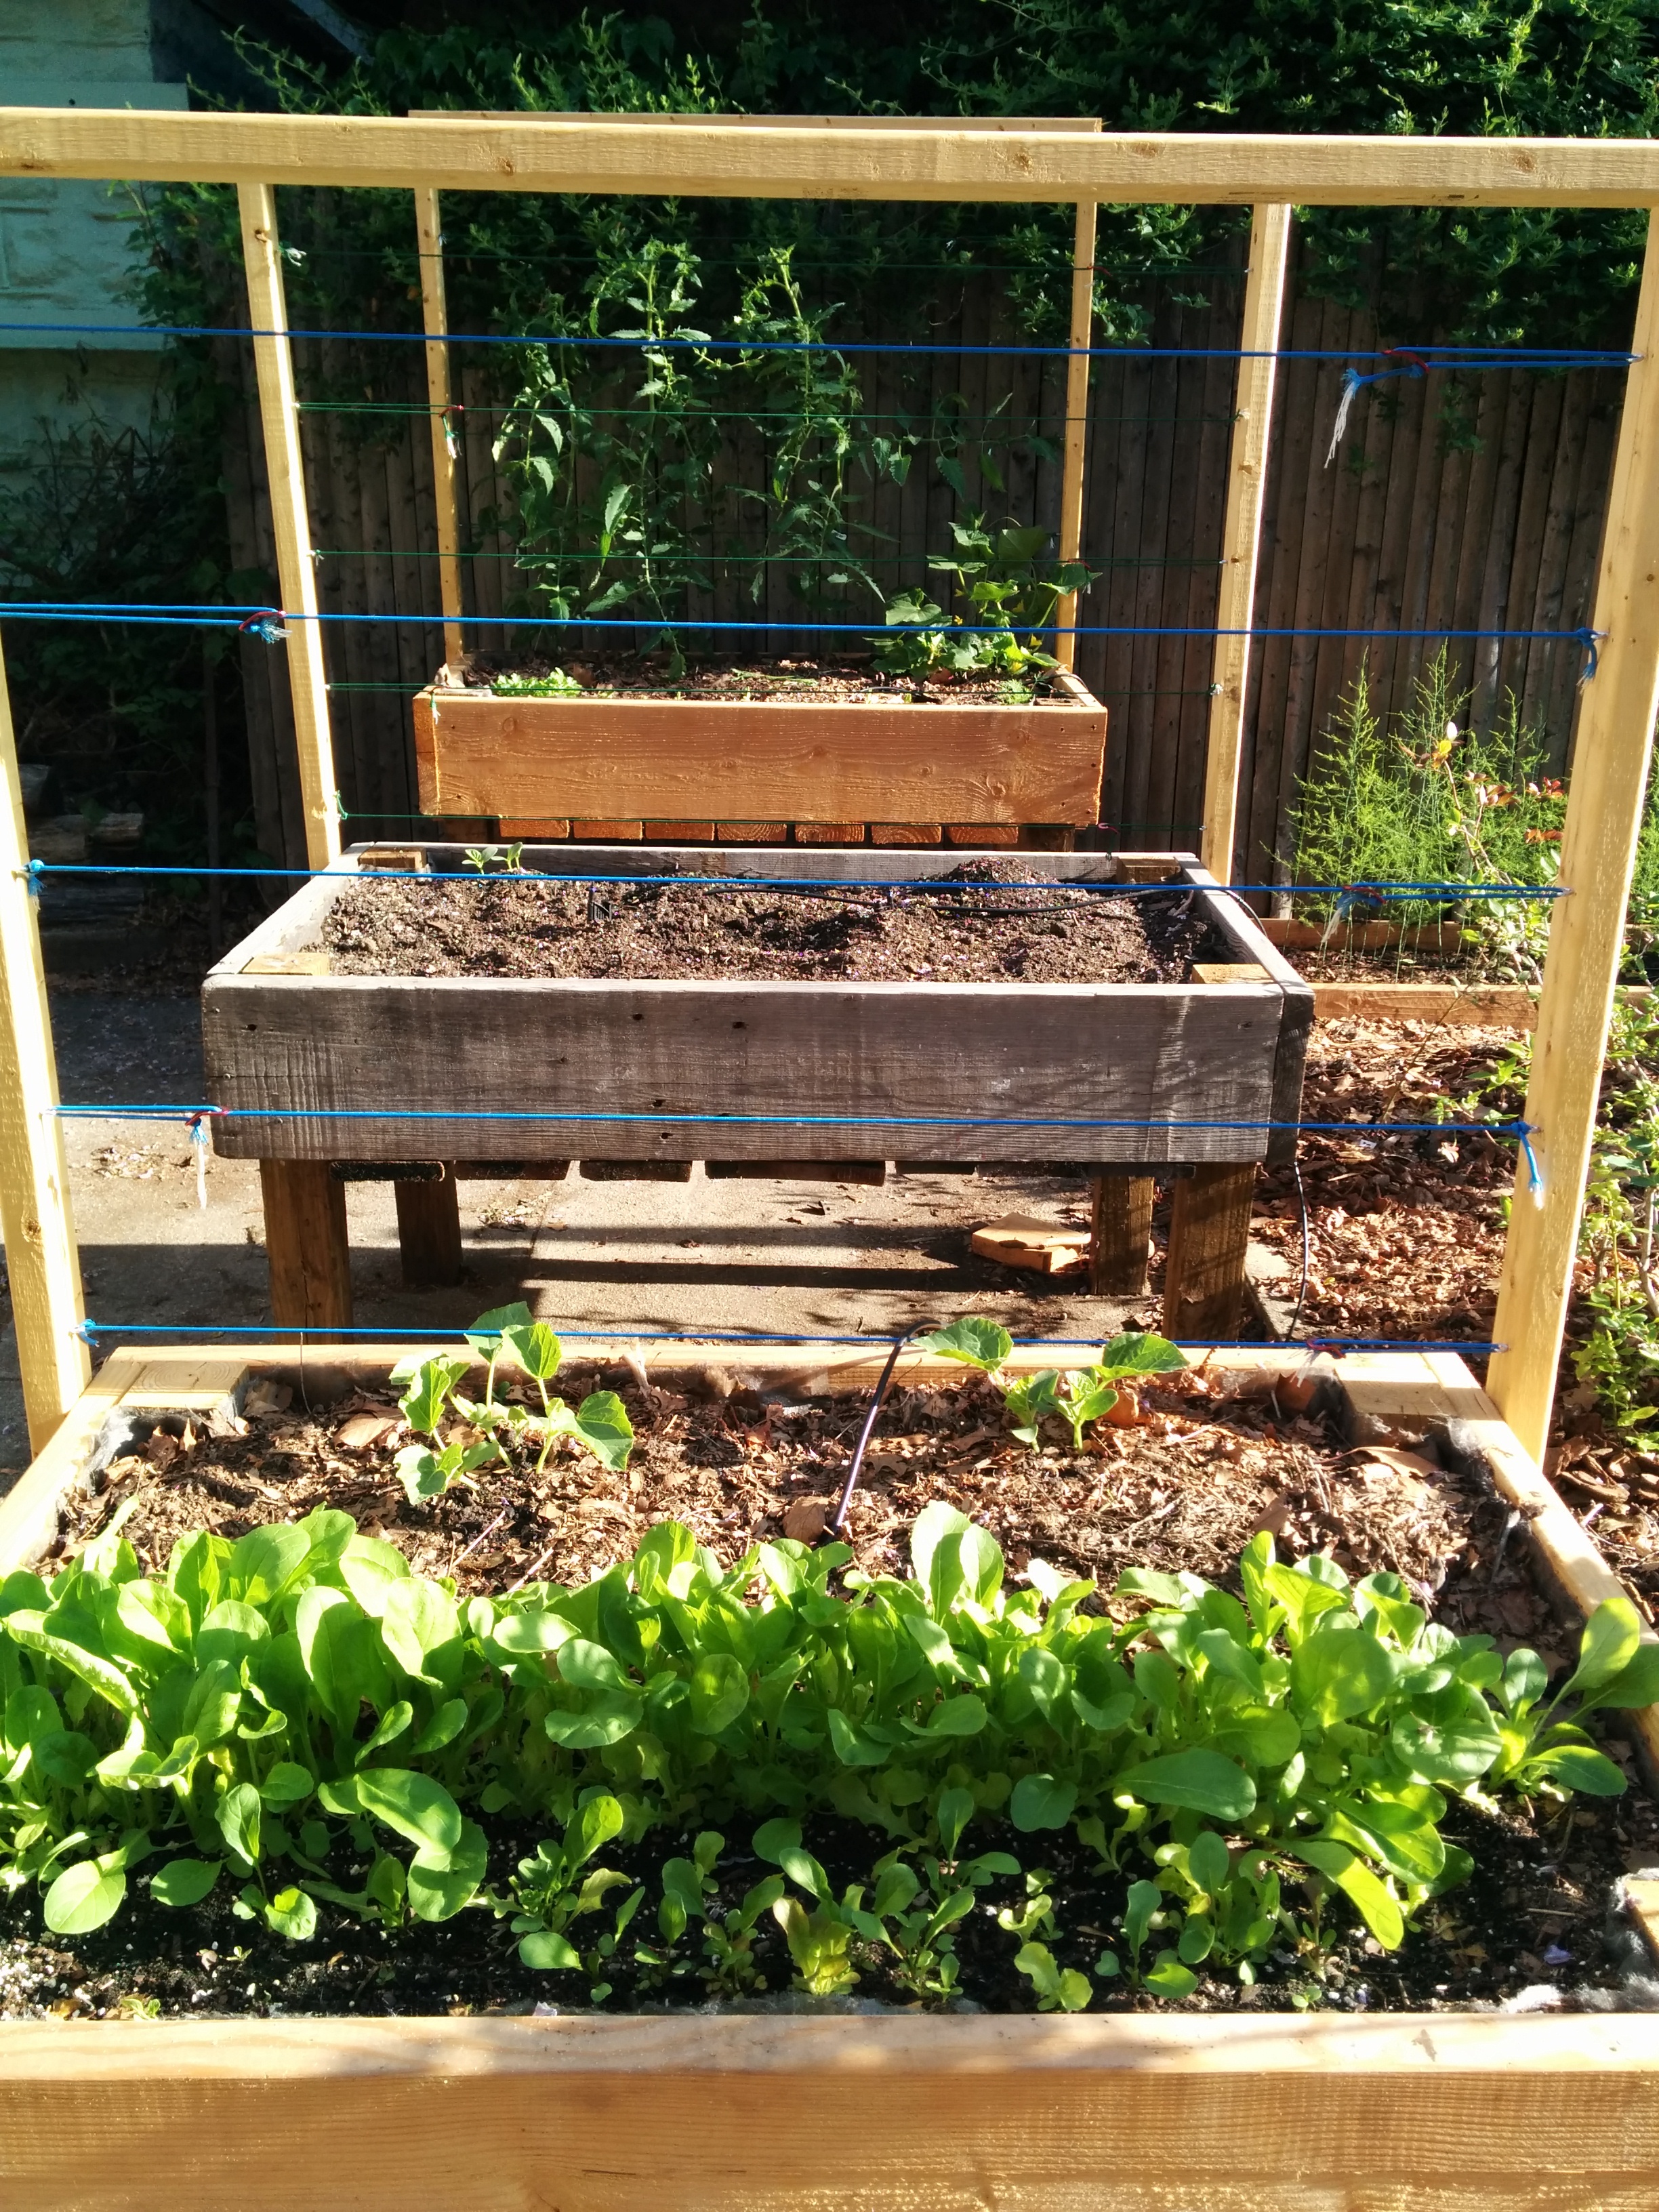
Here is a shot from last summer showing the trellis part


