Let me say 1st off that I have been looking forward to this post since last November when I started the orchard fence project by relocated several 2 to 3 year peach and cryptomeria trees which turned out to be a real pain in the rear. Starting in early March the fence construction got underway and about every available evening and weekend moment has been spent getting the fence project done. I had never built a fence before and had no idea when I started how much time and effort it was going to take to get it done.
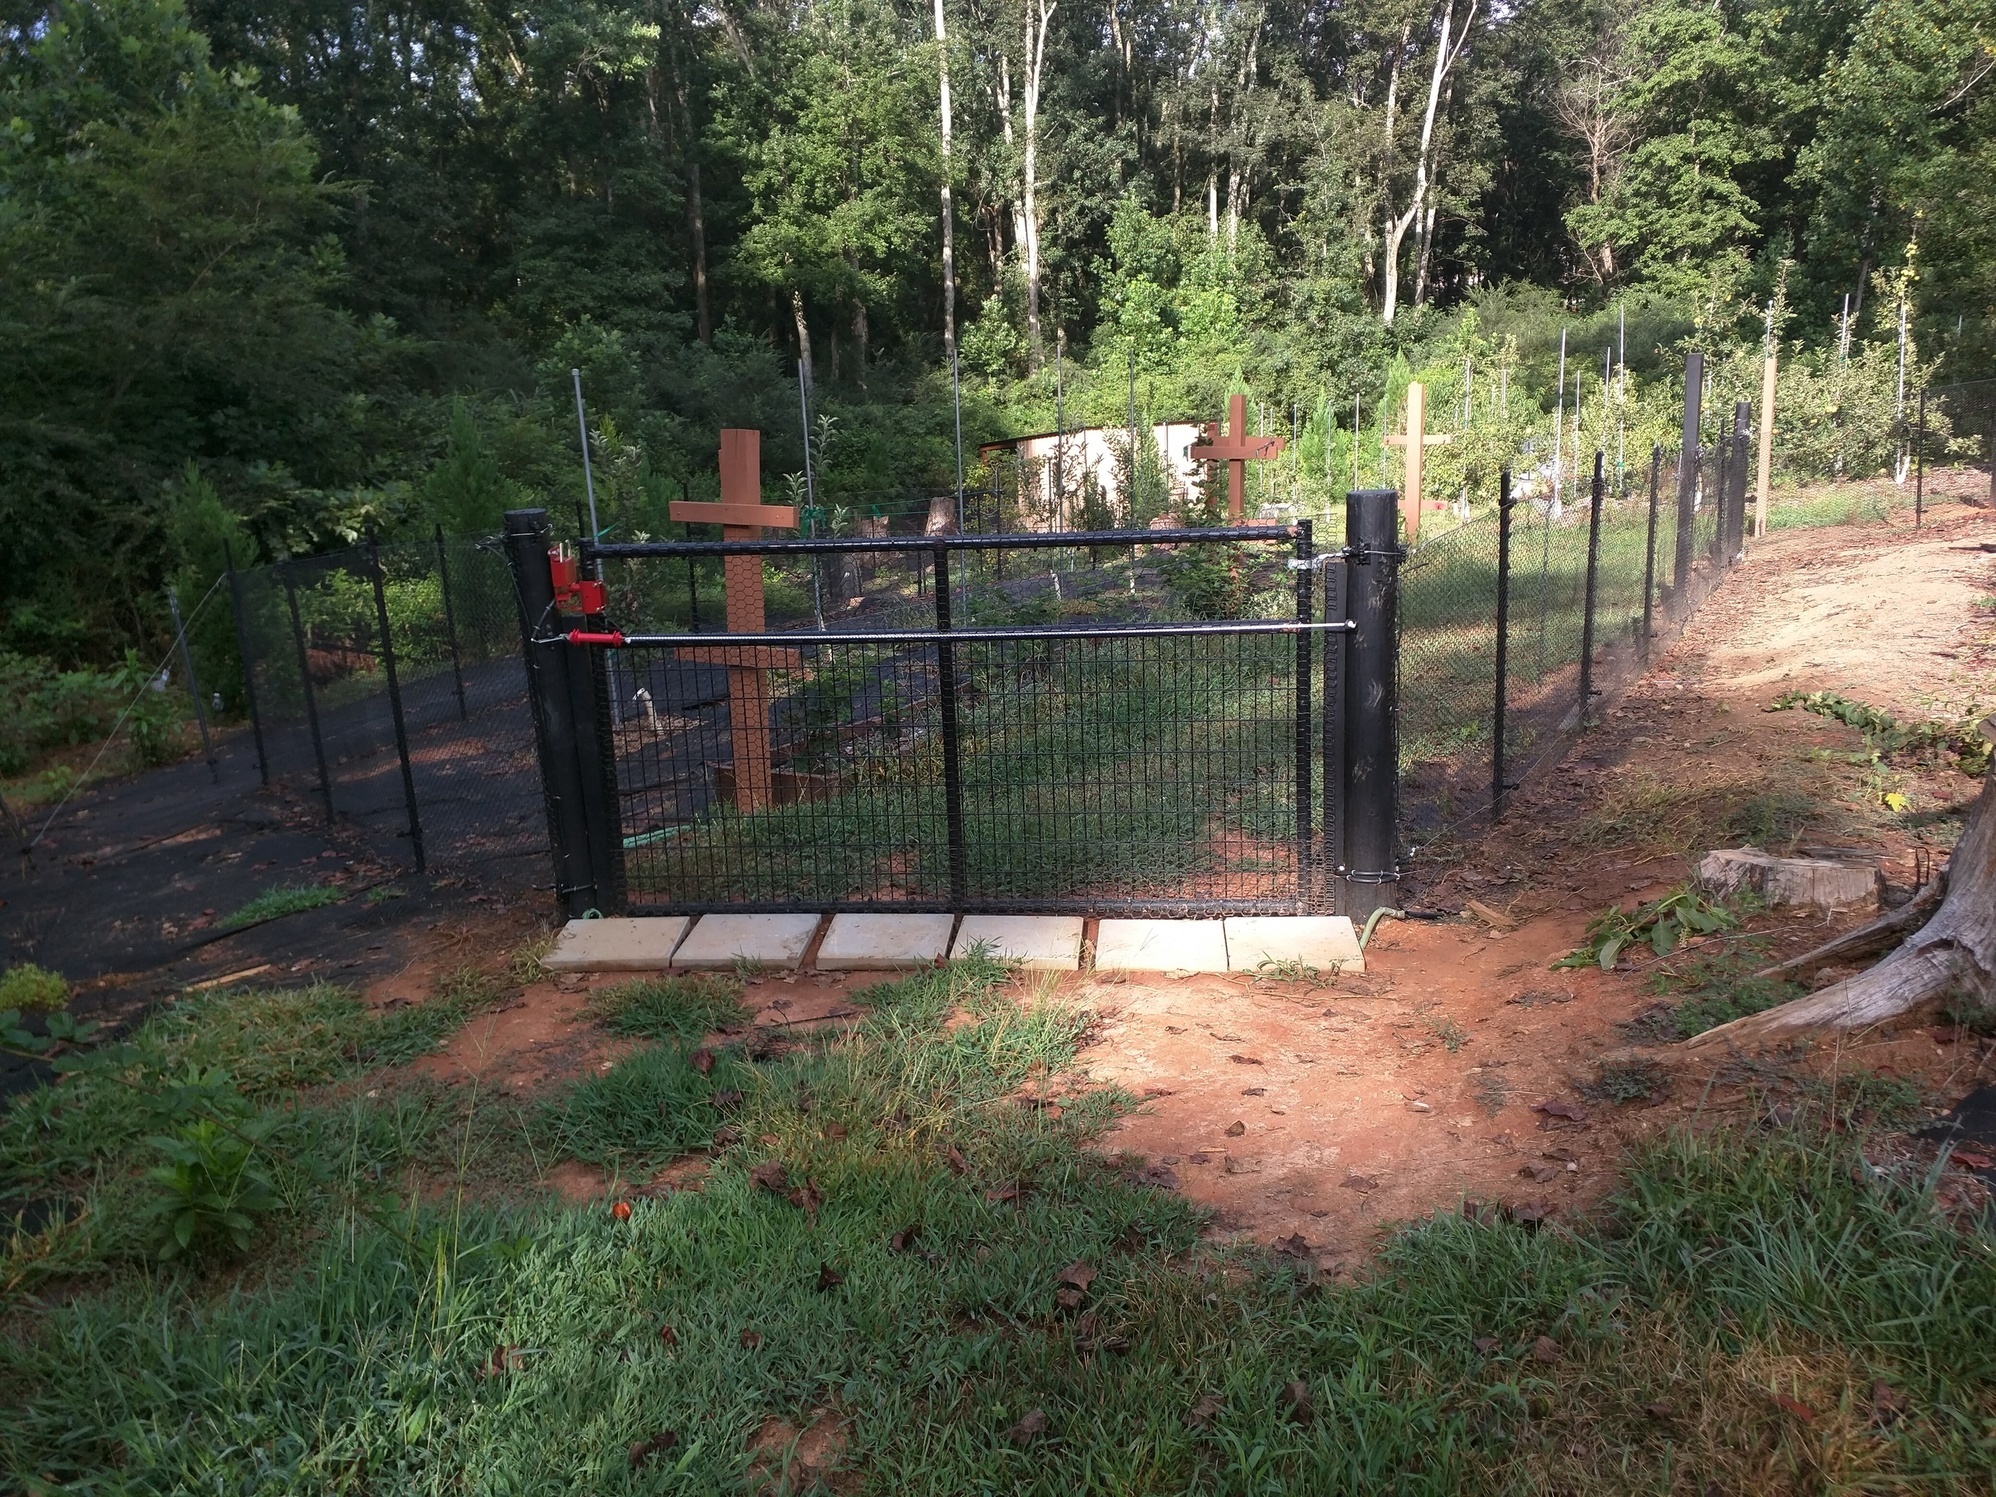
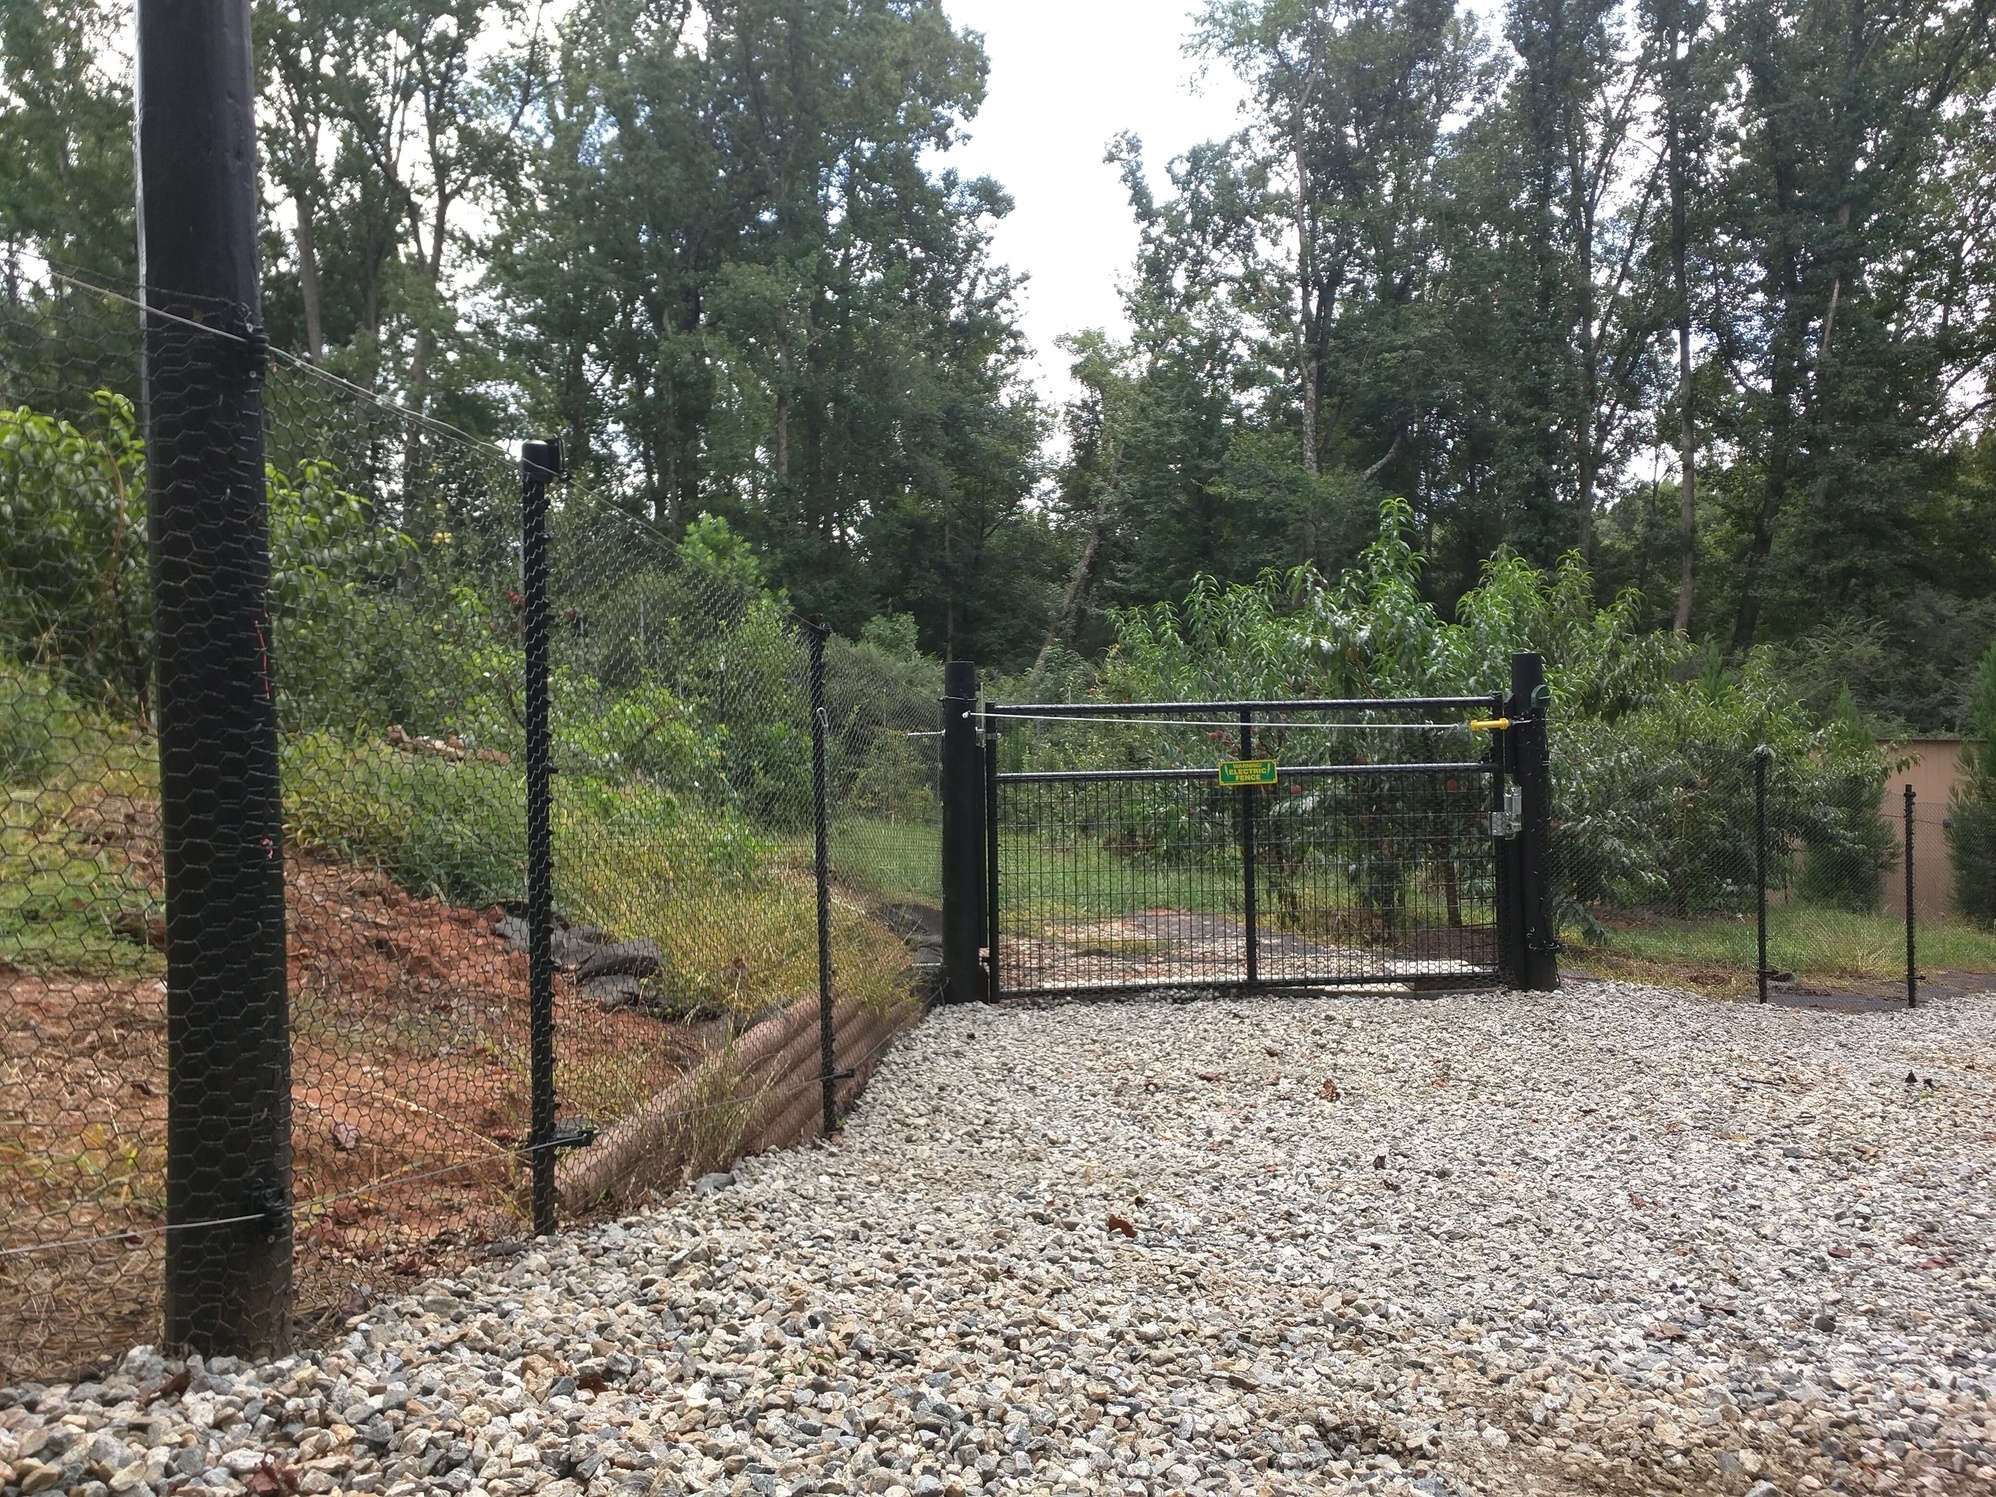
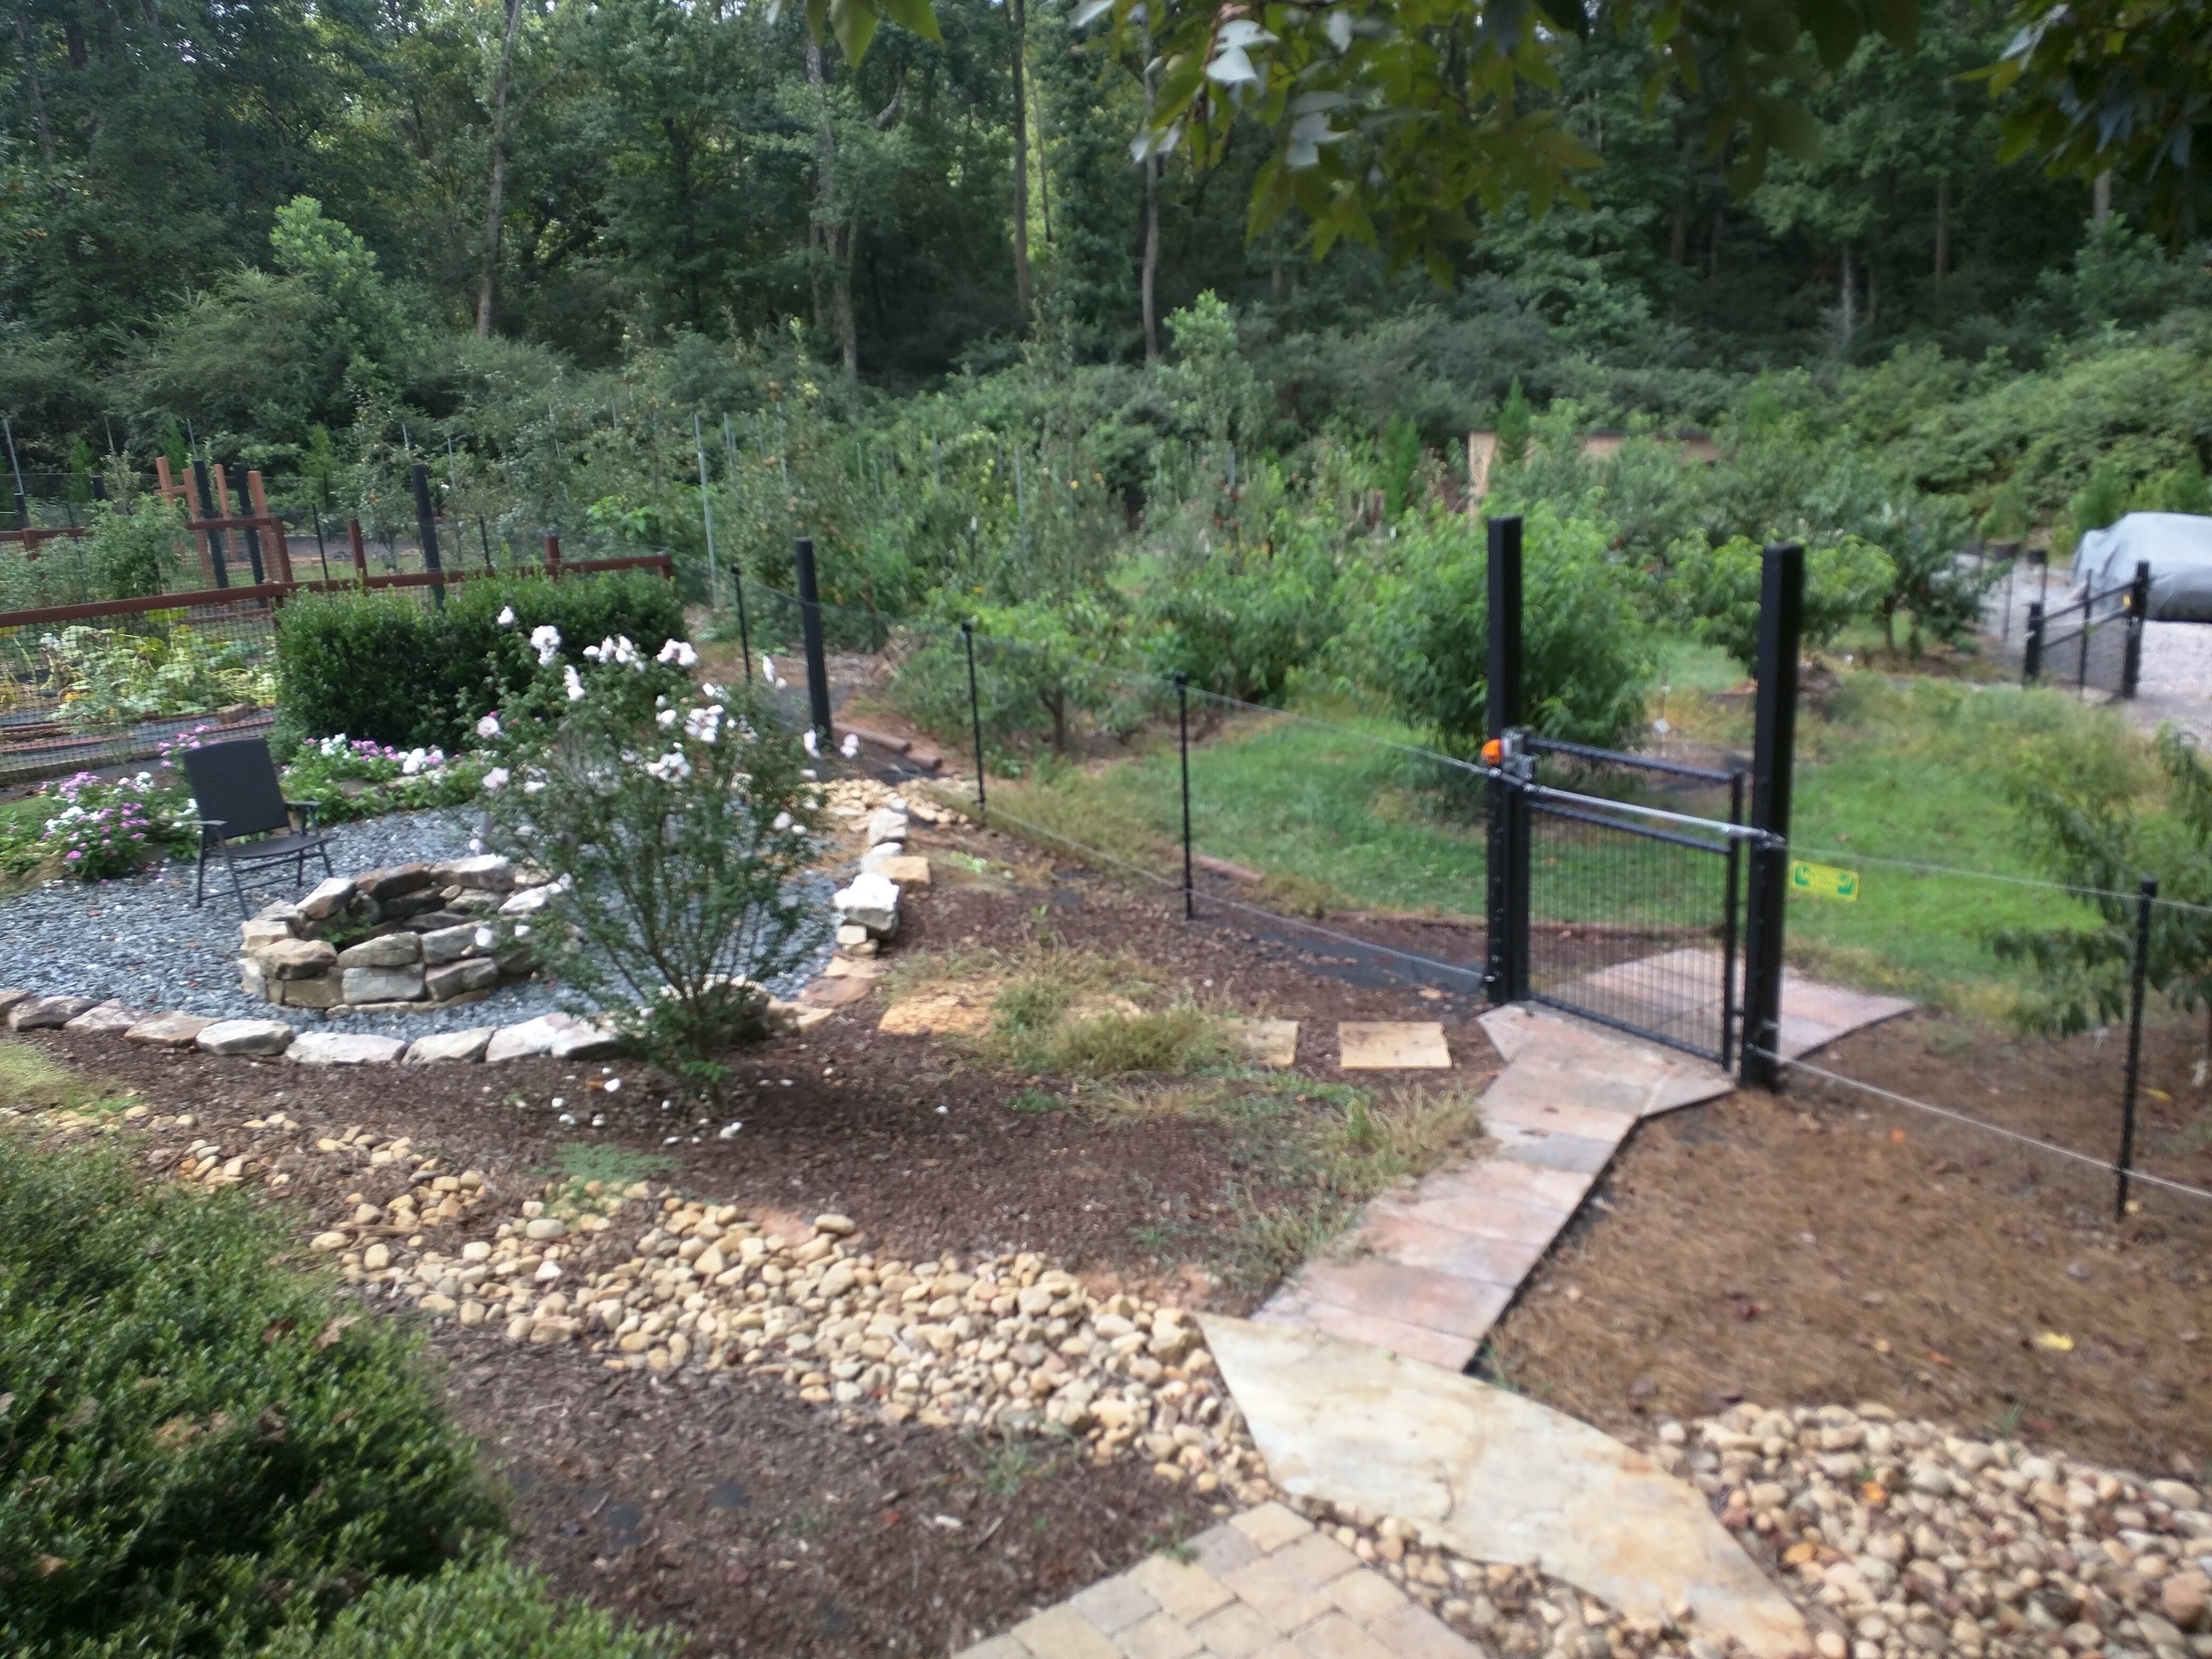
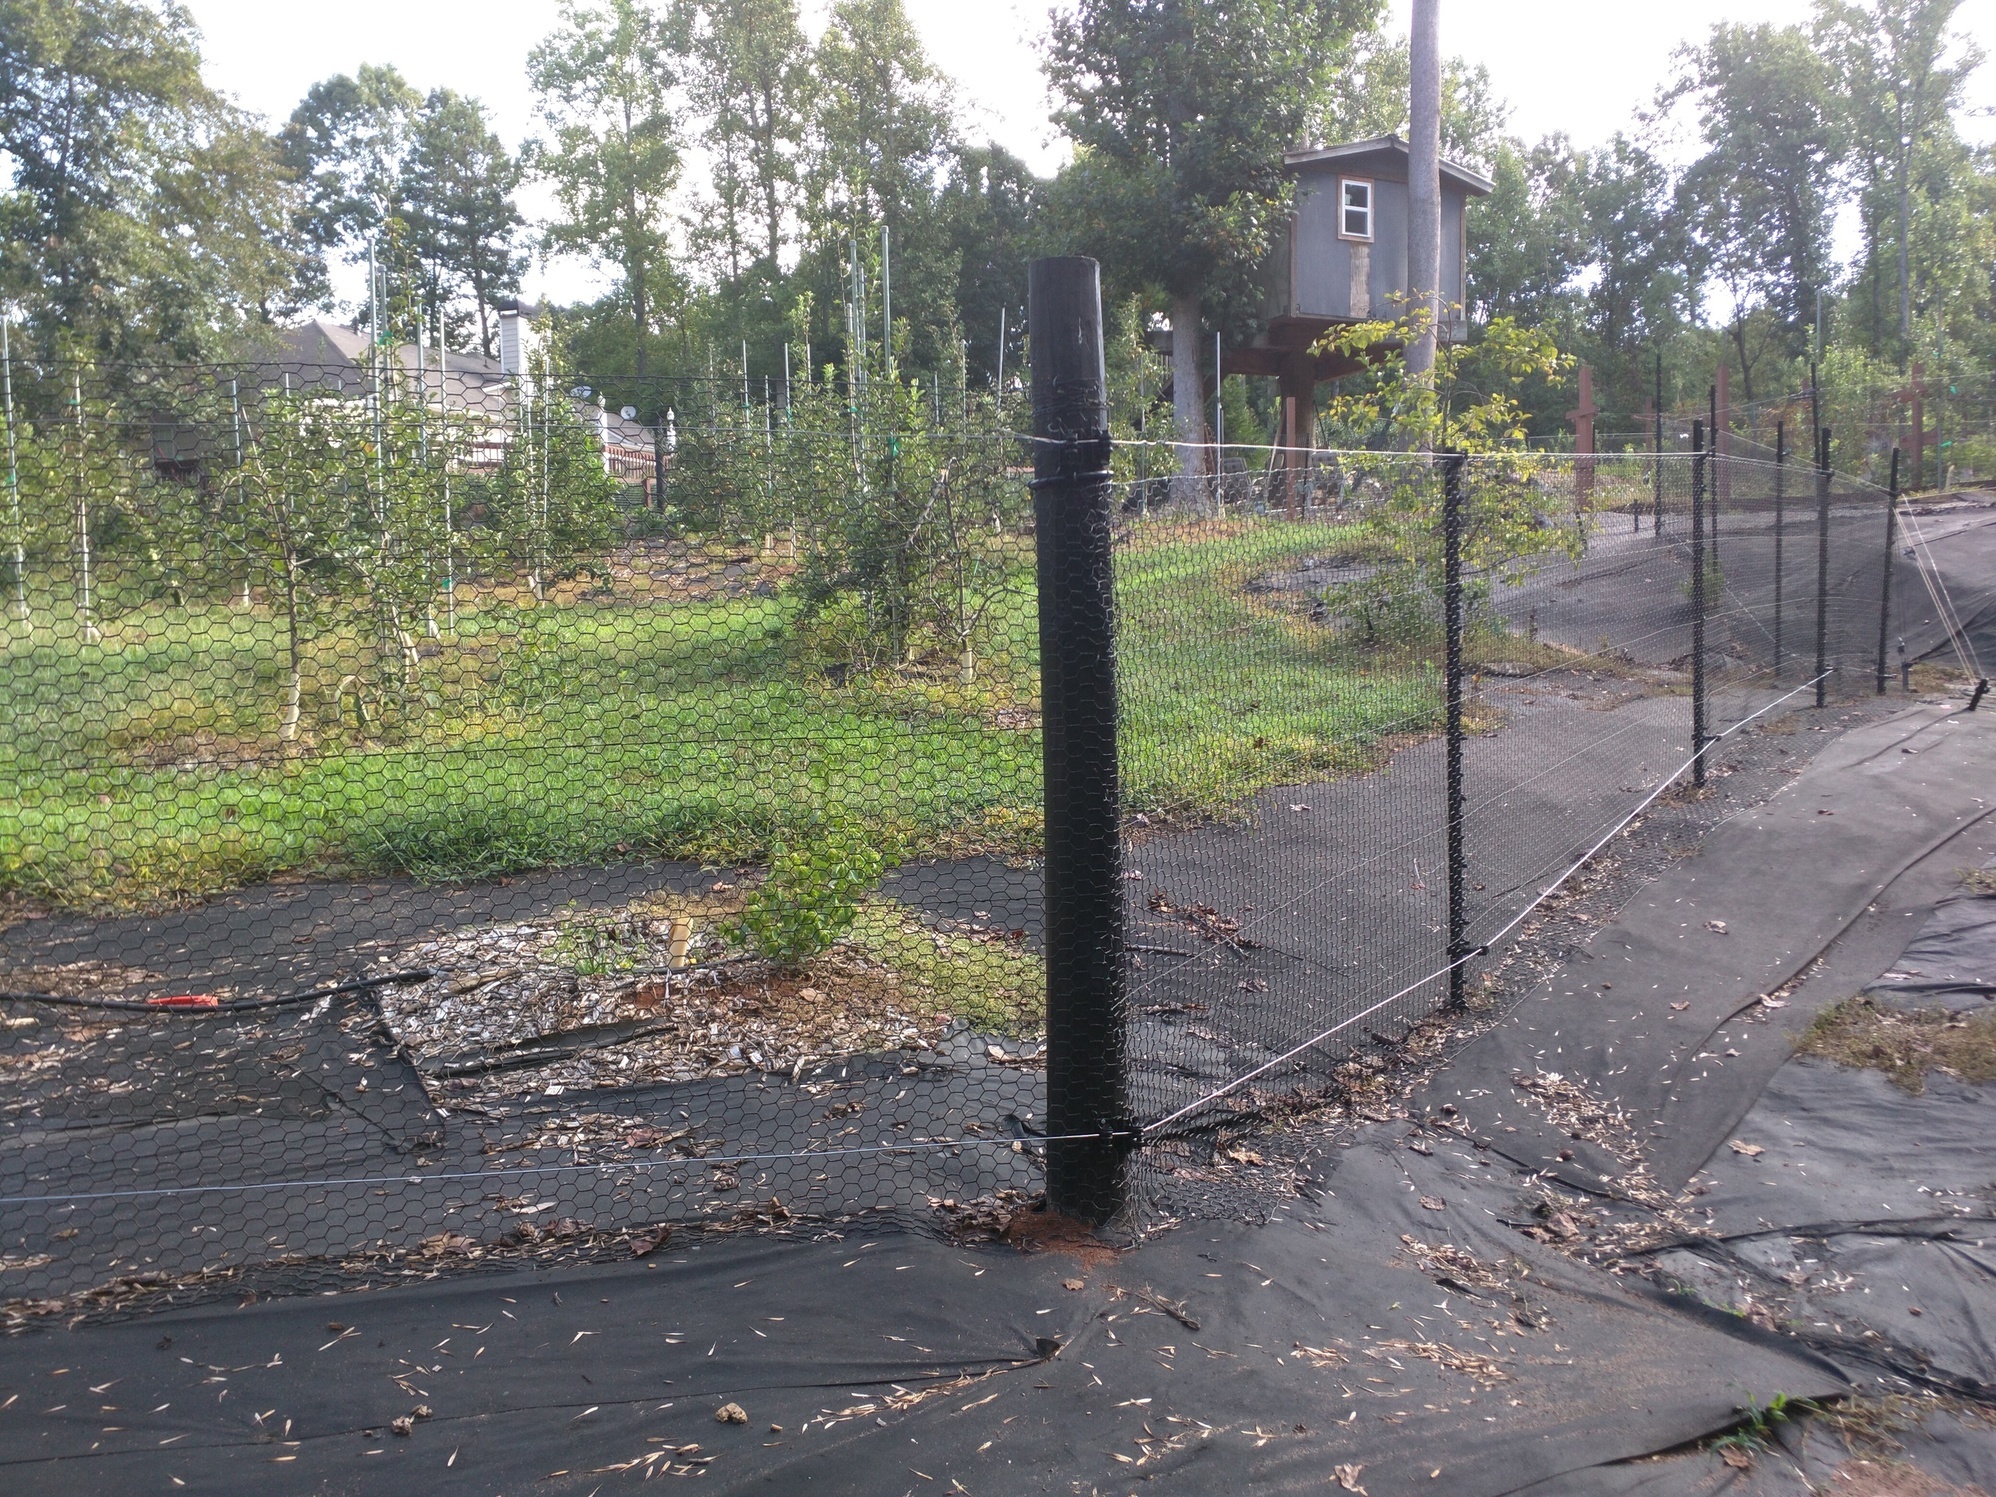
I have an large subdivision lot (almost 4 acres) and the fence starts right off my back deck so building something that was somewhat attractive and not an eyesore was the requirement to get the wife’s ok to proceed. The fence is around 475 total in length with 2 drive thru gates and a walk thru gate and surrounds around 70 (mainly dwarf) fruit trees. I used 5 foot - 17 gauge vinyl coated black chicken wire that has 1 foot apron. Most of the fence corners were attached to concreted 8 foot posts and I used t-posts painted black between the corners. I used 6" landscape staples (probably around 2K in all) to attach the 1 foot apron to the ground. I have a wire along the top of the fence and another about 8" off the ground. I know this will not stop deer but they have not been a problem. It’s been all the squirrels, ground hogs, coons and possums that have been stealing the fruit I am trying to stop. So far, since I turned on fence charger it looks like the thieves have been kept at bay. Here are some pictures of a few sections of the fence:
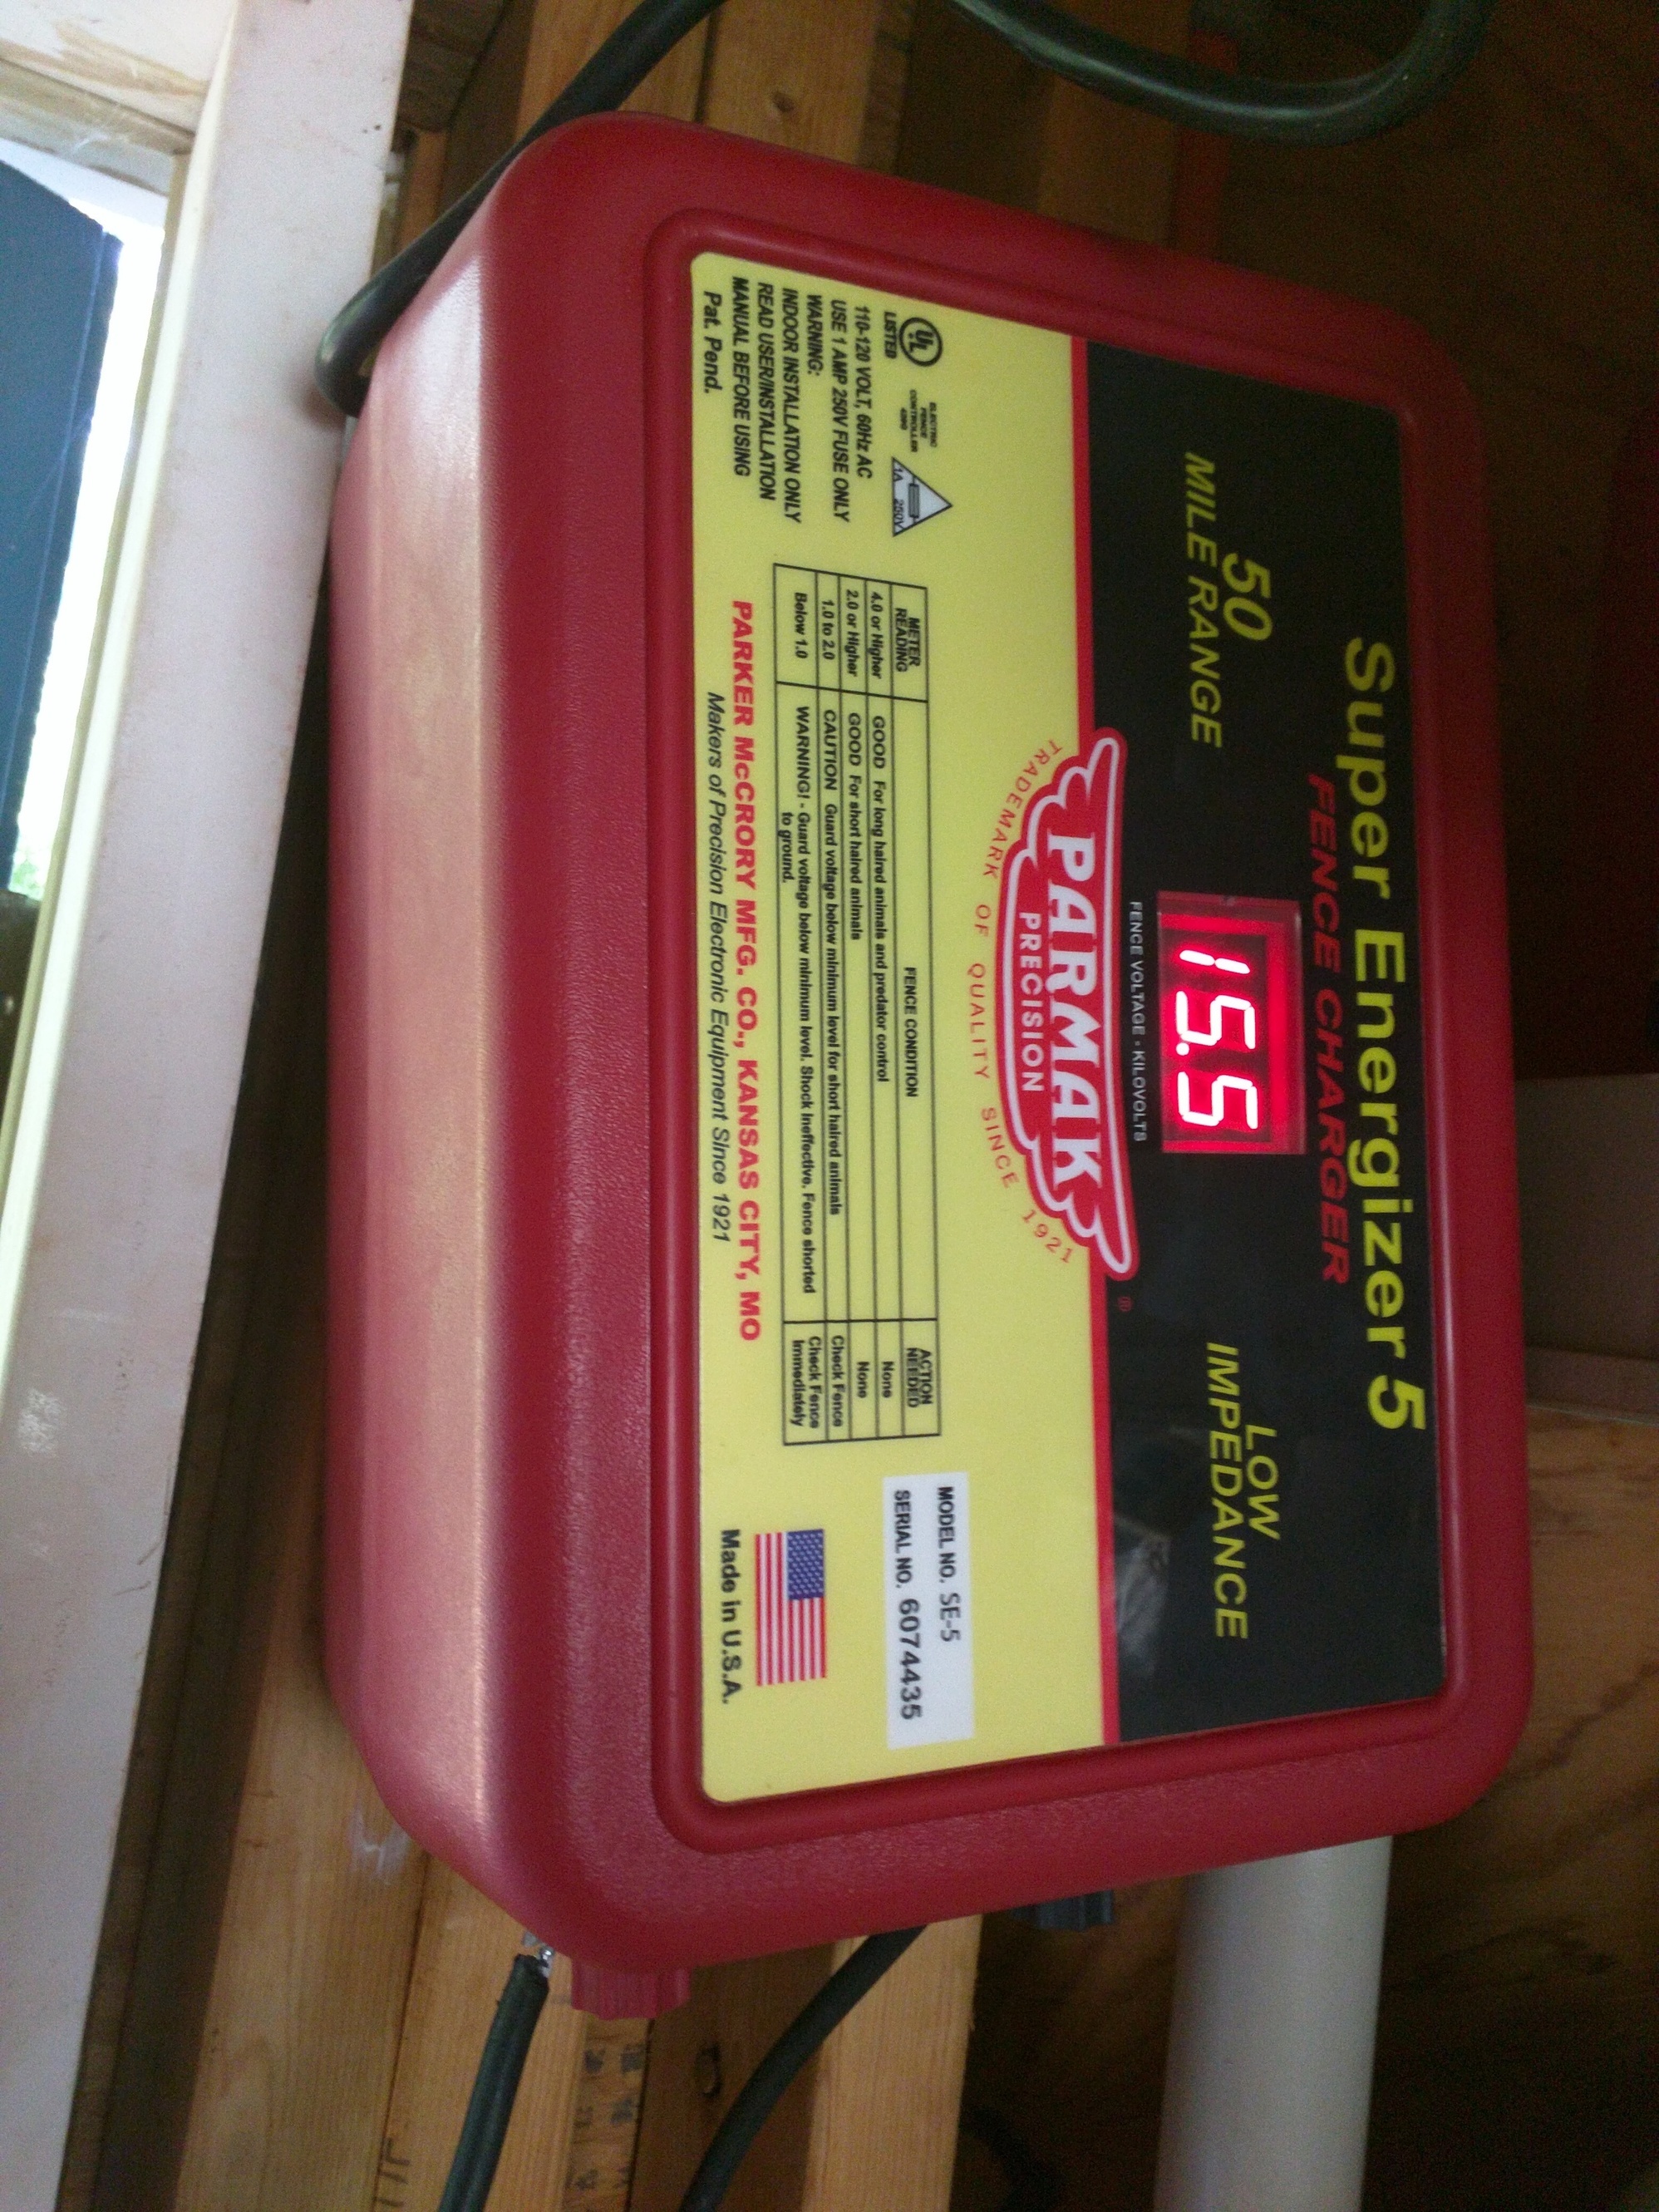
Hambone, got me one of these Parmak 6 joule chargers. It cranks out the volts, right now I am getting between 12 to 15 kilovolts. Both of my fence wires are hot, the charger is grounded by 4 - 8 foot ground rods.
Awesome. I know with every protection attempt I have done, I feel a little more comfortable with gardening/orcharding, knowing I’m more likely to get the reward of my labors.
Looking over the pics I thought of Fort Knox.
Looks great, I wish I could wave a wand and poof I would have a fence like that too! Hard work rewords. I bet your glad that you have that out of the way. Looks like a nice charger too.
Super Job. Looks better than professionals could have done.
What kind of paint did you use to paint your T-posts? I’ve never been able to get paint to stay on metal which is kept outside if I brush it on. It always seems to start to peel off after a year or two. For some reason, I’ve had the best luck with spray cans, but of course that’s pretty expensive.
Olpea, I used paint that was made to be used on metal I got from Sherwin Williams. I ran out and used spray paint on the last few T-posts. They pretty much look the same but we will see which one holds up longer. I used asphalt sealer & dampproofer made by Henry on the fence posts, it worked great, I did not need to thin it to paint it on with a paint brush. I am thinking it will hold up longer than exterior paint and will help protect from wood rot.
Johnnyapples, you have no idea how ready I was to get the project done, was reaching the burnout stage bigtime.The last 2 months I was coming in every evening drenched with sweat from working out in the GA heat and humidity but I am happy with the results now that it is done.
I like how you used the fabric underneath to circumvent some weeds? Is that woven fabric or non woven? How did you drive those t-posts in the ground? I have clay soils and still trying to figure out how to drive t-posts in the ground.
The fabric is just regular non woven, but pretty thick fabric I got from Sams Club, a 4 x 300 roll was around $30. Best price I could find and needed a bunch of it. The life span is probably 3-4 years.The fence was quite an undertaking but has been worth the investment for 2 years so far - I actually get to keep the fruit I am growing!
My latest experiment in weed block is putting down used carpet upside down that I have been collecting for free from Craigslist, etc. It is on the ugly side but is working so far, the water penetrates thru it and it stays in place. Here is a picture of some that has been down around a year surrounding some pear trees.
Yeah I have clay soils so pounding with a manual tpost driver does not sound good. I have looked into gas powered tpost driver for around <500 $ from homedepot as an option.