Grape breeding 101

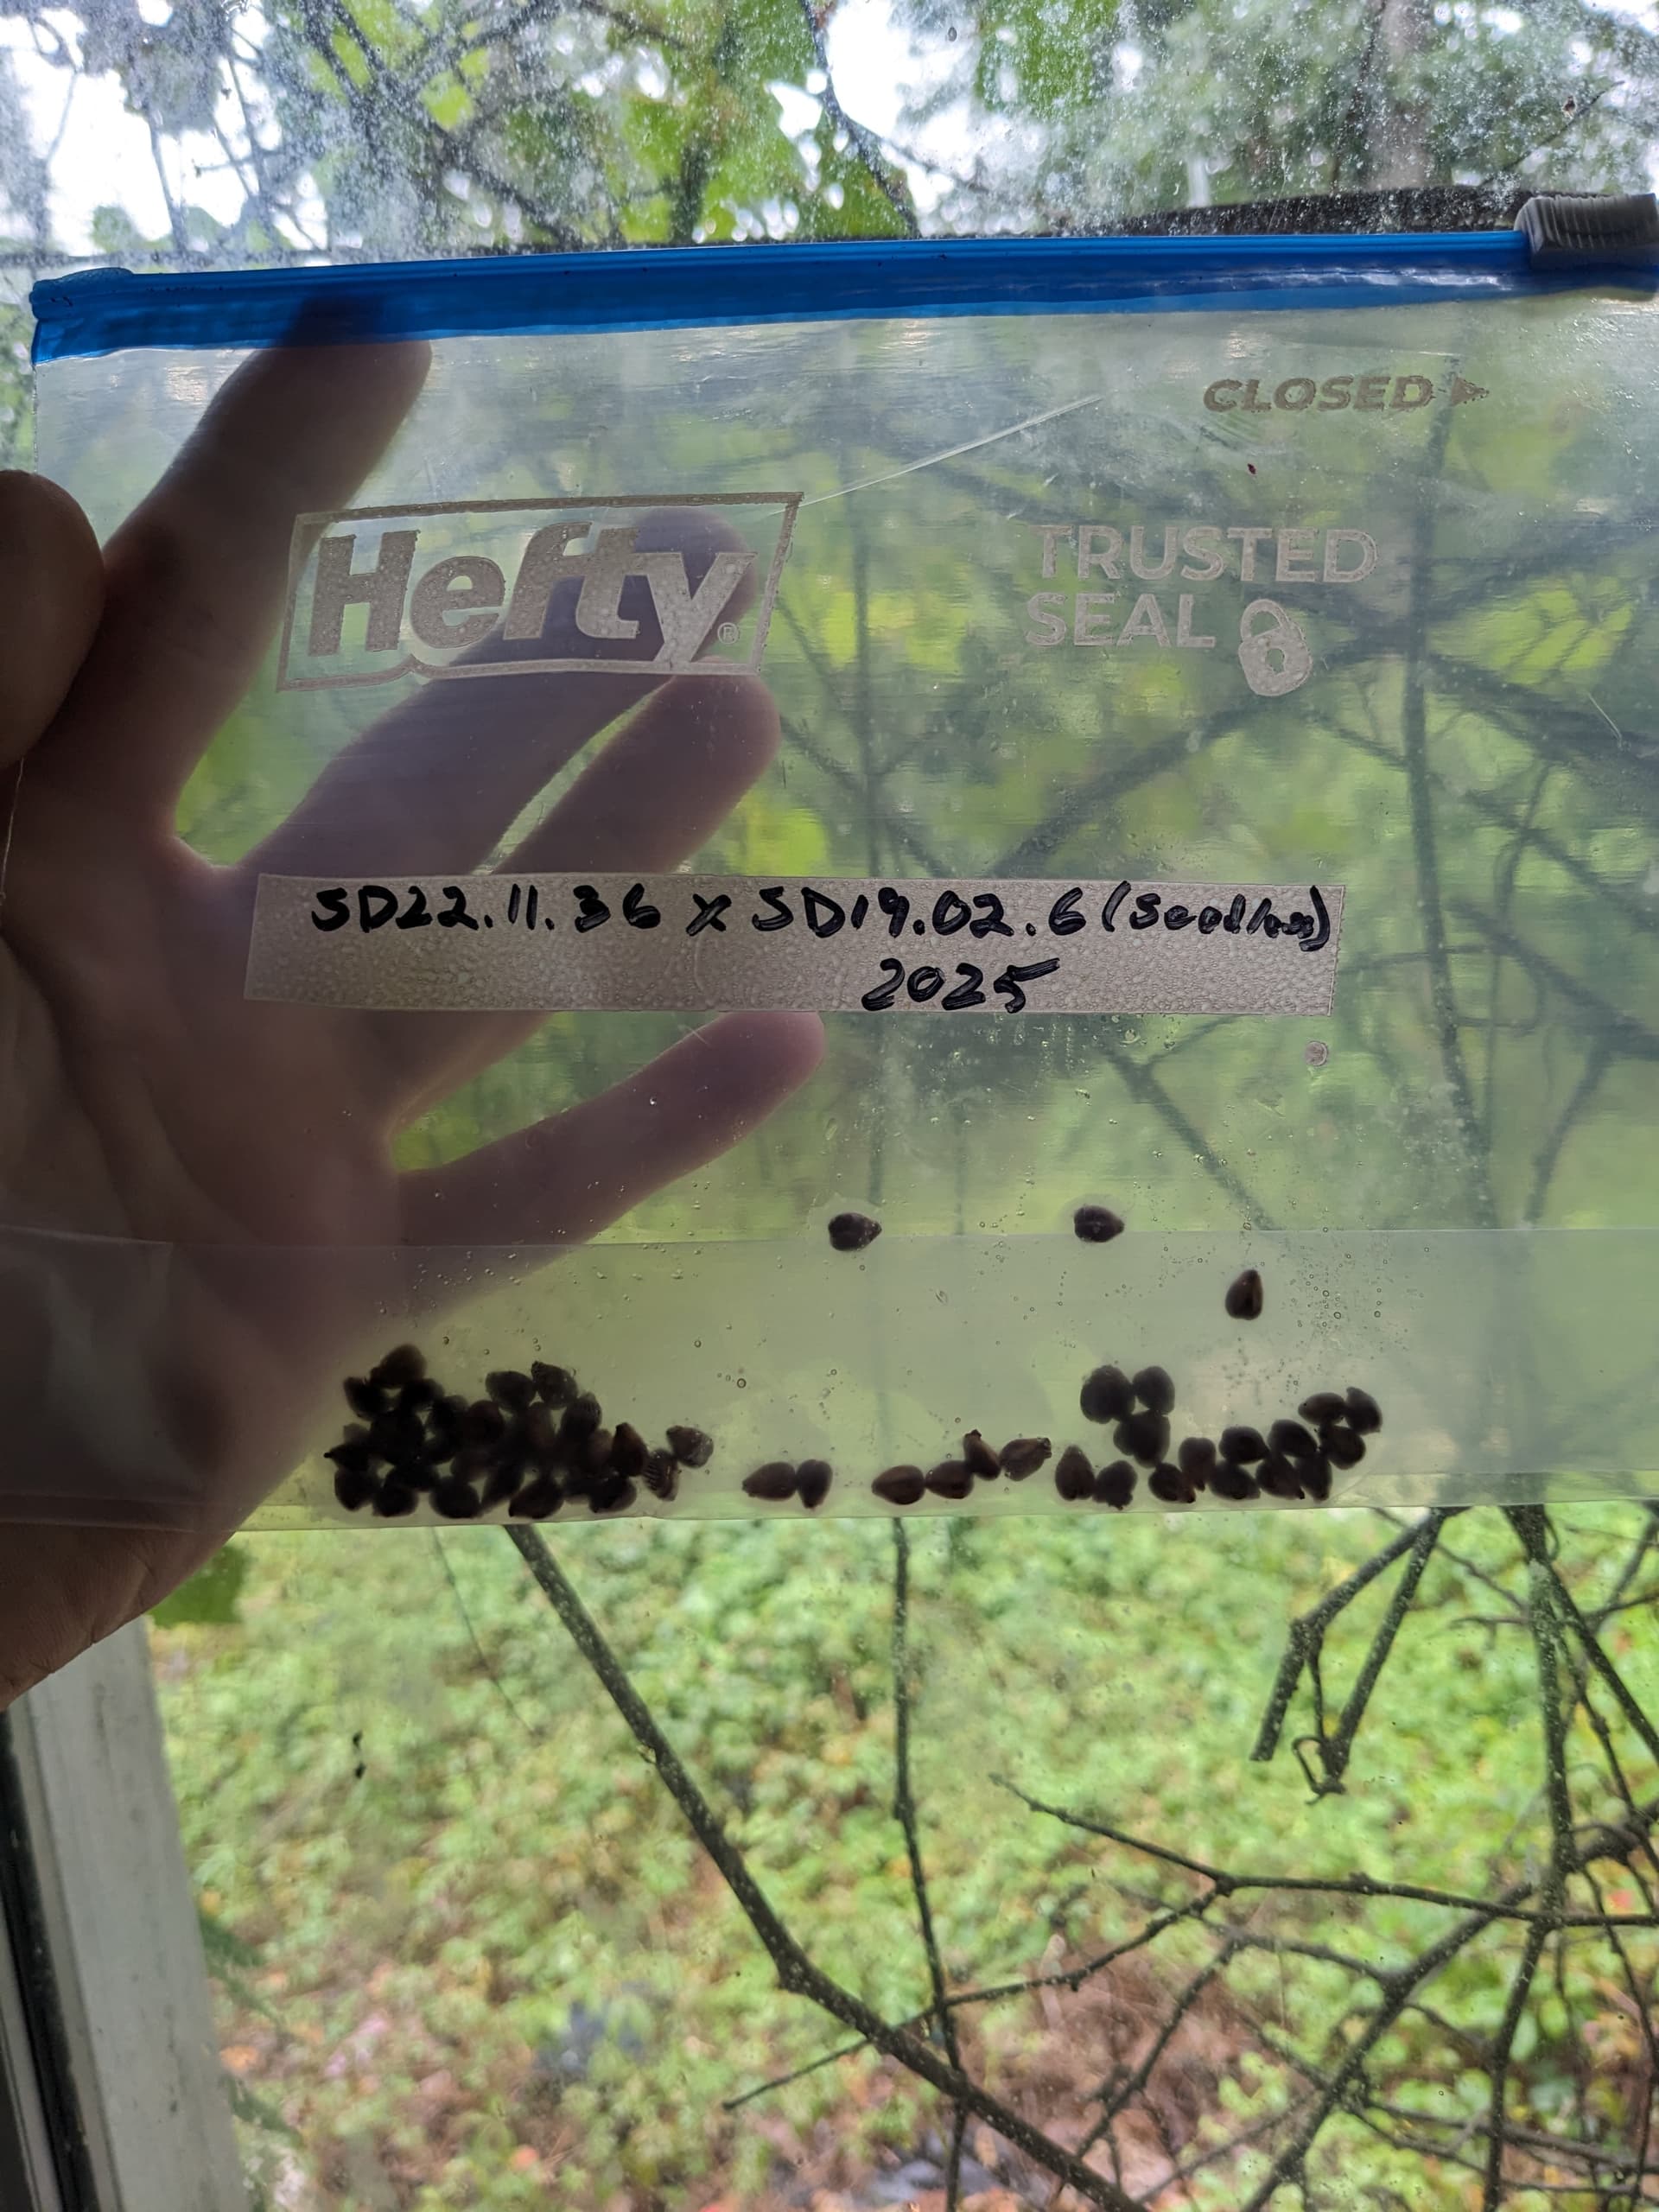
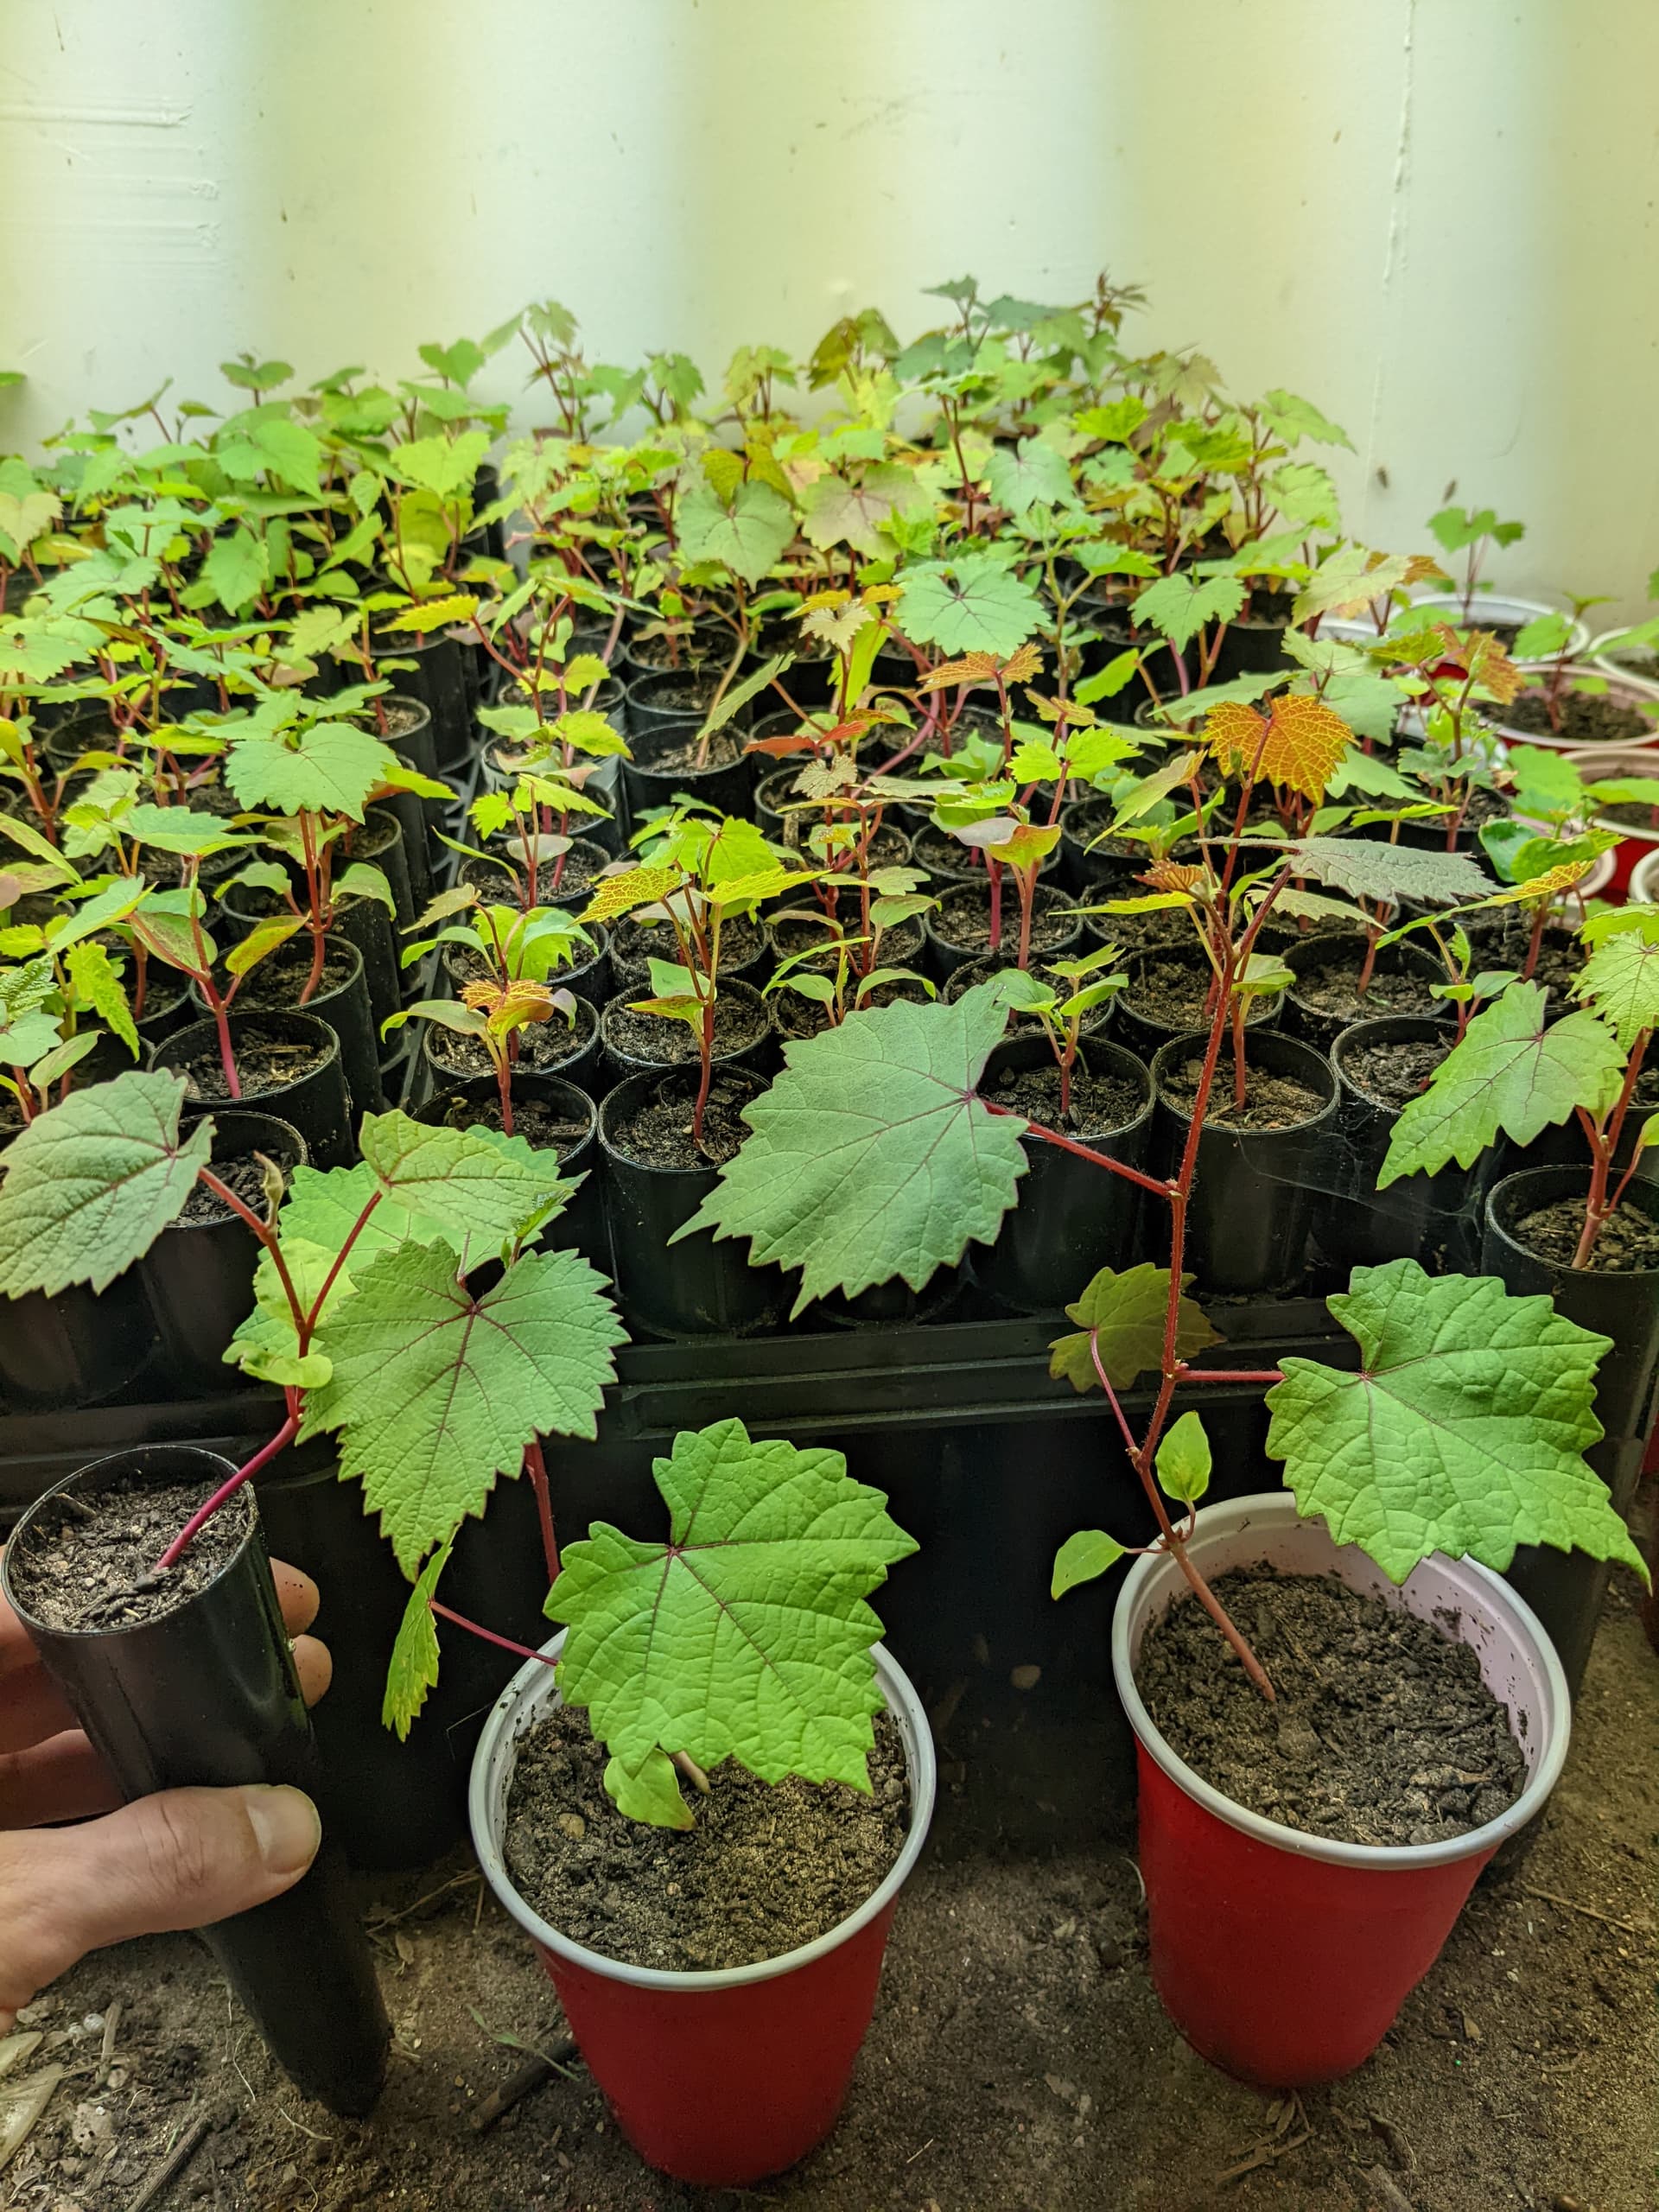
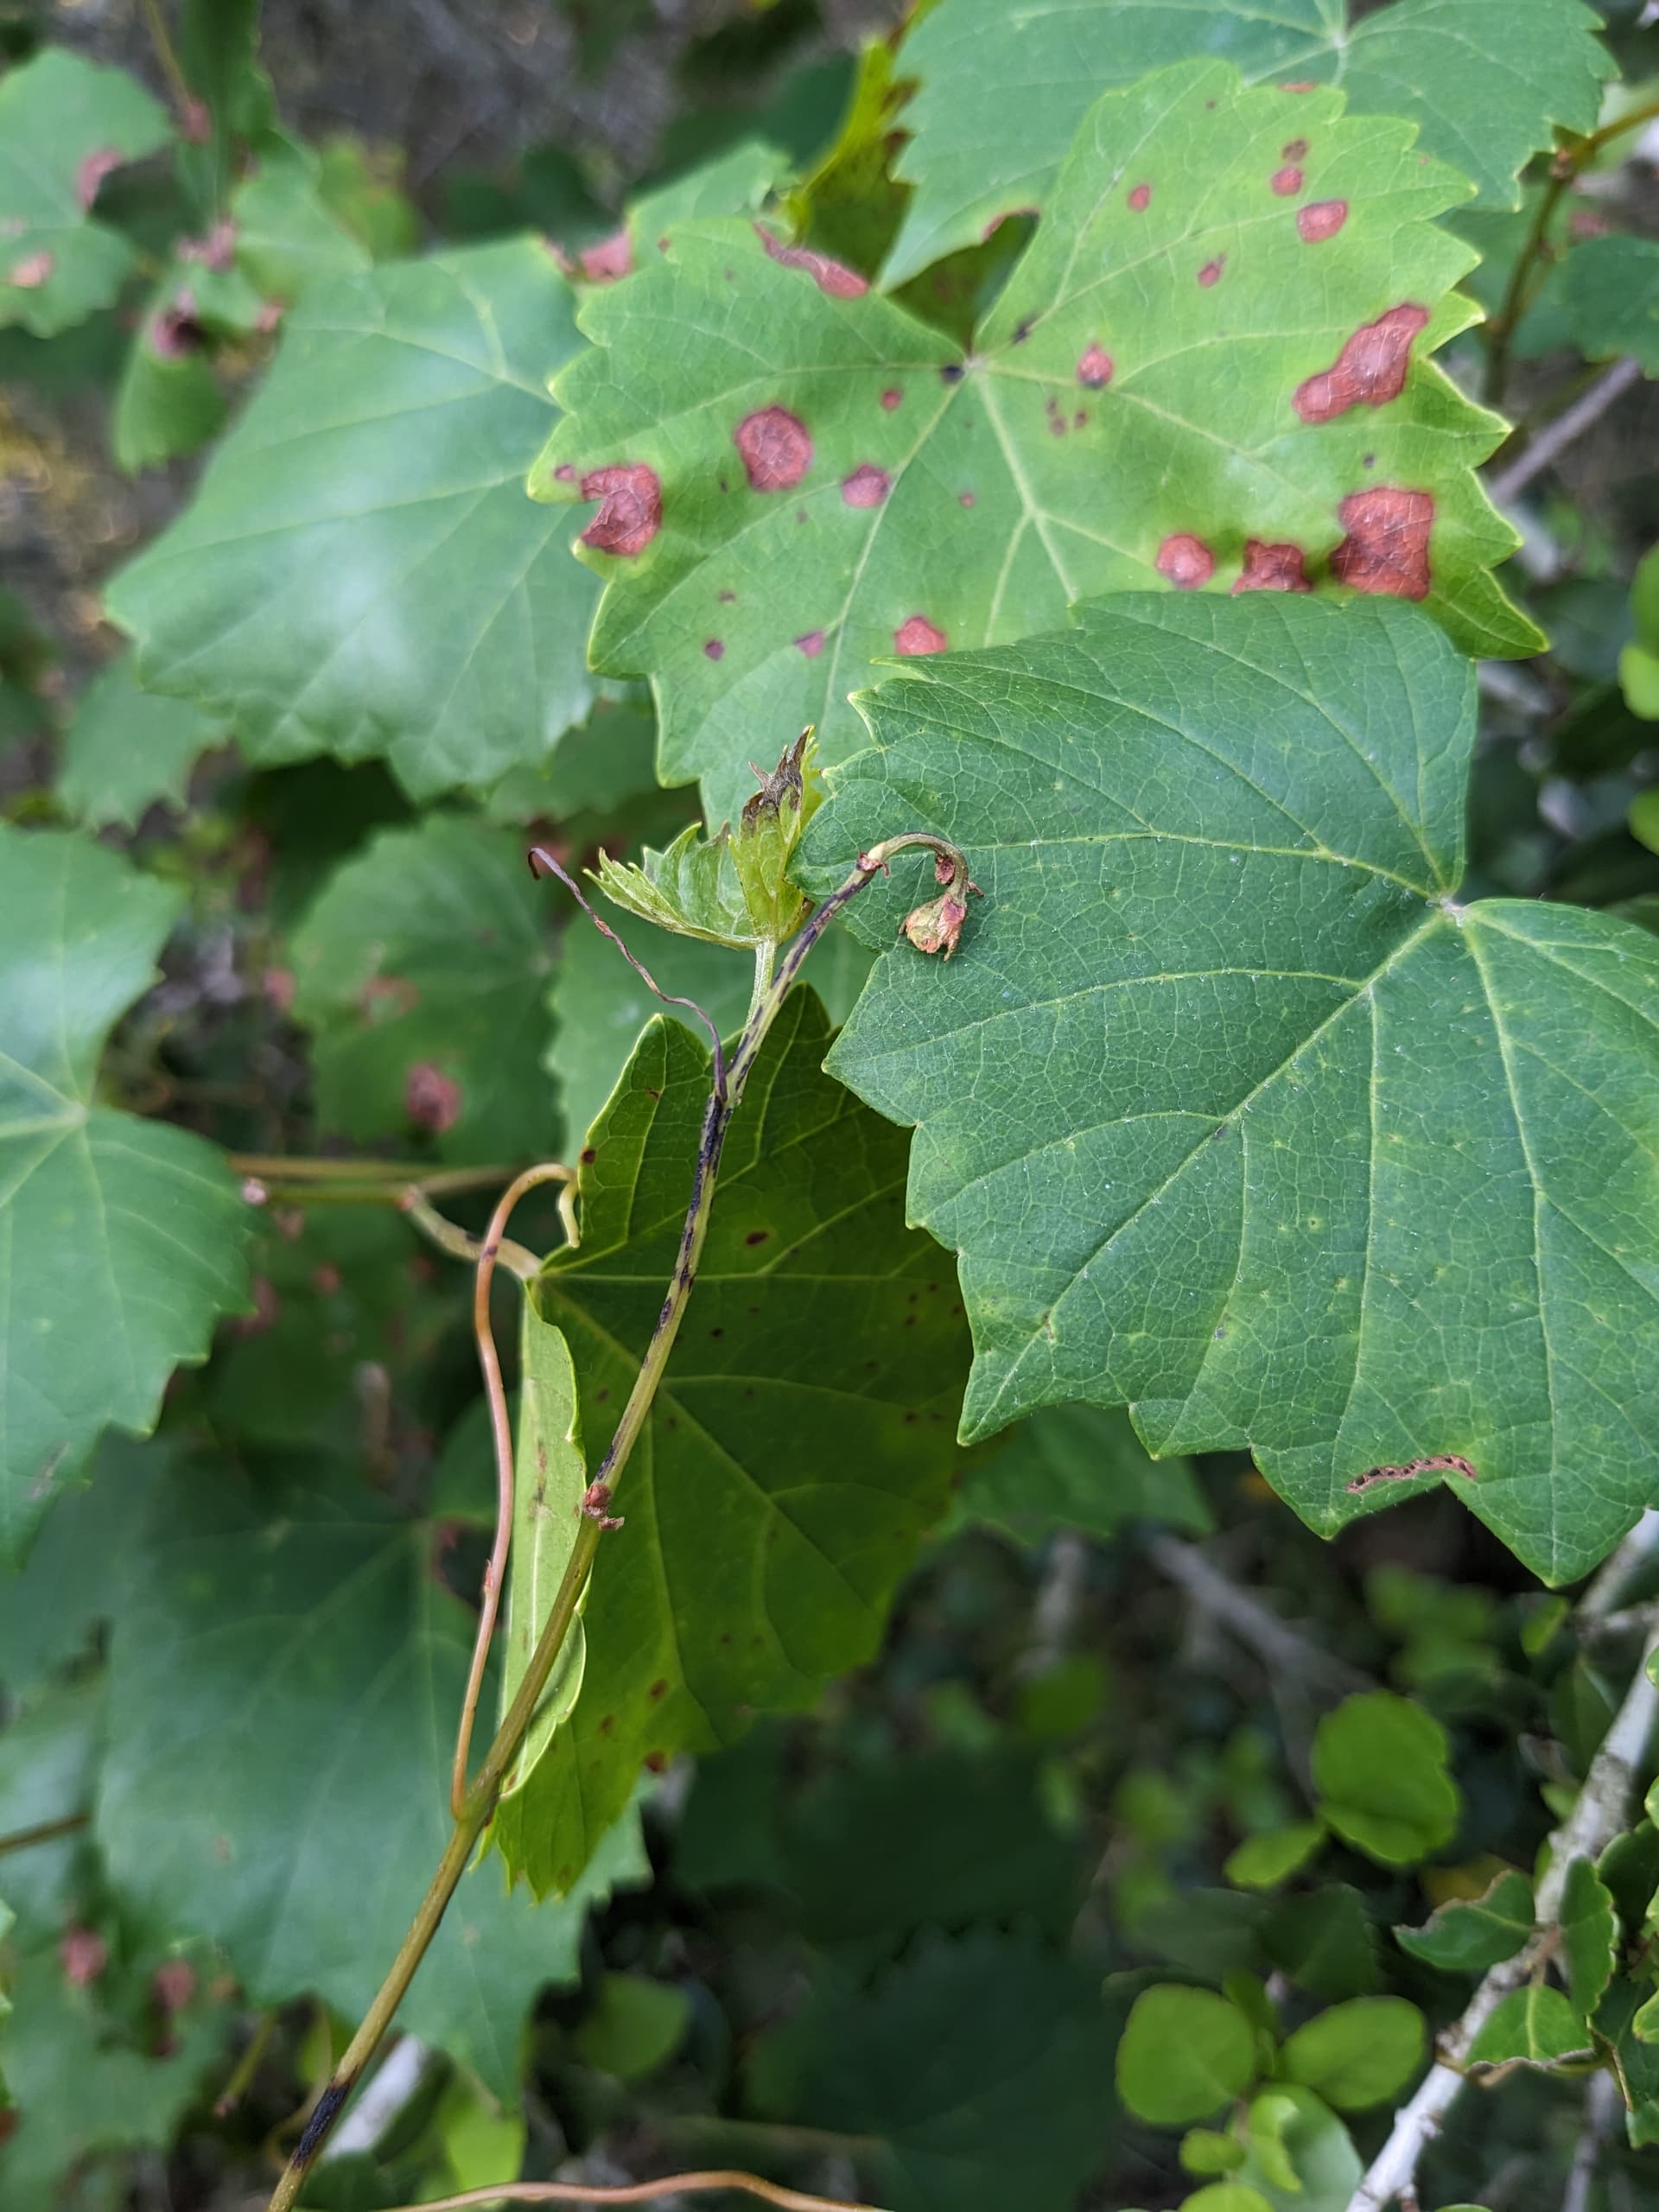
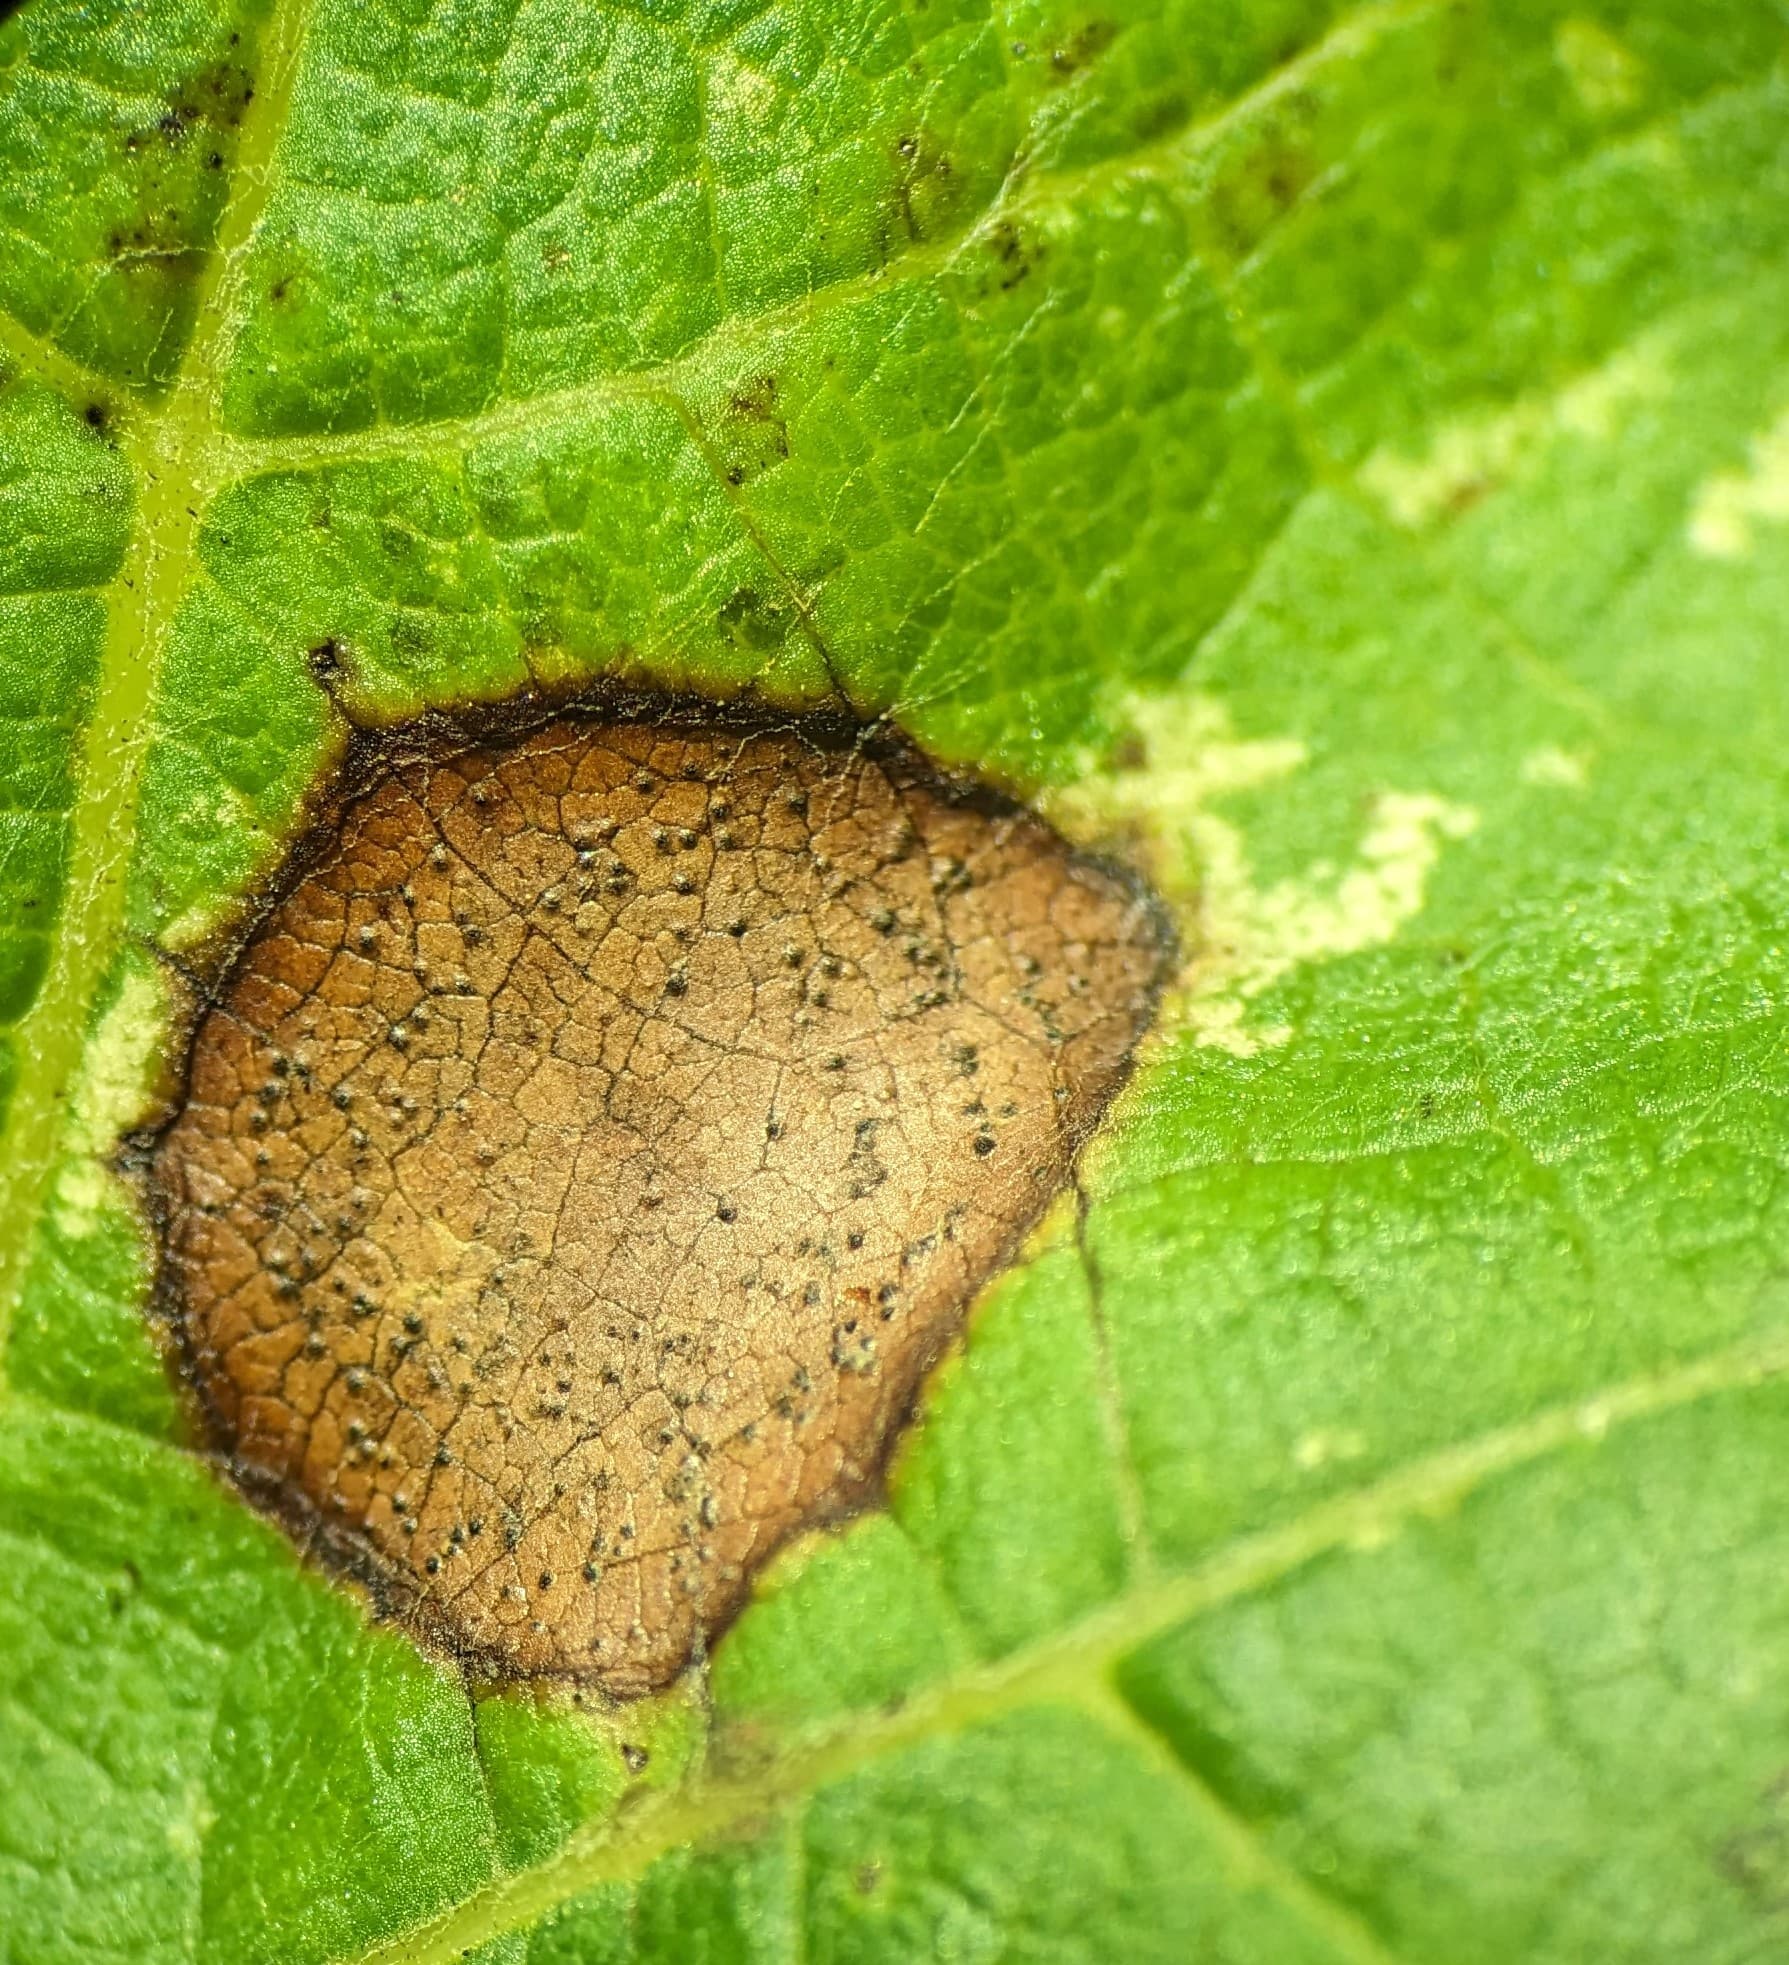
I looked in the archives and didn’t see anything similar to what I have in mind, so I thought I would create a thread about how to breed grapes & make crosses for interested amateurs. I first started growing grapes around 2008 & made my first crosses around 2012, and have continued with it every season since, making progress slowly and steadily, the way it happens in much breeding work. I am breeding for the climate conditions of the southeastern USA so my personal focus is on integration of disease resistance from wild sources into cultivated material. I hope this thread will provide encouragement and “how to” info for any grower who would like to try their hand at breeding but doesn’t know how to start. Anyone with a little space can breed grapes, the concepts are not difficult. It just takes interest, a goal, knowledge of material that possess the traits you want, and of course time. Of course any questions are welcome.

To start with, it’s helpful for the prospective hobbyist breeder to know a few facts about grapes.

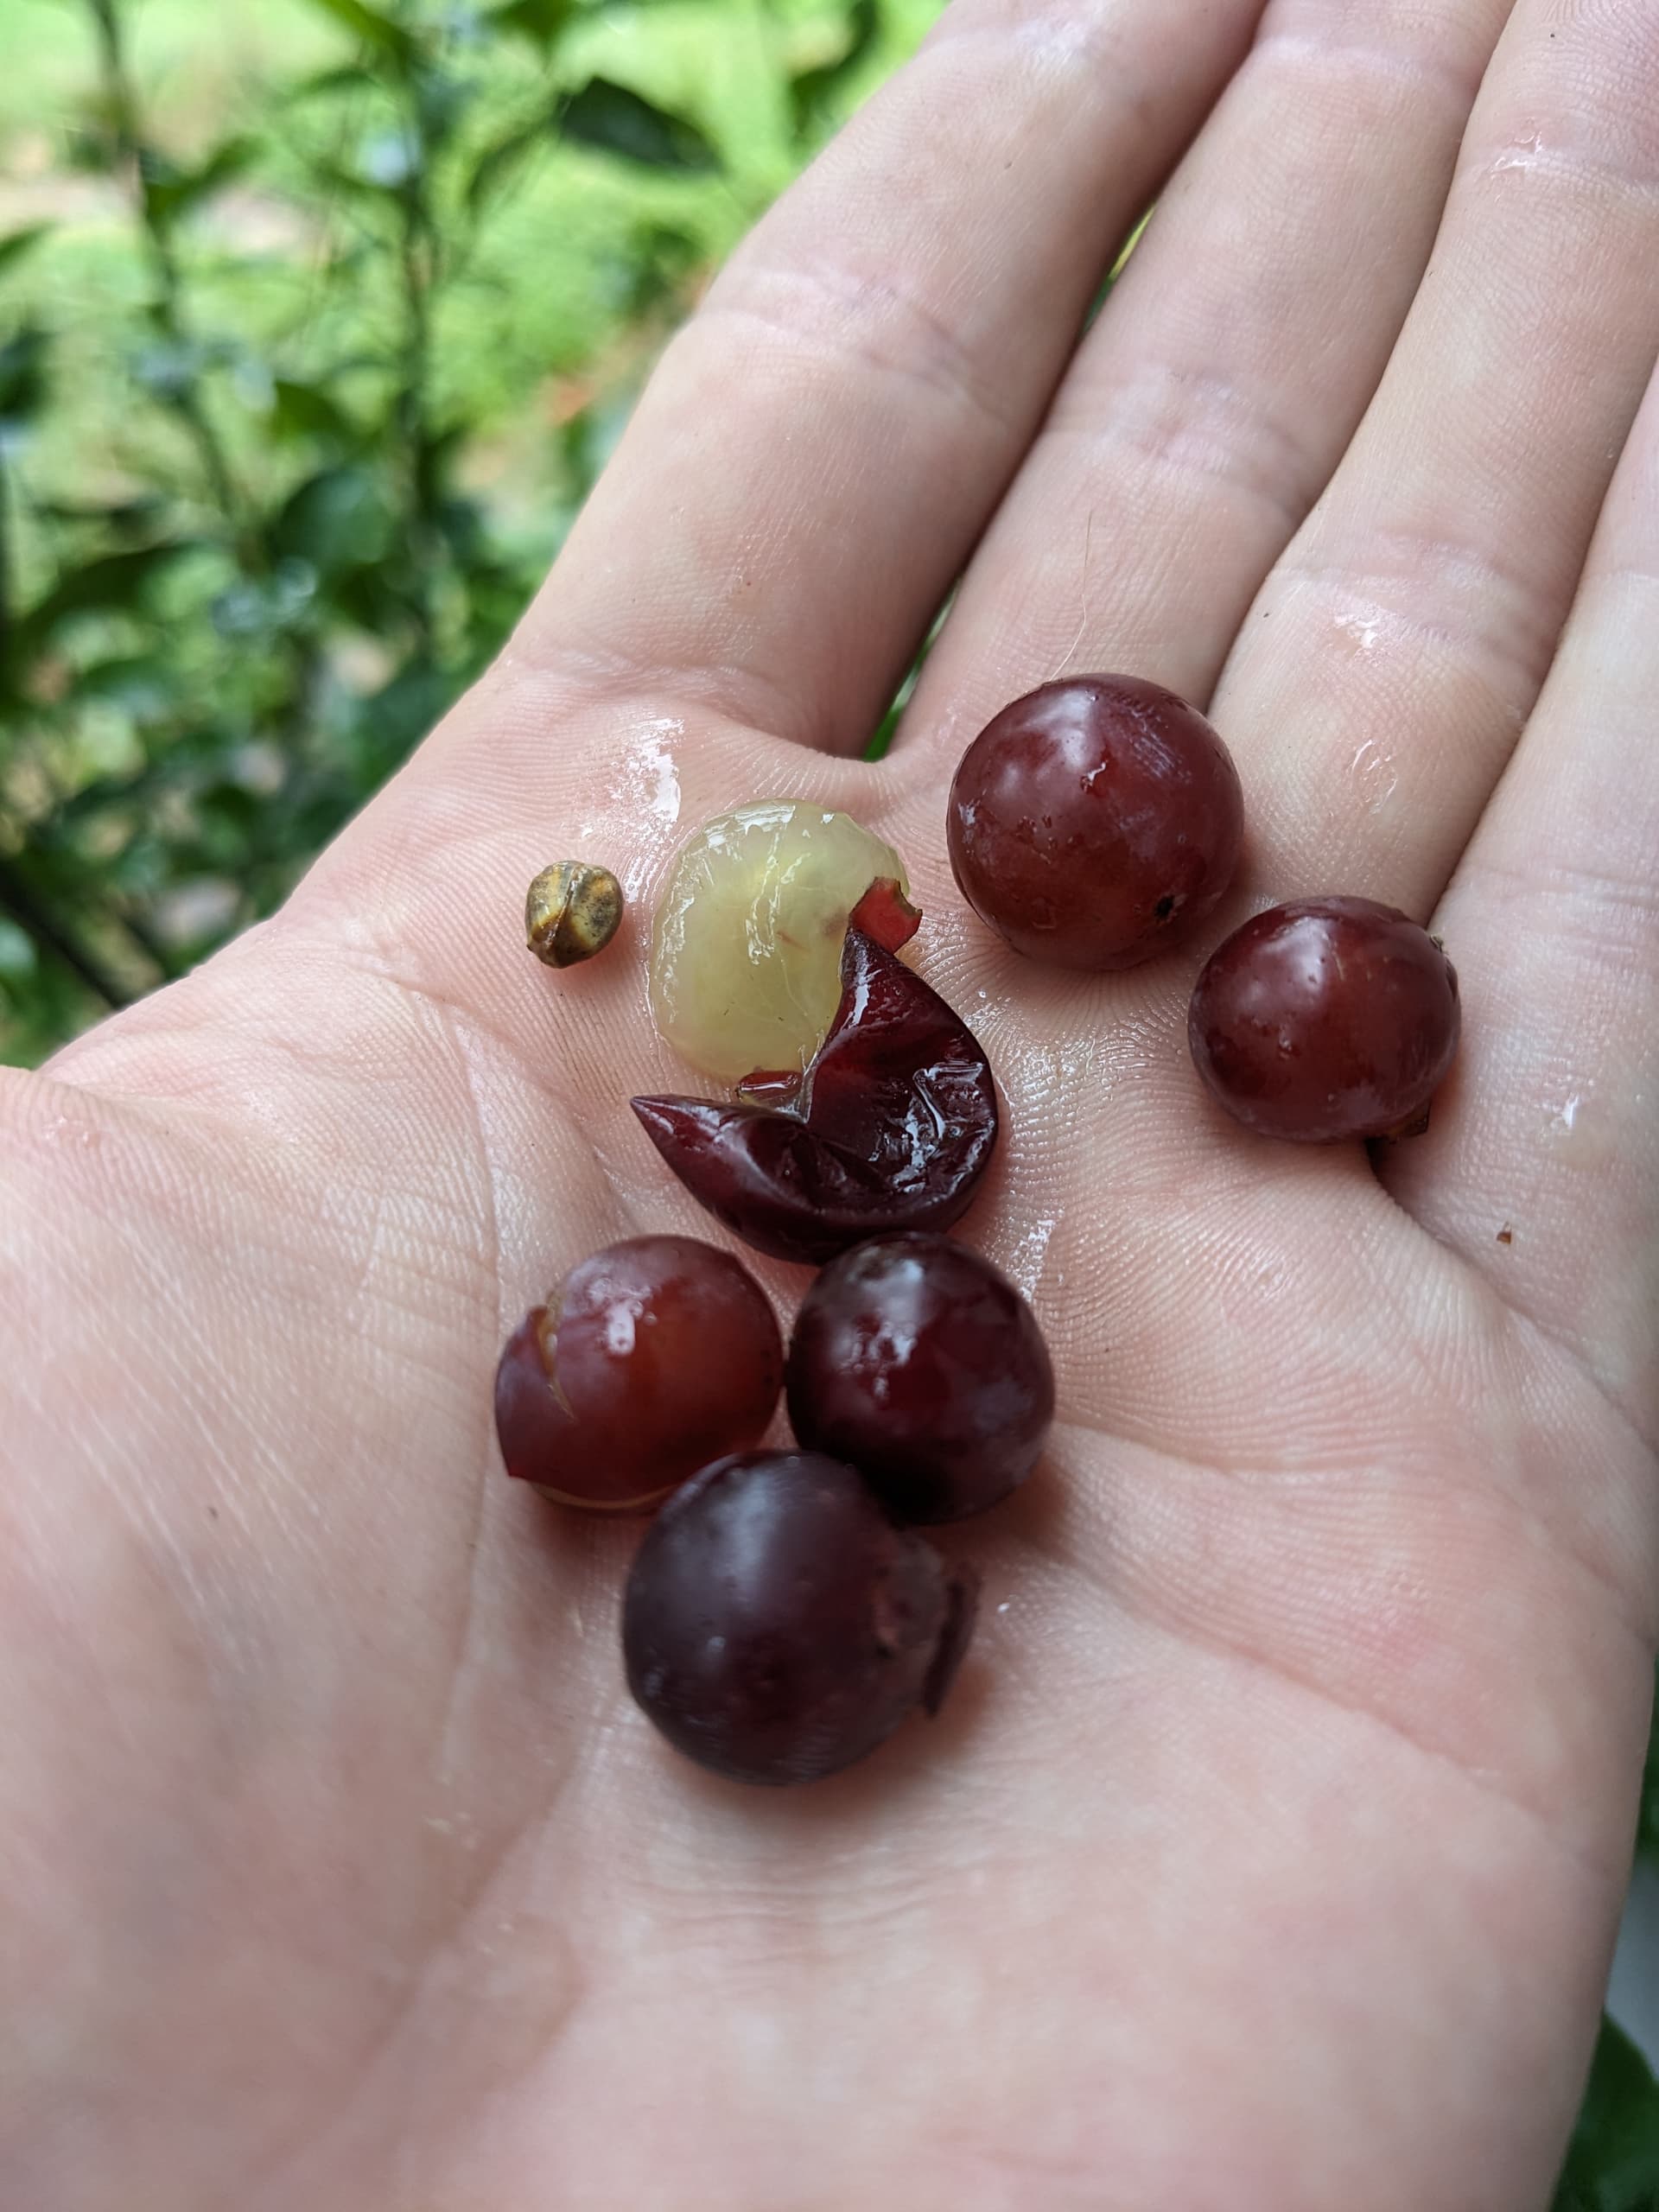
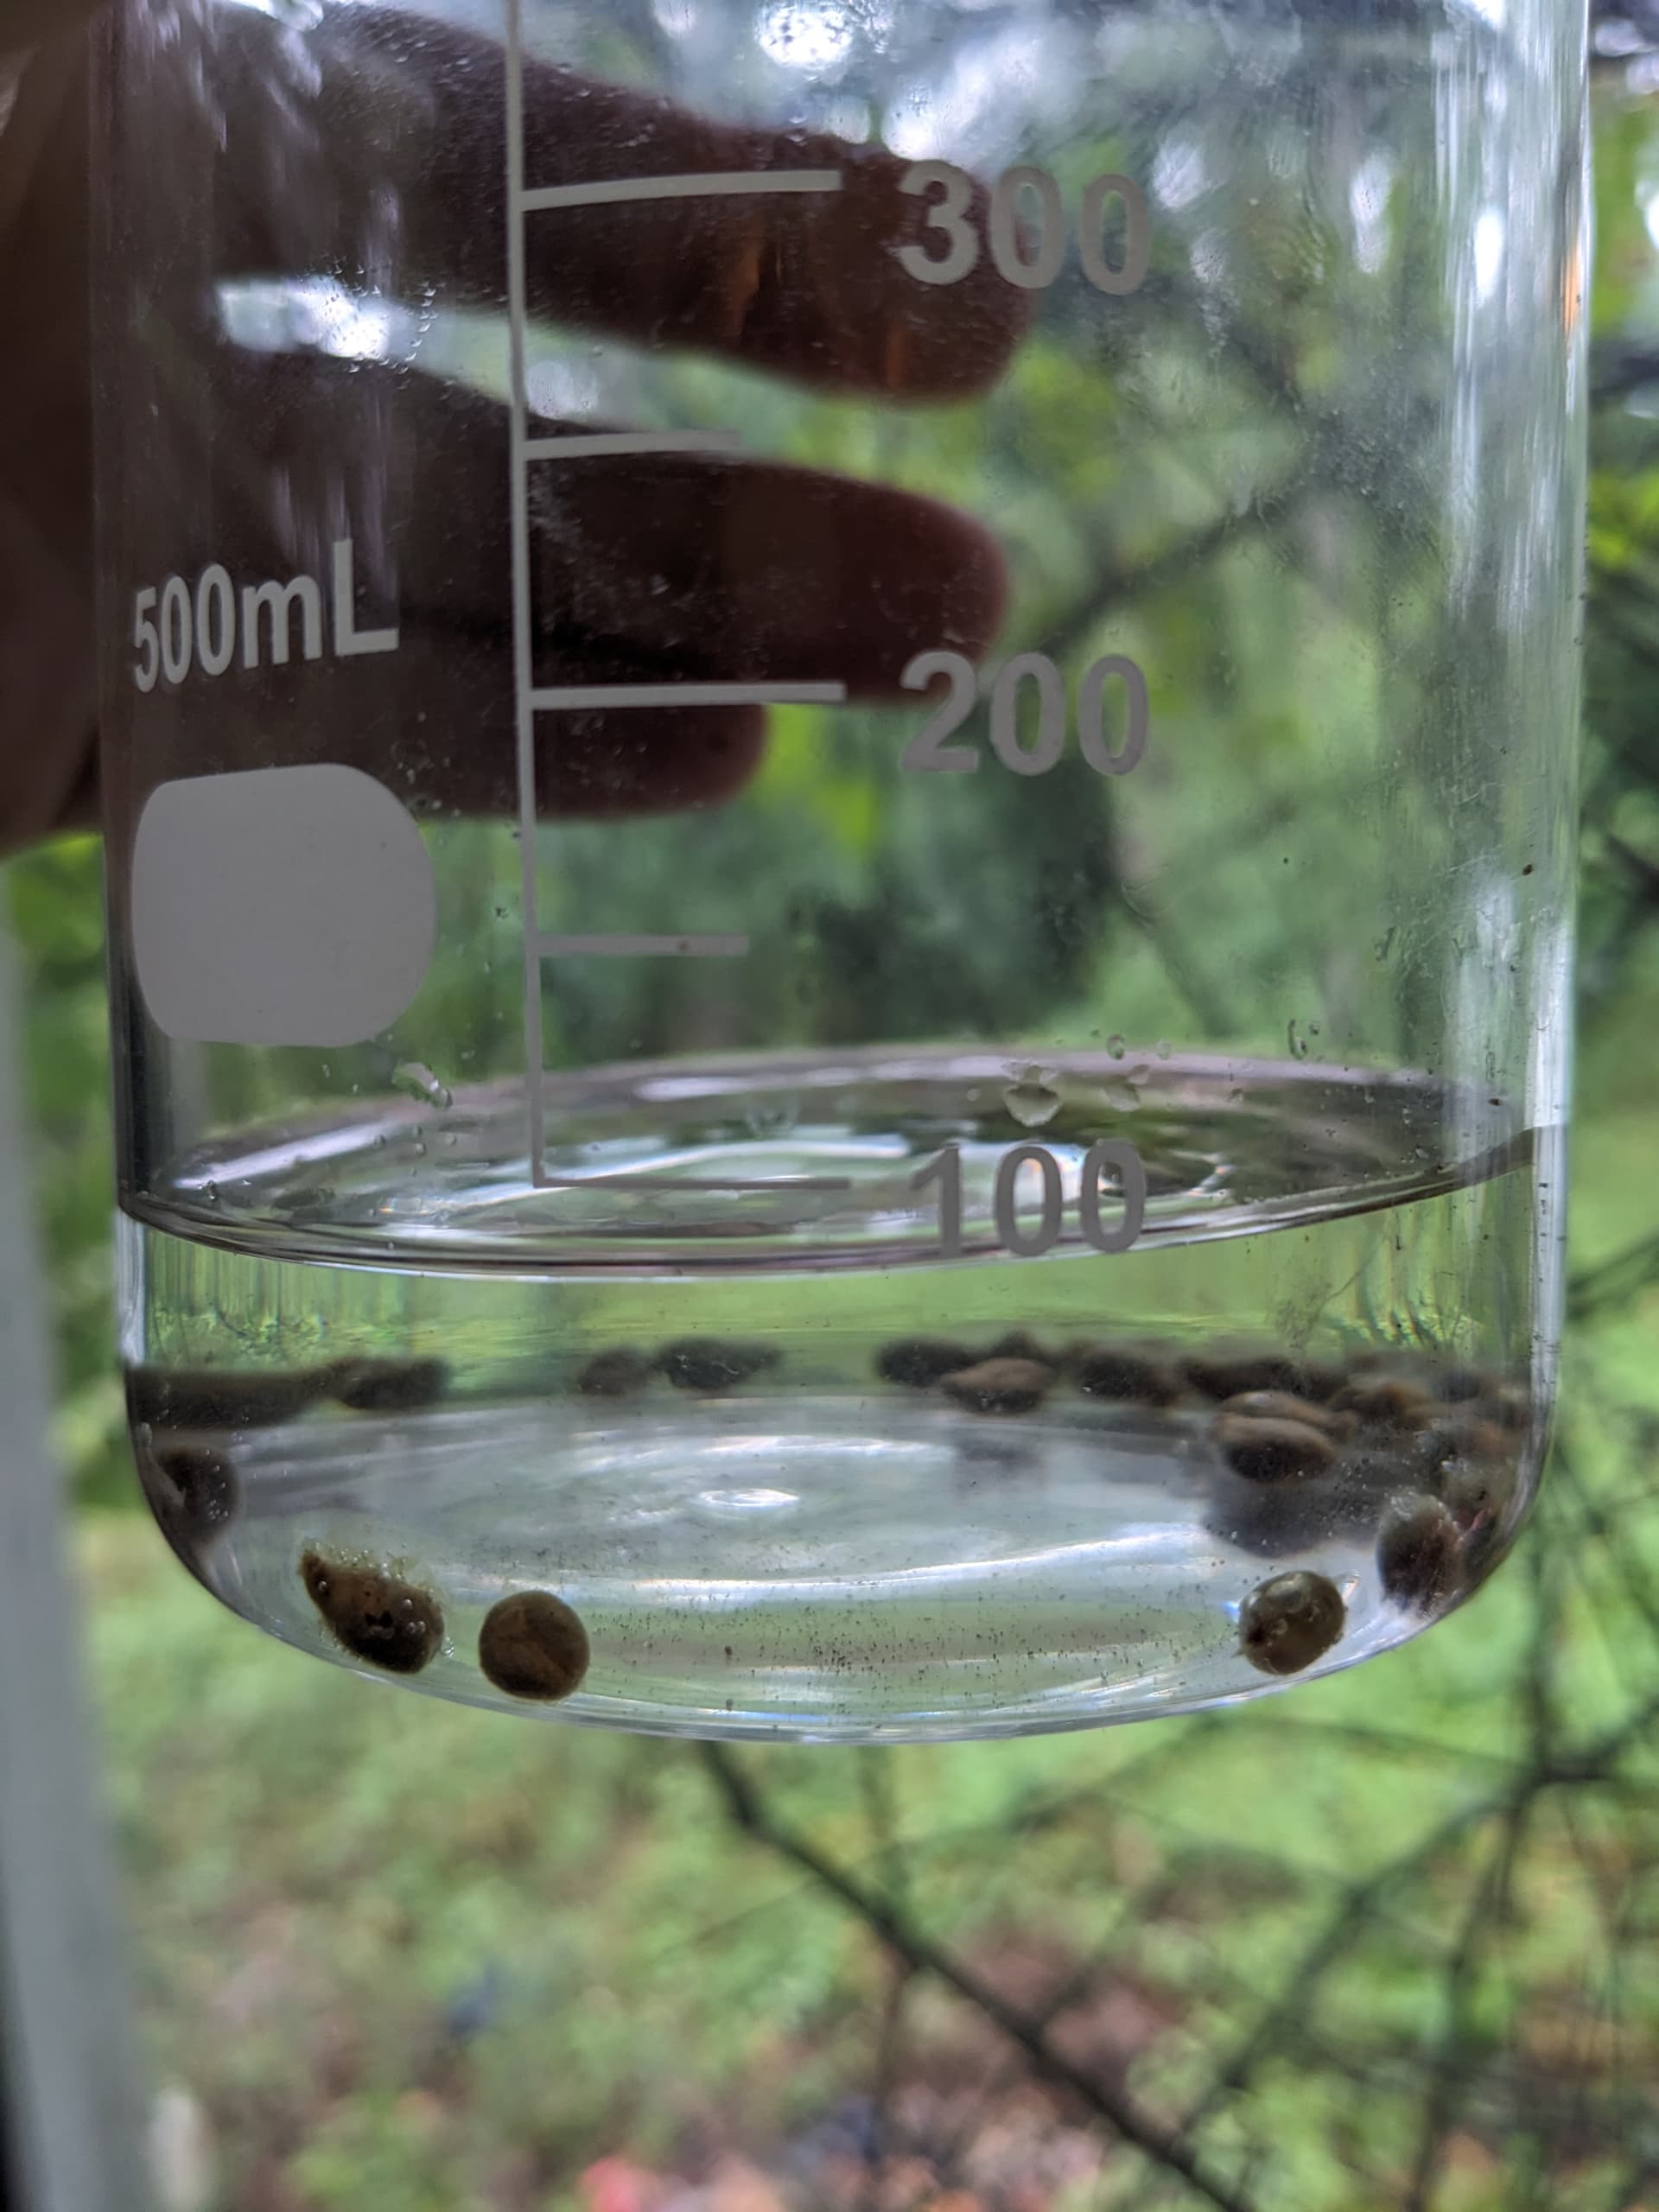
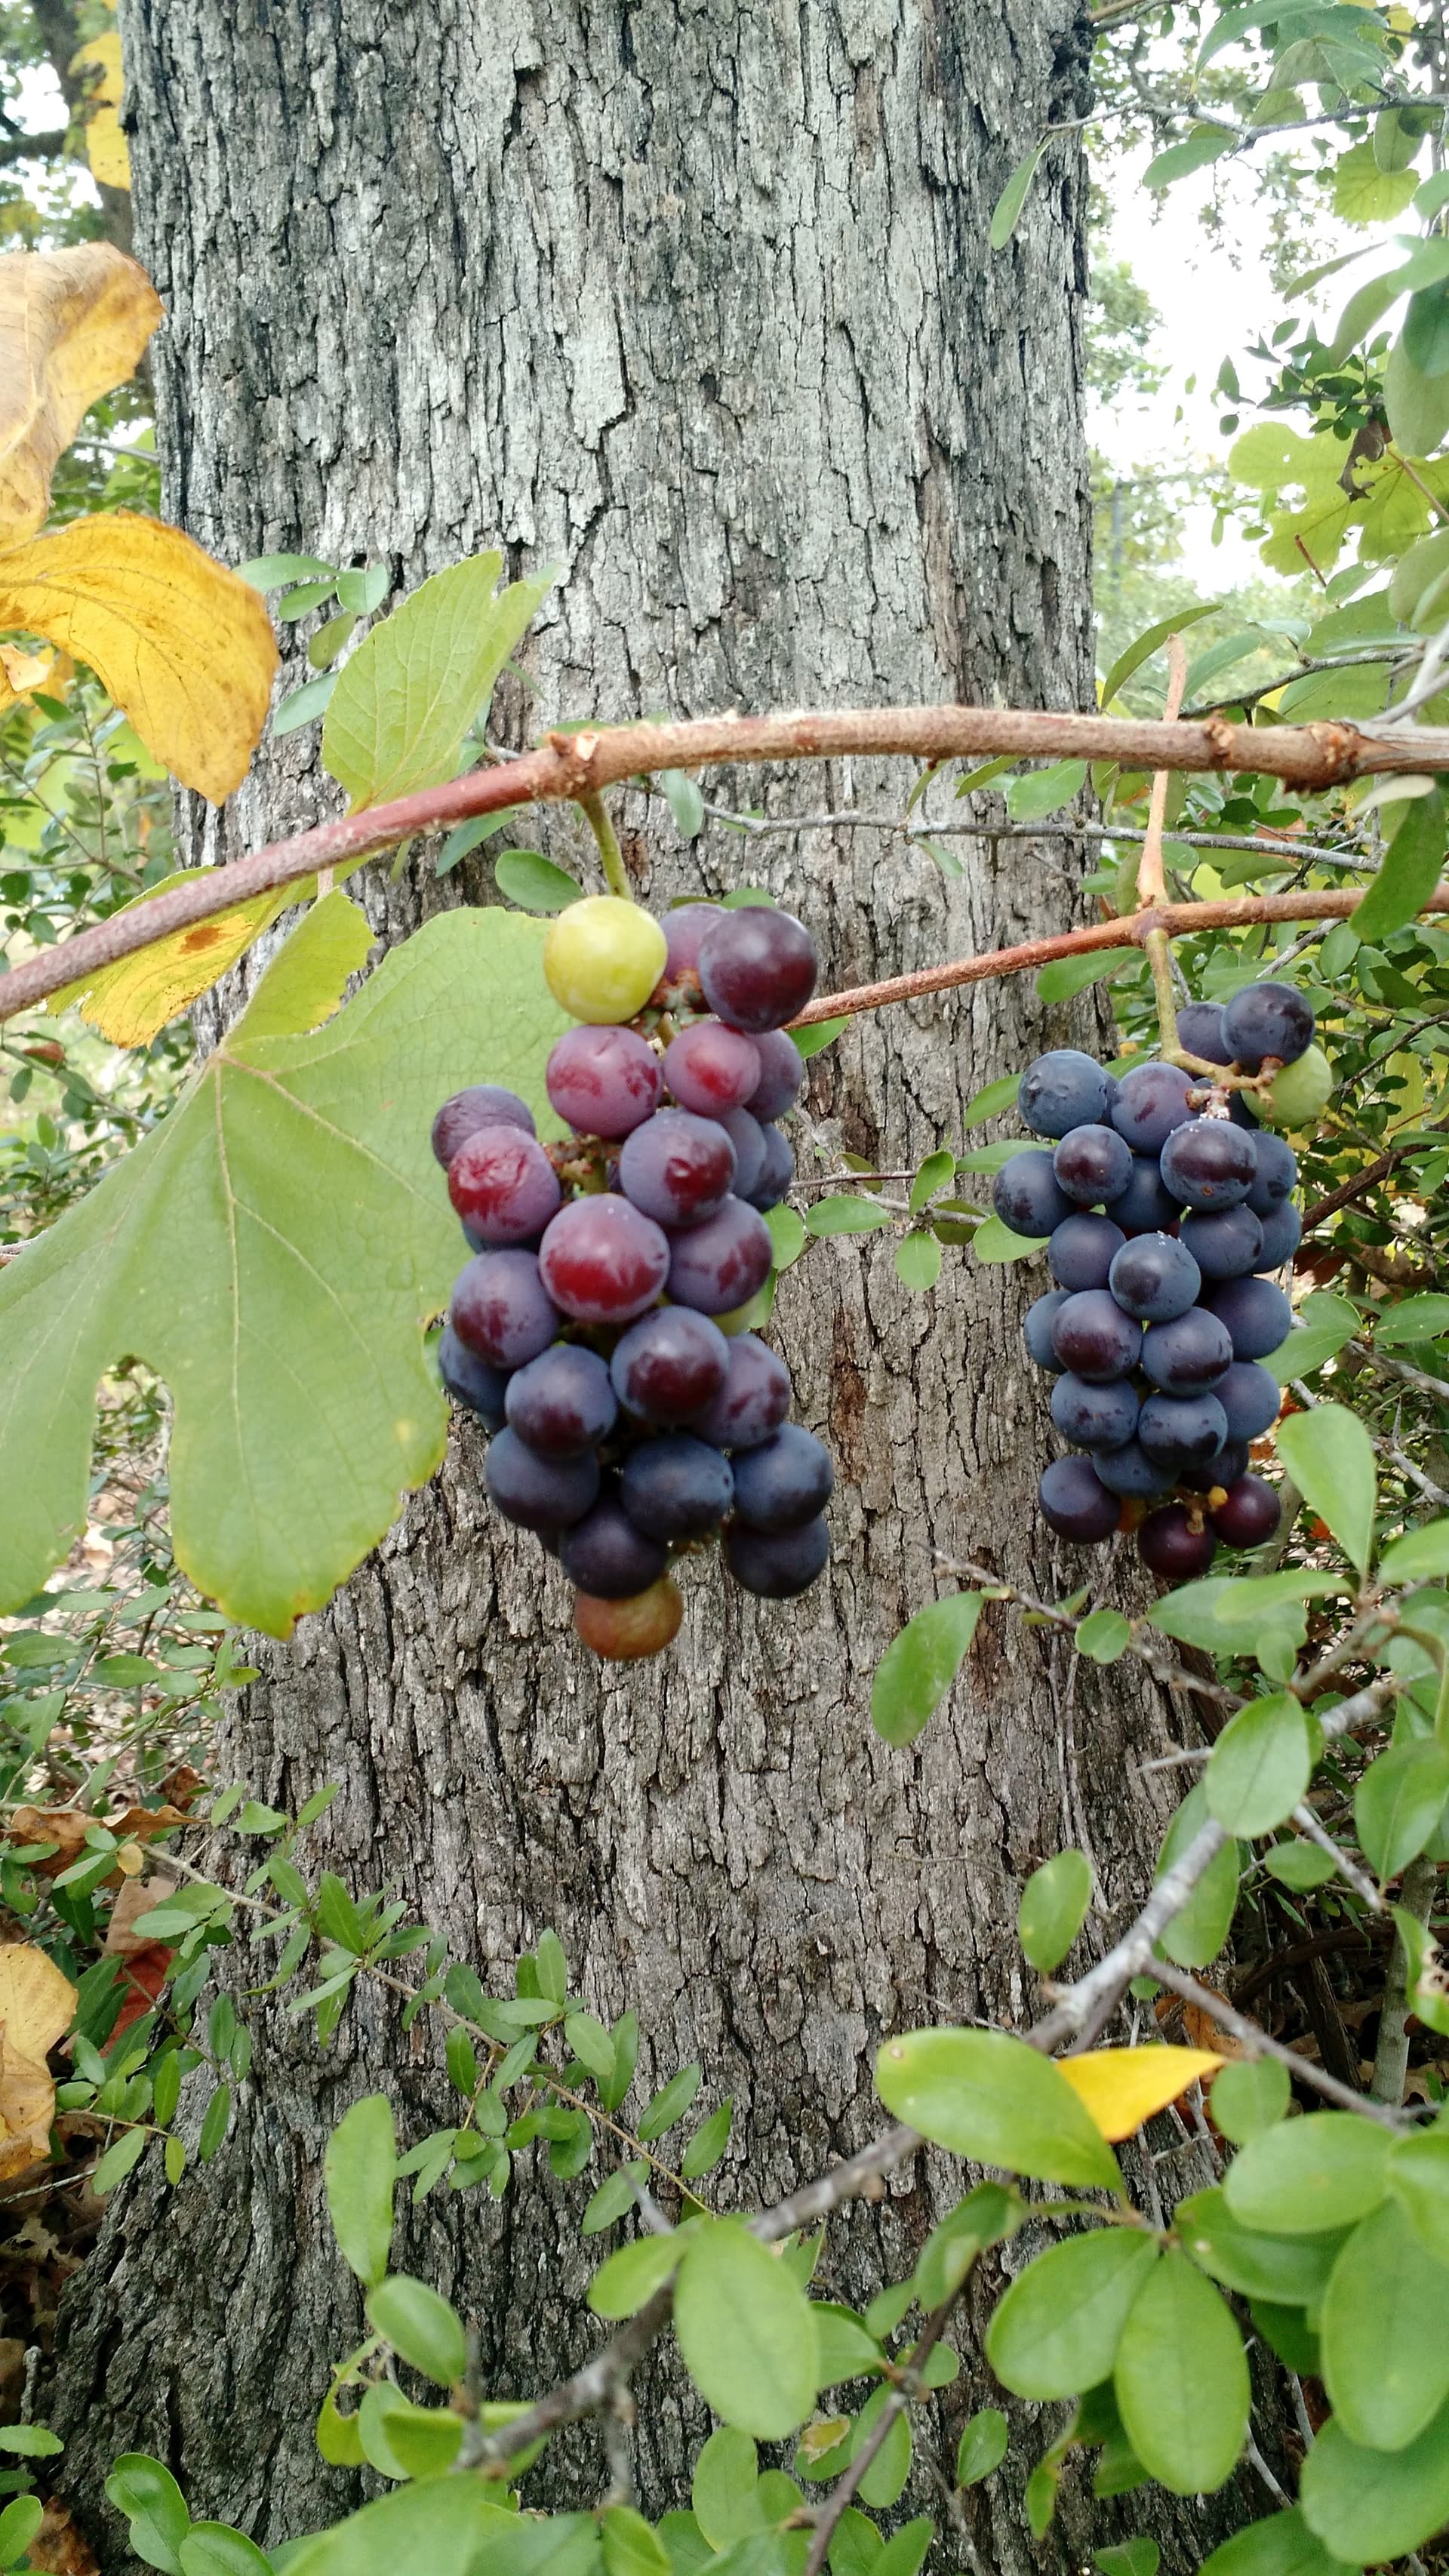
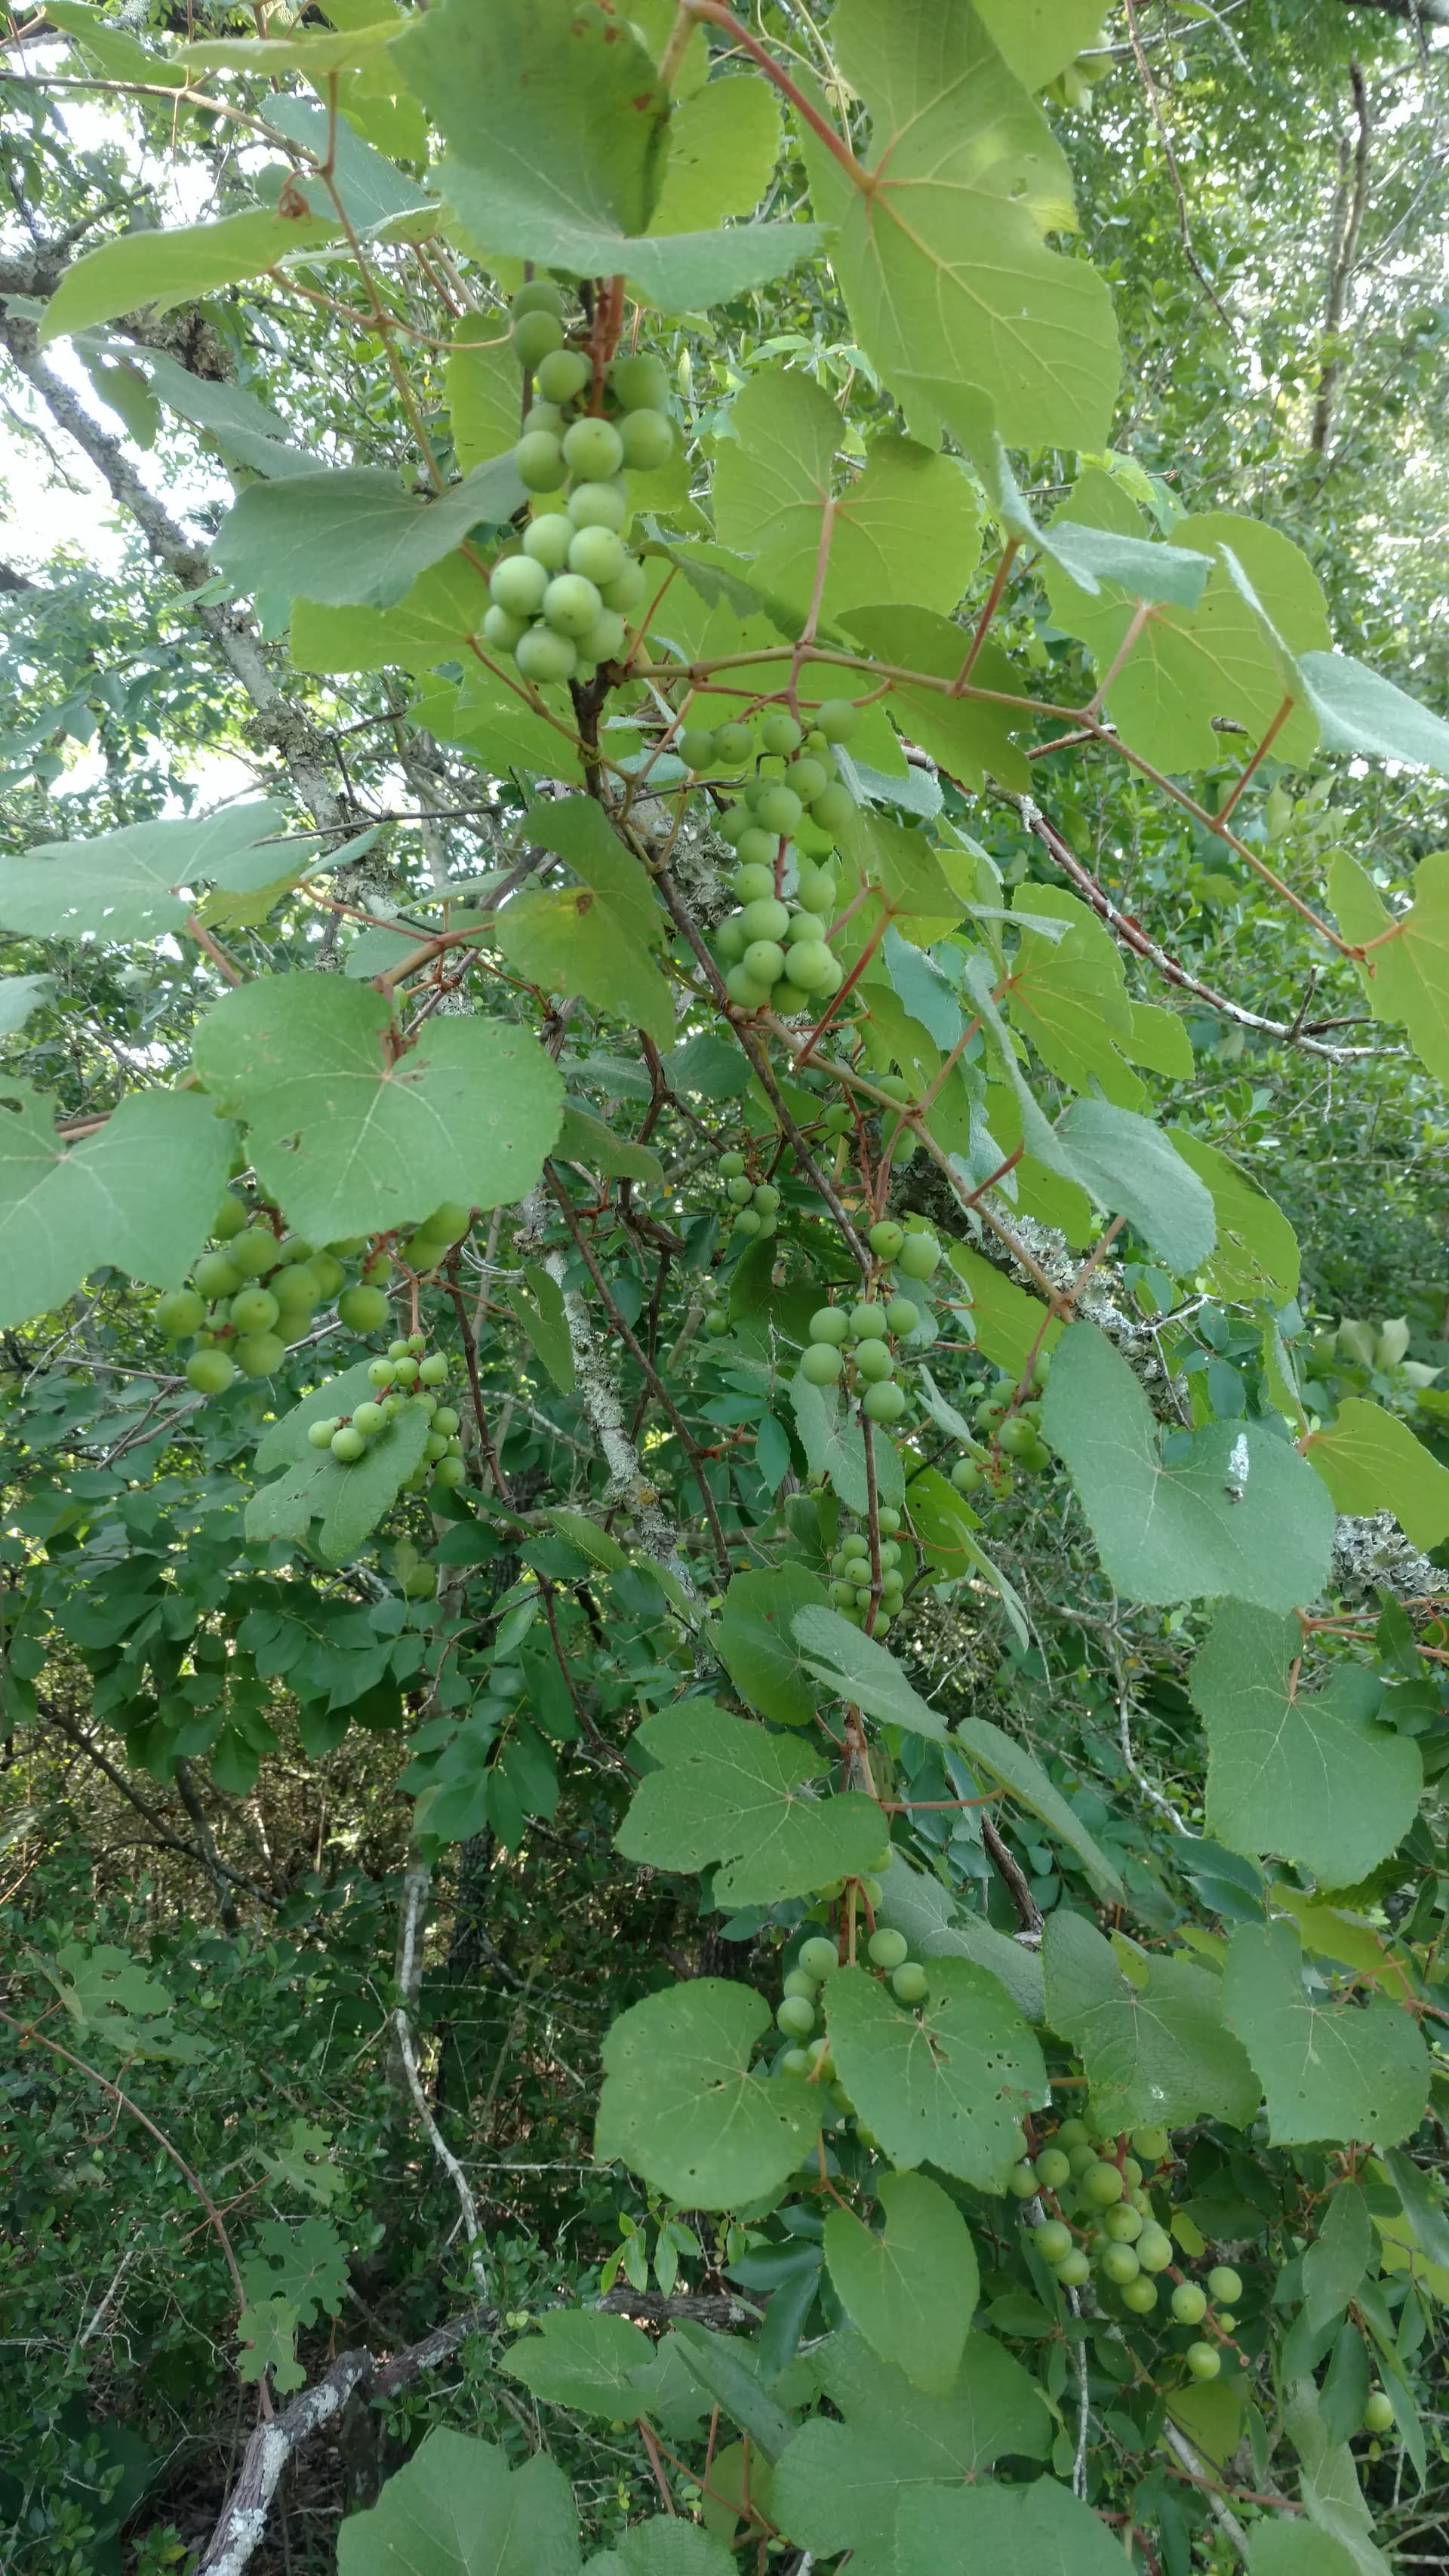
  1. Bunch grapes(which is everything but muscadines)are a diploid, 38 chromosome species. As a general rule, all 38 chromosome bunch grape species are fully cross compatible with each other and can pollinate each other and produce fertile offspring. This covers the majority of grapes. Muscadines are the exception. They are a more distantly related, diploid, 40 chromosome species and do not interbreed easily with bunch grapes due to the chromosome difference. It is possible to hybridize bunch grapes and muscadines with effort, particularly when the bunch grape is used as the female parent, but most offspring will have 39 chromosomes and be highly, or completely sterile. Like a mule. With enough effort, some slightly fertile hybrids can be found, and with back crossing fertility can be restored. This is how seedlessness was introgressed into muscadine varieties such as “razzmatazz” and “oh my”, but it take a huge amount of time and effort to do this successfully.

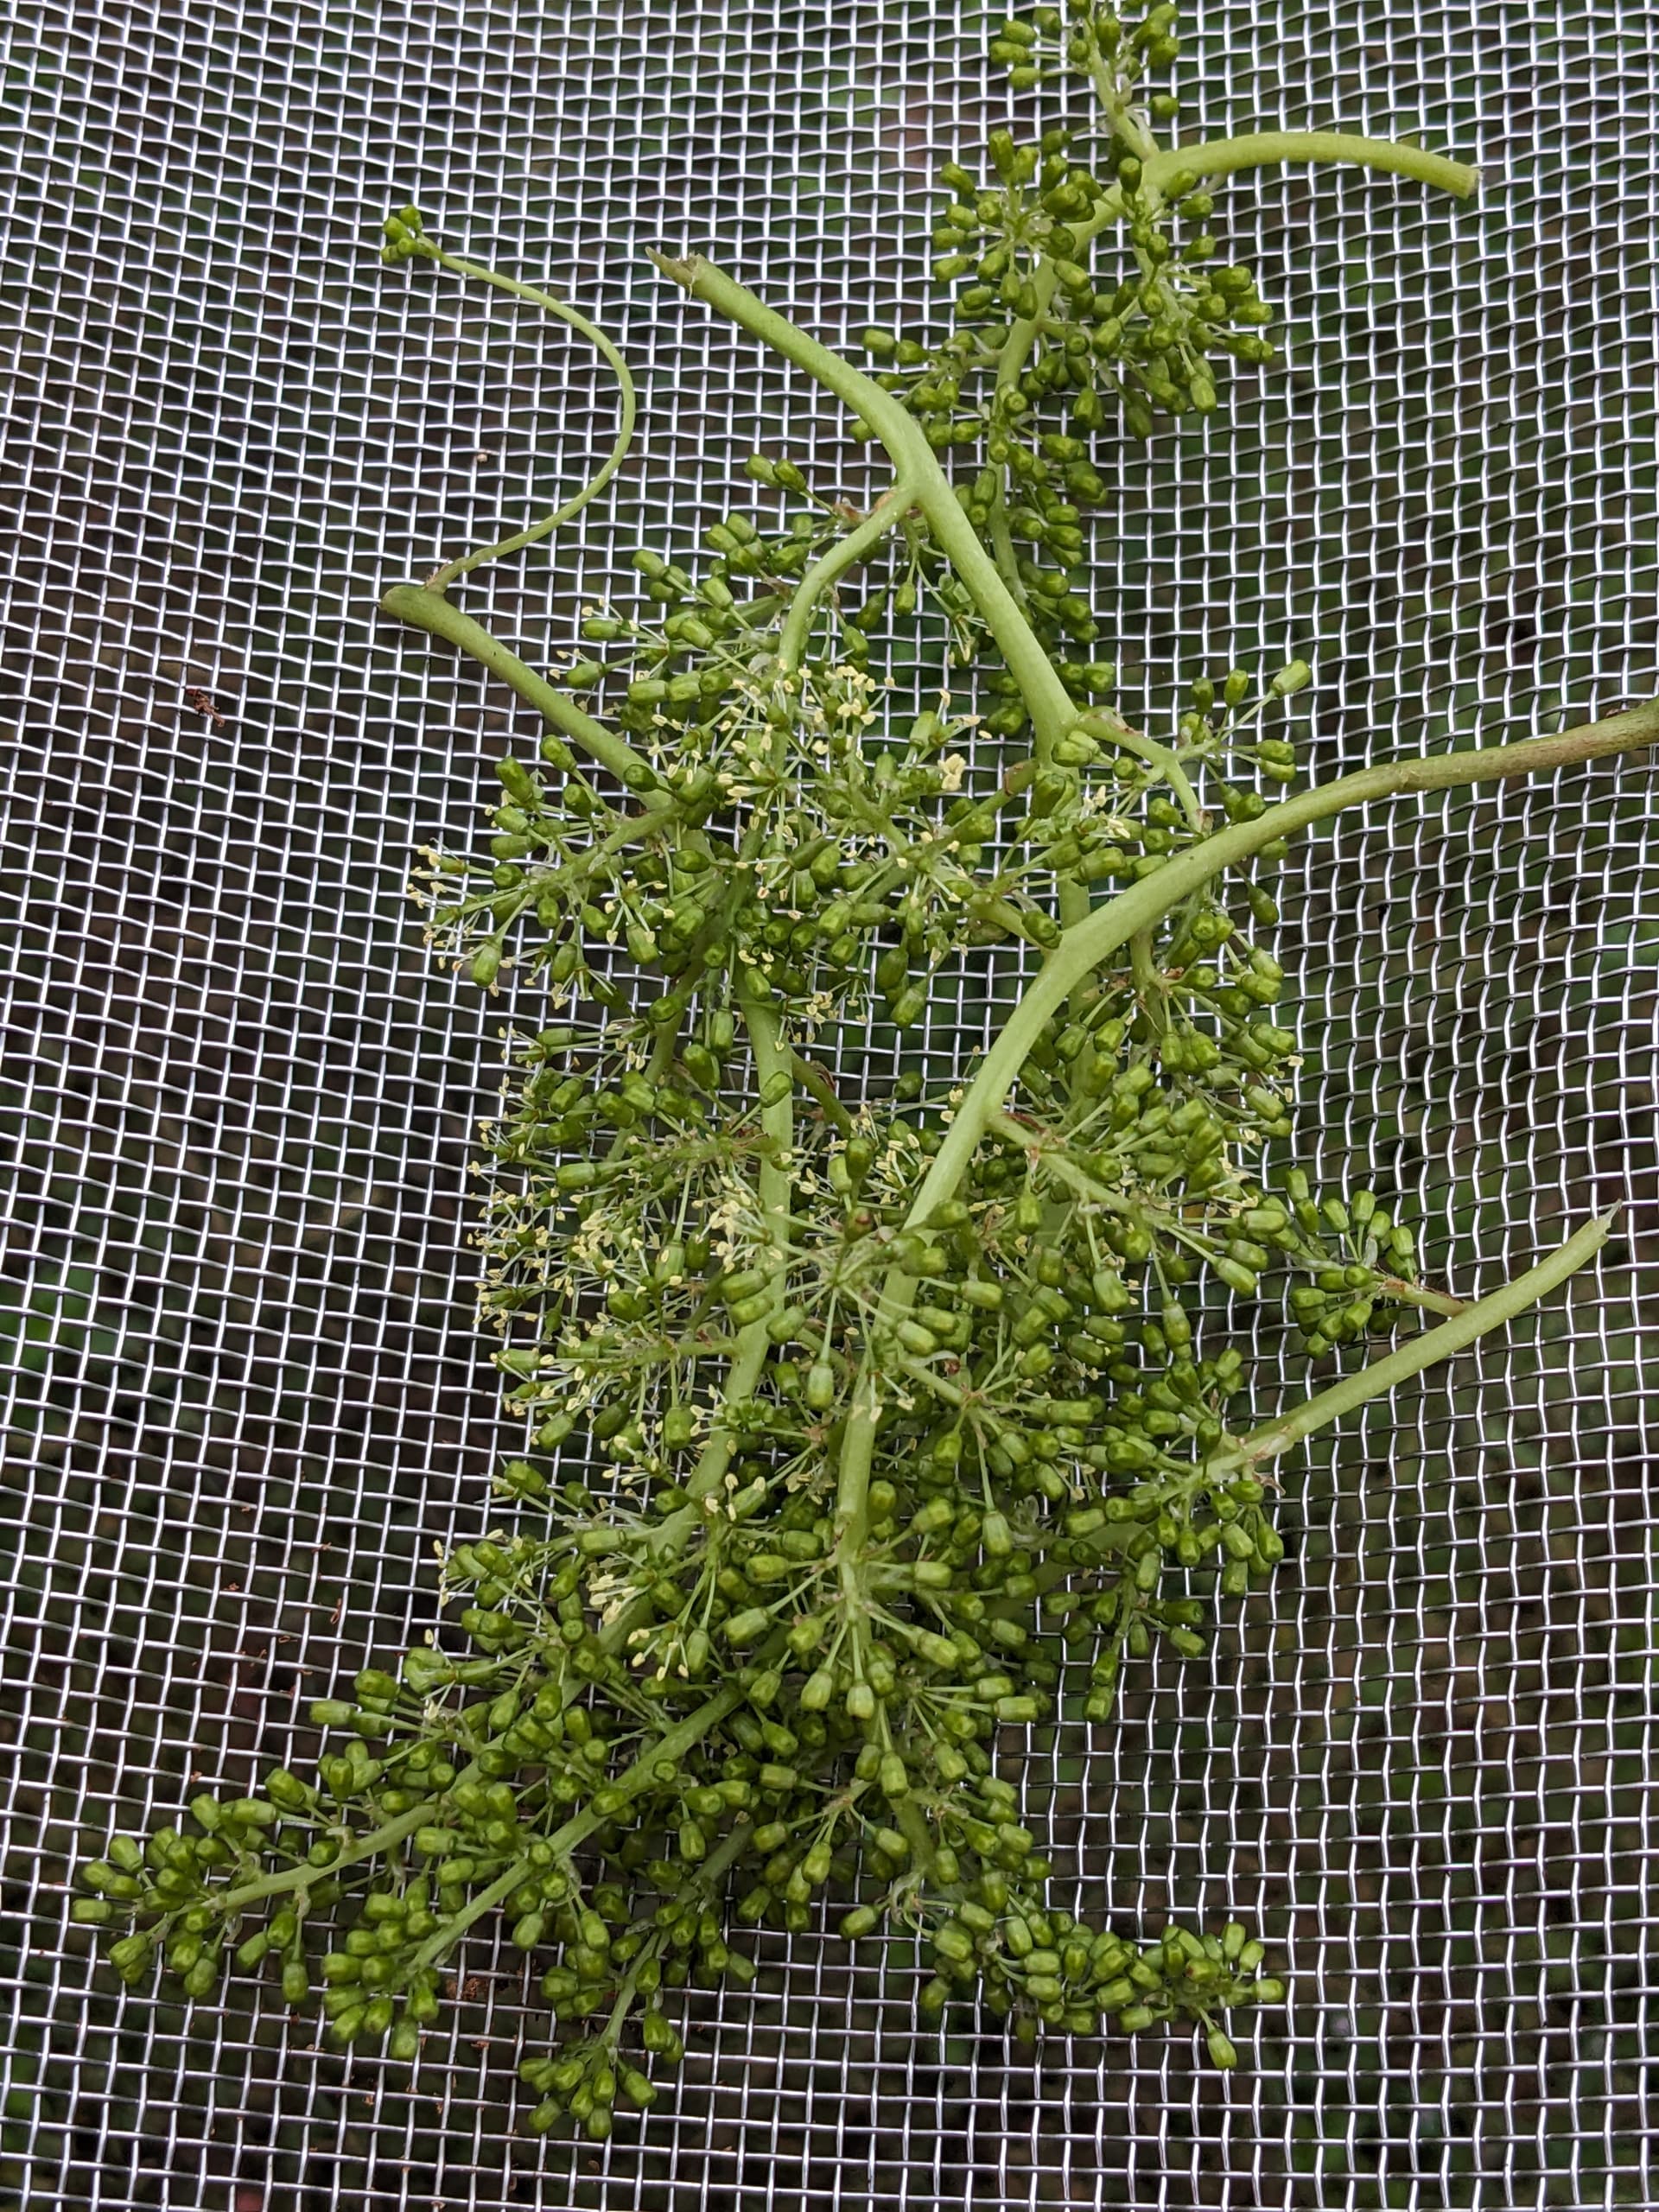
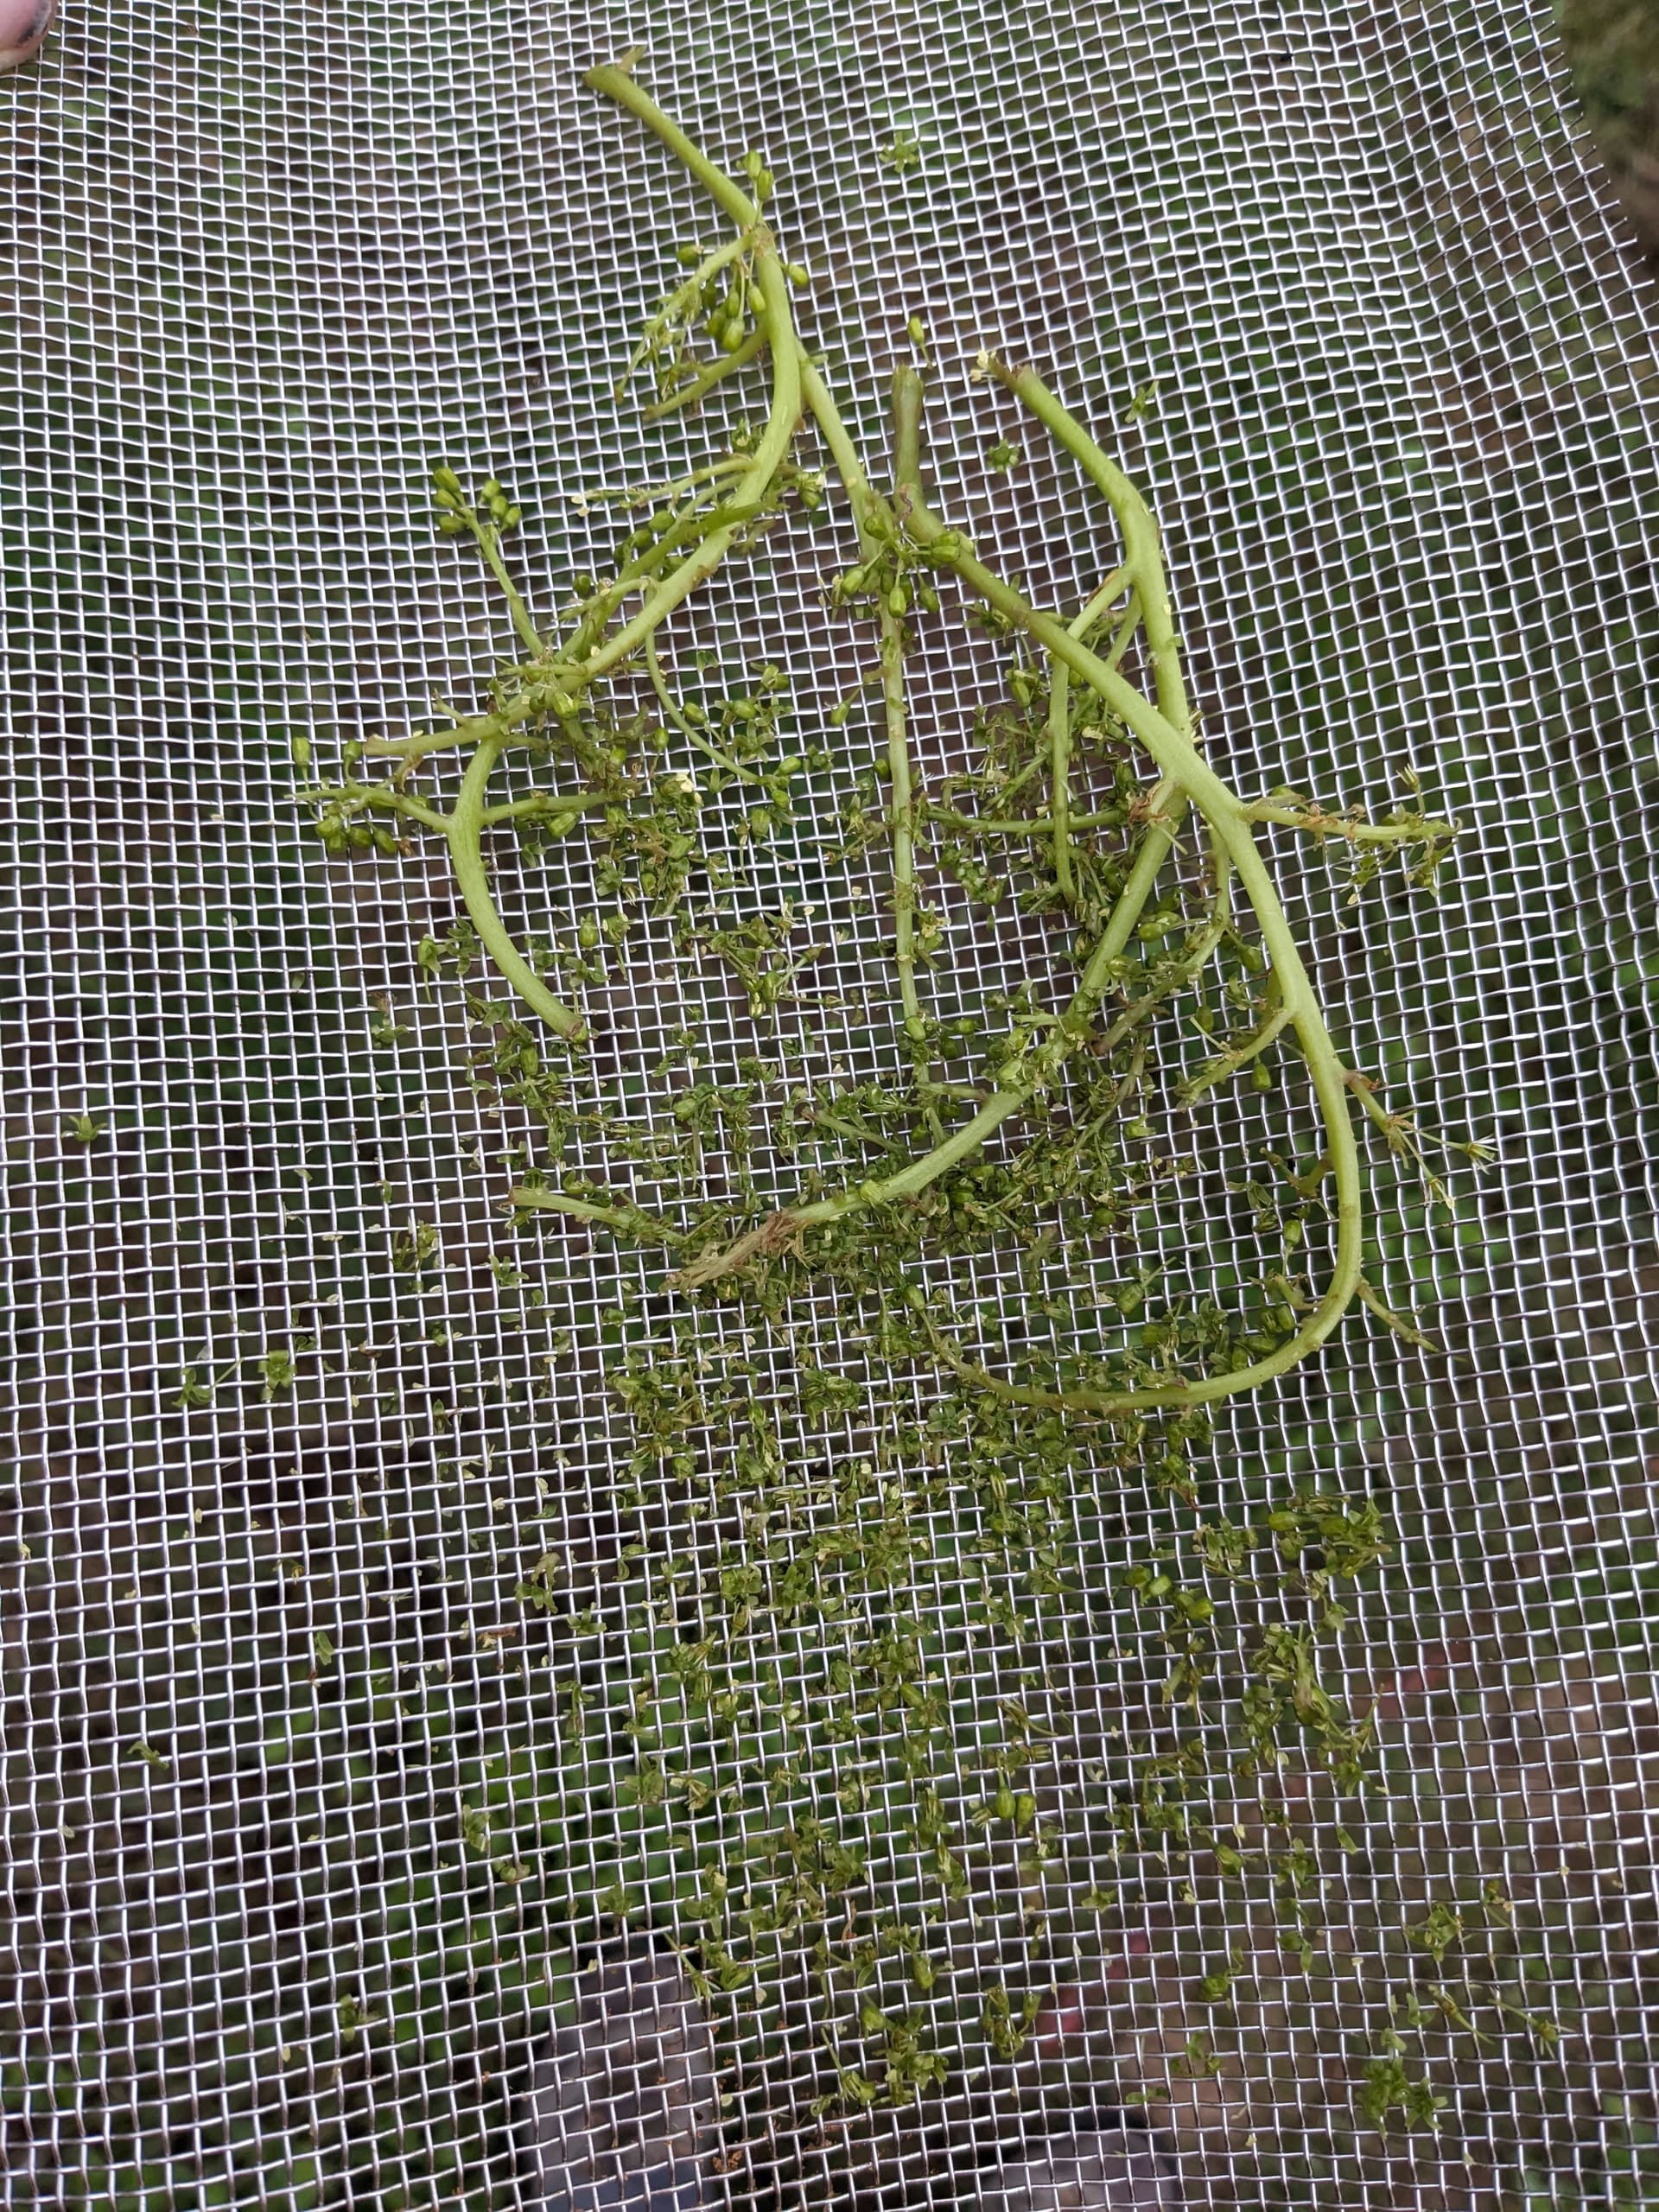
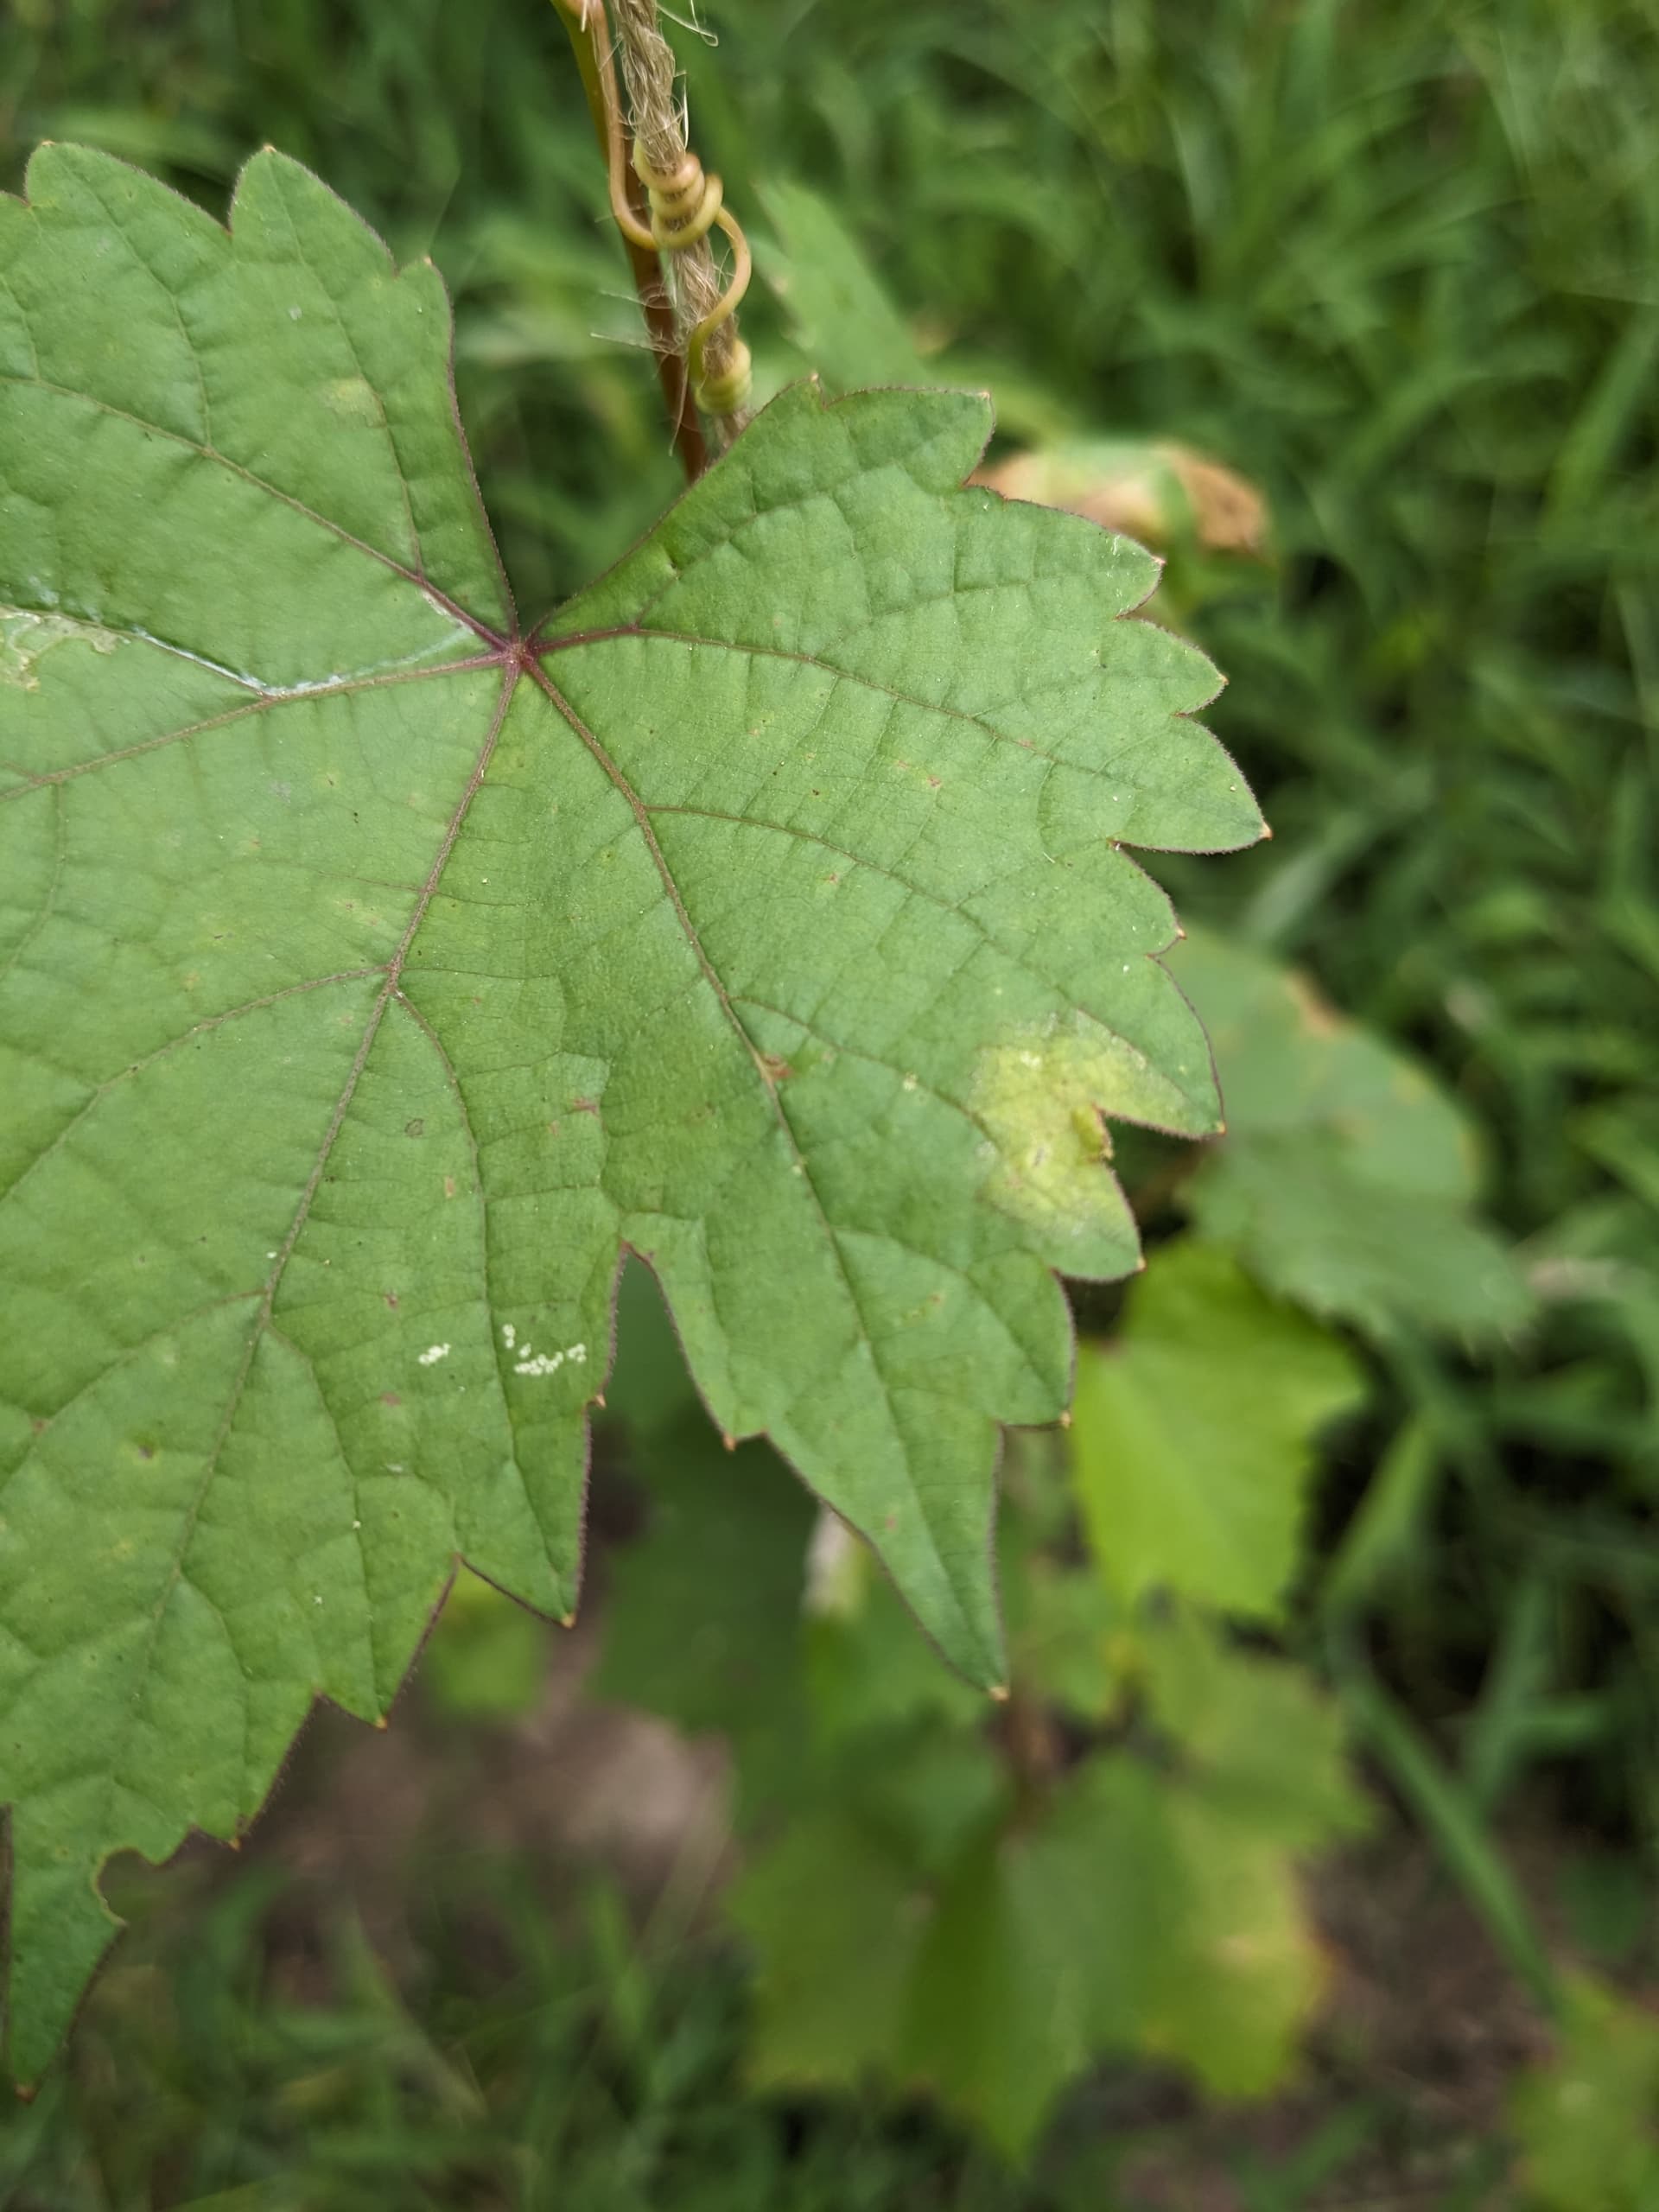
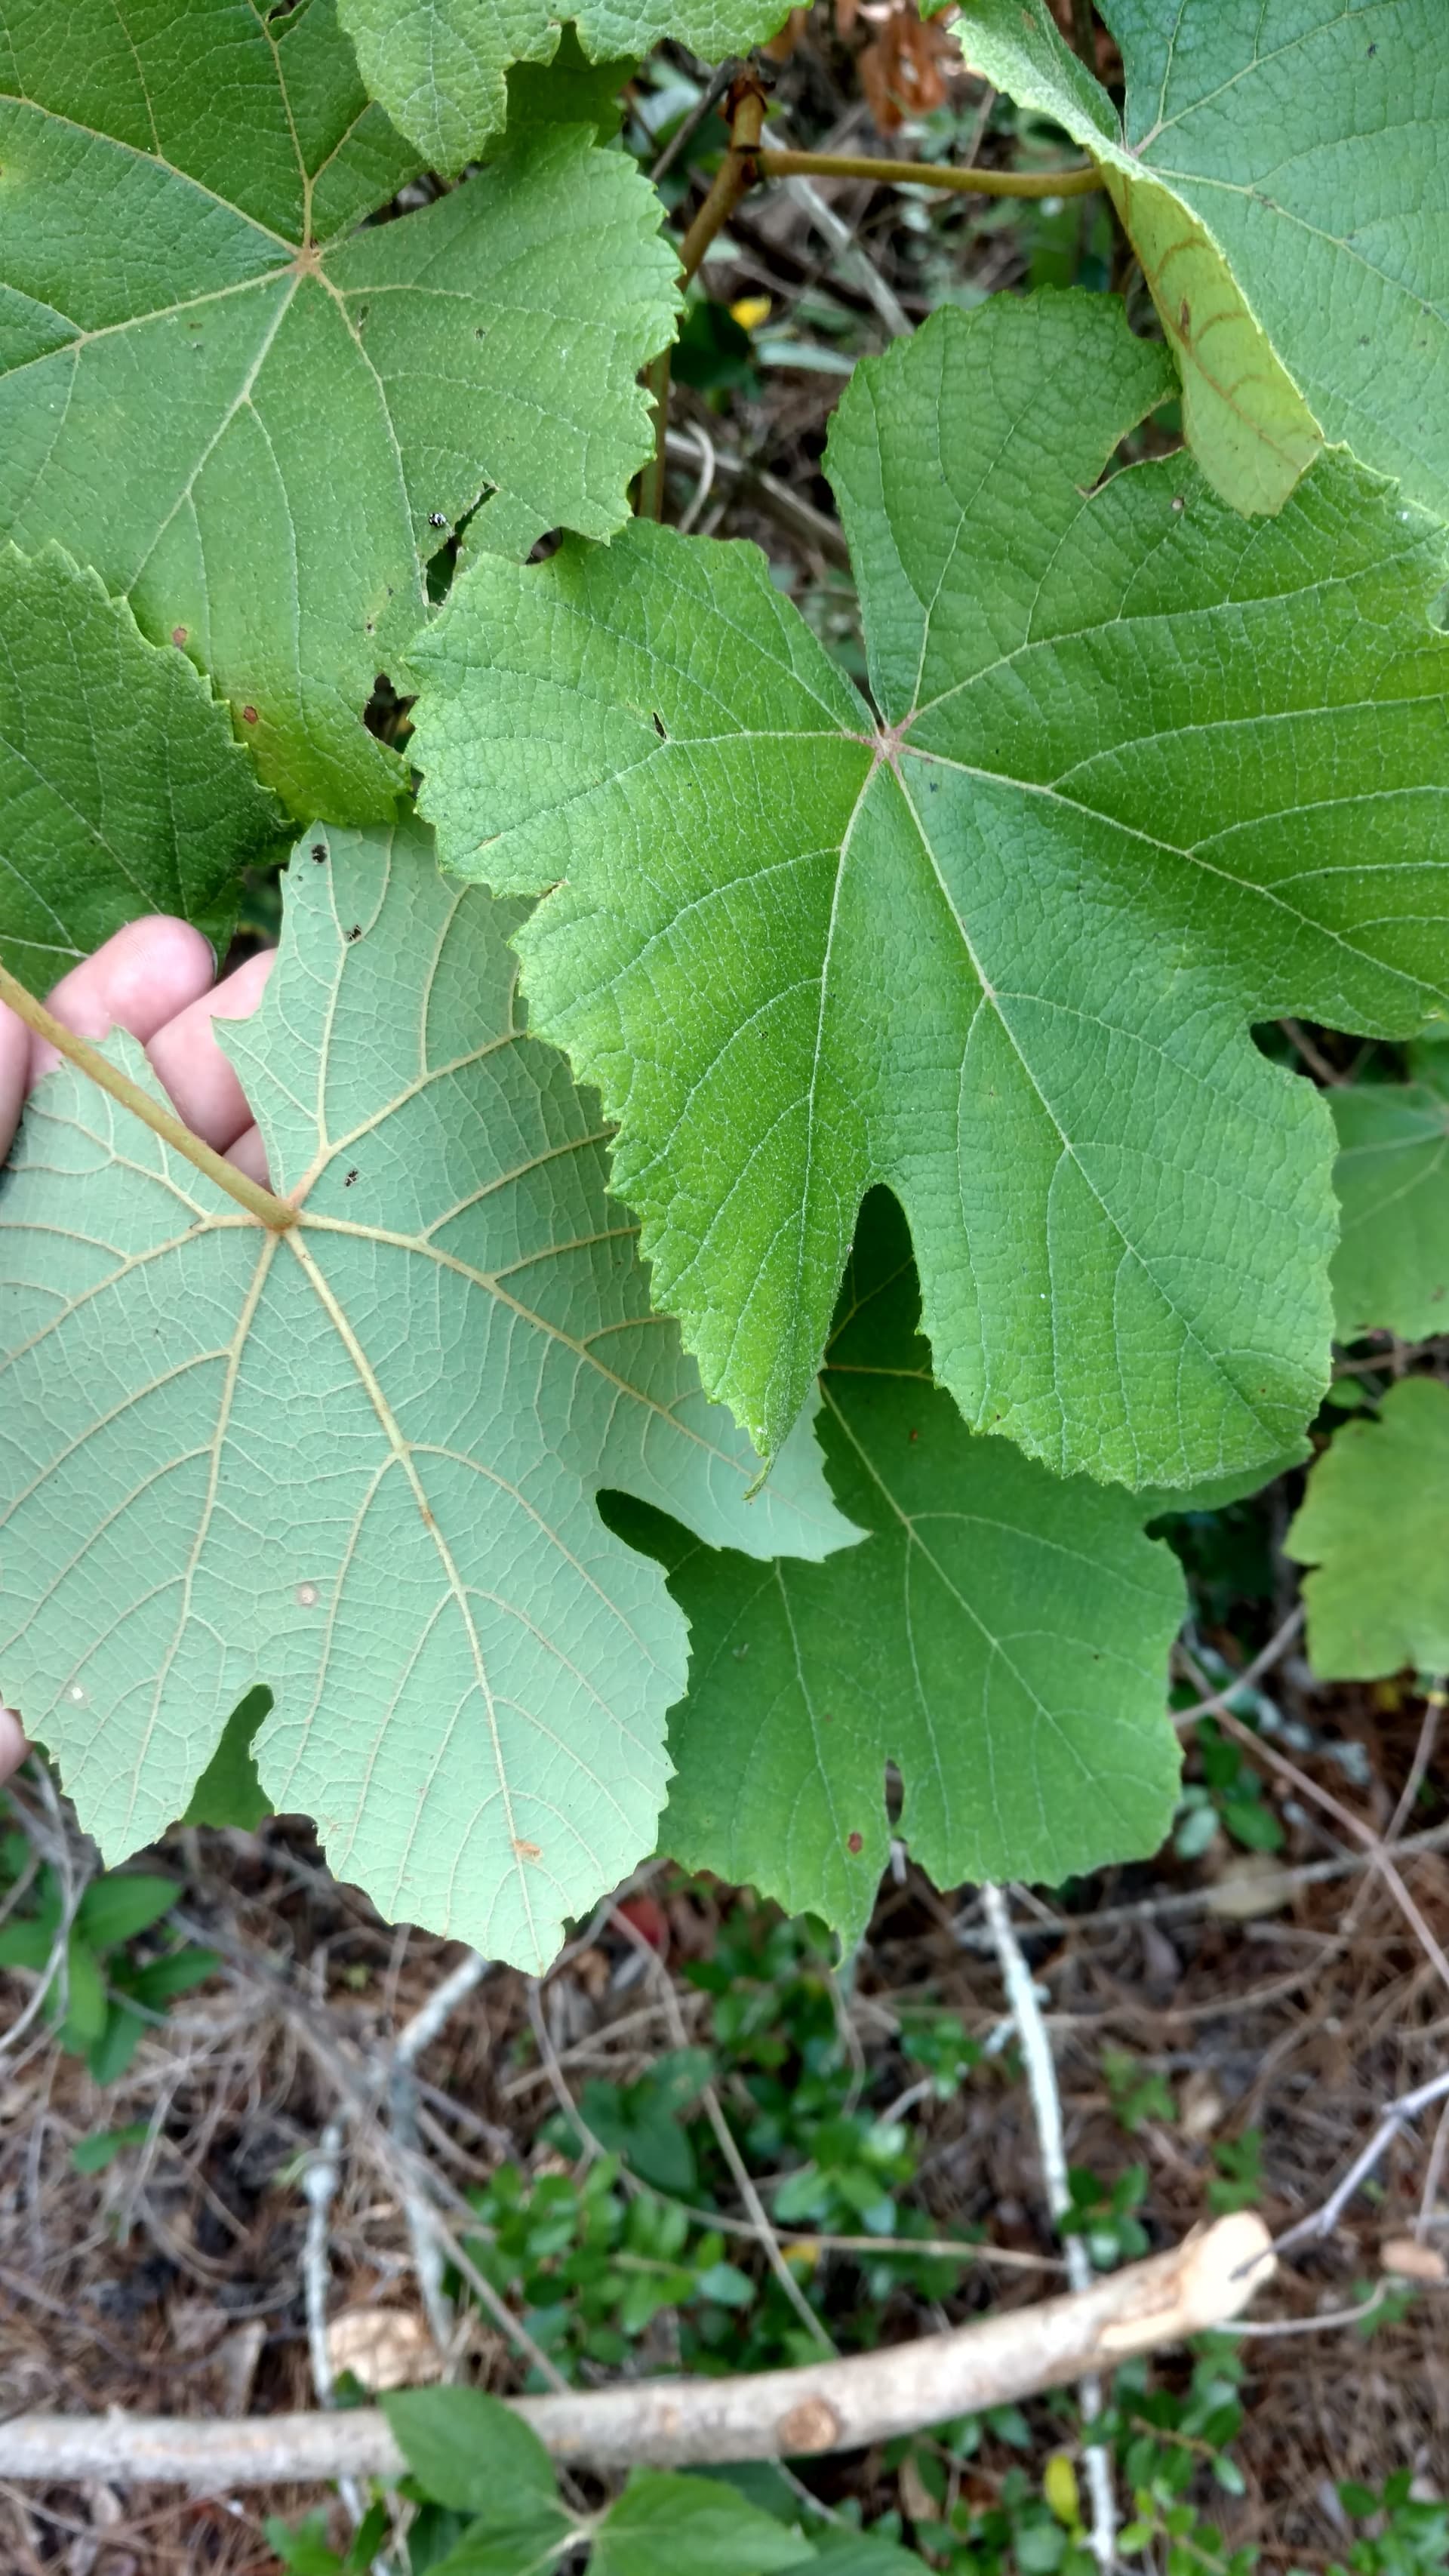
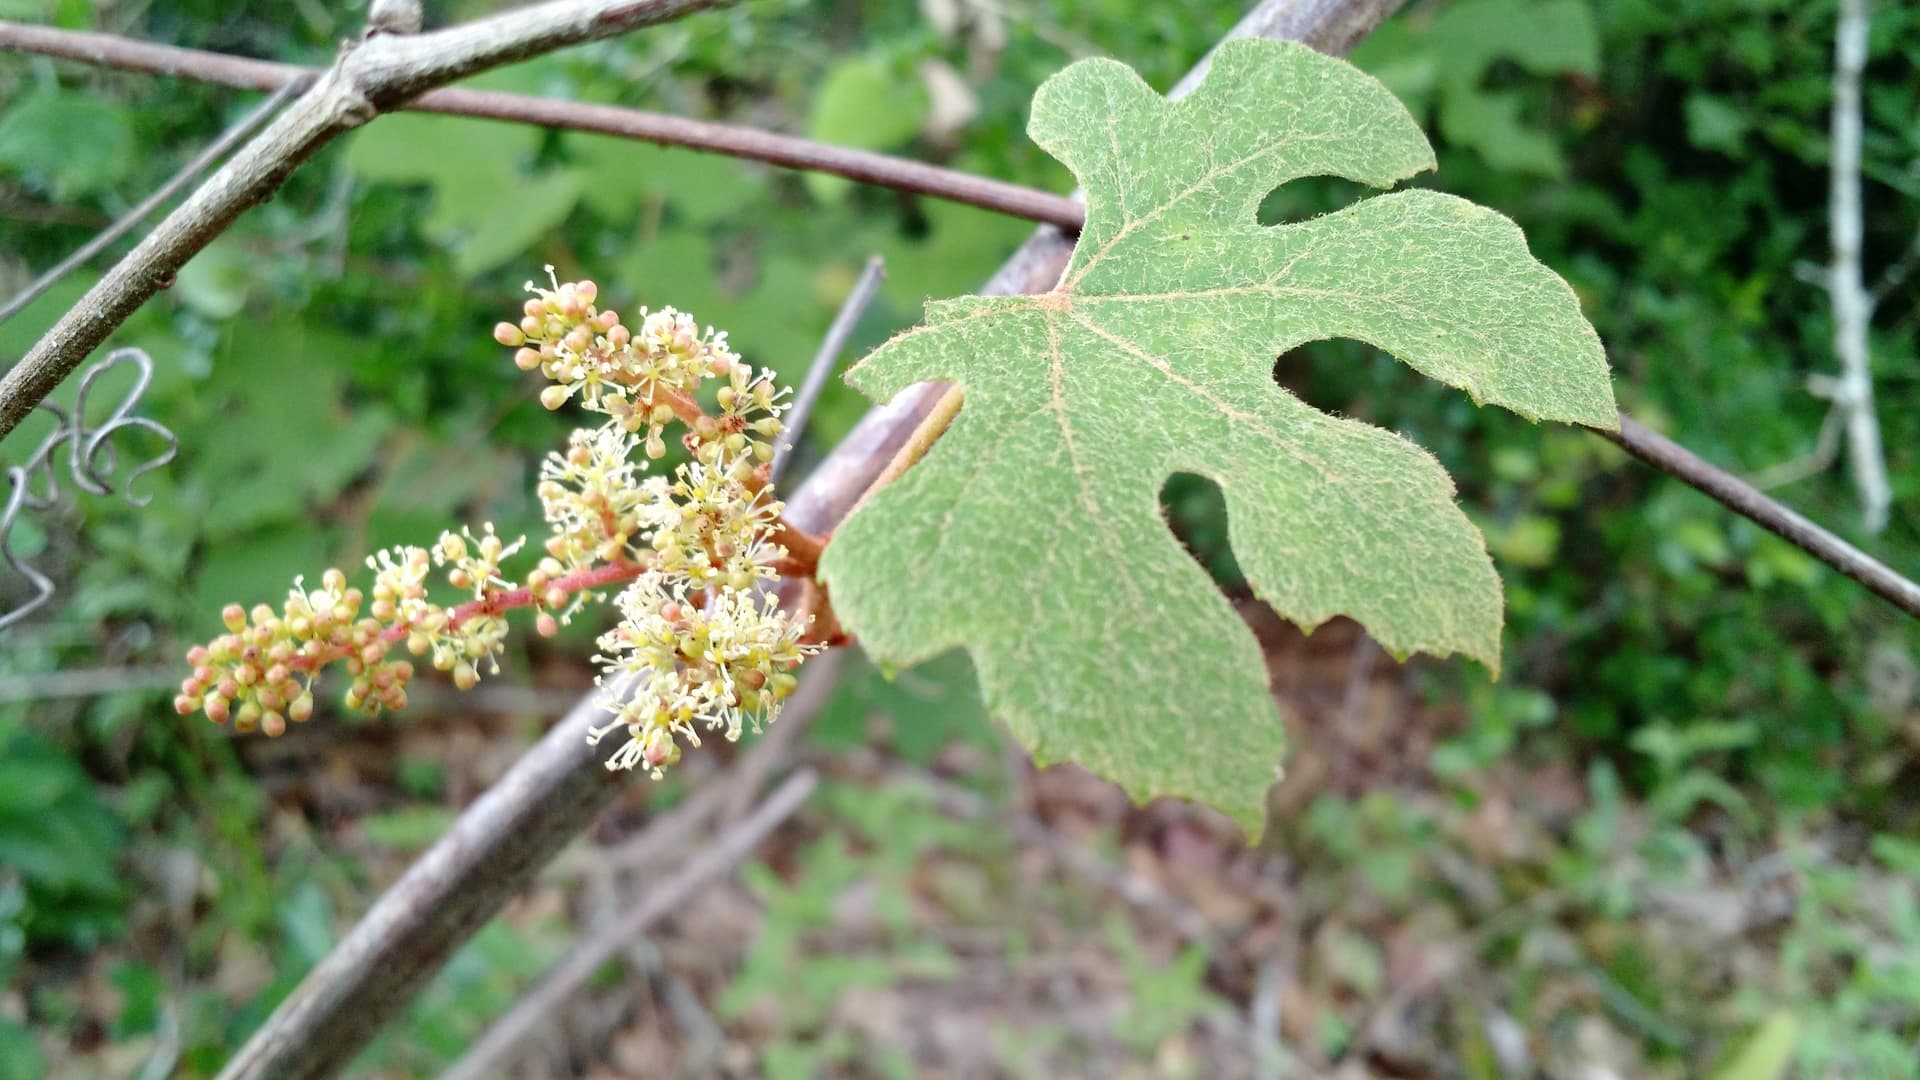
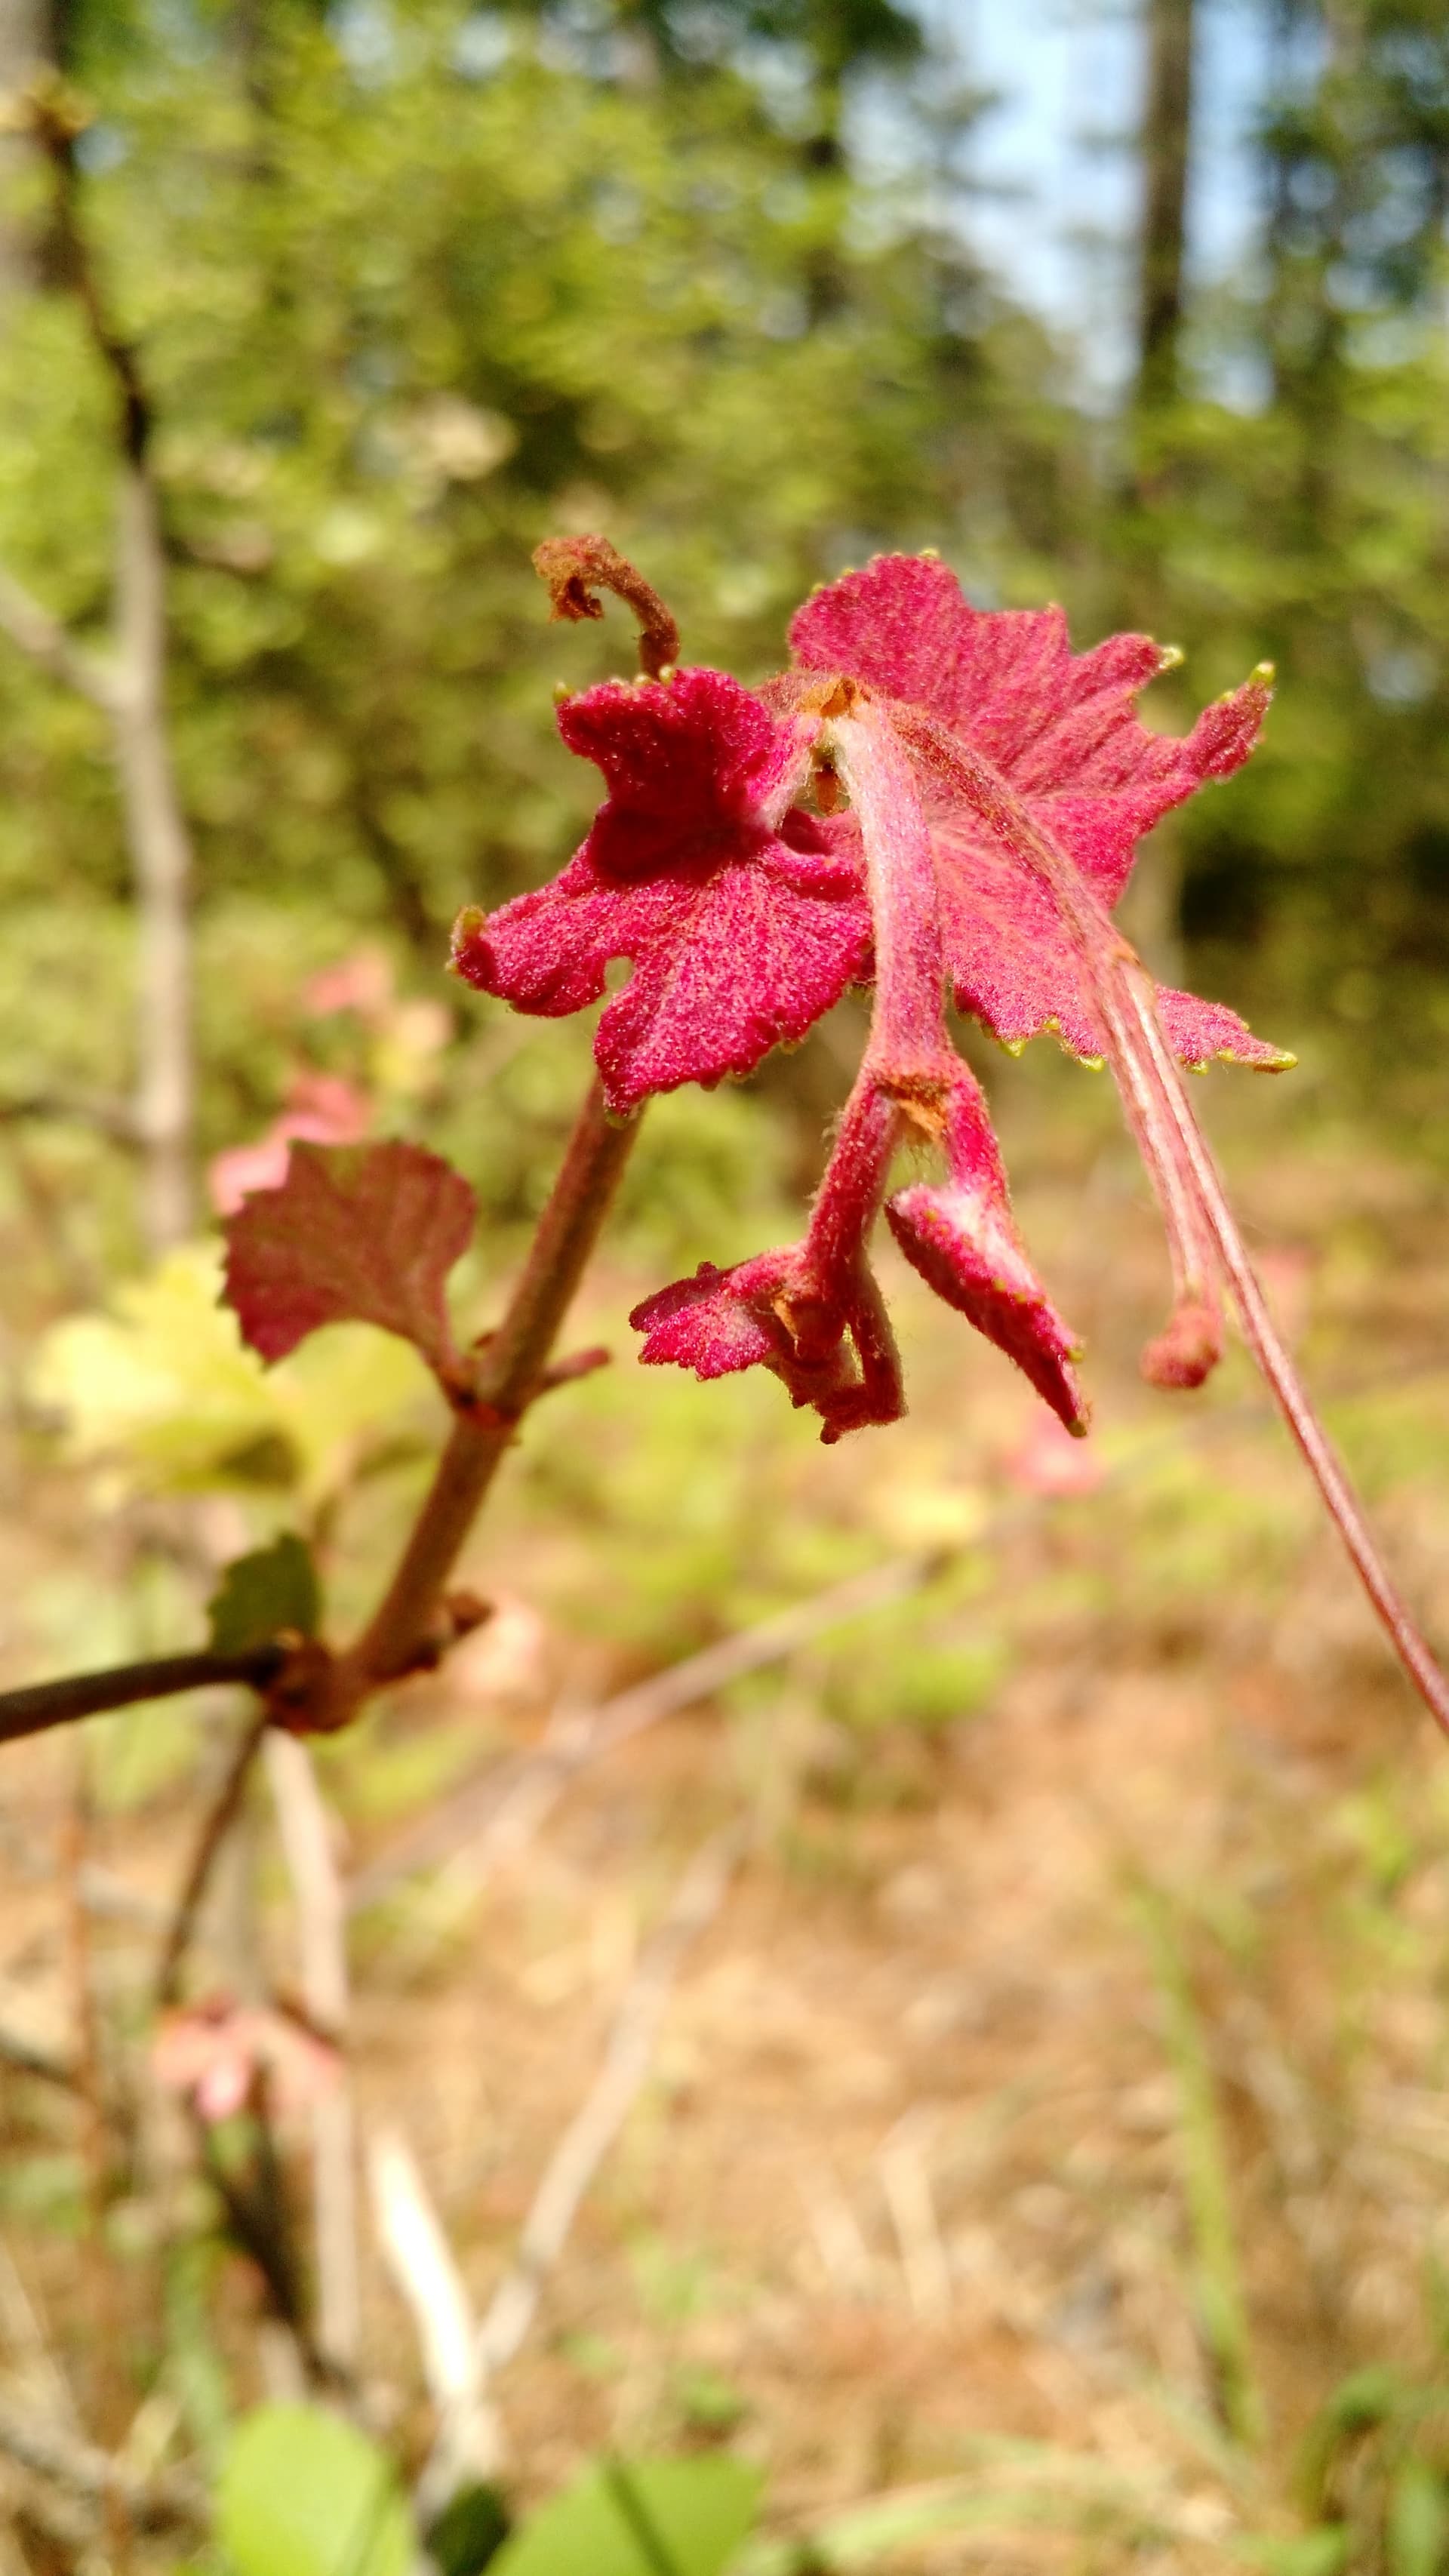
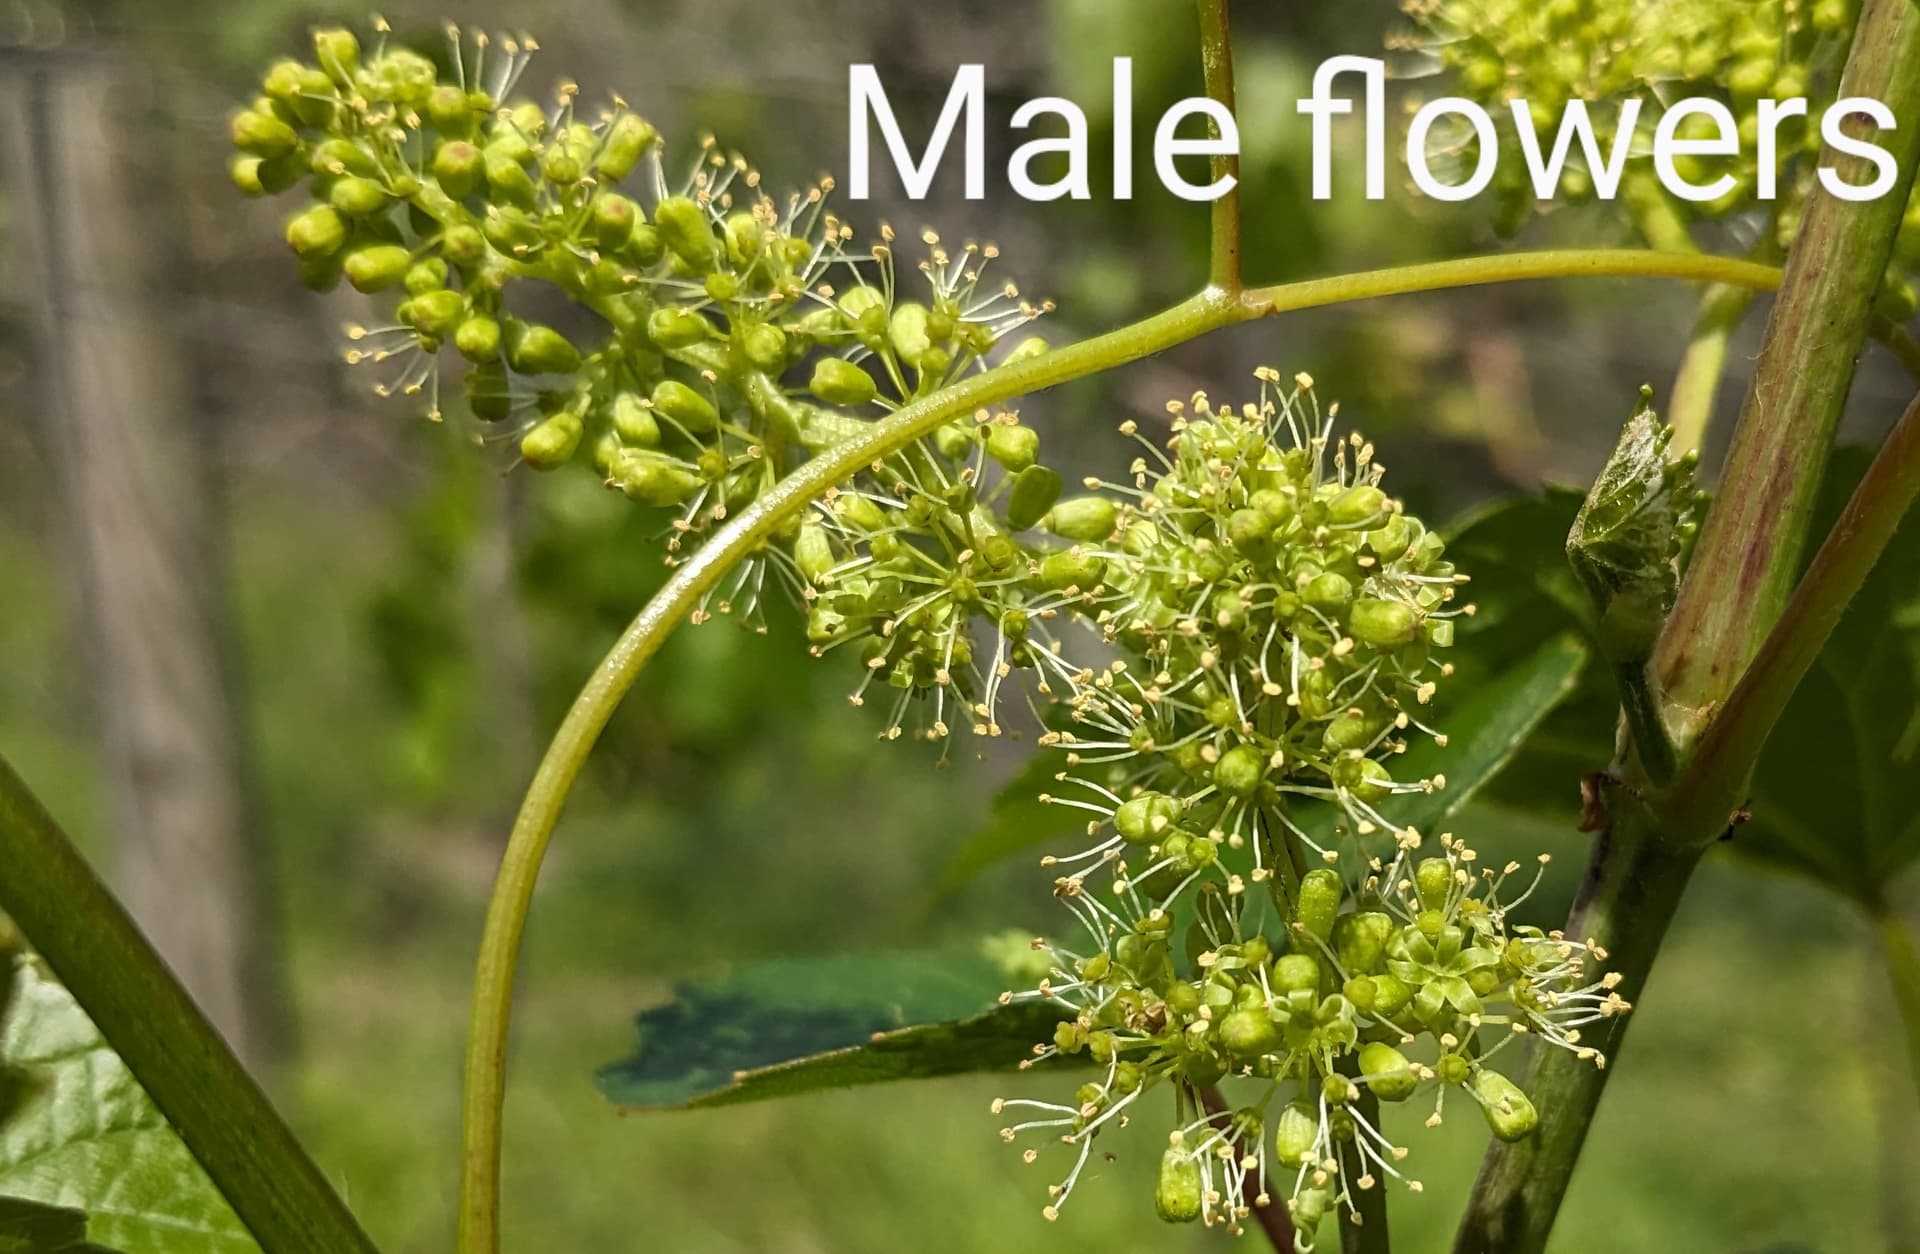
  2. Grapes come with three possible flower types. Each unique vine/genotype will typically produce only one type of flower, and it will be the same every season.

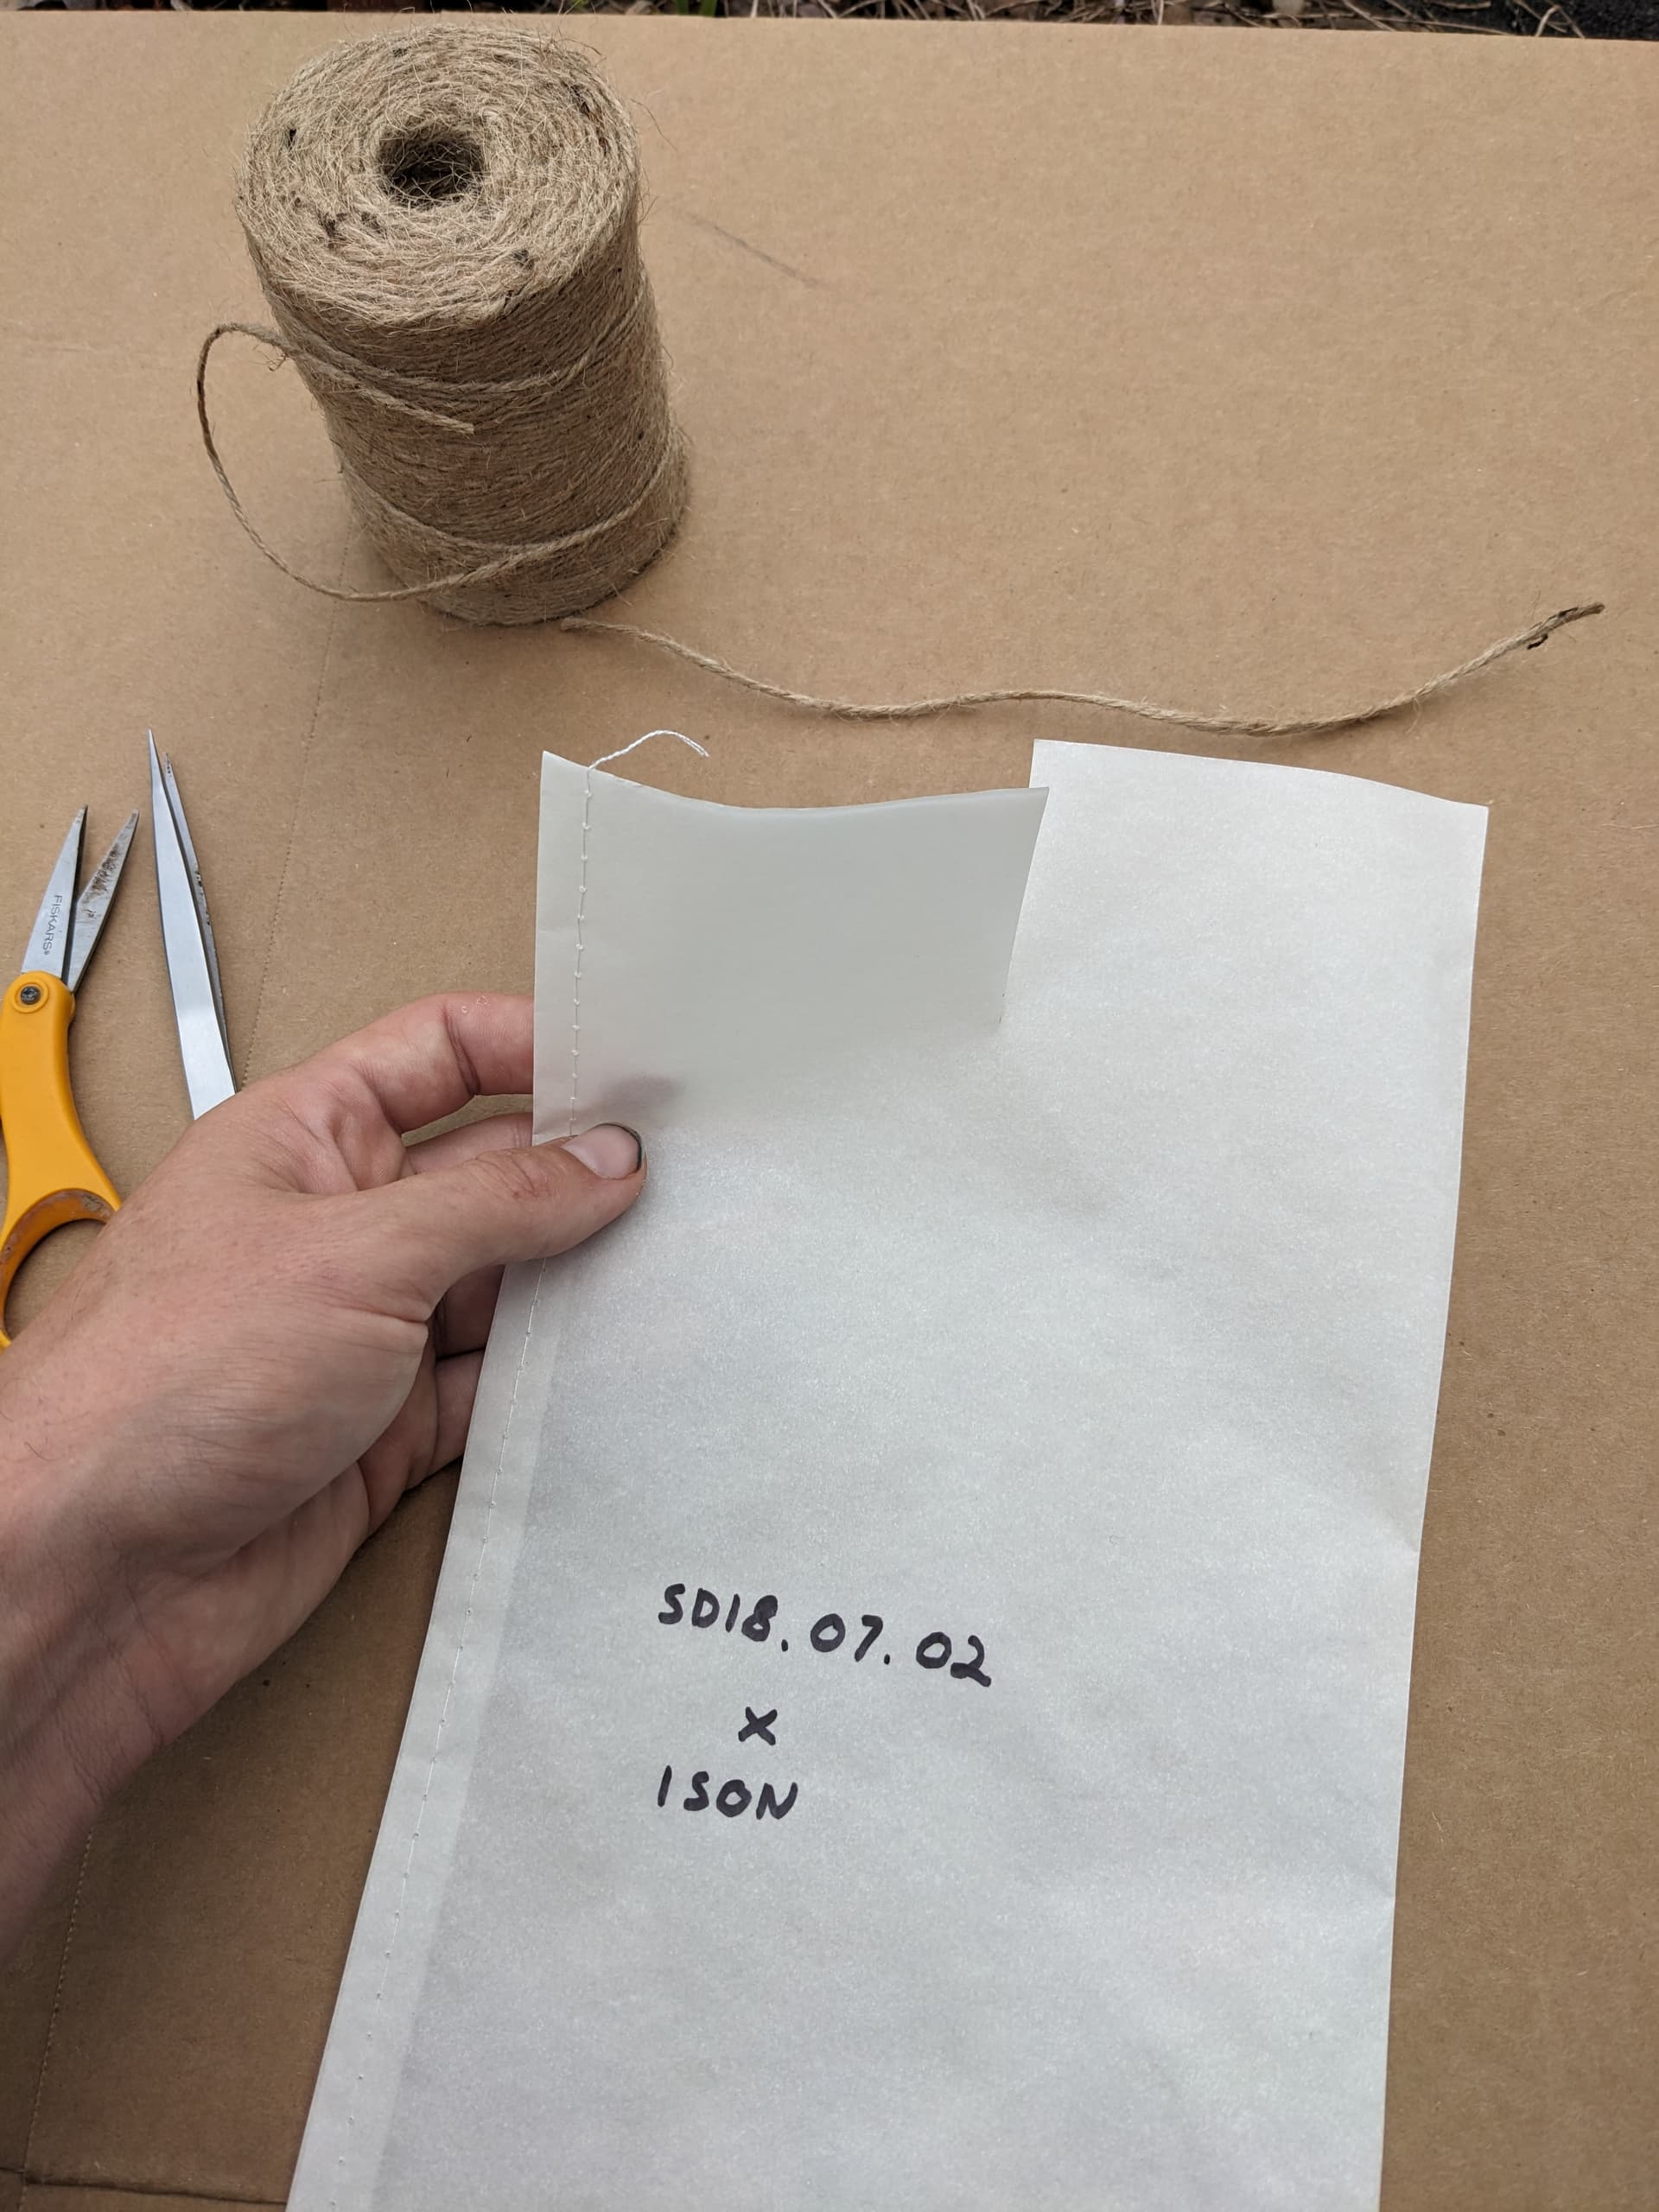
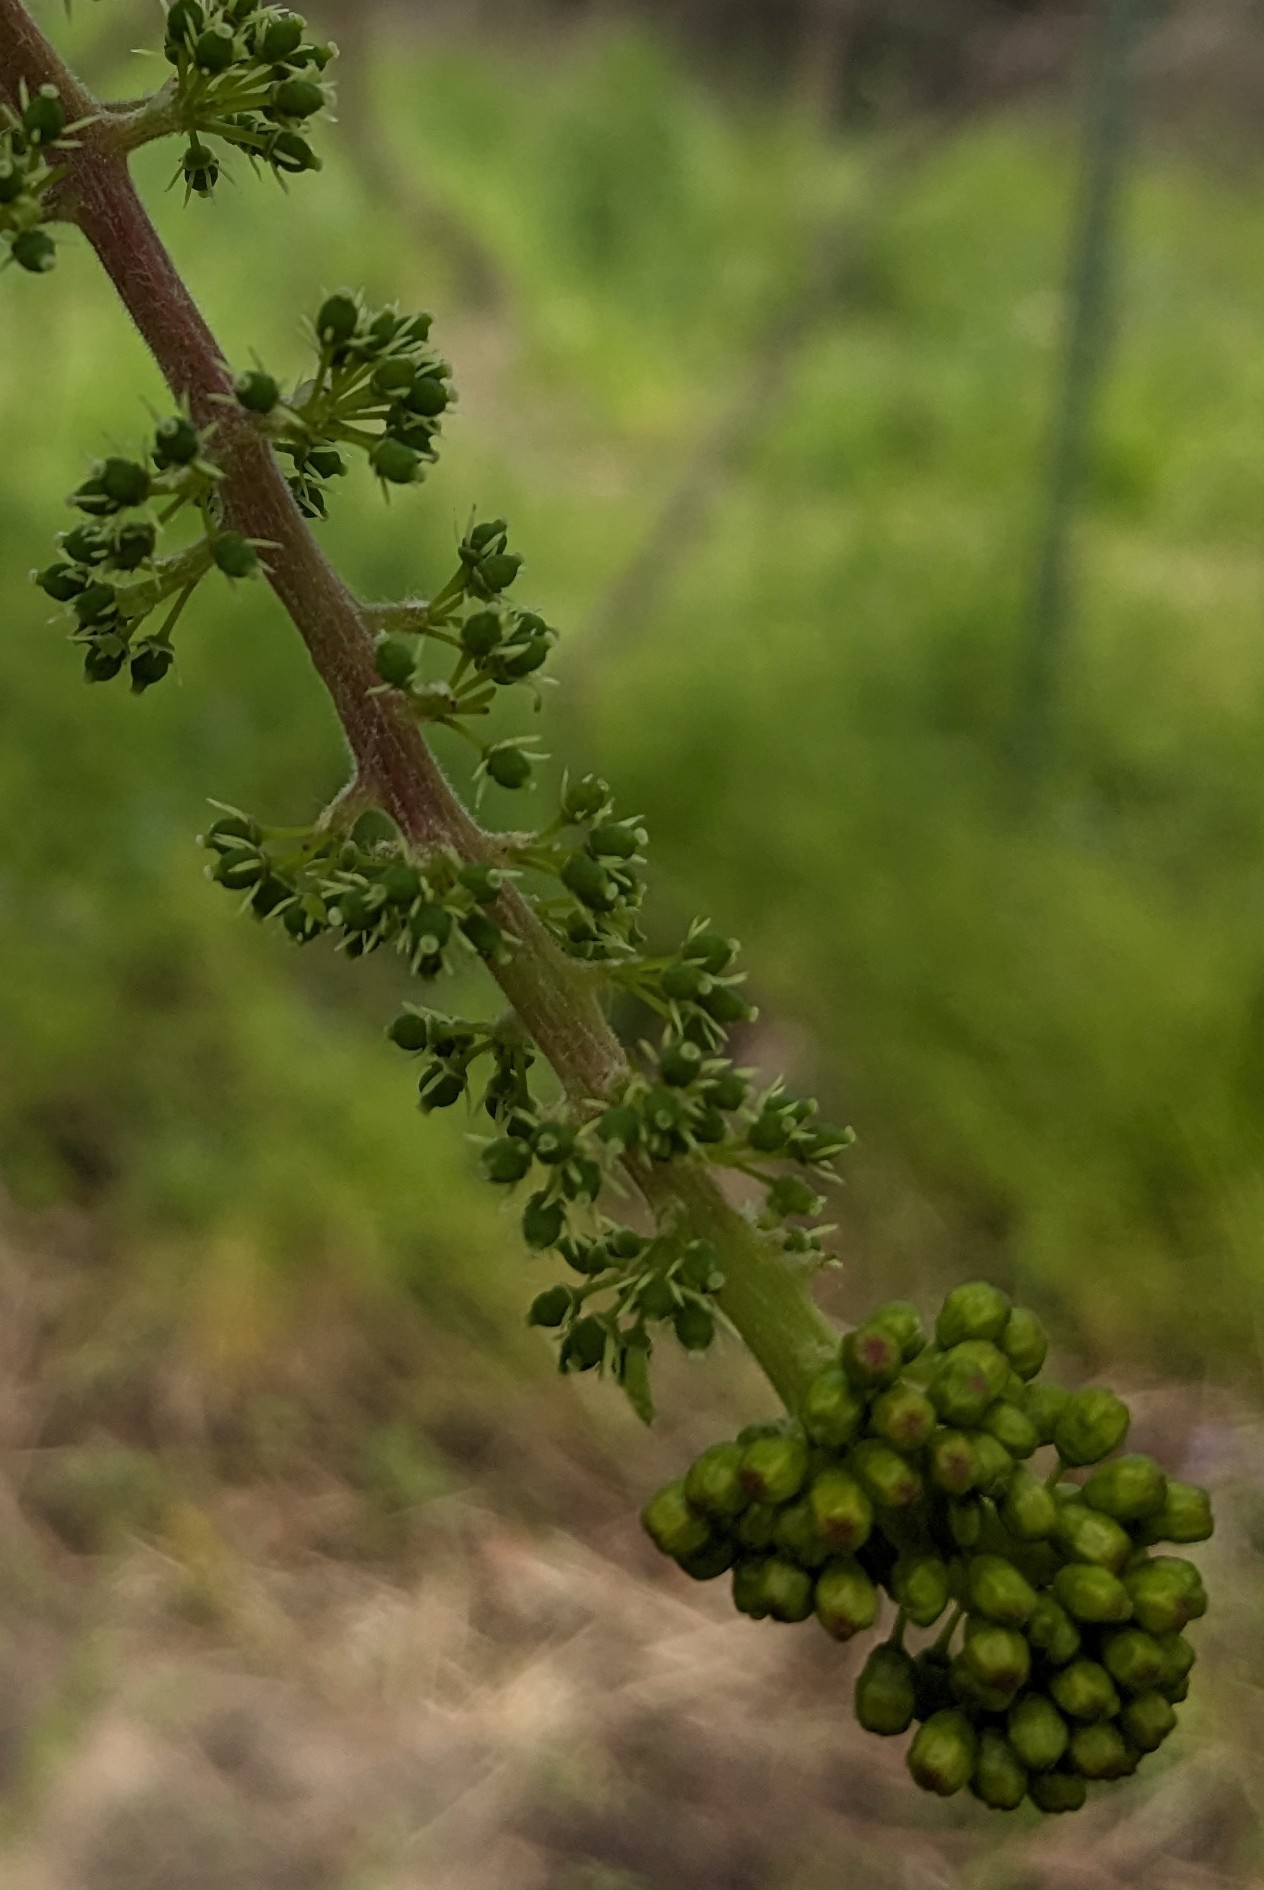
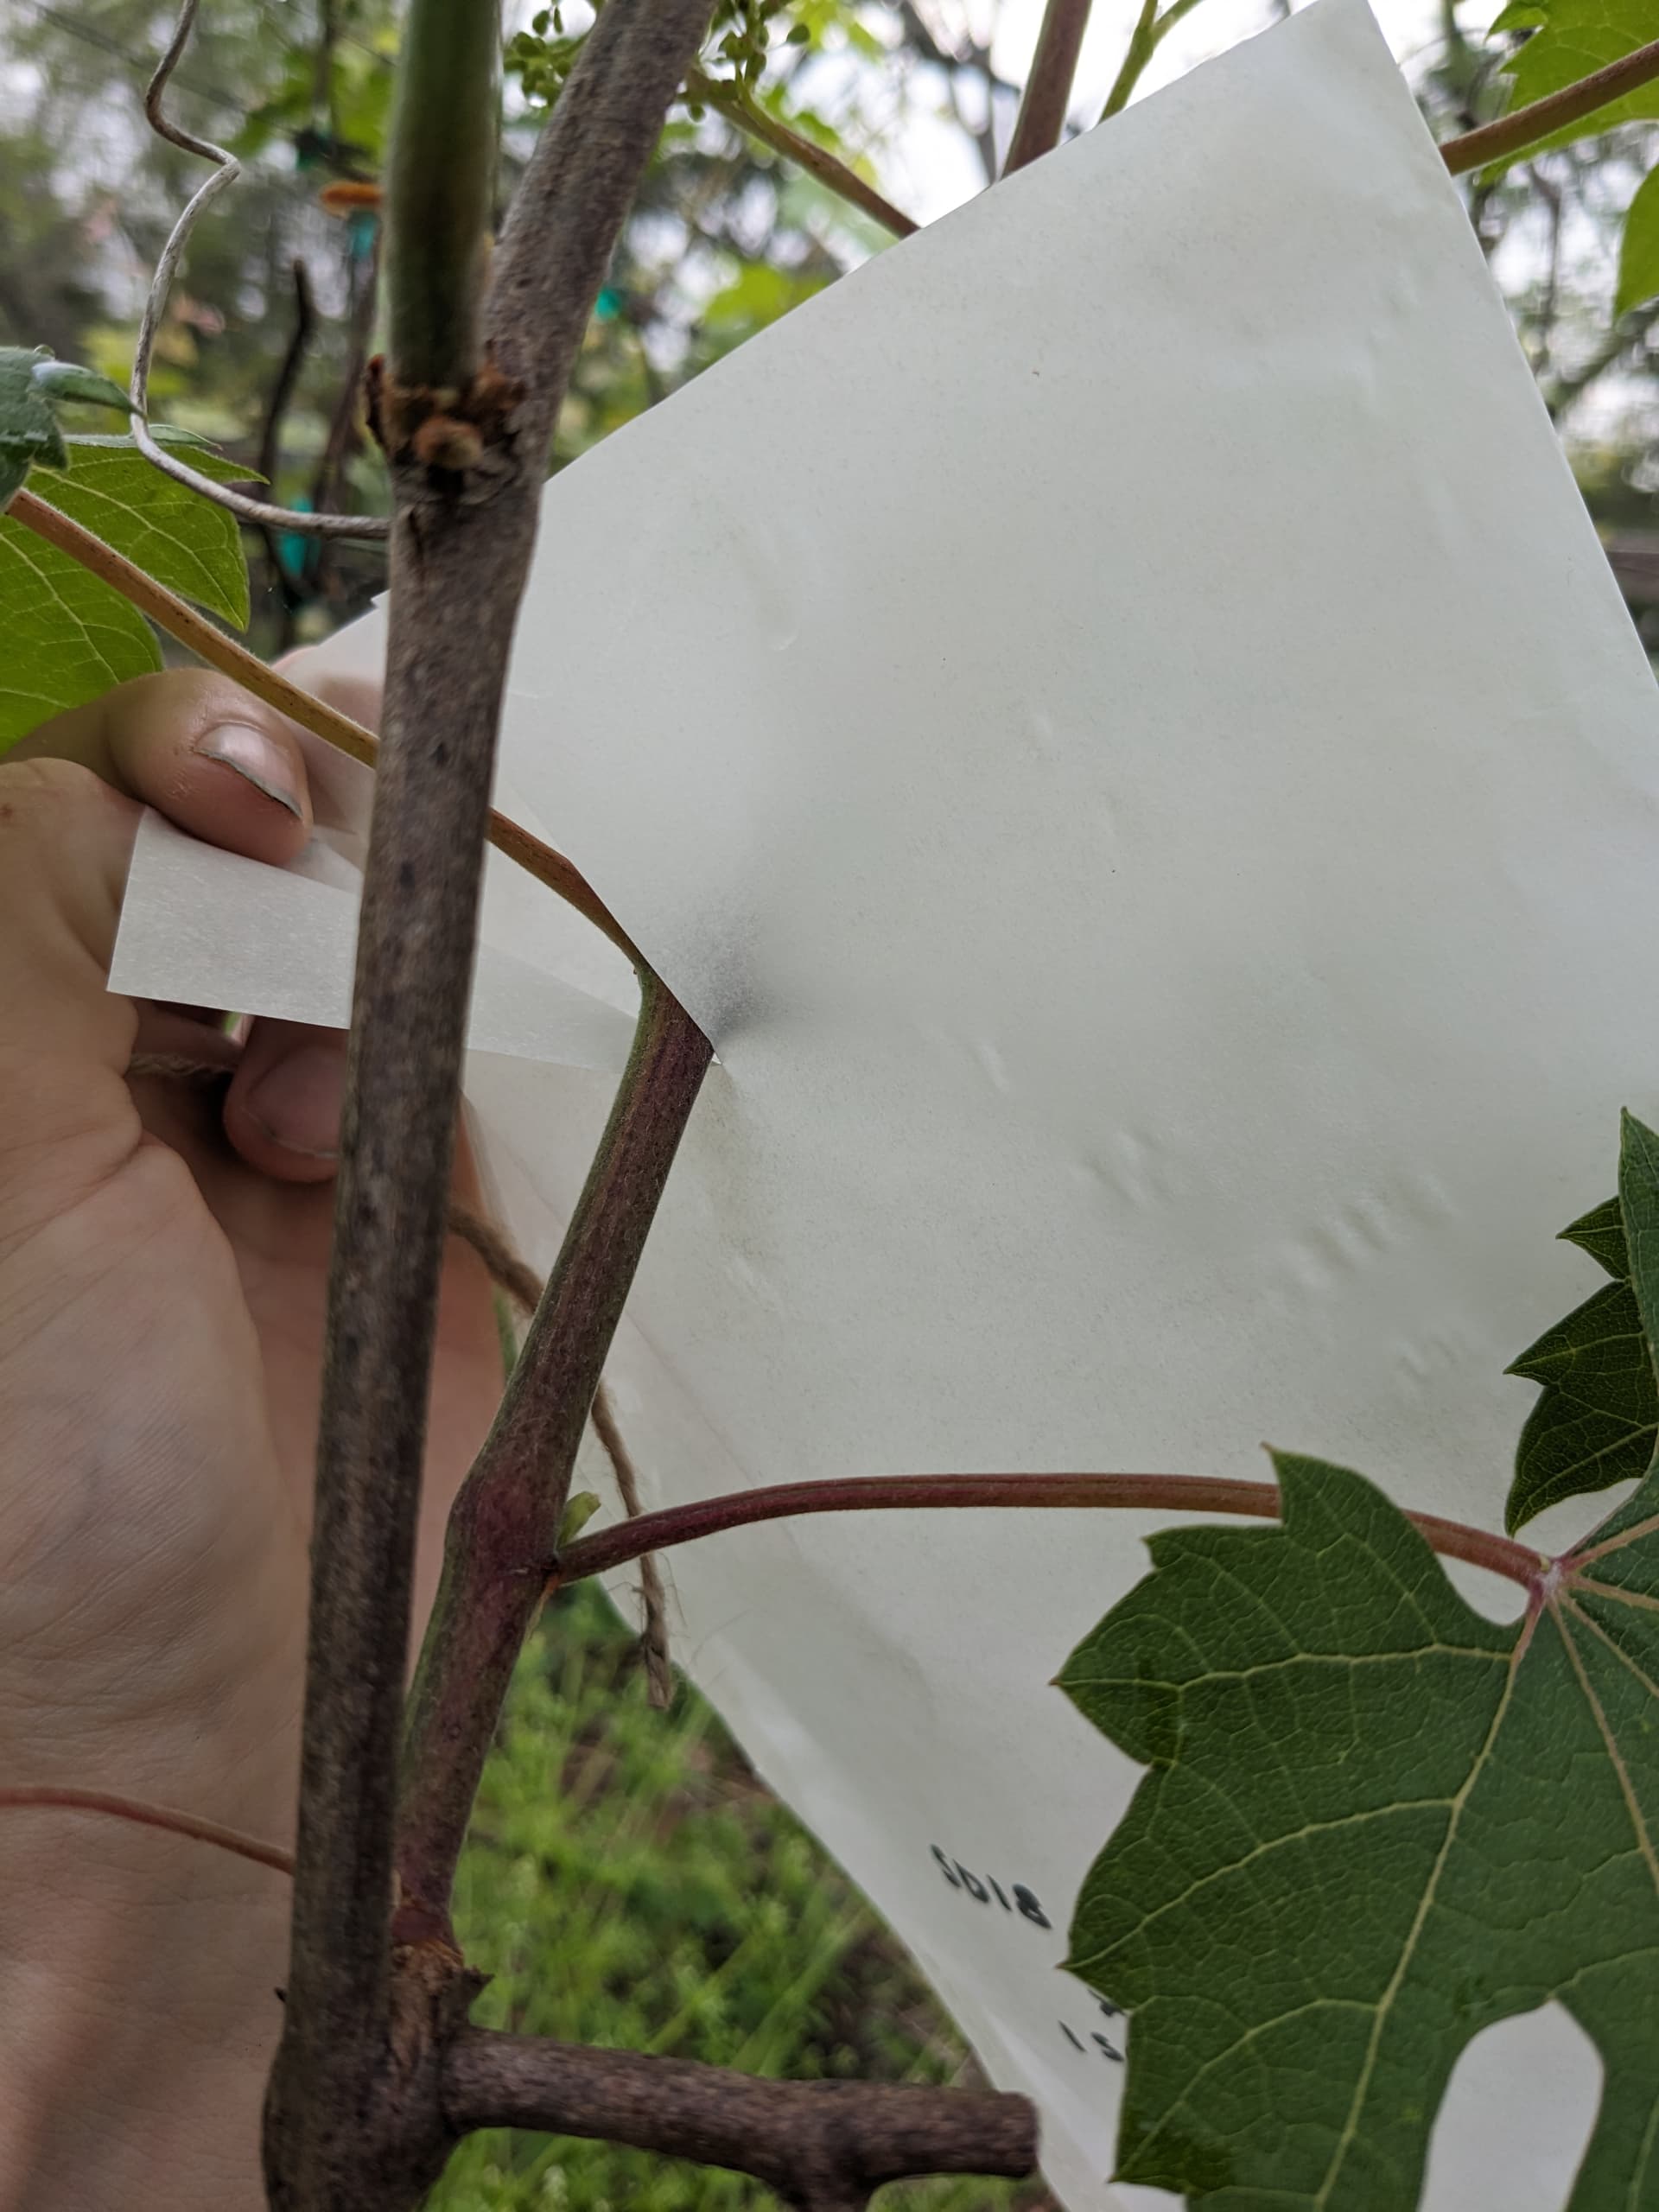
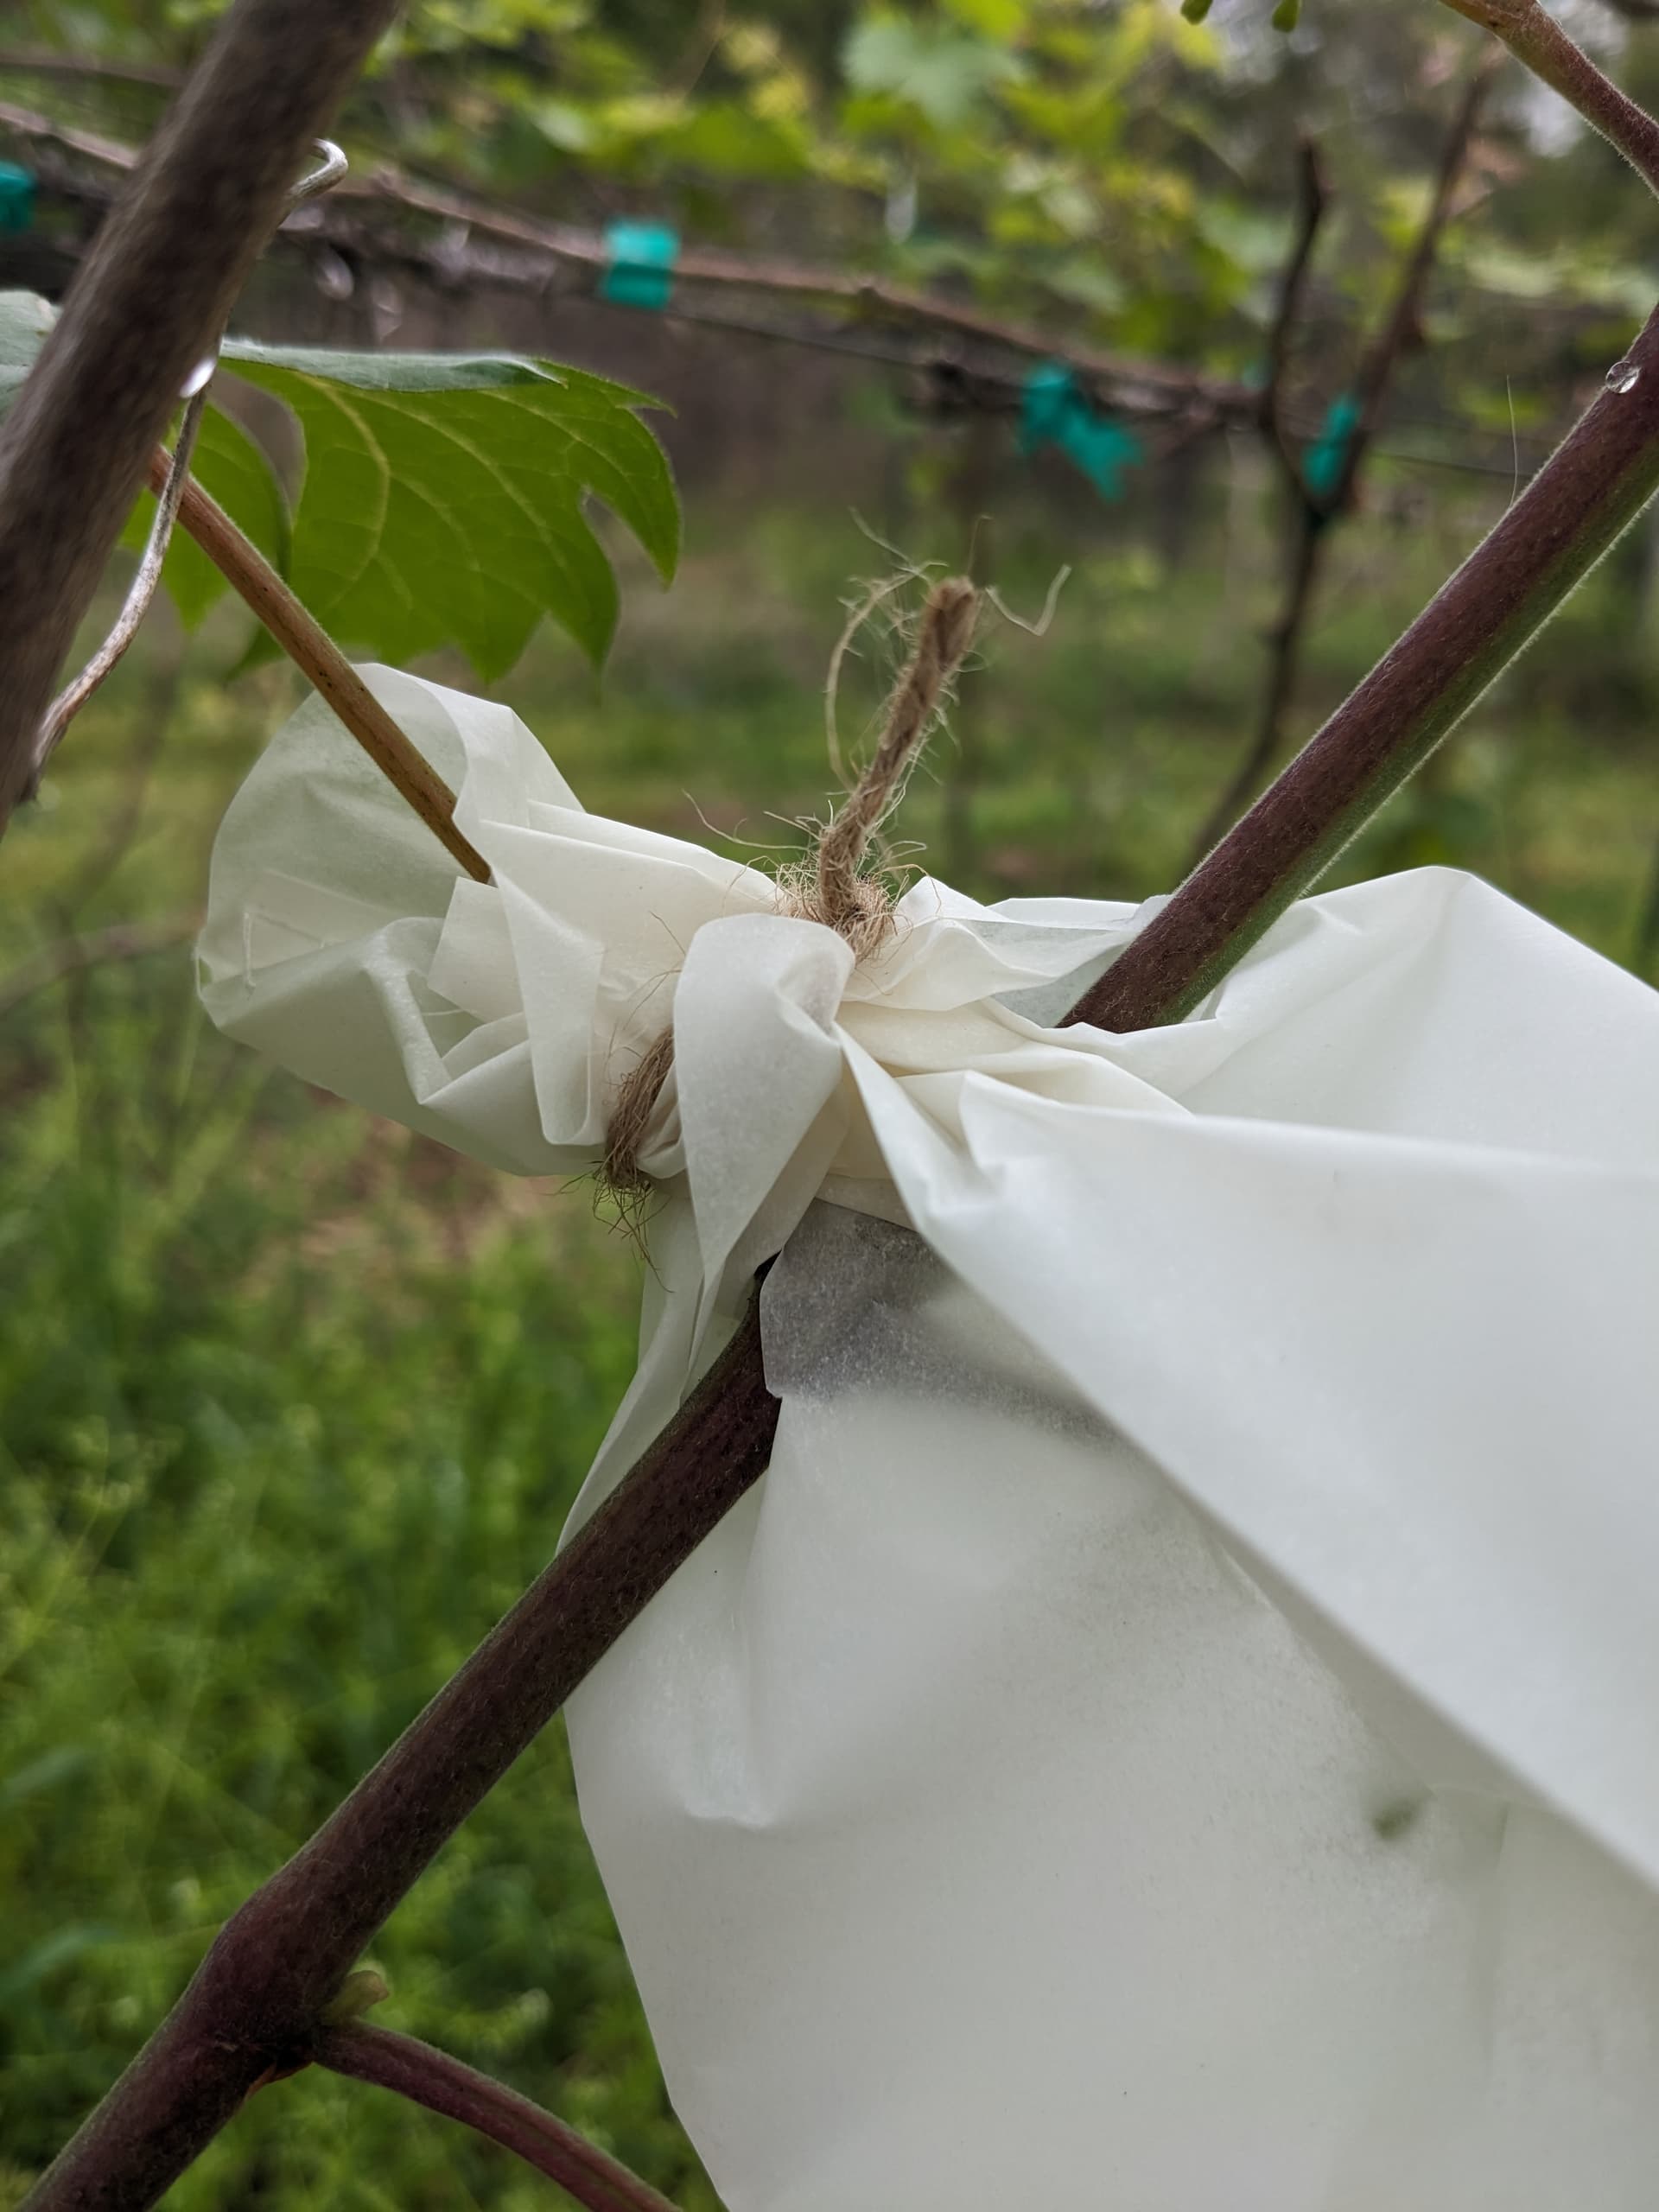
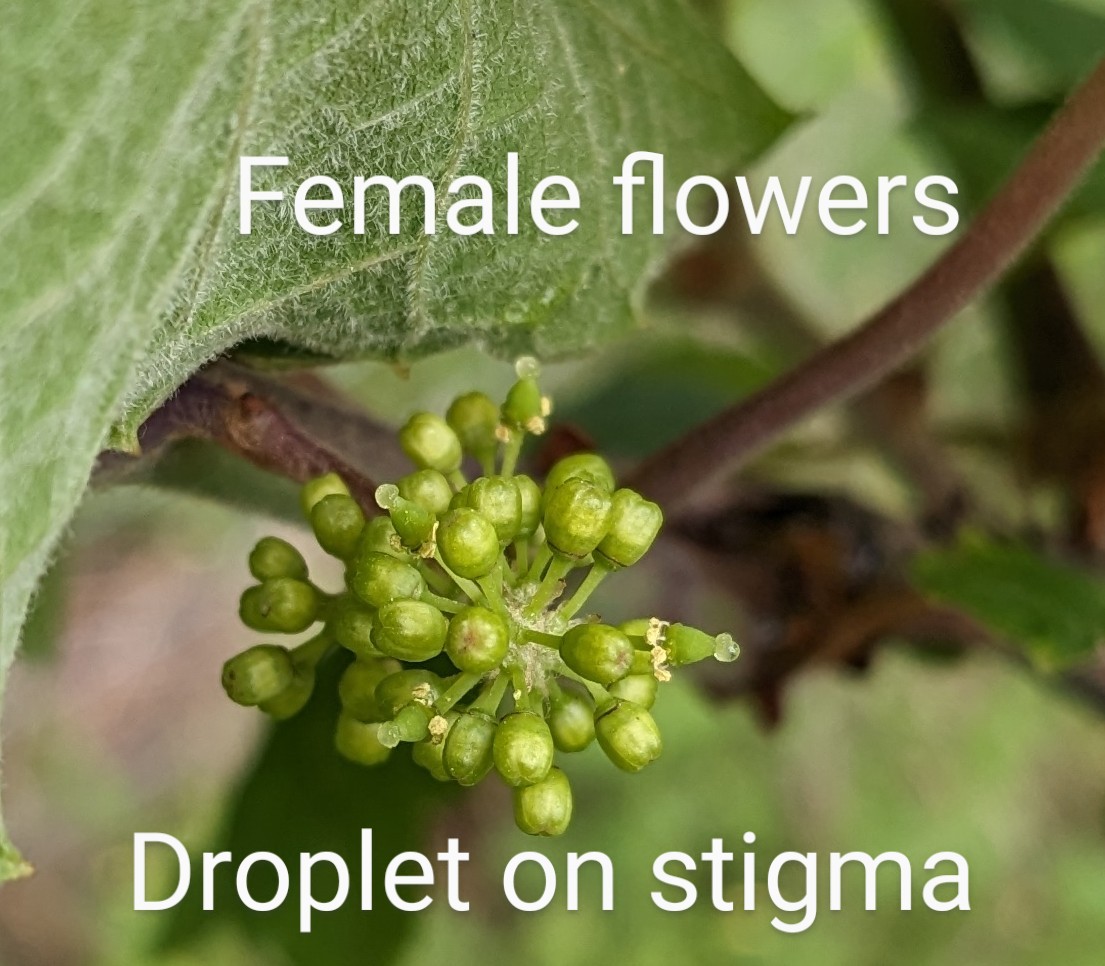
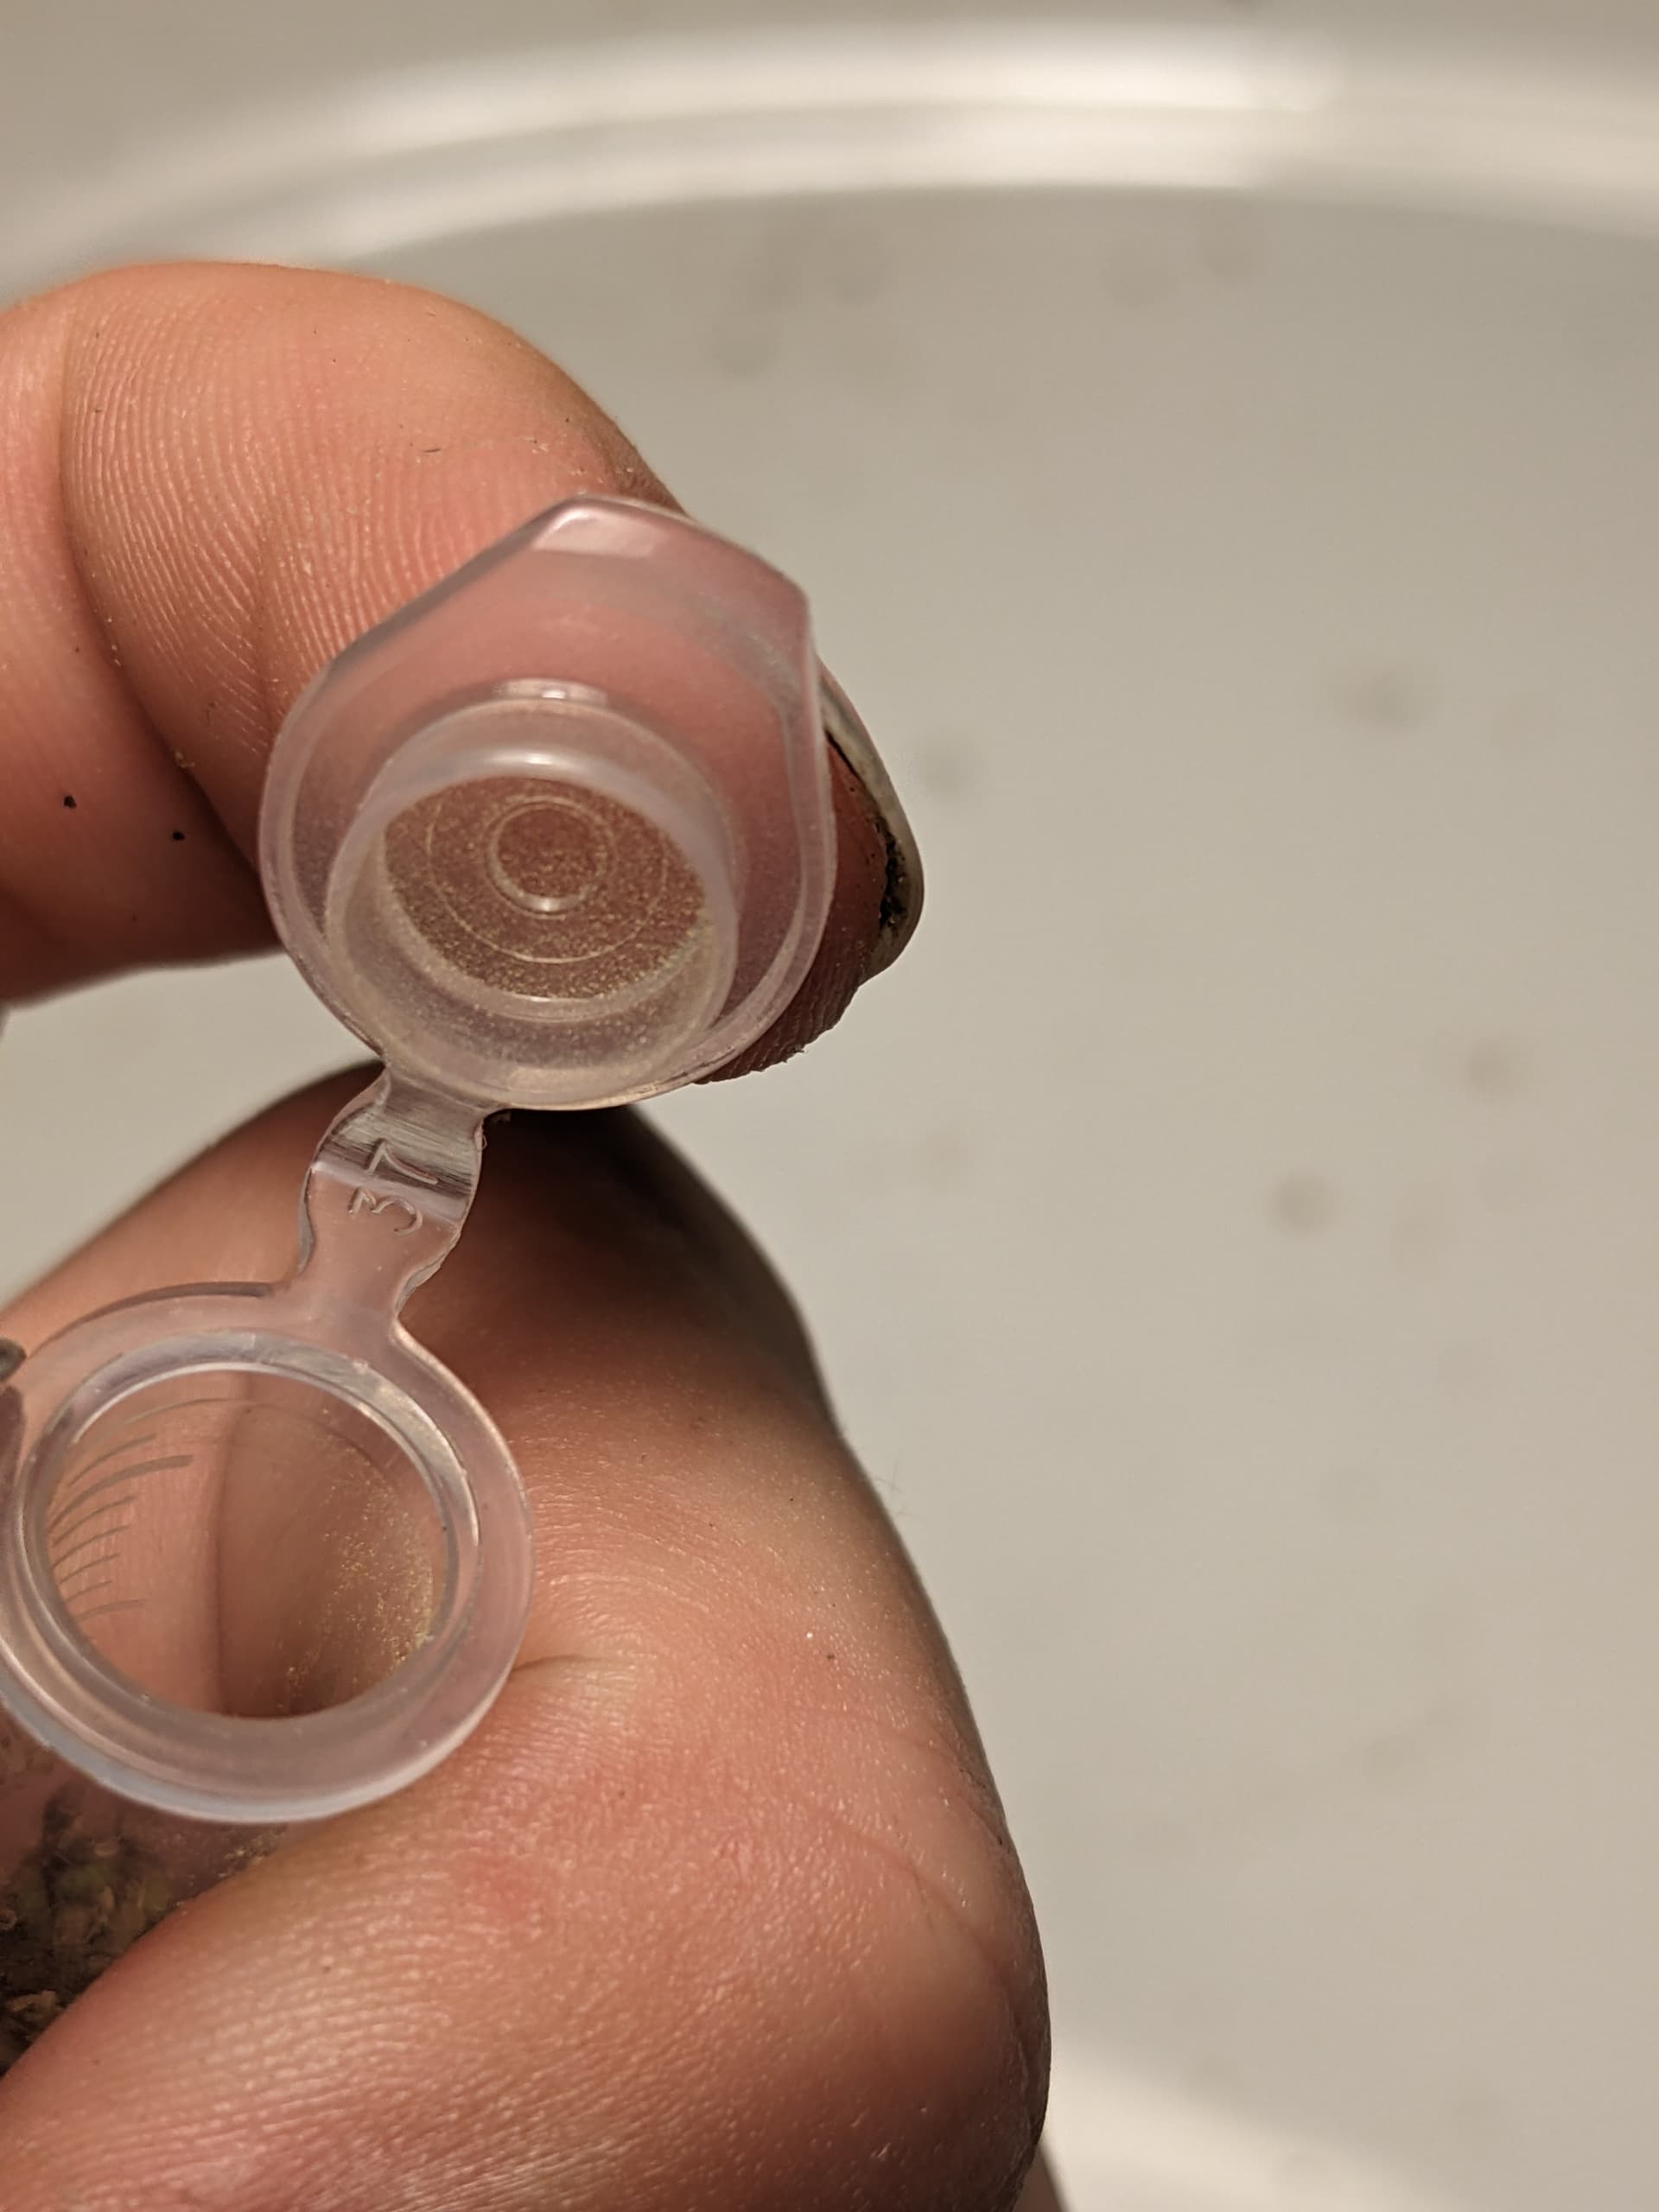
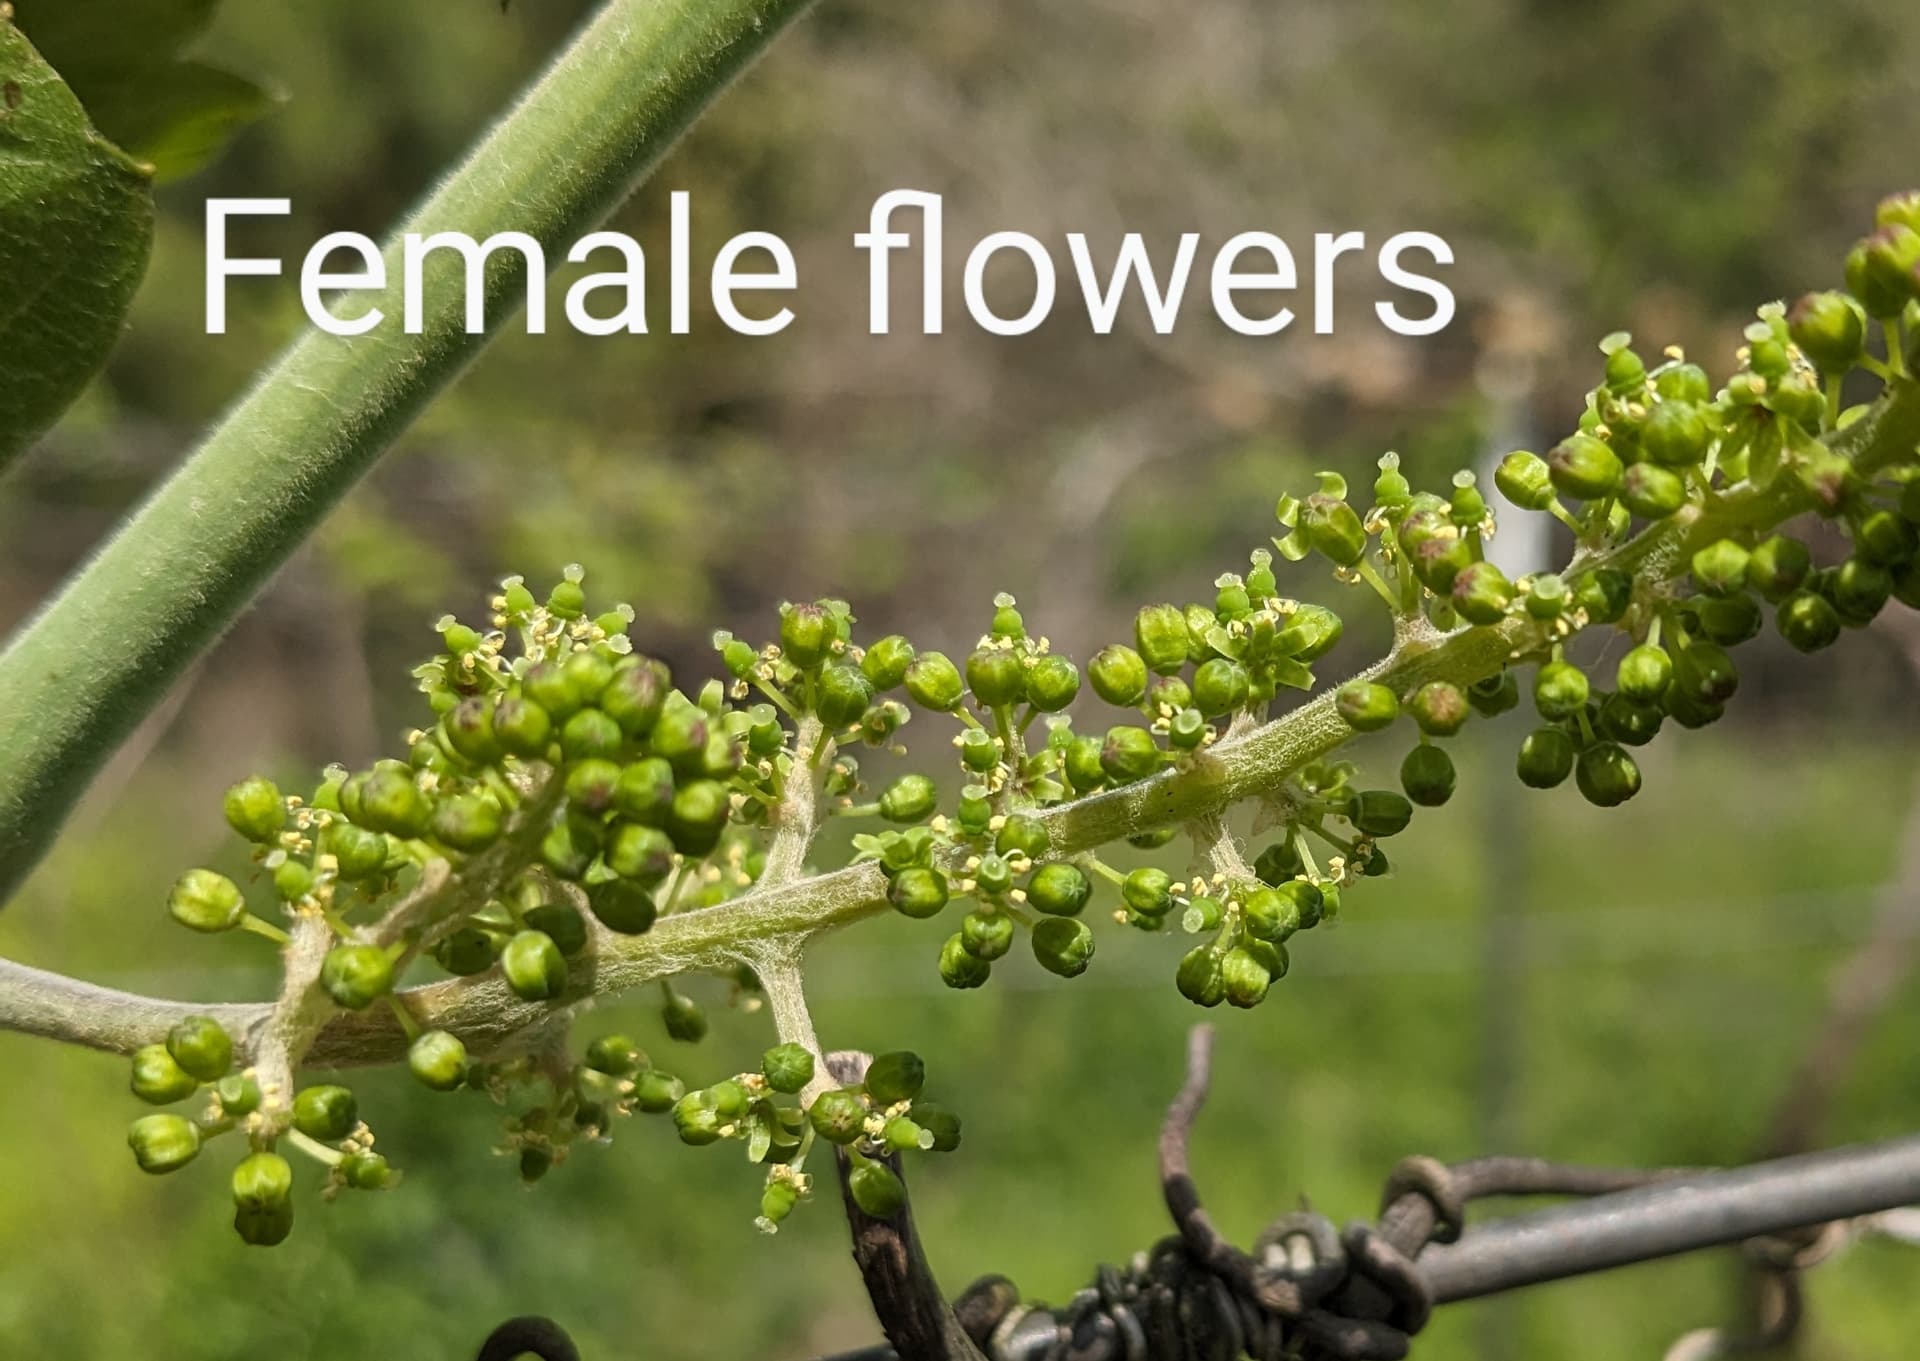
First you have female flowers. Female flowers have fully formed and fertile pistils, but short, curved/twisted anthers and the pollen is infertile. Female varieties cannot be used as a pollen parent, but are the most simple varieties to use as a seed parent, since they cannot self pollinate. All that is required is to bag the flowers clusters prior to bloom to protect them from stray pollen from undesired parents, apply pollen from the desired pollen donor to the bagged cluster during bloom, and rebag till the fruit forms. As easy as it gets.

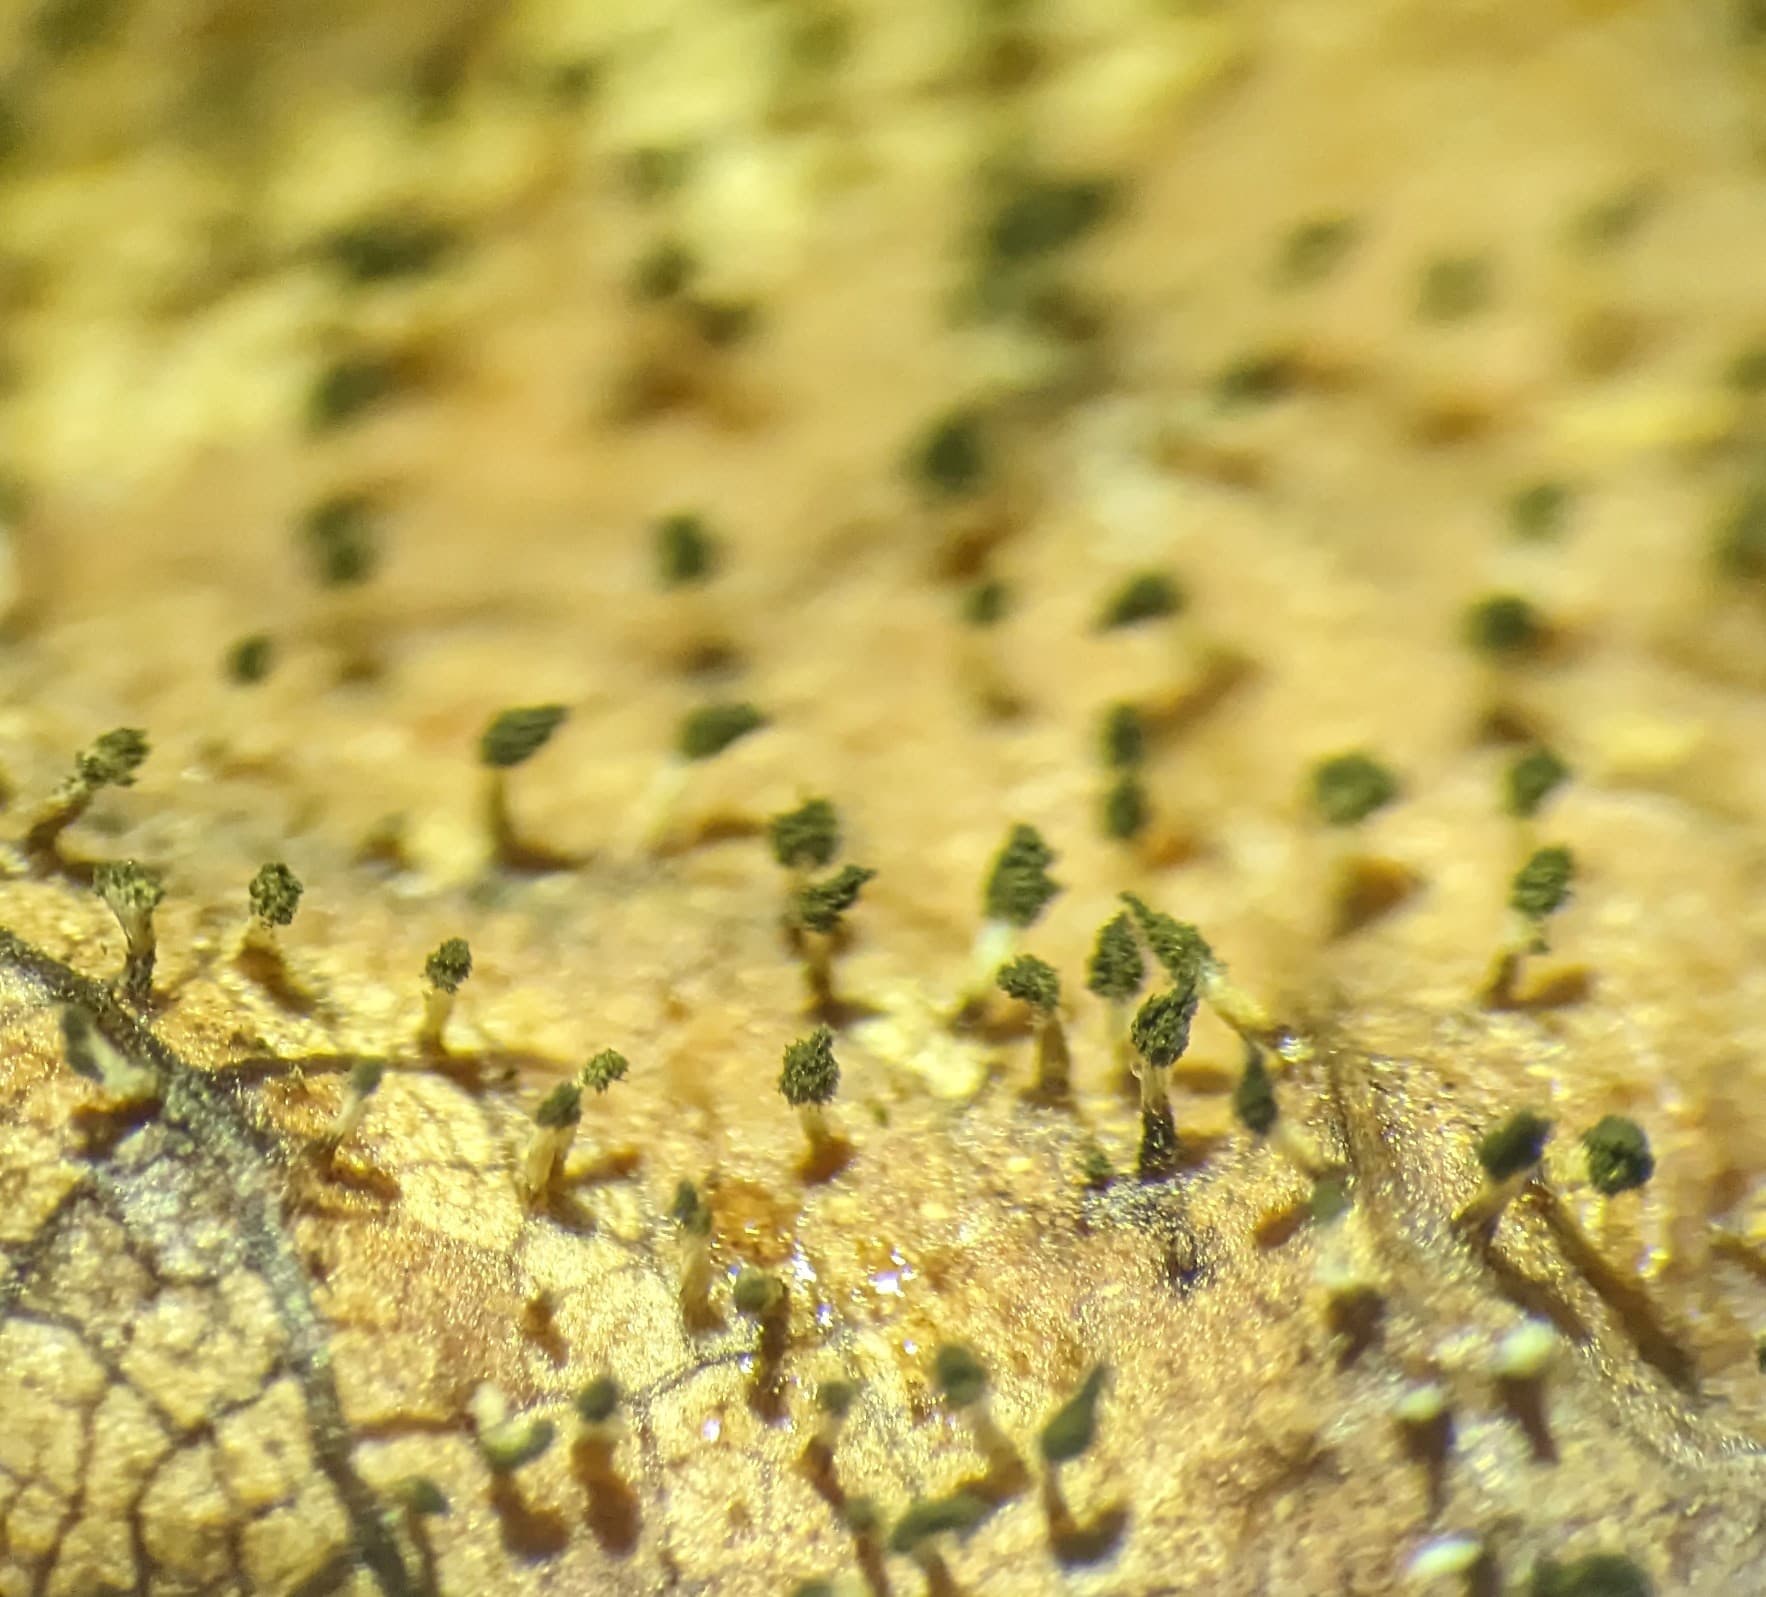
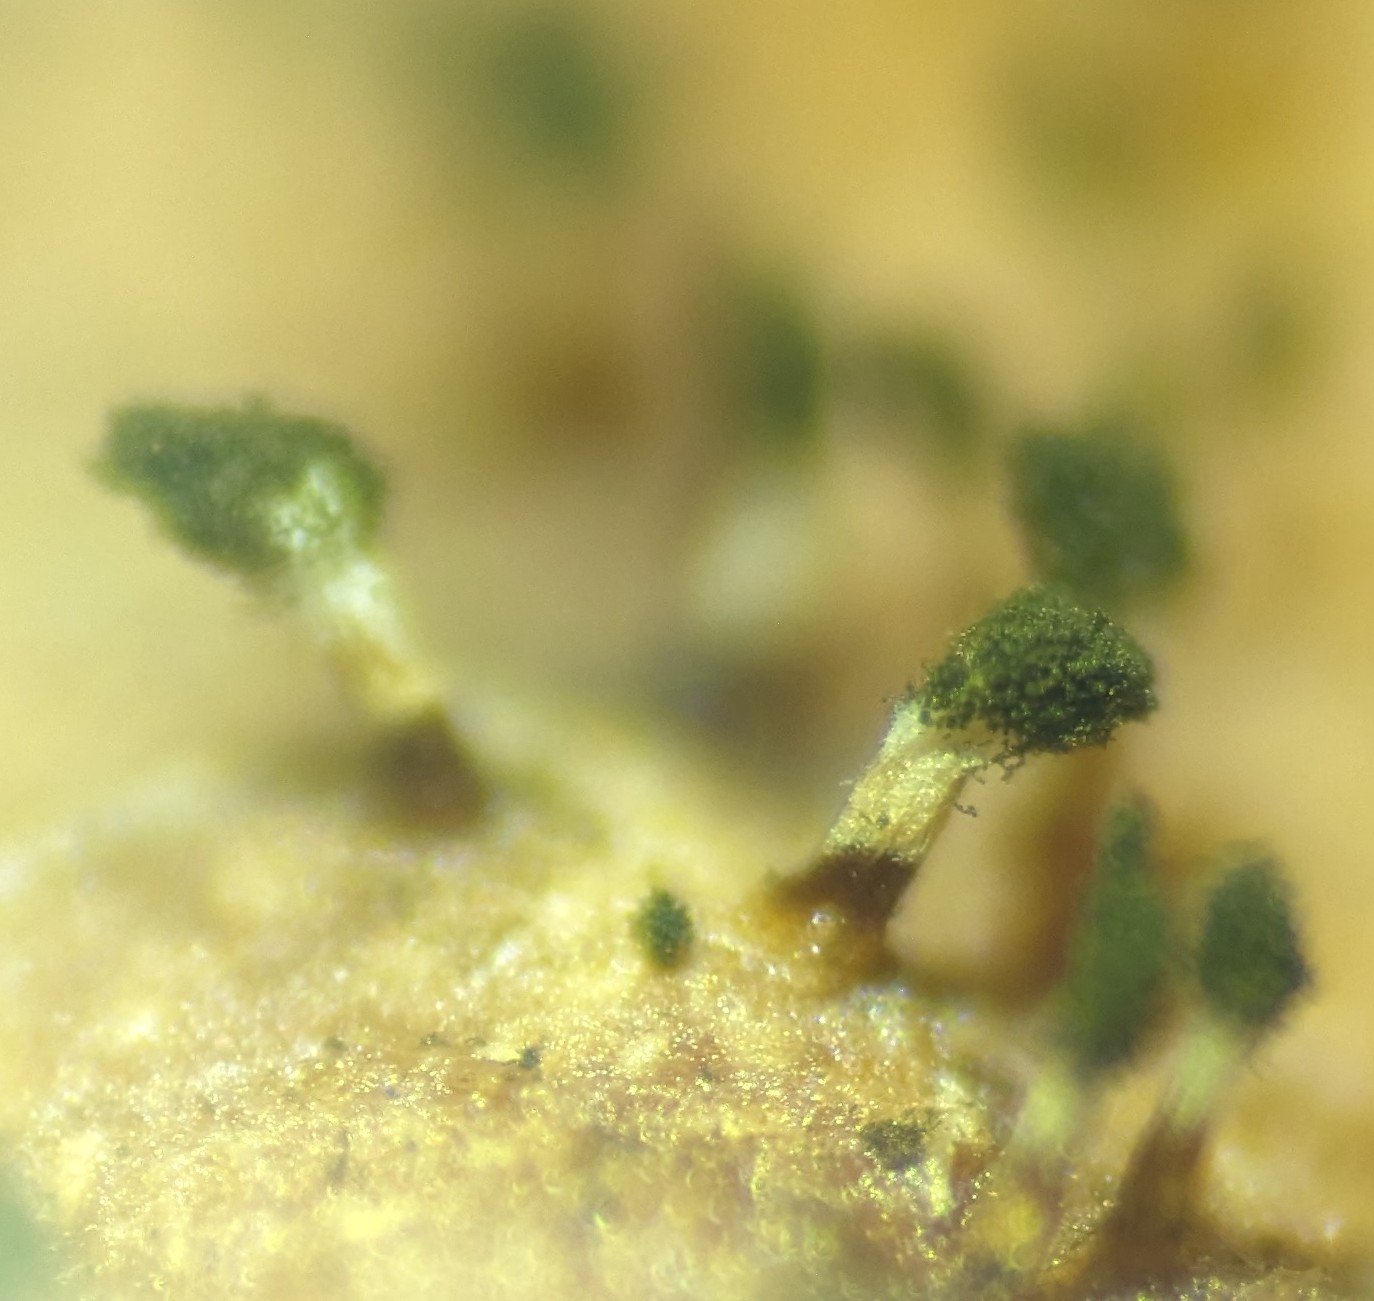
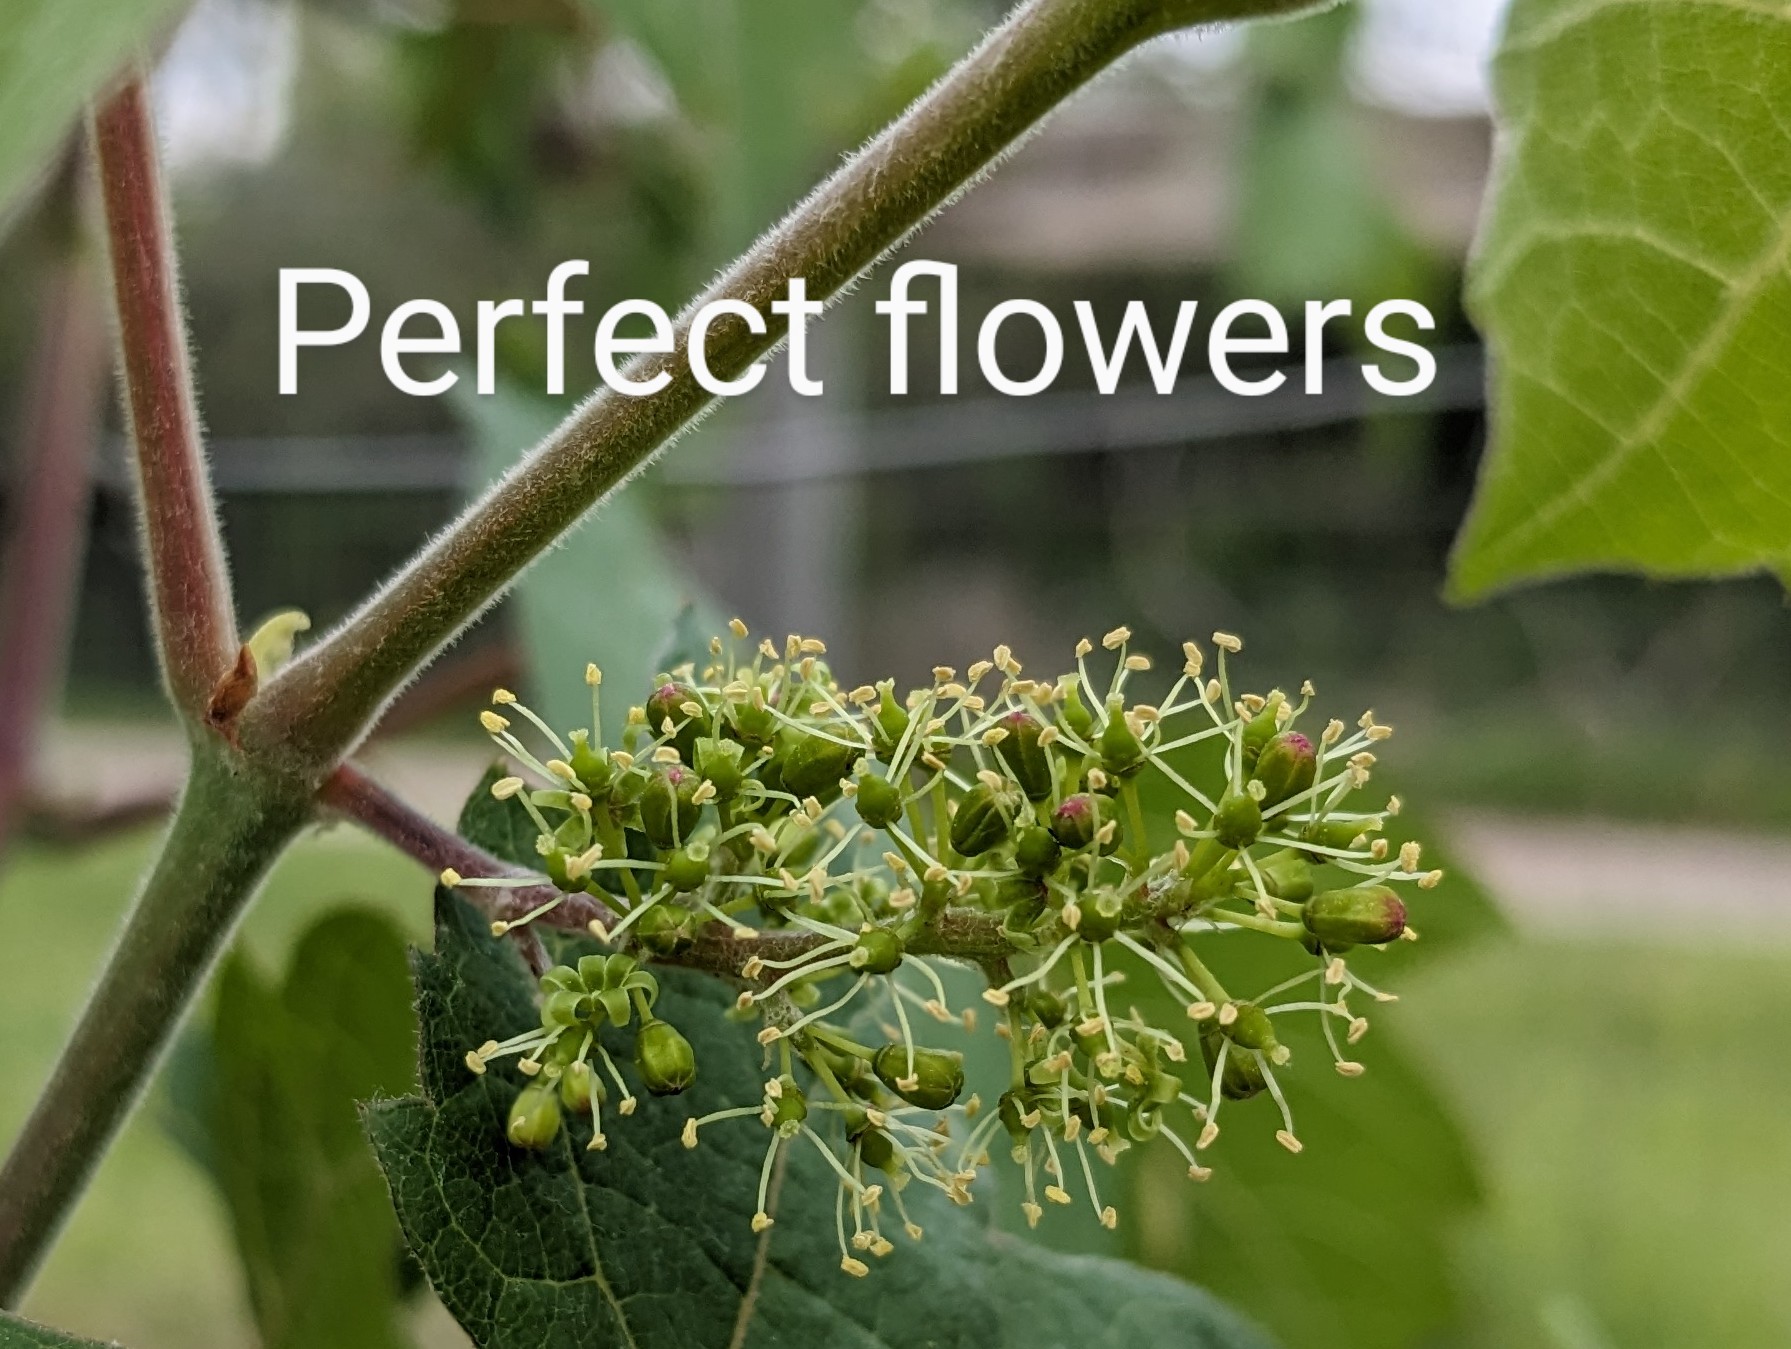
Next you have Perfect flowered varieties. Perfect flowered varieties have a fully formed and fertile pistil like a female variety, but unlike a female, they also have erect, straight stamens, and will produce viable pollen that is capable of both self fertilization, and of pollinating fertile pistils on other vines. As a result, perfect flowered vines can be used as either the pollen parent or the seed parent in breeding. This flower type is the type found in the majority of cultivated varieties, and is the most desirable flower type for most purposes.

Lastly you have male flowers. Male flowers are typically only found in wild material or rootstocks. Male flowers will have erect stamens and produce abundant pollen, but there will typically be no pistil present at all, or at most, a slight, underdeveloped and unviable indication of the beginning of a pistil. Because they have no pistil, these vines will bloom heavily but set no fruit. Typically this flower type is the least desirable to use in breeding, because roughly half of the offspring will also be fruitless males in any cross. The exception would be if you are working with rootstocks and fruit production is not a goal.

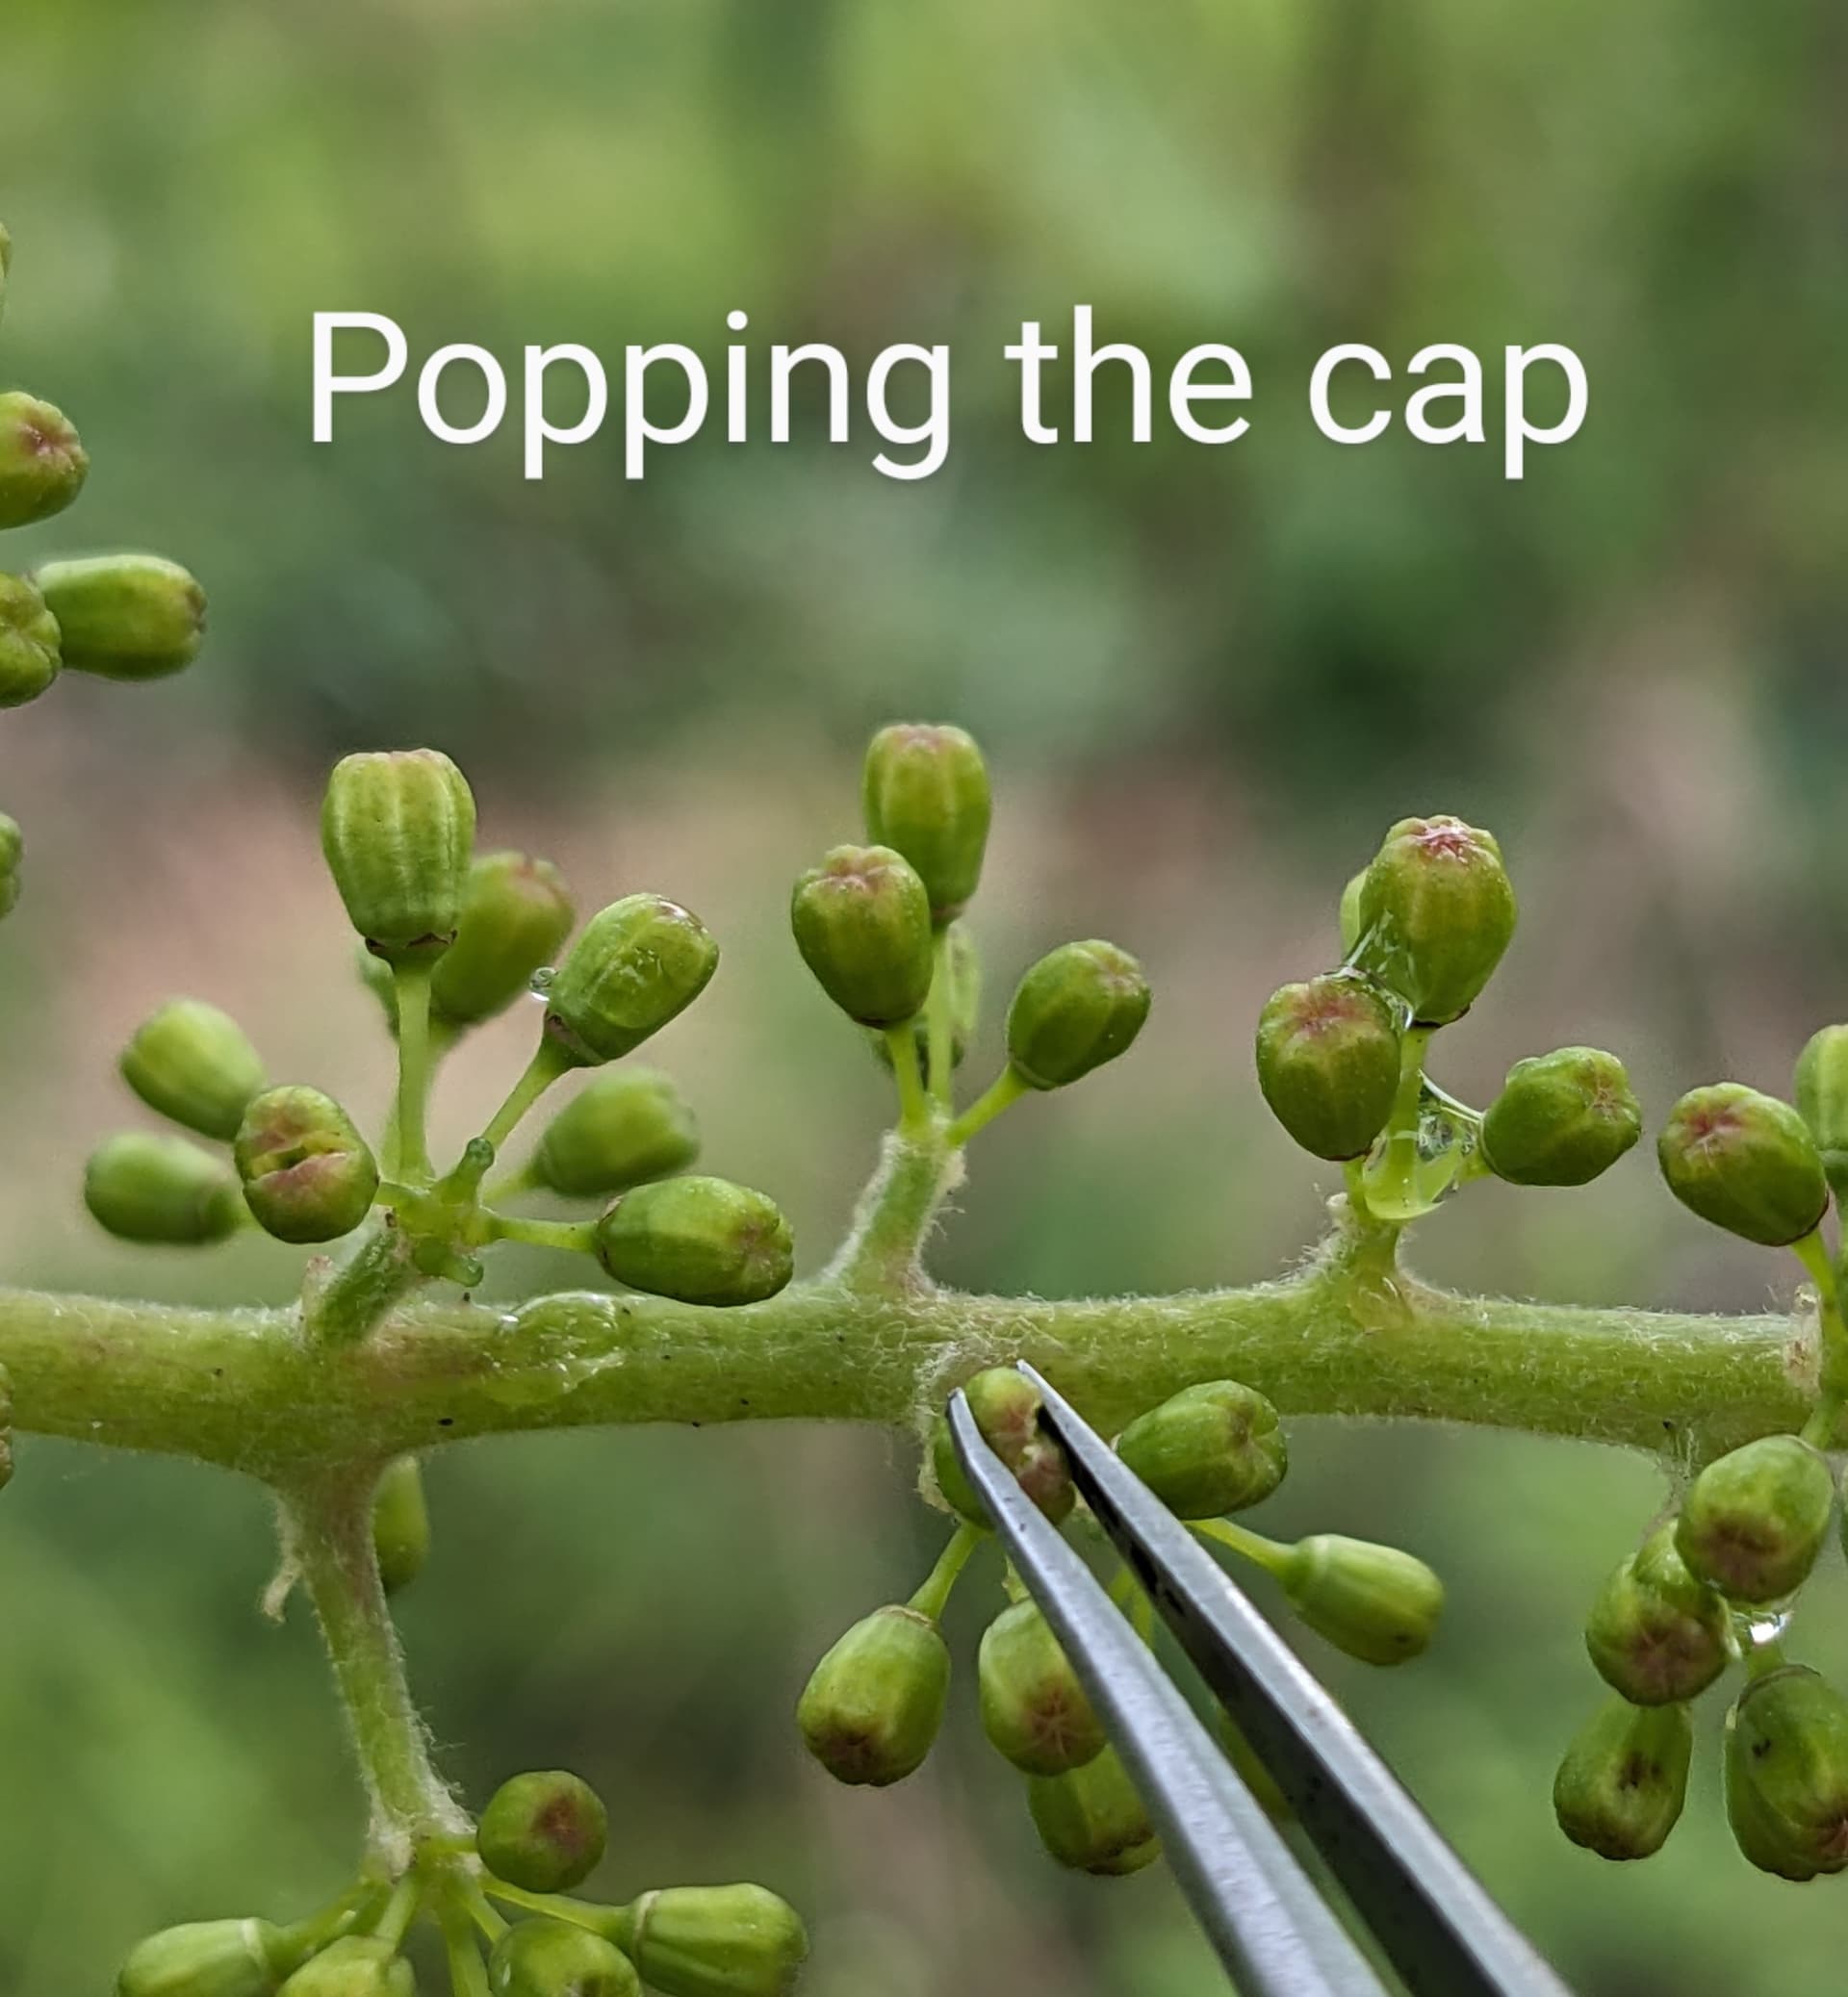
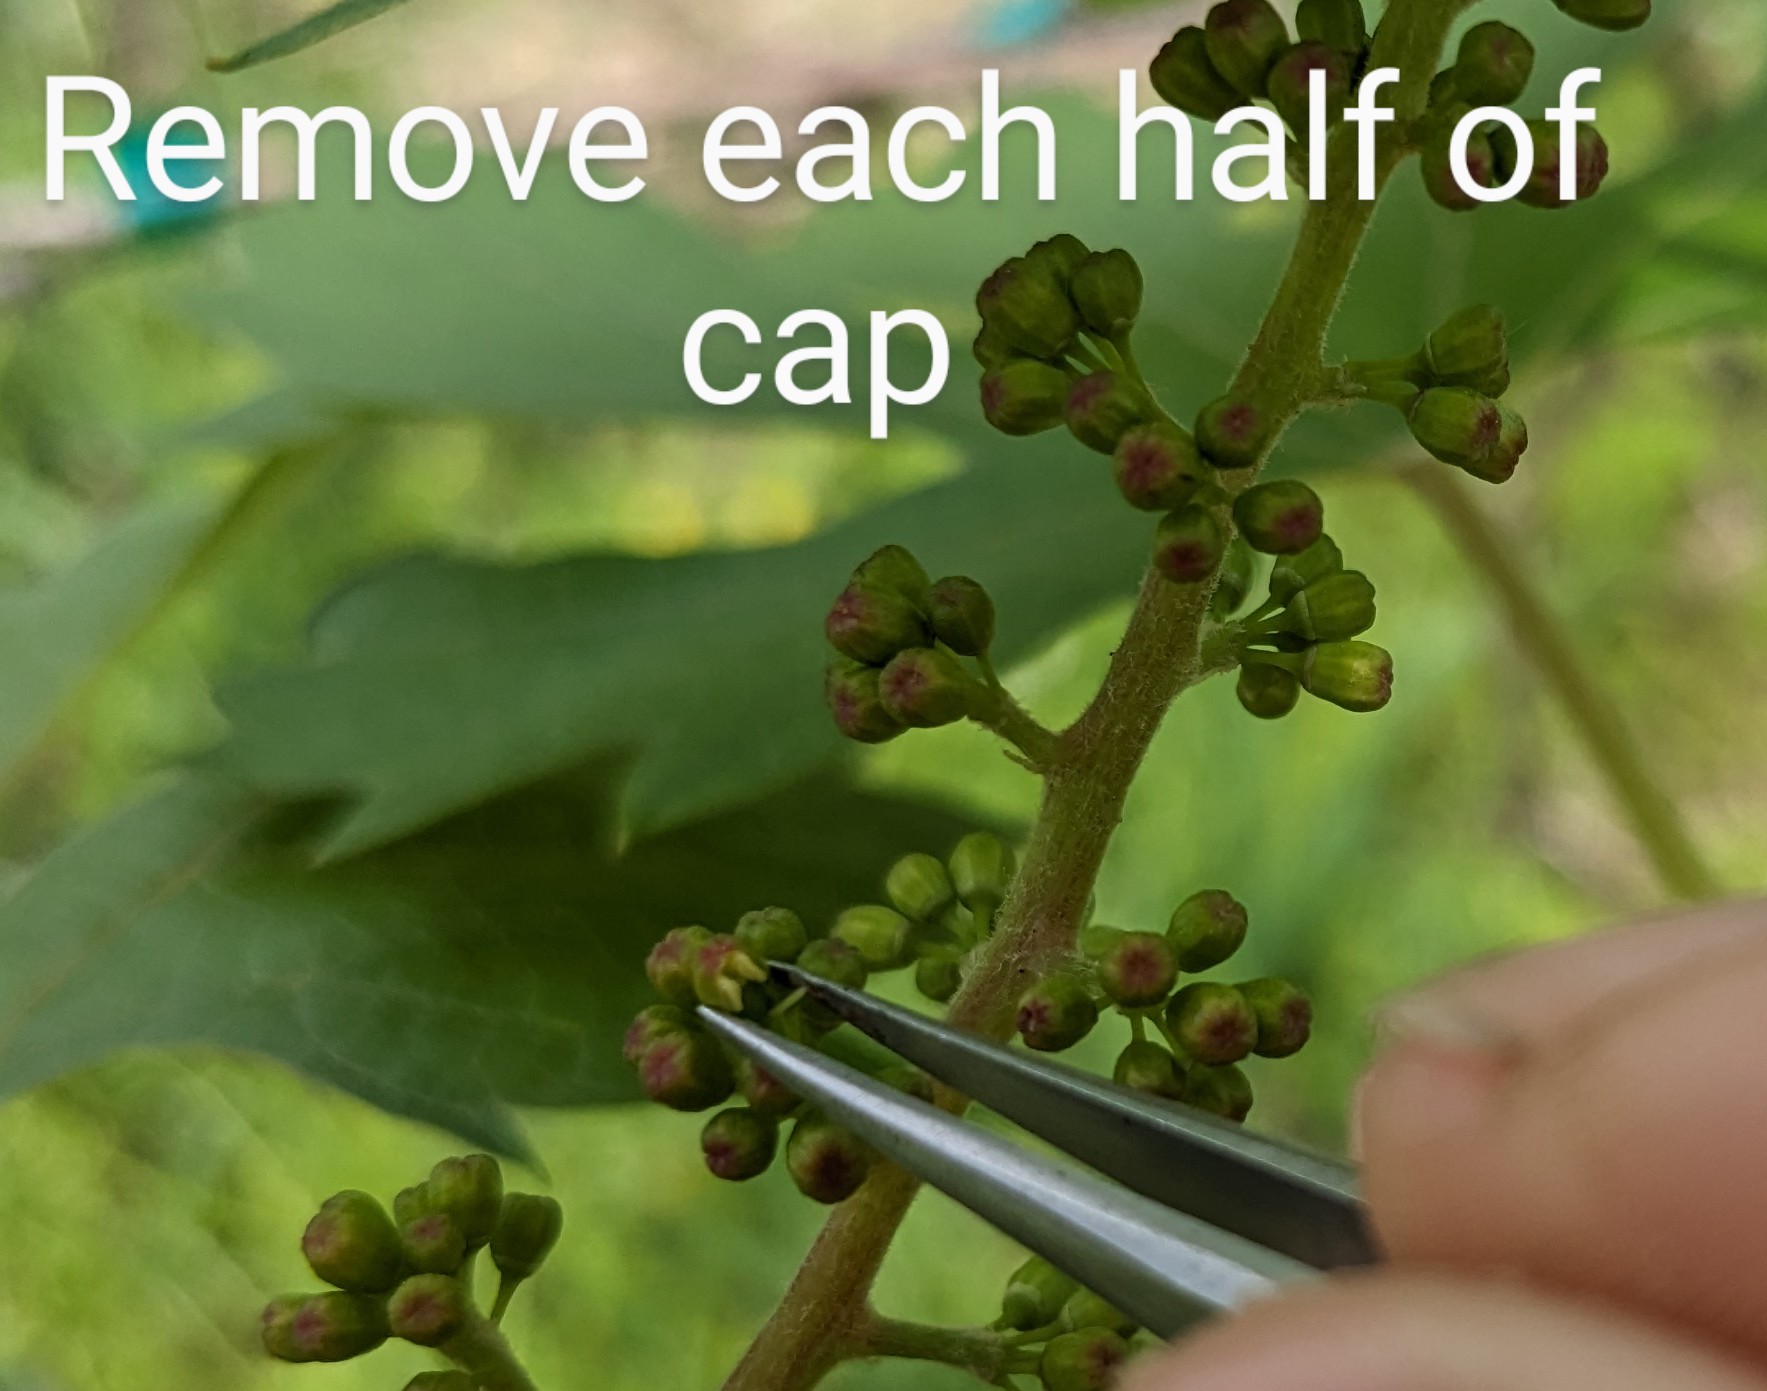
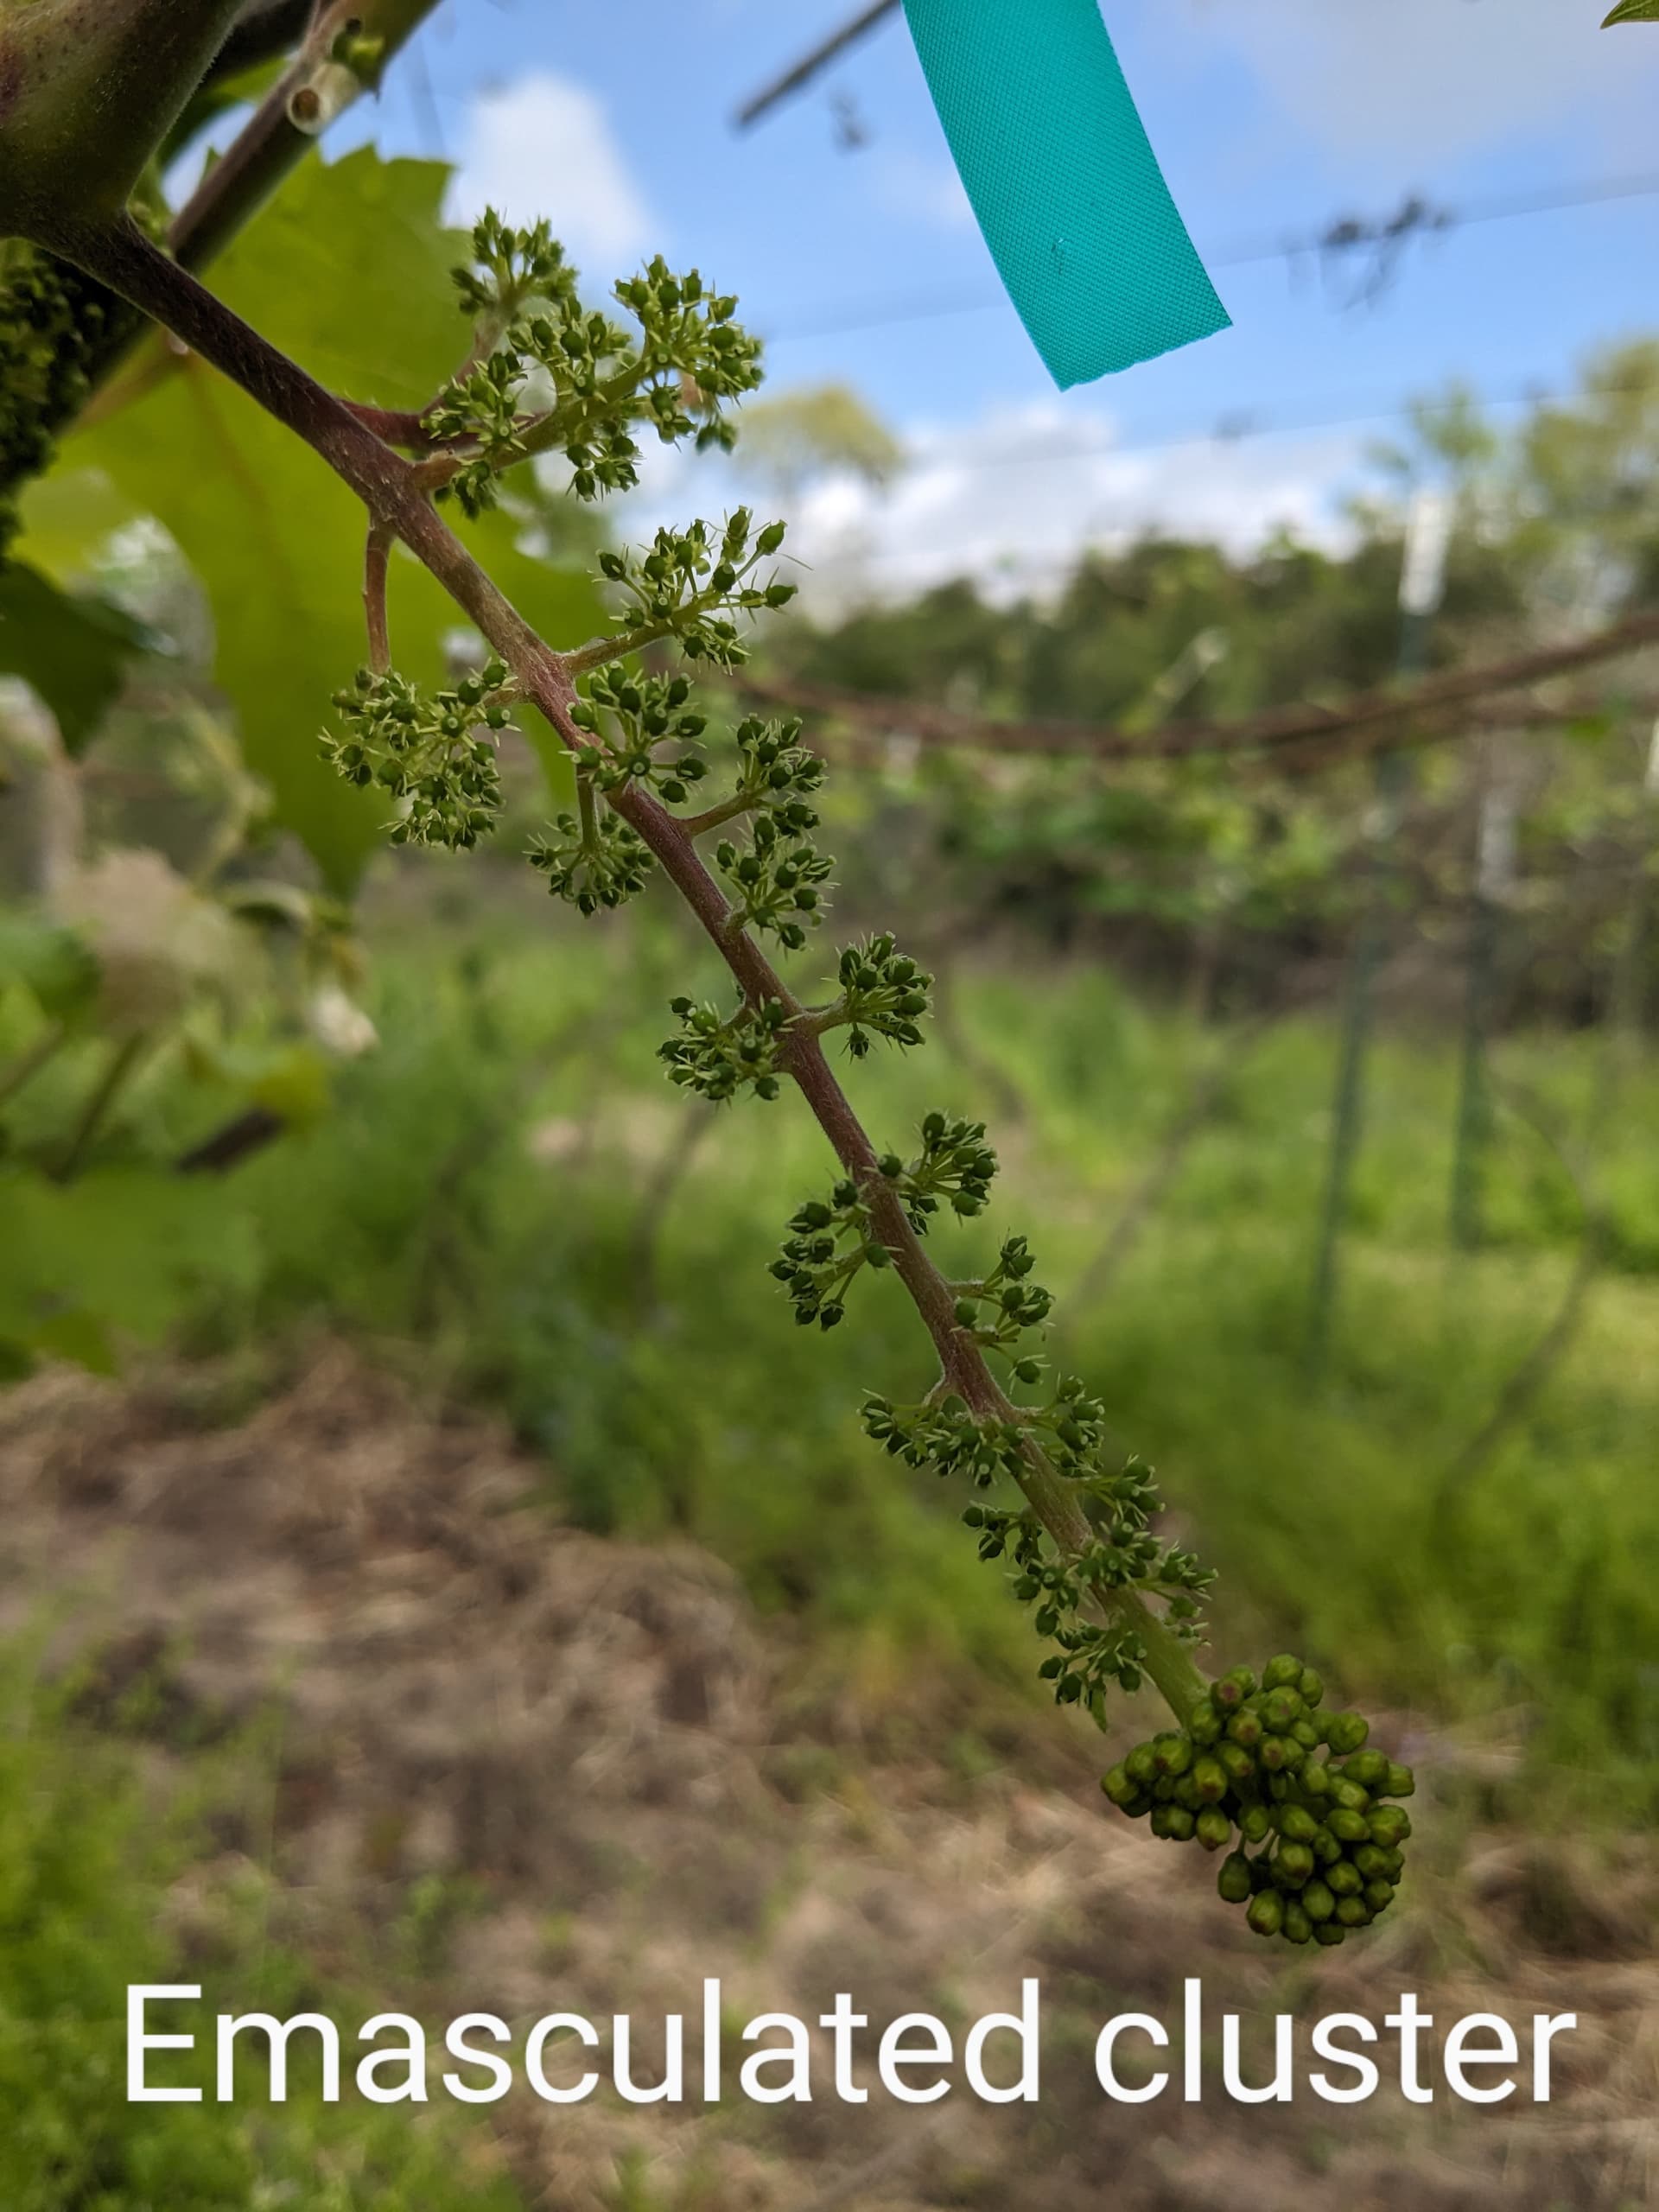
I think that’s enough for a first post in the thread. The next post will be on emasculating perfect flowered varieties so they can be used as a seed parent in breeding.

27 Likes

Very often, when breeding grapes, the variety you wish to use as your seed parent will have perfect flowers. To avoid self pollination, it is necessary to emasculate the flowers on such varieties before they open. Before you start you will need the following:

  1. Tweezers/forceps. Tip type not super important, with the exception that super fine pointed types can damage the flowers with less pressure. Just choose a type you like.
  2. A paper bag of the appropriate size. Plastic bags are NOT ok.
  3. Jute twine or anything that can tie off the paper bag.
  4. A sharpie or something to write on the bag.
  5. Scissors(optional)

Now you’re going to want to make a cut with your scissors roughly 1.5-2 inches long in the center of the top of the bag. Additionally, cut a piece of twine 8-10 inches long. You’re also going to want to write the cross you are making on the outside of the bag. Traditionally, the female seed parent goes on top when writing top to bottom, and first when writing left to right. The easiest way to remember this order is with the saying “ladies first”. By sticking to the traditional way of indicating parentage it will help you remember the direction of the cross years down the road, and also let other breeders know which parent was the male and which was the female, should you ever pass seedlings to someone else.

At this point, we are ready to go into the vineyard and start to work on our flower cluster. You will want to select a flower cluster that is ready to open within 1-3 days. Ideally, a few flowers will already be open, but not many. A few flowers being open is an indicator that the cluster is ready to bloom. If there are any open flowers, careful pull them all off with the tweezers before you start. Once the cluster is free of open flowers, you are ready to emasculate the flowers. Grip the top one third of the unopened flower cap with the tweezers and gently squeeze till the cap splits. Don’t squeeze any tighter than you need to to split the cap or you increase the risk of damaging the flower pistil. Sometimes you will hear a slight popping sound, sometimes not, but you will see a slight split in the cap.


After the cap pops/splits, grip the top one third of the now split cap with the tweezers, and gently pull it off. If done properly, this will remove the anthers under the the half of the cap being pulled off. Repeat the same process on the other half of the cap, and the first flower should be done. It is important to make sure that you get all the anthers. If any little yellow bits of anthers remain, carefully remove those as well. You don’t want any anthers left or they could self pollinate some of the flowers.

Repeat the process on each flower until you are finished with the cluster. It is ok if you pull off some of the flowers by mistake in the process of emasculation. You will have far more flowers than you need on a cluster, so losing some is no big deal. It’s normal, although you will get better with practice. If you get tired of emasculating the cluster before you finish all the flowers(it’s a very tedious process that can take an hour or more per cluster) it’s ok to use the tweezers to just pull off all the rest of the flowers that are not open. You don’t need them all. The main thing is to not damage the pistils on the majority of emasculated flowers, and to not leave any anthers behind.

Your emasculated cluster should look like this:


You will notice there are a small number of non-emasculated flowers at the bottom of this cluster. That’s the part of the flower cluster I hold on to while emasculating the rest of the cluster. You could do that bottom part too, but on large clusters, it’s really not worth it. You have plenty of flowers. I will usually just snip off this bottom section with tweezers or scissors and be done with it.

At this point you are ready to bag up the cluster.


Put the bag over the cluster, and slide the cane into that slit you cut in the top of the bag earlier. Wrap the top of the bag around the petiole of the leaf opposite of the cluster you just emasculated, and tie it shut. Your cluster is now protected from stray pollen. In 2-3 days untie the bag and check for receptivity of the flowers. If the flowers are at peak receptivity, there will be a small drop of liquid visible on the end of the stigma. Apply pollen of your choice, either fresh plucked from a vine of your choice that’s blooming at the same time, or dried stored pollen from your freezer. All flowers in a cluster do not hit receptivity at the same time, so ideally you want to apply pollen at least three days in a row after you see receptive flowers. The next post will be about how to dry and store pollen, but it may be a week or so before I get to it.

18 Likes

Sometimes in grape breeding, you will want to use a pollen parent that does not bloom at the same time as the seed parent you wish to use. For these cases, which are common, knowing how to collect and store pollen is a valuable skill.

You will need the following:

Aluminum foil
A lamp with a incandescent bulb(not essential, but helpful)
Ziploc type bags
micro-centrifuge tubes
A piece of steel or aluminum screen with around 1/8 in holes

First, you will collect the clusters you wish to use for pollen. Ideally you want half the flowers or less on the cluster to be open, but at least some of the flowers should be open or the pollen may not yet be mature.

They should look something like this:

Next you should lay out a piece of aluminum foil on a flat surface in a breeze free area. Then, over the aluminum foil, you will grate the flower clusters through the mesh. The idea is to break up a lot of the unopened flowers and to leave stem of the cluster behind.
When complete, it should look something like this:

You should have a pile of mixed flower parts and pollen on the aluminum foil at this point. How big a pile, obvious depends on how many clusters you used.

If it’s a large pile, try not to leave it in a mound. Spread it to a thin layer so it can dry. At this point, turn on your lamp if you intend to use one, and let it dry for approximately 24hrs.

Look at the flower parts after 24hrs. Most should look dry. Sometimes, if you harvested a lot of clusters for pollen, it may take a little longer to dry. You don’t want to increase the heat or put the lamp too close to shorten drying time, as too much heat is bad for pollen viability. Once the pollen appears dry, you pour it off into your storage container. If the amount collected is fairly small, as in you only used a few clusters, you will probably want to put it in micro-centrifuge tubes. If the volume is large, you may want to put it directly into a Ziploc type bag. Small amounts of pollen directly into Ziploc bags doesn’t work well, as the pollen is hard to use in such cases.

Fill your tubes about half full. You can use a funnel if you want, but you will lose a little pollen that way.

If you did everything right, you can close your tube of mixed pollen/dried flower parts, shake it up, and then open the lid. On the inside of the lid there should be a fine film of pollen. When you use this pollen on a cluster, you can open the tube and touch the individual flowers to this pollen film. Periodically close the lid and shake it up for a fresh pollen film.

At this point you are pretty much done. If using a Ziploc directly, make sure to double bag. One Ziploc inside another. Label it so you know what the pollen is from. If using the tubes, one Ziploc with the tubes inside a labeled bag is fine. The purpose of this is to reduce condensation issues. You will be storing this in your freezer. When you pull it out to use it, condensation will form in the first bag. If you don’t open the bag till they both warm to room temperature, most of the condensation will be in the first bag, and not in the pollen. Water dramatically reduces the storage life of pollen. I have used pollen dried and stored in an ordinary household freezer this way that was as old as four years old and still had good set. Pollen properly prepared keeps pretty well. In general, it’s safe to say it should keep at least a year in such conditions, and often quite a bit longer, permitting you to make crosses that you otherwise could not easily make. On the other hand, pollen not dried and prepared, and left at room temperature, not frozen, tends to last a week or two at most, and often only 3-4 days.

One more tip,

If you are using large amounts of pollen directly in Ziploc bags, small glass rods are an easy way to apply the pollen to flowers. Both glass rods and the tubes can be easily purchased at places like Amazon.

I hope someone finds this information helpful/useful to them.

16 Likes

Harvesting seed, seed prep, stratification, and germination.

Once your grapes from your controlled crosses are mature, they are ready to be harvested for seed. The seed should be hard and brown, and should sink in water. If the seed is white, or floats(assuming no fruit residue is stuck to it) it is generally unviable and should be discarded.

You can recover the seed by either carefully eating the grapes and spitting out the seed, or by crushing the grapes in a plastic bag and sorting/straining out the seed. Whatever works for you.

Once you harvest your seed and have separated it out, you have a couple options. You can bag it, label it, refrigerate and store it in moist soil, peat moss etc. until the following spring. Grape seeds generally require cold moist stratification of at least three months to germinate well, and longer, even multiple years, does not hurt. However if it’s early enough in the season and you live in a warm southern climate, you may be able to cheat a little and germinate seeds within the same year.


If you wish to attempt to speed up the process and try to germinate seeds the same year it’s harvested, you can try this. The goal is to break down seed germination inhibitors in the seed/seed coat that preserve dormancy. First, right after they are removed from the berry, let the seeds soak for 24-48hrs in 3% hydrogen peroxide, the same stuff you can buy over the counter. After that, soak for 24hrs in 1000ppm ga3, a naturally occurring plant hormone. You can buy it relatively inexpensively in powdered form online, and it’s simple to mix it up to the proper concentration with a graduated glass cylinder. Mixing instructions are typically included and vary slightly depending on the concentration/formulation.


After the 24hr soak is complete, place the seeds in moist paper towels, or moist peat moss, etc. inside a Ziploc type bags and refrigerate for roughly 10-14 days. The purpose of this treatment is to reduce the amount of time necessary for moist, cold stratification, which is typically around 90 days for untreated seed, but often only a week or two for treated seed. After the cold, moist storage period is complete, bring the bag out to room temperature. Leave it sealed, but start checking for germination after about one week. Germination can start as soon as a few days after coming up to room temperature, or may take up to three weeks to start. Once started, seeds may largely germinate rapidly over a week or so, or slowly over a month or more. A lot depends on the genetics of the seeds, and there is much variation. Also, if you did everything right, and germination was poor or nothing germinated, don’t despair. Grape seed can be finicky about when it wants to germinate sometimes, but it lasts very well in most cases. As long as the seed is still hard(if it’s not, you can squish it between your fingers and it will turn to mush) it’s probably still good. Just return it to your refrigerator and try again the following season. There are times grape seed has a mind of its own and a batch that had poor germination one season will germinate very well the next year after further cold moist storage.


I prefer to leave seeds in the bags until after they germinate. I do this because of the previously mentioned erratic nature of germination in grape seeds. If you plant ungerminated seed directly in flats, you will end up with a lot that doesn’t germinate right away, if at all. By leaving it in bags, you can pull only the germinated seed and plant that in flats every few days, and whatever doesn’t germinate the first season can be easily returned to cold storage and tried again the following year. If using paper towels I will pull seeds at the first sign of germination as mold can become a problem for survival once the germination process begins. If using earth/peat moss instead I will let the seedling remain in the bags until the cotyledons or first few true leaves form, as mold is much less problematic on those substrates.

I will typically grow seedlings indoors under grow light till they are somewhere around 6-12in tall, roughly 2-3 months, and then plant them in nursery rows after hardening them off. I use one foot spacing between plants initially. This is far closer than is desirable for mature plants(6-8ft is typical) but the plants will be thinned heavily for foliar disease in the early years, so close spacing to start with works out ok.

14 Likes

what is the substrate/mix youre using here?

2 Likes

I don’t remember honestly. Most likely a mix of backyard garden dirt/sand with some compost mixed in if I was to guess. Grapes do not require particularly good soil and are pretty tolerant of such things within broad reason.

4 Likes

The fundamentals of grape breeding have been gone over in the above posts. I am now going to describe/share photos of some common grape diseases/fungi. This will focus on diseases/fungi of grape found in the southeastern USA, and the focus will be more on diseases of bunch grapes than those of muscadine. Many of these diseases are found in other regions as well. This will not be an exhaustive list, but if you are breeding/growing under low or no spray conditions in the southeast, you will likely encounter most of them at some point. I will include observations of sources of resistance potentially useful in breeding where I have observed it.

The first one I’m going to talk about is Isariopsis leaf spot. I chose to start with this one, because it is very widespread in the southeast and you don’t see much written about it.

This is a mid to late season disease, I rarely see it until after flowering at the earliest, and sometimes not till almost verasion. It is characterized by irregular necrotic lesions on the leaf surface. The fruiting bodies of the fungus are green, not black as in black rot, and the edges of the lesions tend to be more irregular and less rounded than in black rot.


As you can see, close up, the fruiting bodies of this fungi look rather like moss. Very different from black rot, which is what it is most likely to be confused with. Without sprays, this fungi is particularly widespread on many of the wild grape species, aestivalis in it’s various forms, mustangensis, cinerea, labrusca, vulpina champinii, etc. Basically all wild bunch grape species native to the southeast as far as I have observed. Ironically, and this is about the only fungi of which this seems to be true, vinifera seems to be one of the least suceptible species to this fungi. Some forms of vitis riparia are impacted to a lower degree than other species, but that and vinifera seem to be the only species with much tolerance to it. Most hybrid cultivars are attacked by it, but how severely depends on the cultivar. This fungi, as far as I have observed, does not seem to attack the fruit, only the leaves, but without sprays it can often lead to significant mid to late season defoliation. Something often observed in the wild as well. If you’re following a standard spray schedule you will scarcely ever see this disease, as it is easily controlled by conventional sprays, and only becomes severe in low/no spray situations like a breeding vineyard.

7 Likes

Brown zonate leaf spot.

This one is distinctive in that it produces “lines” or zones, that look like ripples coming out away from the center of the lesion. The lesions can be very large, sometimes as large as half or more of the leaf, and almost always fewer, but larger lesions than what you see with black rot or other leaf spot creating fungi. This fungi also mainly impacts the leaves, not so much the fruit.


Notice the distinctive white stem on this fungi and the green top. Although small, if you have good eyes, you can actually see this white stem when looking at the lesions with the naked eye. Failing that, a magnifying glass works wonders!

There does seem to be genetic resistance to this fungi in various forms of aestivalis, cinerea, mustangensis, palmata, labrusca and more.

The most suceptible species to it, by my observations, are rupestris, vinifera and to some extent riparia. Hybrids are variably effected depending on the cultivar. This is not usually a devastating disease, but in some seasons, under low spray conditions, it can contribute to premature defoliation on suceptible cultivars.

6 Likes

Wow, this is fascinating. I never thought fungus actually looked like… fungus on plants :rofl:

This is so neat! Makes me want to try breeding some of my Muscats

2 Likes

No reason why you couldn’t! You’re in the northwest right? Outside of California, that’s one of the easiest climates to grow grapes in because there are so few diseases compared to what it’s like east of the Rockies. About the only diseases of significance in those regions are powdery mildew and botrytis. Makes growing grapes much simpler!

2 Likes

I may try just because of your thread :heart:

1 Like

Black rot.

This is arguably the single most destructive fungus in grapes in humid regions east of the rockies, and extra specially so in the southeastern portion of the usa. It aggressively attacks all green tissue on grapevine. Fruit, leaves, canes etc. are all suceptible to various degrees depending on the variety in question.


The lesions are more rounded at the edges than some of the other leaf spots, and the fruiting bodies appear as little black mounds under magnification, hence the name. It doesn’t look like I saved any pictures of fruit attacked by black rot, so I don’t have pictures of that to share here, but for this disease, there are plenty of other pictures of it online that you can search for if desired. Suffice it to say this can easily cost you your entire fruit crop every single season if you don’t spray and plant a suceptible cultivar.

The great majority of cultivated bunch grape varieties are suceptible to this disease to one degree or another, some extremely so, and some moderately so, but very few have high resistance. This fungi is poorly controlled by organic methods, and the fact that most grape cultivars, including most hybrids grown, have somewhere between moderate and low resistance to it is one of the biggest reasons organically grown grapes tend to be a failure in most places east of the rockies.

Good resistance to it does exist in some wild, native, north American grapevines, but most breeders have not put a high priority on introgressing resistance to black rot until relatively recently, and as a result, few strongly black rot resistant cultivars are available.

Among wild species, although not all individuals are resistant, some individuals with strong resistance to black rot can be found in the species vitis aestivalis, labrusca, rupestris, cinerea, and palmata, muscadines, and some level of resistance, although not quite as good in my observations, can be found in riparia, shuttleworthii, vulpina, mustangensis and monticola.

As you can see from that list there are MANY potential sources of resistance that just haven’t been used yet in breeding. It should also be pointed out that sometimes this resistance is only in the foliage while the fruit is suceptible(I commonly see this in the species riparia) and in other cases, both the foliage and fruit are resistant. It is also worth repeating that in no species is every single vine equally resistant. There are vines with strong resistance and vines with medium or even low resistance in many of these species. If you’re looking for resistance from a wild source to breed with, it’s important to start with strongly resistant material and select aggressively for resistance in each generation.

8 Likes

Thank you for the thread, very interesting! With regard to Black Rot, black Muscardines are more resistant than bronze. That applies mainly to the fruit, but in my experience also somewhat to the leaves. The anthocyanin in the fruit of black varieties has antifungal activity. There seems to be little known about anthocyanin content in the leaves and associated leave susceptibility to black rot, but theoretically high levels in leaves should provide protection. Anthocyanin levels go up under drought conditions, so there should be a way to enhance this trait by breeding? Maybe by selecting parents with slightly red leaves?

1 Like

Hi folkert,

In my observations, and also in my conversations with others, black rot is primarily a foliar disease in muscadine. Although it can occur in the fruit, it is generally not one of the major diseases of fruit in that species. Muscadine is different enough from bunch grape that it has some different diseases that are severe in it than those that are severe in bunch grape. Fungi such as macrophoma rot, angular leaf spot etc. are often severe in muscadine and much less so or not at all in bunch grapes . There are also shared fungal disease that are problematic in both genera such as ripe rot, bitter rot etc.

When it comes to fruit rots, it is generally true that light fruited muscadines tend to be more severely impacted by rots than the dark fruited ones. This is not to say dark fruited ones are immune, because in bad years and locations they can sometimes be significantly impacted as well. Generally speaking, there is no difference in foliar infection between light and dark fruited muscadines, only in the fruit.

However, in bunch grapes, there does not seem to be the same correlation between fruit rot severity and fruit color. You can have highly resistant and highly suceptible types to fruit rots with light or very dark fruit, so evidently there are some different types of resistance in play, although it’s not known exactly what they are or why this is the case.

2 Likes

Although I don’t believe doing so has great value for disease resistance, it is absolutely possible to select for increased anthocyanin content, if desired, in both bunch grape and muscadine. It tends to be a quantitative trait, so using parents with high anthocyanin content tends to increase the odds of offspring with high anthocyanin content.

In bunch grape, there is a dominant gene for red flesh from vinifera that acts as a color multiplier in effect. It basically takes whatever the genetic potential for dark color production in a given variety is, and increases it by producing pigment in the flesh, while most/all grapes without this gene only produce color in the skin(though in some types it can leak into the flesh giving the illusion that it’s a red flesh type even if it’s actually not) This gene in bunch grape is linked to red fall leaf color as well, although not all red fall leaf color is linked to varieties that carry this gene.

In muscadine, there is no known gene for red flesh, but muscadine species such as vitis popenoei and vitis munsoniana often have different, more stable anthocyanins than cultivated muscadines, and that could be bred for if desired. Total anthocyanin content can also vary greatly between cultivars, so you could also breed for that if you wanted, as long as you had a good way to measure it.

This is an example of the red flesh gene in bunch grape. Both are from sibling vines, one carrying the gene for red flesh, the other not. This picture was taken a few weeks after berry set, when the berries were still hard, small and green. A long, long way from being ripe. As you can see, in vines with the red flesh gene, the color can begin to develop in the pulp very early. Well before it ripens and well before it starts to show up in the skin.

5 Likes

I have Noble and Ison black muscadines, and did not have any black rot on the fruit. On the other hand, my bronze varieties Carlos and Fry get bad fruit rot; the latter also show higher susceptibility in the leaves, but the difference is more subtle.

Another thing to keep in mind is that muscadines have much higher anthocyanin levels than other grape varieties. I think it can be up to 40x. Most of this is in the seeds, but the skins of black varieties also have relative high levels.

I don’t grow noble, but I do grow ison, and I do experience significant fruit rots on it if it is left unsprayed at my location. Same thing with southern home, another black skinned variety.

How much fruit rot you see depends in part on your location and also the age of your plantings. Disease tends to build up over time. The first several years ison and southern home fruited for me I did not observe fruit rots, but now I do every season. Of course, this is in a breeding vineyard in a location where high disease pressure is deliberately allowed to exist, in other locations or with a spray schedule it may not be an issue.

When it comes to anthocyanins in bunch grape and muscadine, it’s important to remember that the two species tend to have different anthocyanin types in the fuit. Saying anthocyanin is kinda like saying “silver colored car” or something like that. It tells you something, but there are a ton of things it tells you nothing about.

There are some muscadines with high levels of anthocyanins, and some bunch grapes with high levels of anthocyanins. In both, anthocyanins are mainly found in the skins. Generally, the anthocyanins common in cultivated bunch grape tend to be much more color stable than the ones found in muscadines, and therefore are generally preferred for things like wine or food coloring agents.

If we are talking total anthocyanin content of any type, it’s not really possible to say muscadines or bunch grapes are higher than the other. There is huge cultivar to cultivar variation, seasonal and location variation and enough overlap exists that it’s six of one half dozen of the other.

It would be like arguing blueberry vs. blackberries anthocyanin content. It just depends. Both can be loaded, and the difference in anthocyanin types can make more difference than total quantity anyway.

2 Likes

Downy Mildew.

This is another major, widespread fungal pathogen of grape in in the eastern half of the United States. It can attack leaves, shoots and immature fruit, but is most common on the leaves, producing severe defoliation on the more suceptible types if conditions are favorable(warm and humid).

This fungi will typically not produce spores on the upper surface of the leaf, but only on the lower leaf surface. A yellow discoloured patch may appear on the surface of the leaf, opposite of the white, fluffy looking spores where the downy mildew is growing on the leaf underside. More resistant cultivars or less ideal condition will produce thinner, fewer patches of spores, more suceptible types and more ideal conditions will produce large white patches of spores.


There is good resistance to this fungi in some individuals of many wild grape species found natively growing in the eastern USA. All of those species have at least some individuals with good resistance to this fungi. Aestivalis, cinerea, rupestris, riparia, labrusca, shuttleworthii, vulpina, mustangensis, palmata, etc.

Breeders have done a fair amount of work introgressing resistance to this disease into cultivated material. There are a number of older heritage type varieties that have some resistance to downy mildew, although generally not immunity. There are not a lot of more modern table types with good resistance to this fung at this time, but there are several newer wine types that have been selected and released due, at least in part, to resistance to downy mildew.

6 Likes

I am now going to briefly describe/discuss some of the wild grape species that I find useful in breeding for disease resistant grapes for the eastern United states along with some of their strengths and weaknesses.

The first one is vitis aestivalis var. lincecumii. Aka the Post oak grape. There are other subspecies of aestivalis as well, farther east than where I am, but lincecumii is my local type. Many of the comments I will make apply to those as well, but in general, for those, the berries will be smaller and often have a higher sugar content.

The native range of this sub species is generally the eastern half of Texas and Oklahoma, portions of western Louisiana, most of Arkansas, and southern Missouri. Aestivalis as a broader species covers nearly all of the eastern USA with one sub species or another.


Lincecumii has excellent resistance to downy mildew, anthracnose, and black rot, and can pass resistance to those on well in hybrids. It is fairly resistant to pierces disease, but has passed on that resistance rather poorly in the majority of hybrids I have made with it, unless the other parent in the cross also has pierces disease resistance.

Lincecumii has some of the best and broadest foliar and fruit resistance to fugal diseases of any species I have worked with, and is a good resource for that reason. It is reasonably resistance to phylloxera, but seems to only be found on sandy soils in the wild. It prefers a neutral to moderately acidic soil ph, and is not tolerant at all to alkaline soils.

Berry size, for a wild species, is often quite large. Clusters are generally between 3-5 inches in length. Bloom and ripening period for the local forms tend to be mid season, but in its more northern forms it can sometimes be late to bloom and ripen. It roots poorly or not at all from cuttings, but hybrids with it often root much better.

This species was used in breeding both by Herman Jaeger and TV Munson rather extensively in the late 1800s and early 1900s, but has been little used by breeders since, except, occasionally, when utilizing cultivars those two breeders created in further hybridization/breeding work.

If you breed for the southeastern USA, it’s definitely an important wild species.

10 Likes