How to: Demonstrating 3-Flap / 4-Flap Grafting aka Banana Graft

This is a mock demonstration since I am showing how to do this the third week of July using non-dormant scionwood.

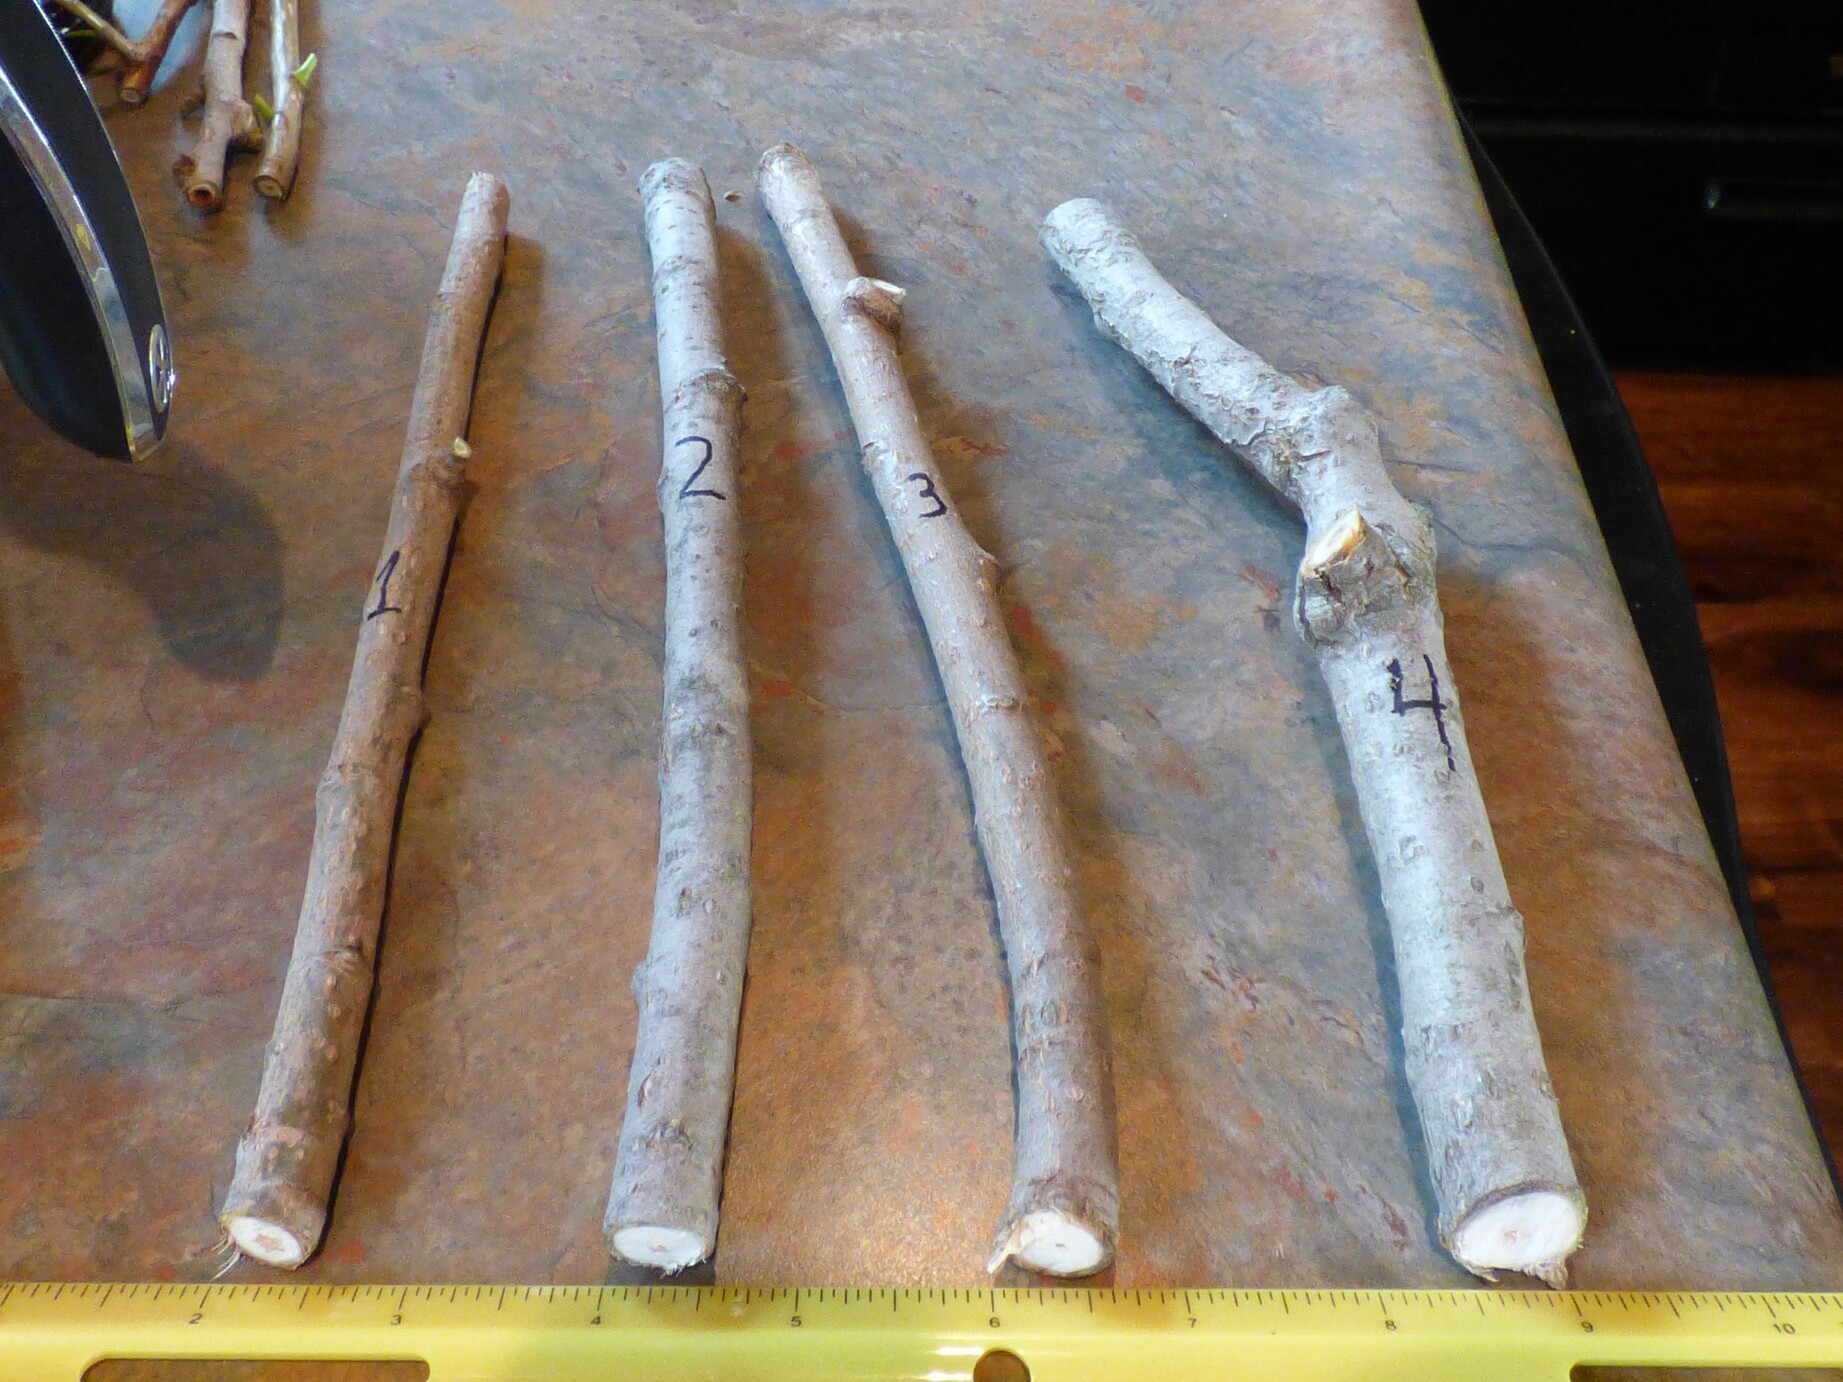
I’ll be showing a 3-flap graft on pencil thickness scionwood and seedling-rootstock. The equally similar 4-flap grafts are done precisely the same way. The only difference is you’re creating 4-flaps on the rootstock and 4-cuts on the scion. 4-flaps are used for wood having greater diameter. It’s more typical to do these 3-flap or 4-flap grafts with 1/2" or greater diameter wood than pencil thickness wood. But for all matters of demonstrating, I’m showing it can also be done on thinner caliper wood.

The amount of contact that occurs with 3-flap and 4-flap grafts will improve your results significantly. If you’re getting 50% takes using other techniques, you will practically double your takes if you switch to this technique. The same respect applies to bark grafts vs. other traditional methods (cleft, splice, veneer, for example.)

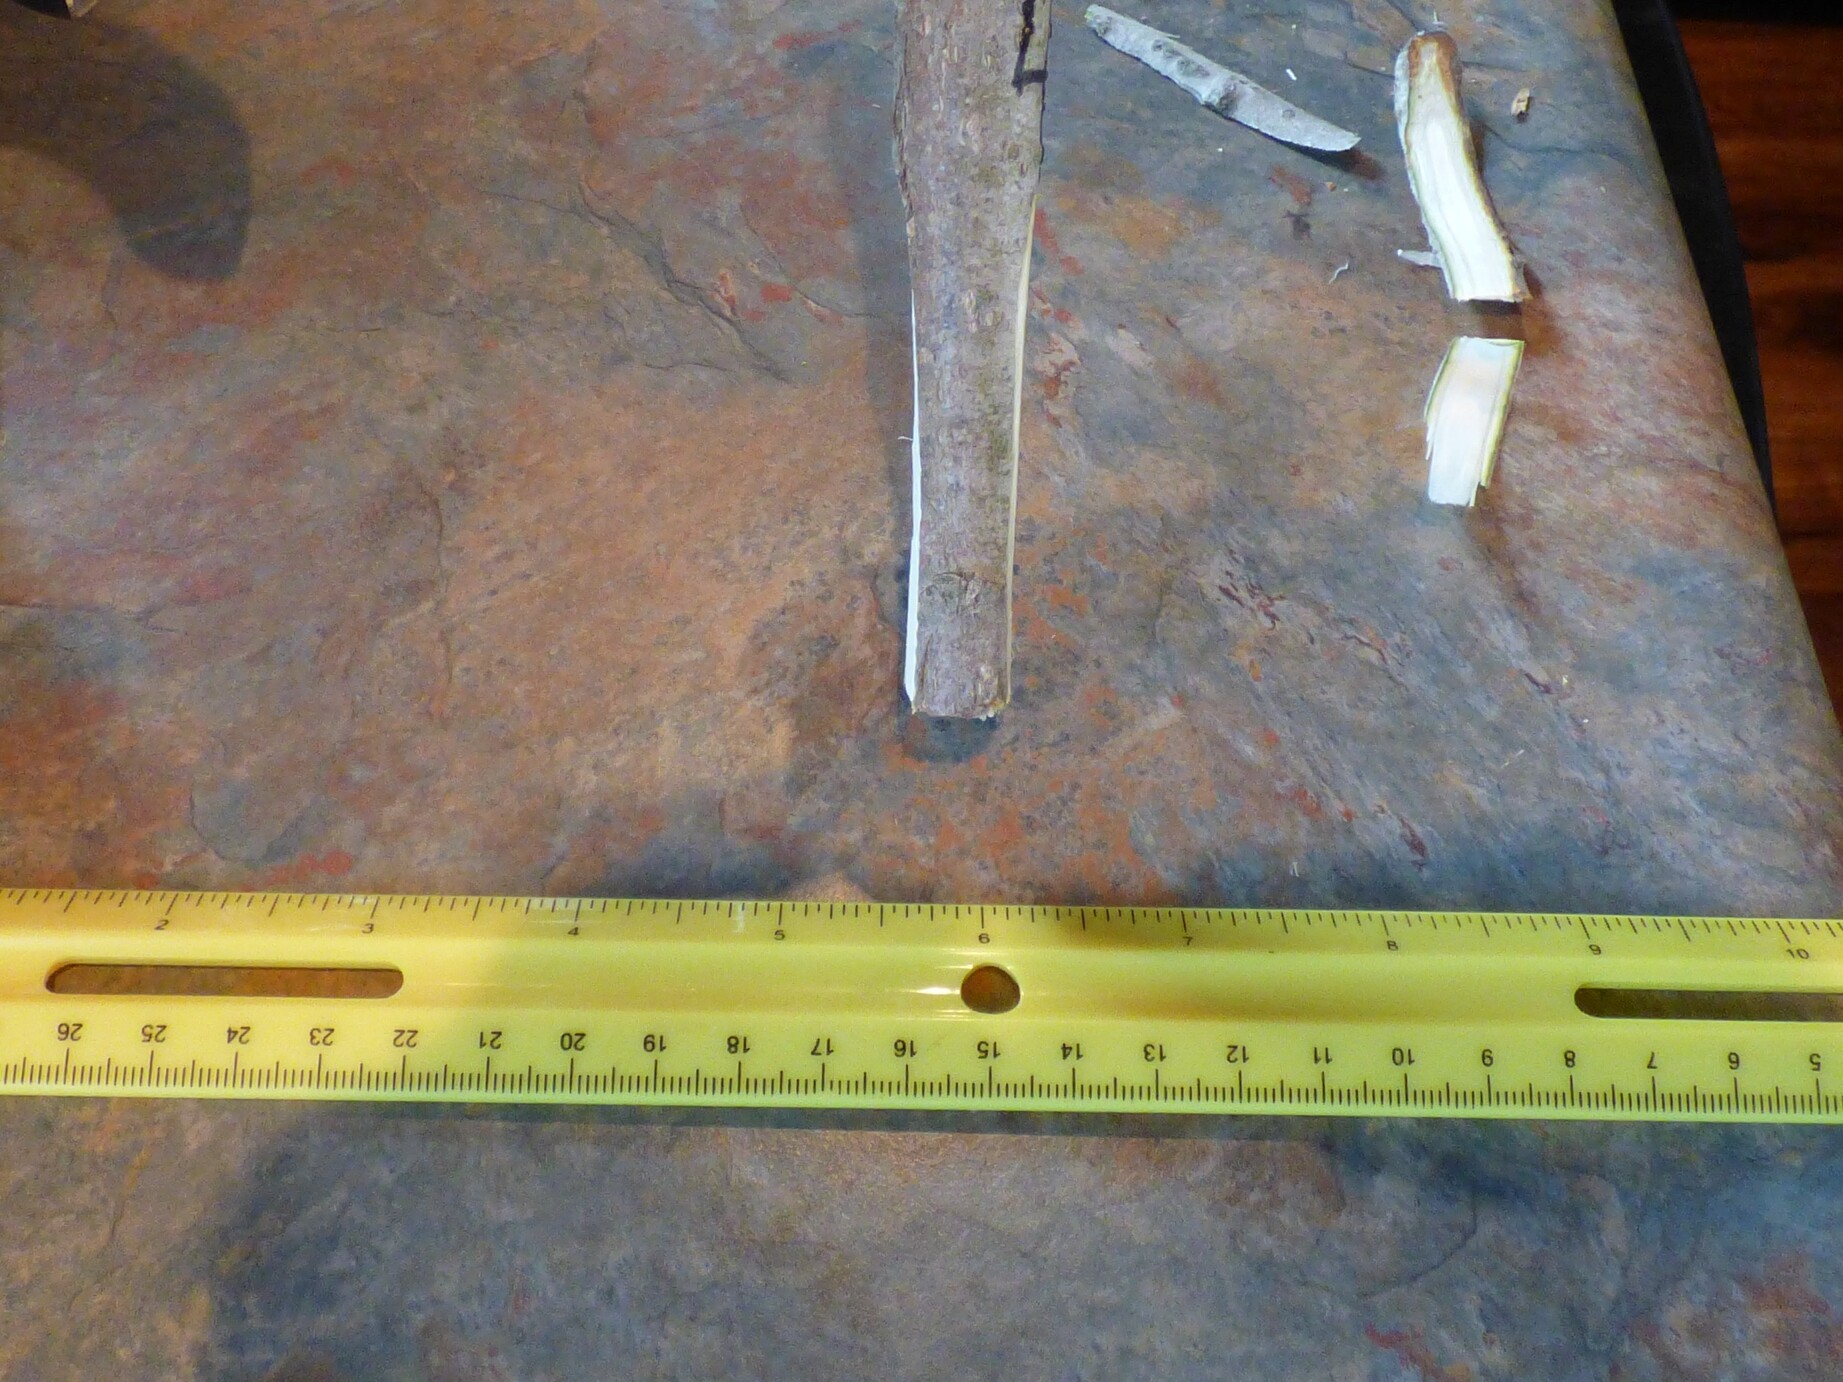
You should take note now that the scion should be wrapped in parafilm or dipped in wax before the cuts take place. Leave plenty of room below the parafilm or wax on each scion to make your cuts.

3-flap & 4-flap grafts may be used anytime the rootstock has left dormancy and is actively growing; wherever your zone/climate may be. Scions must always be dormant.

The window of opportunity closes once the heat of summer kicks in (typically 1st or second week of June here in my zone 5b IL location.) At that juncture you will instead go to the various types of budding techniques: T-bud, chip bud, or greenwood grafting.
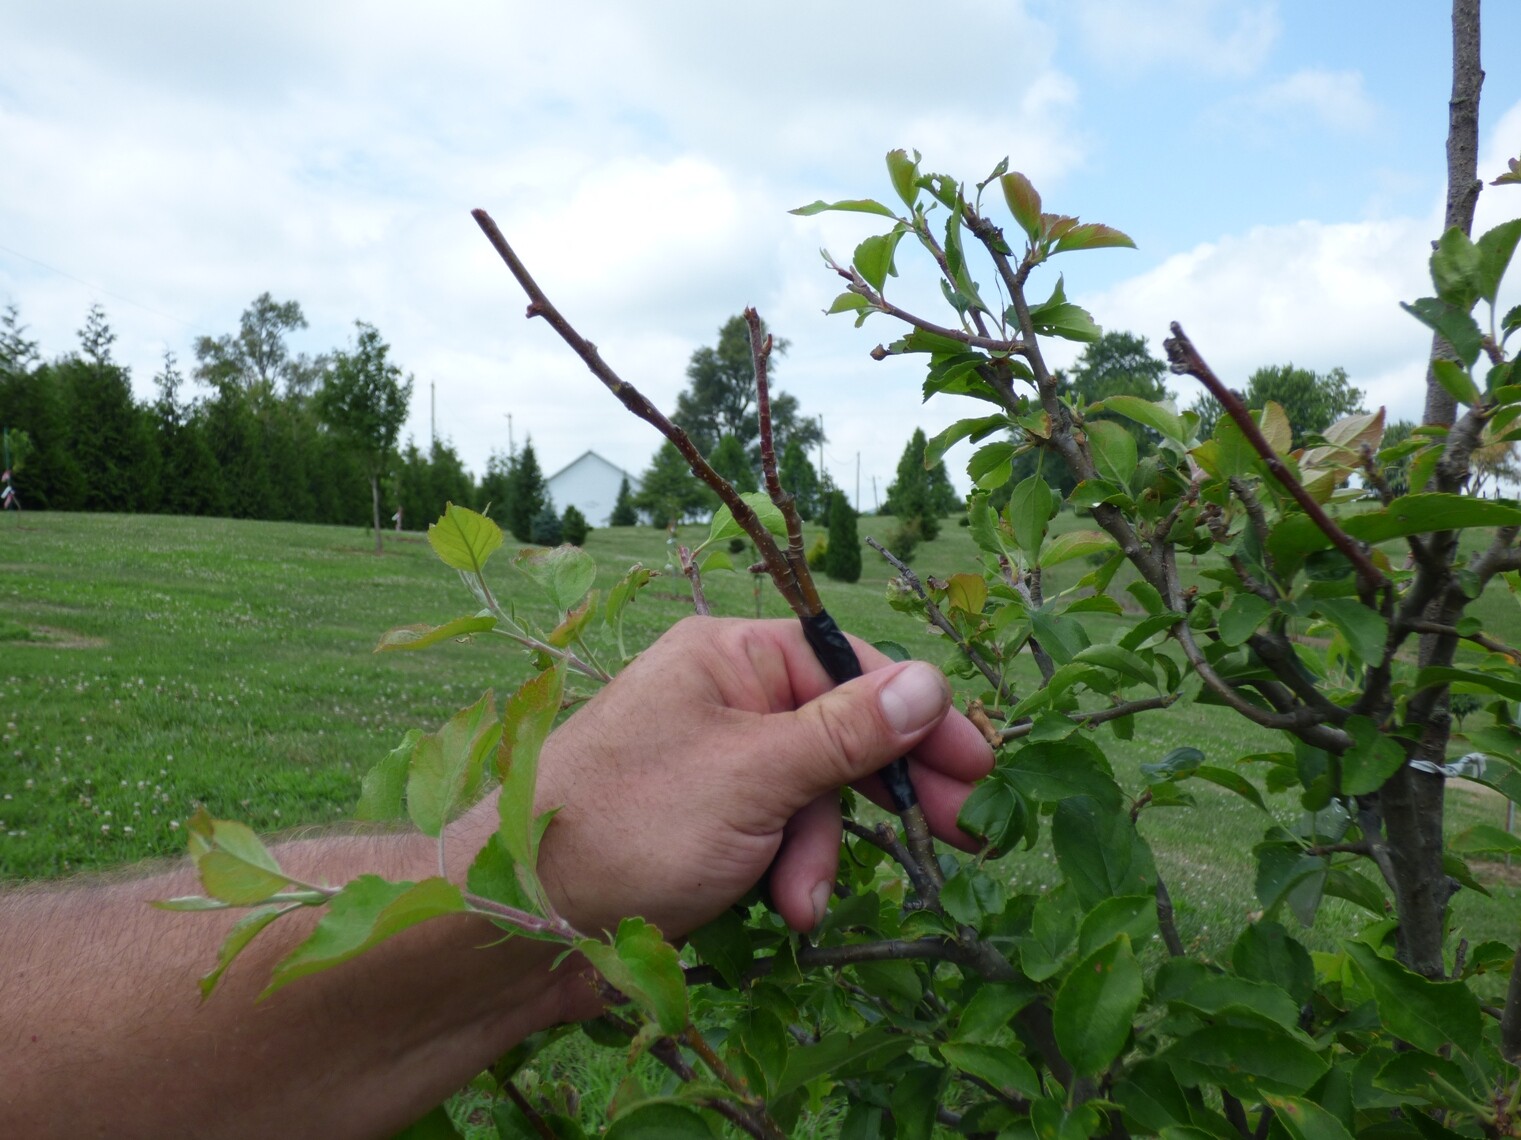
Okay, let us begin:


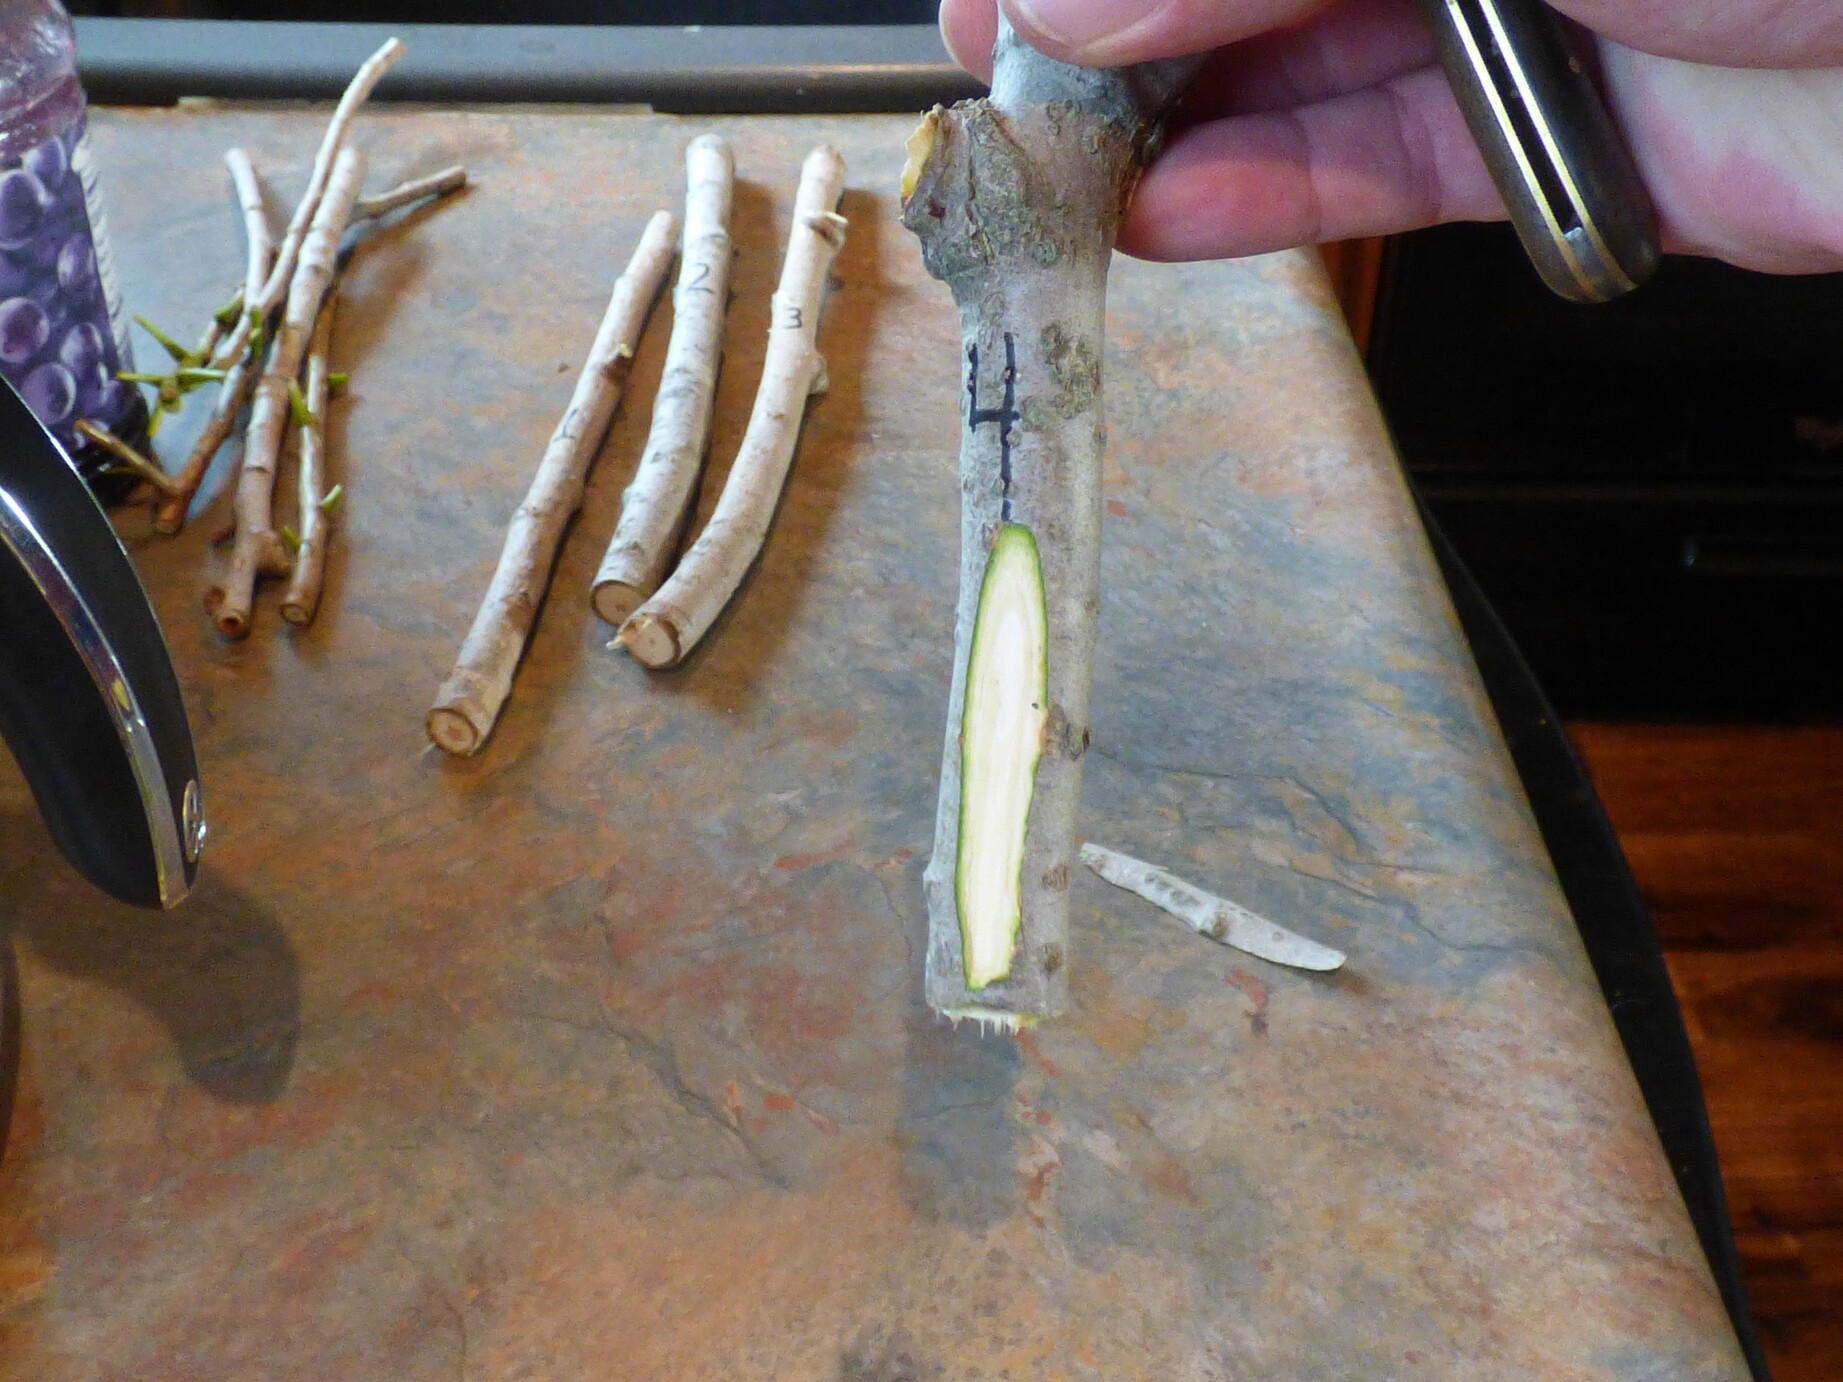
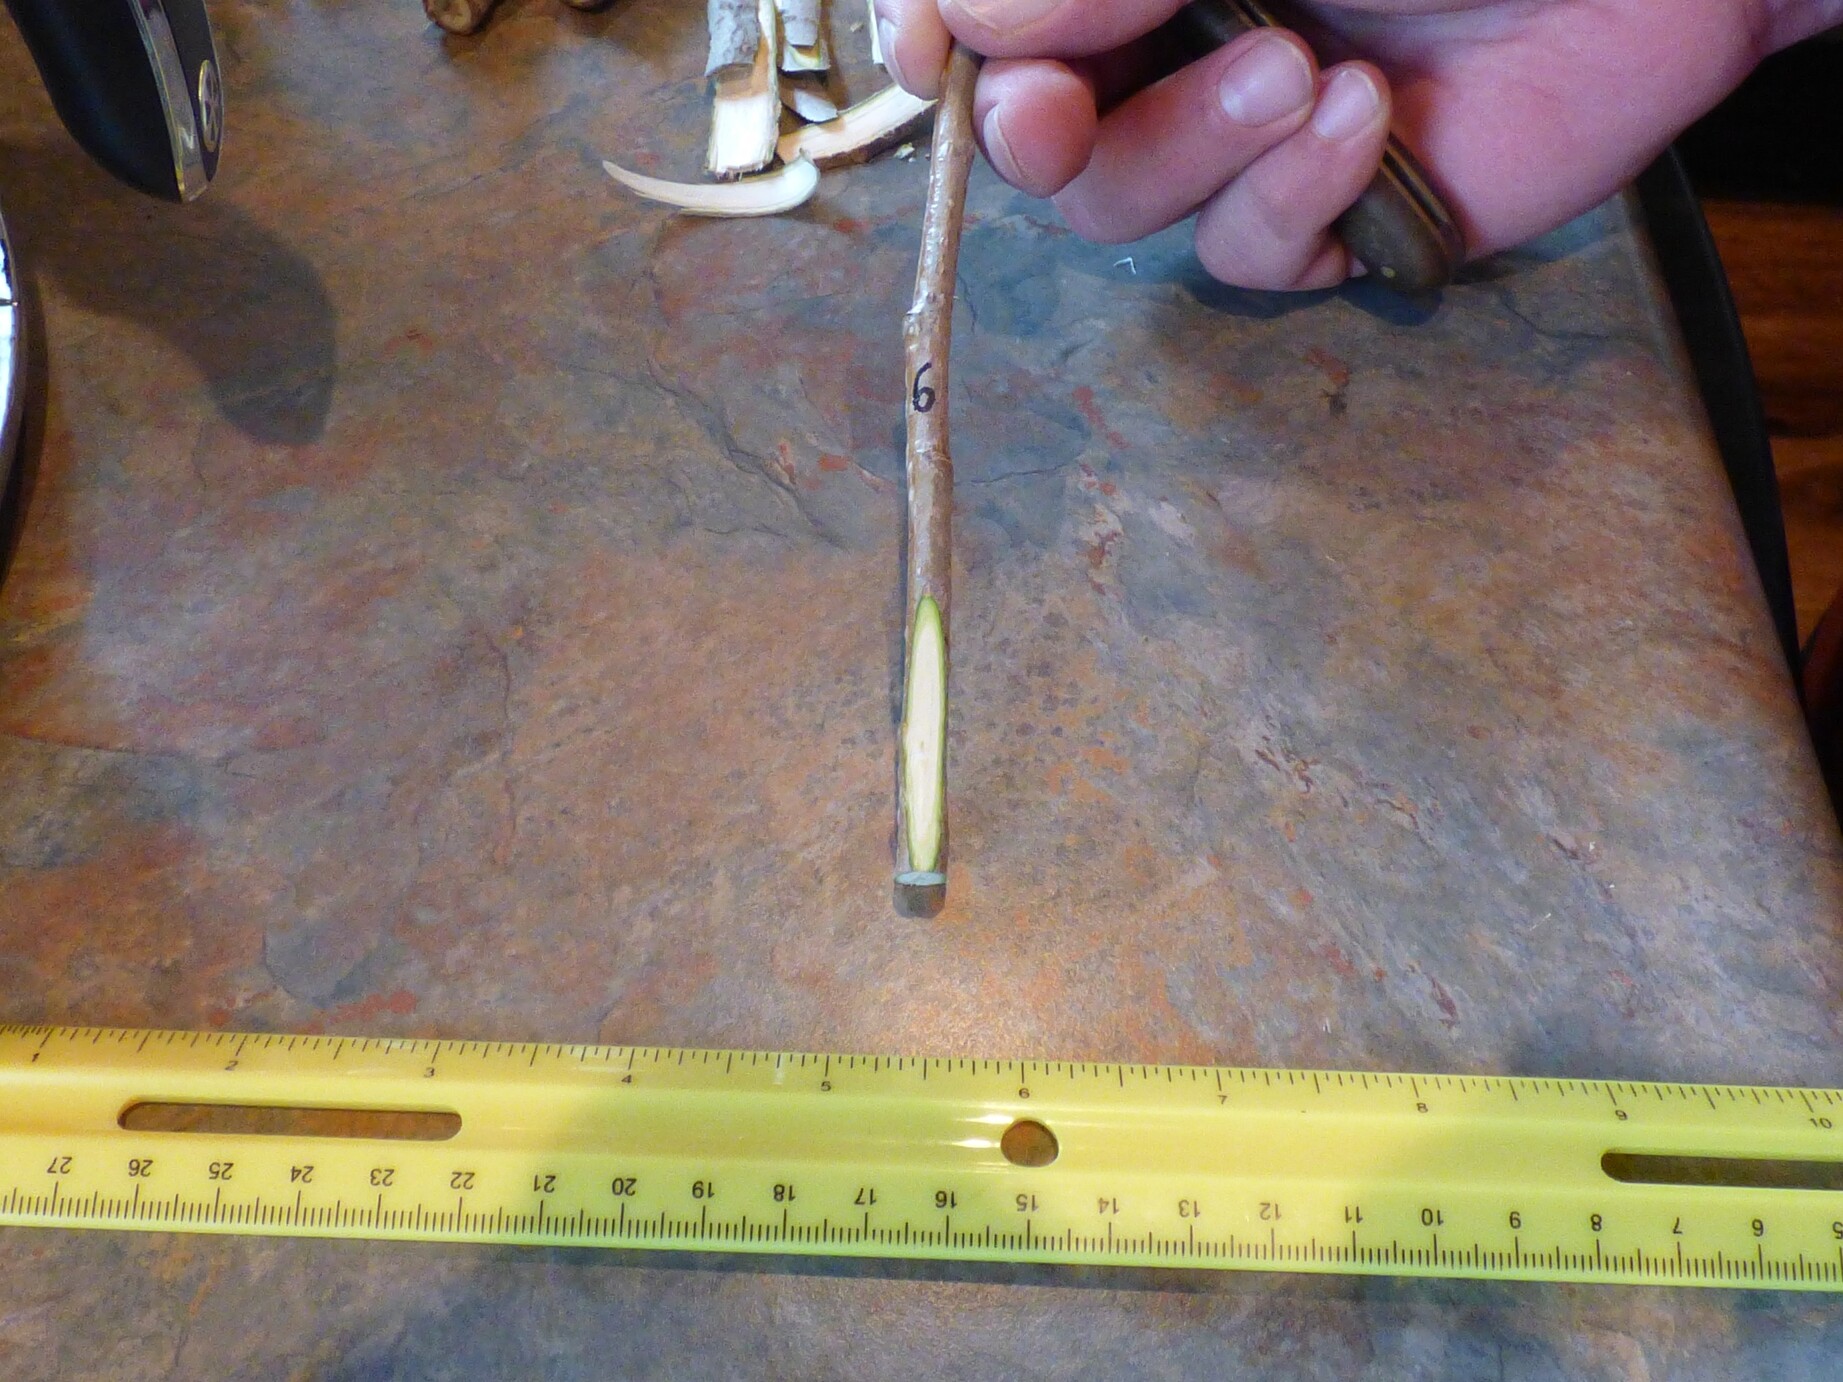
Hold the scion in your mouth to keep your hands free:

You see that bud to the left of my knife? I’m going to make my flap cut on each side of it:


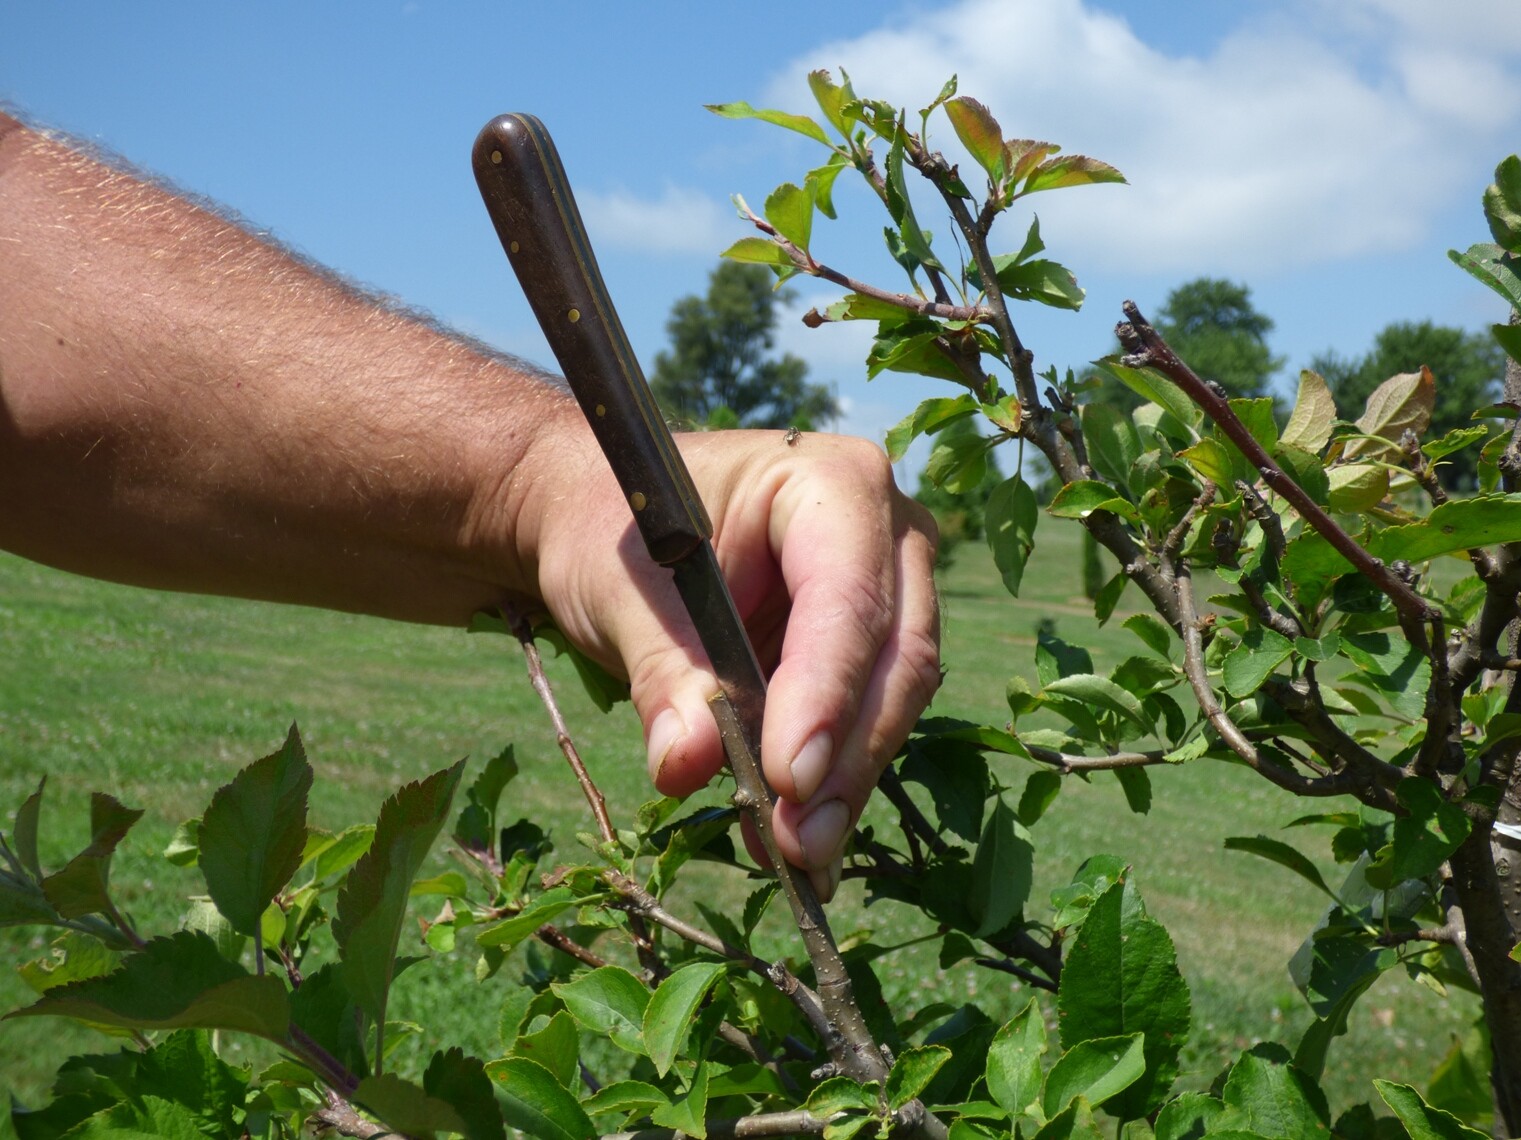
Use your fingernail to bring the bark down:
there are fancy knives with a bark lifters but all you need for any thickness of bark is your fingernail to get it started:


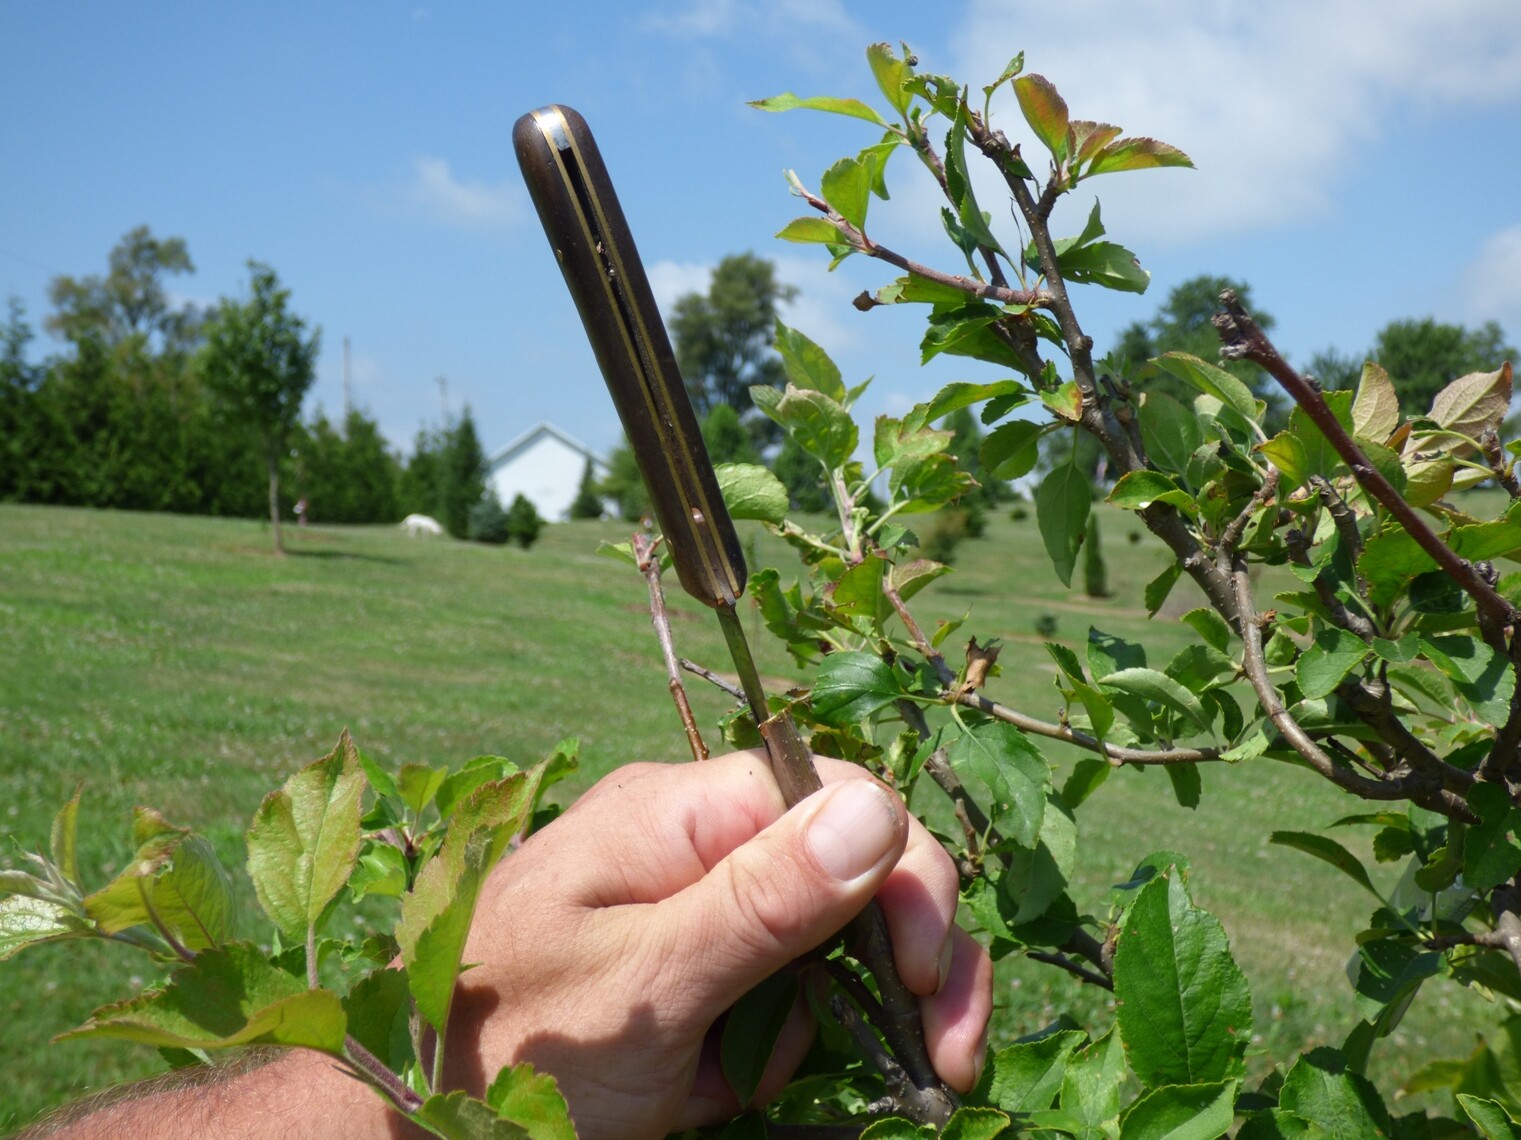
Hold the flaps down. On large trees you banana graft you may need to put your entire hand over the seedling to press the flaps down. In this case, two fingers do the job:

I’ve put enough pressure on the flaps to keep them bent downward for the time being:


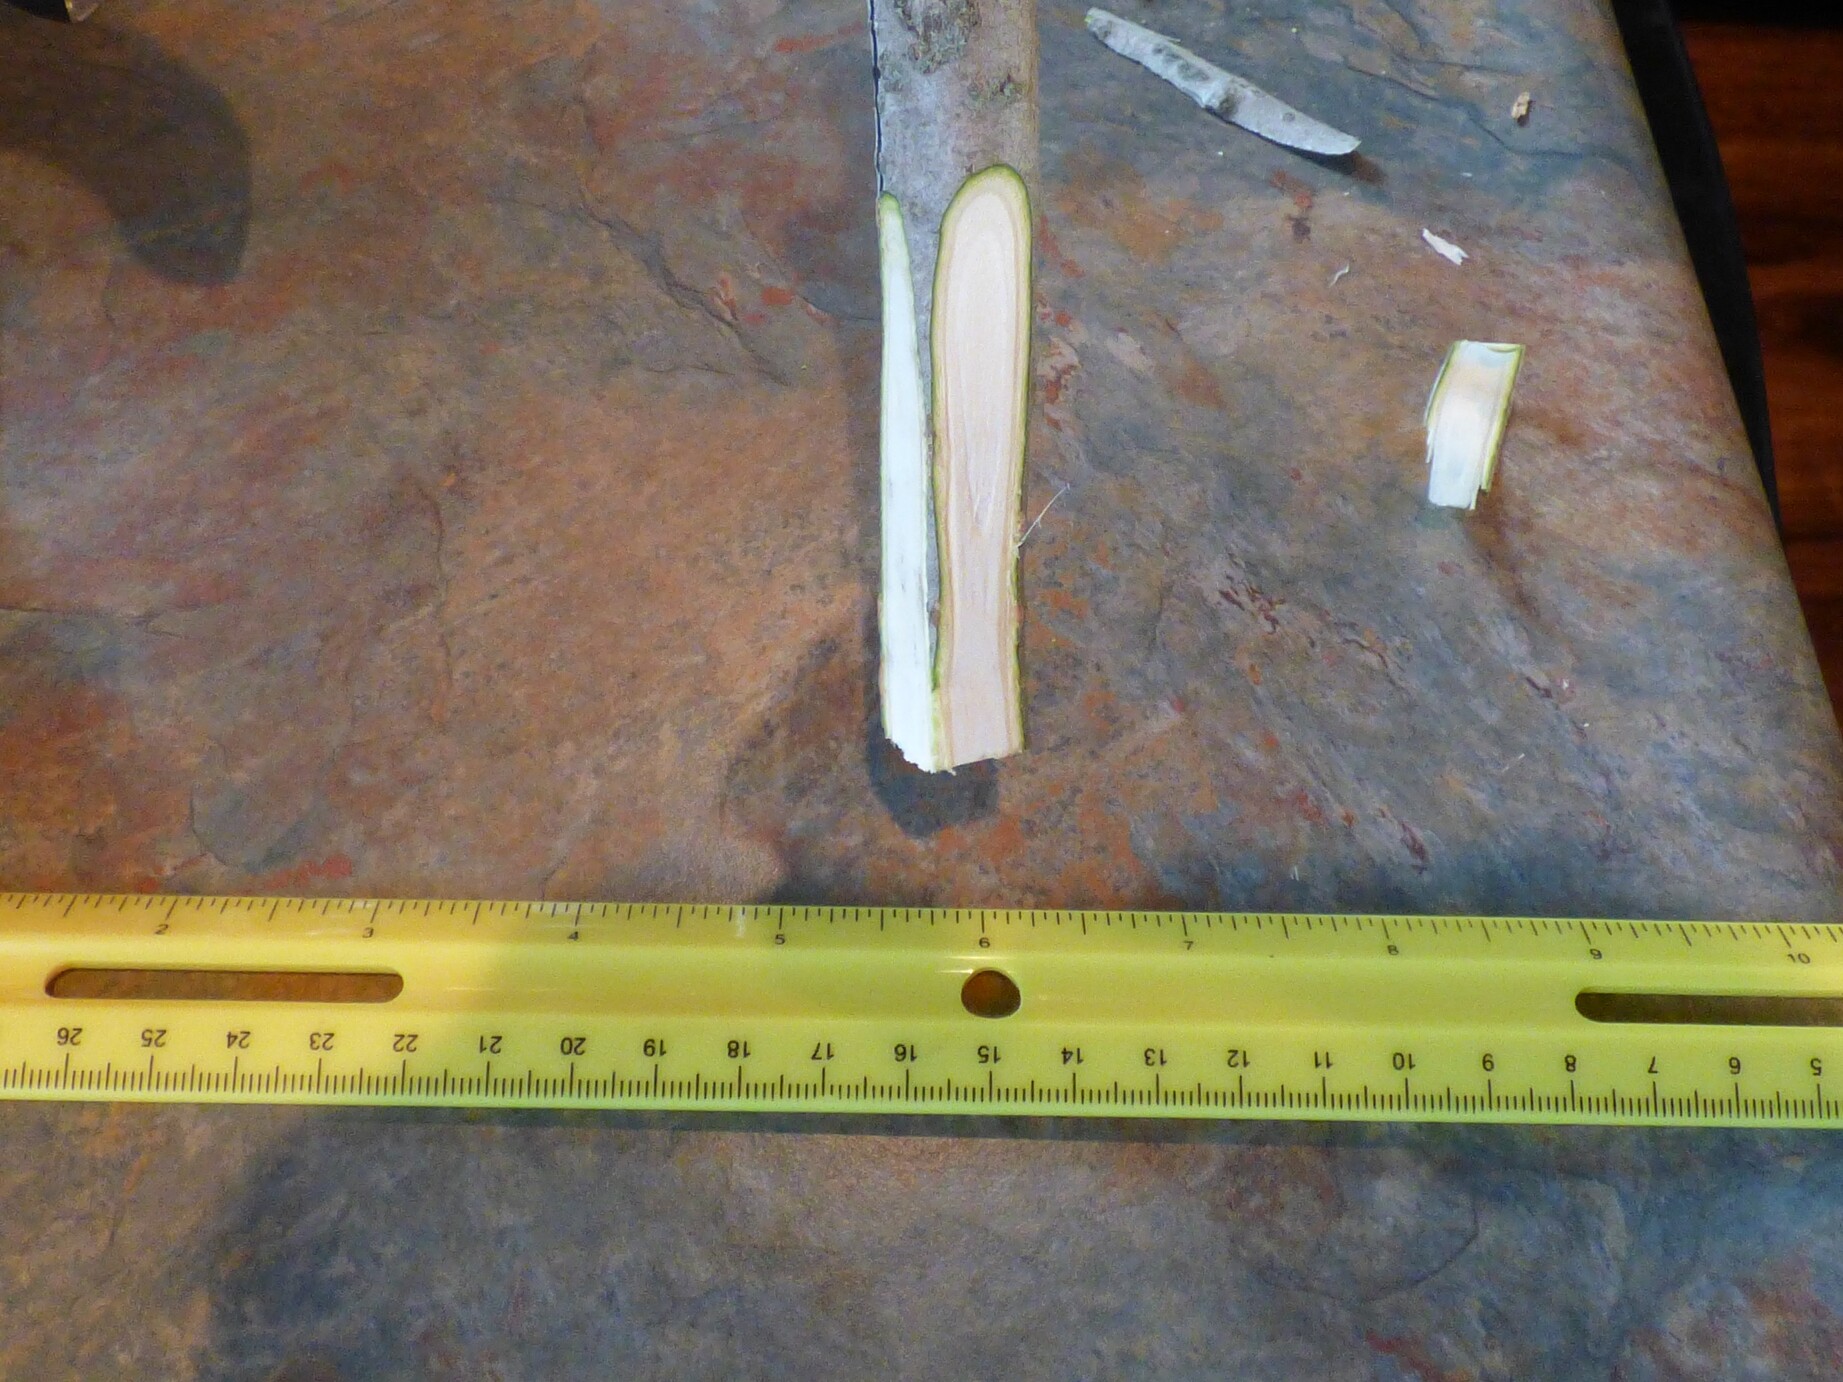
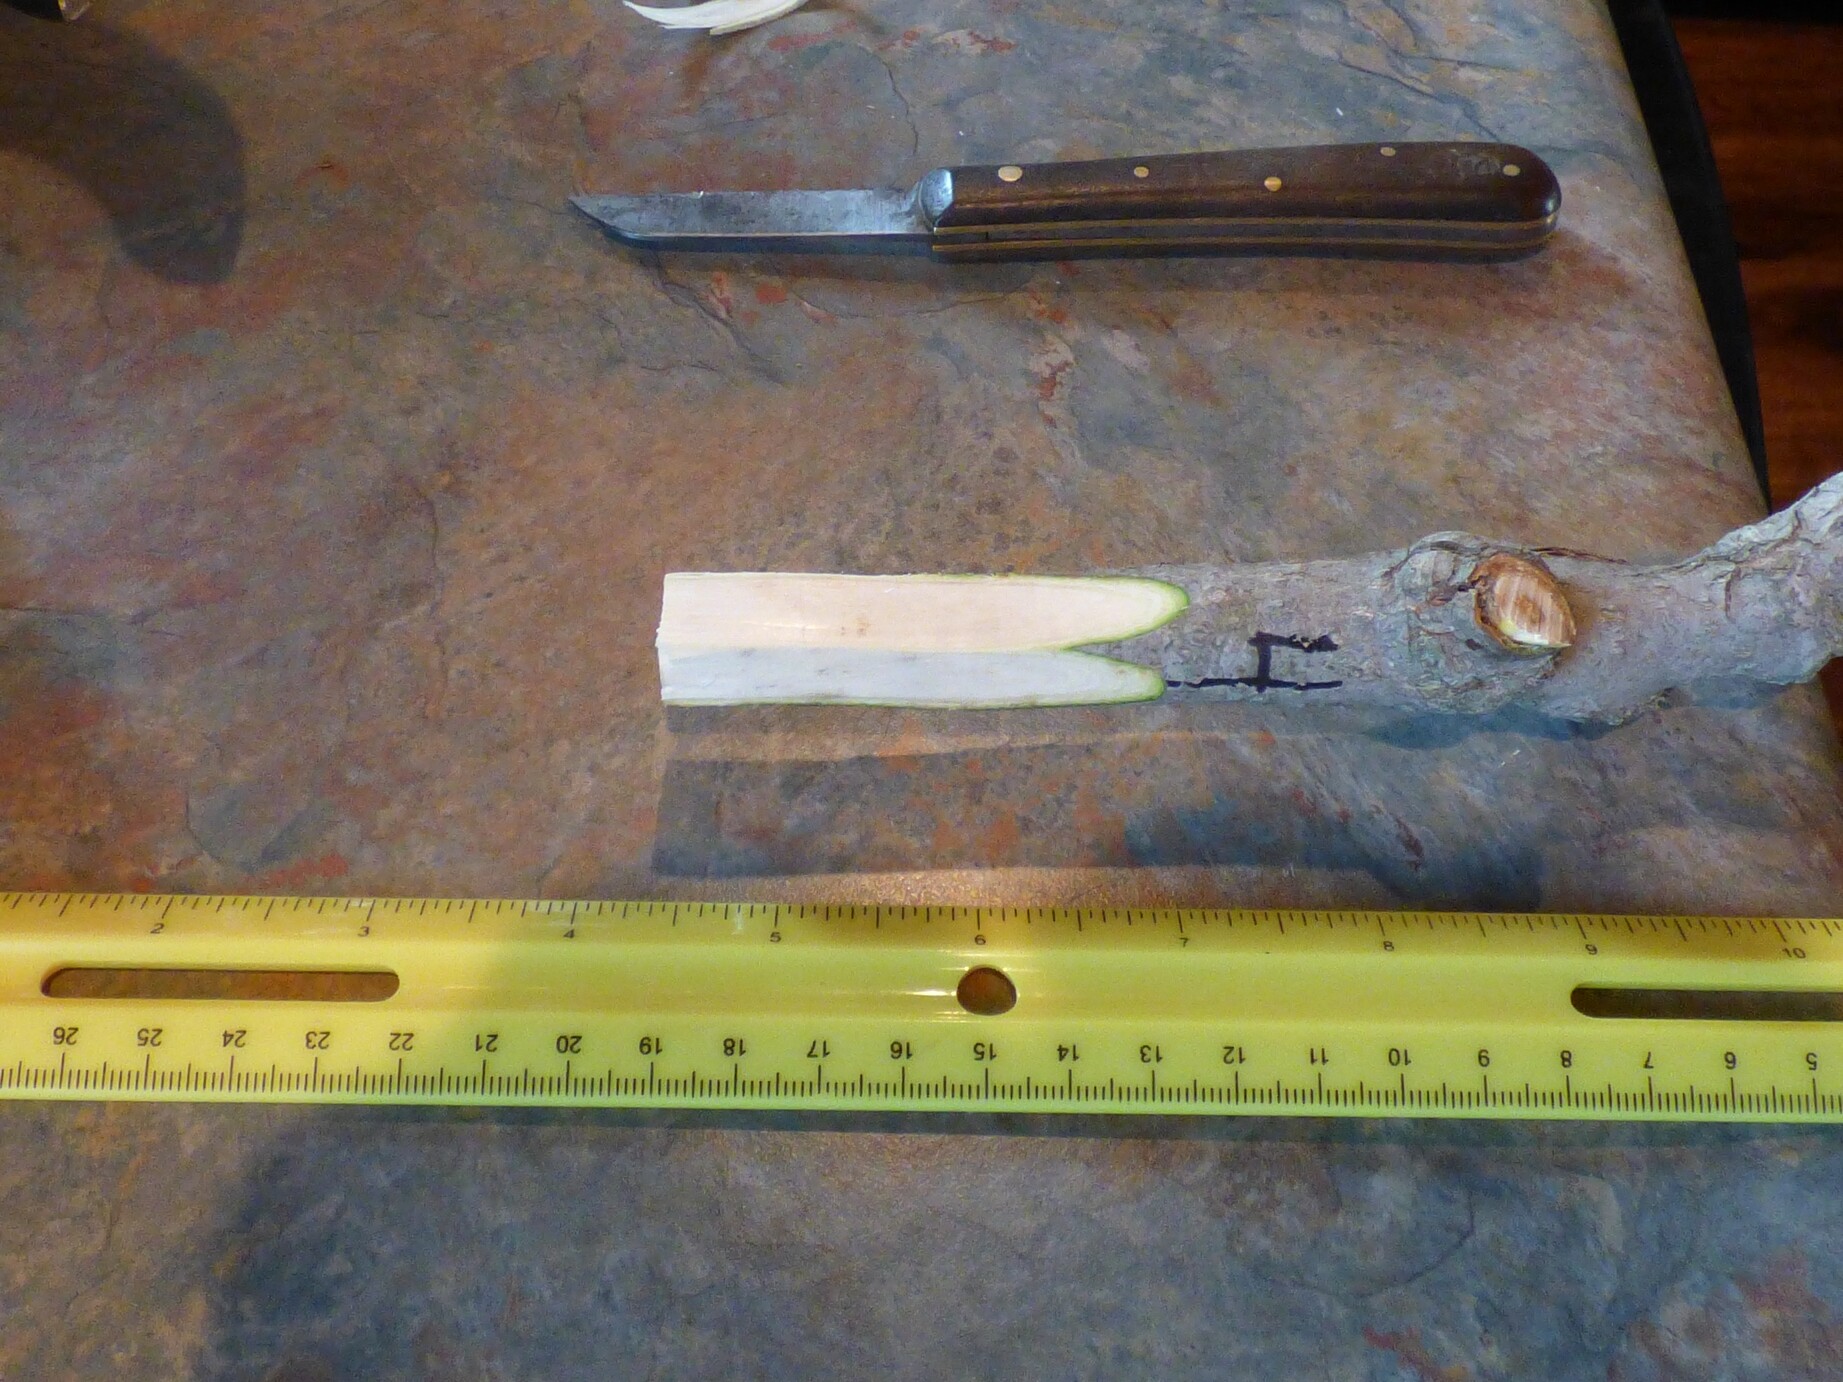
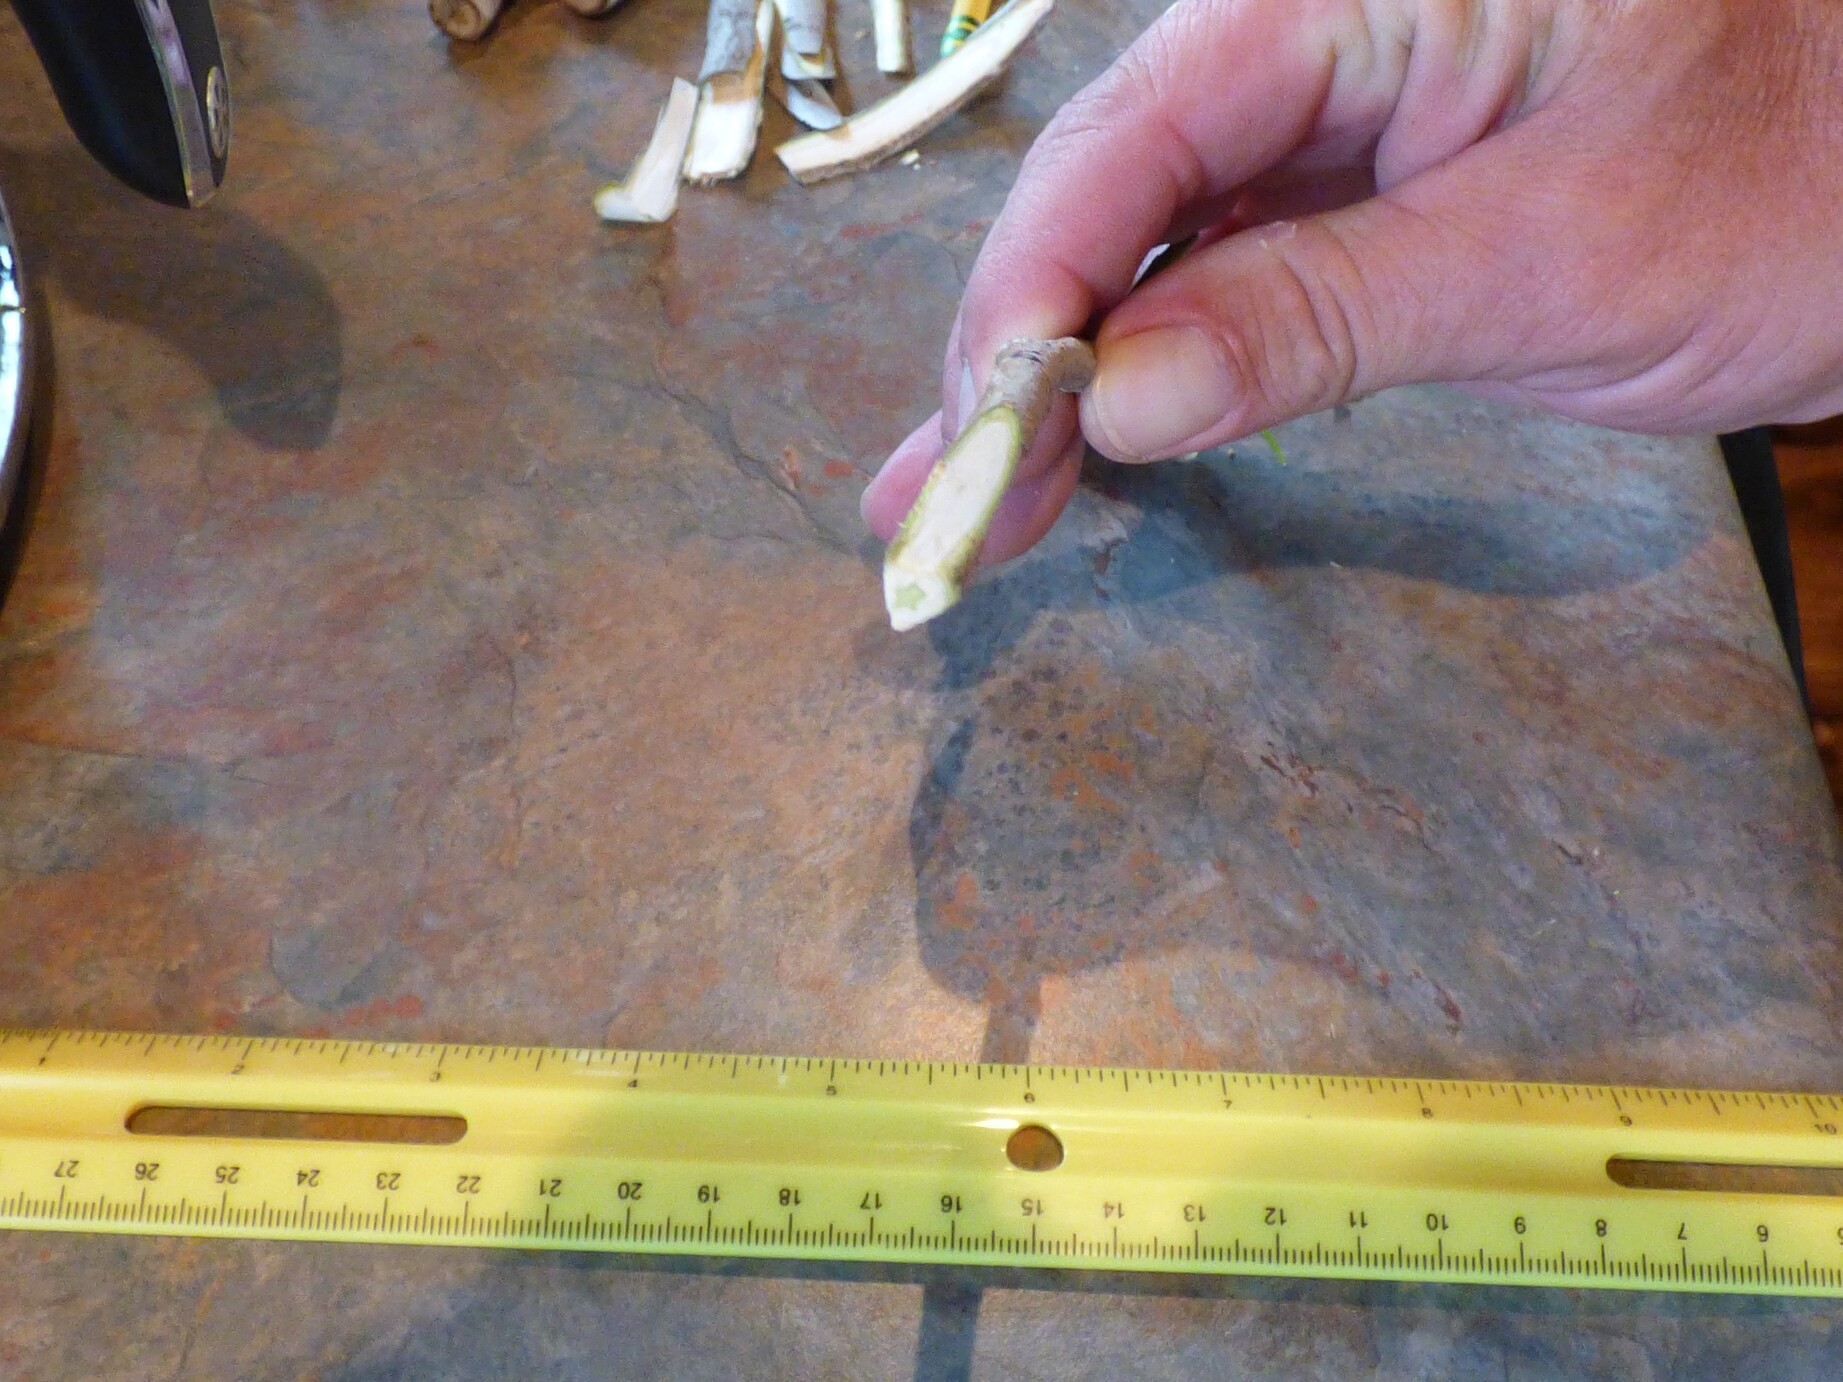
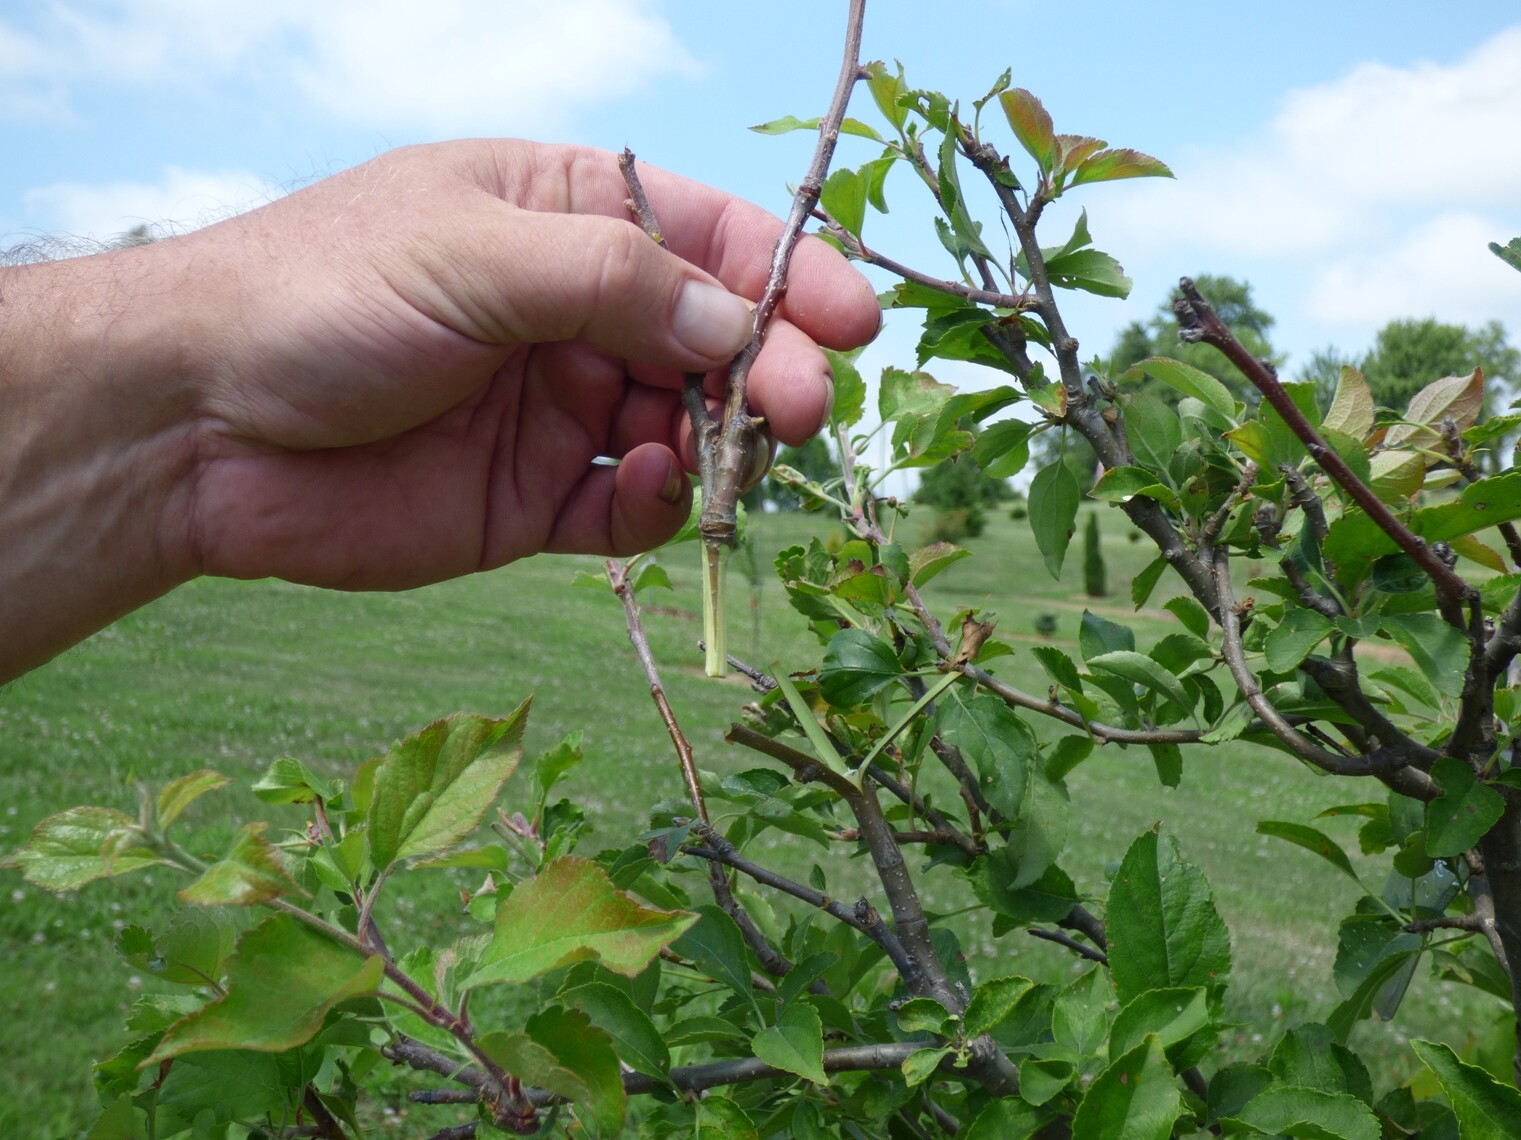
First cut on the scion:

Second cut… typically you leave a sliver of bark between each cut. Don’t be concerned if you don’t have bark between your cuts. It’s not going to make one iota of difference:

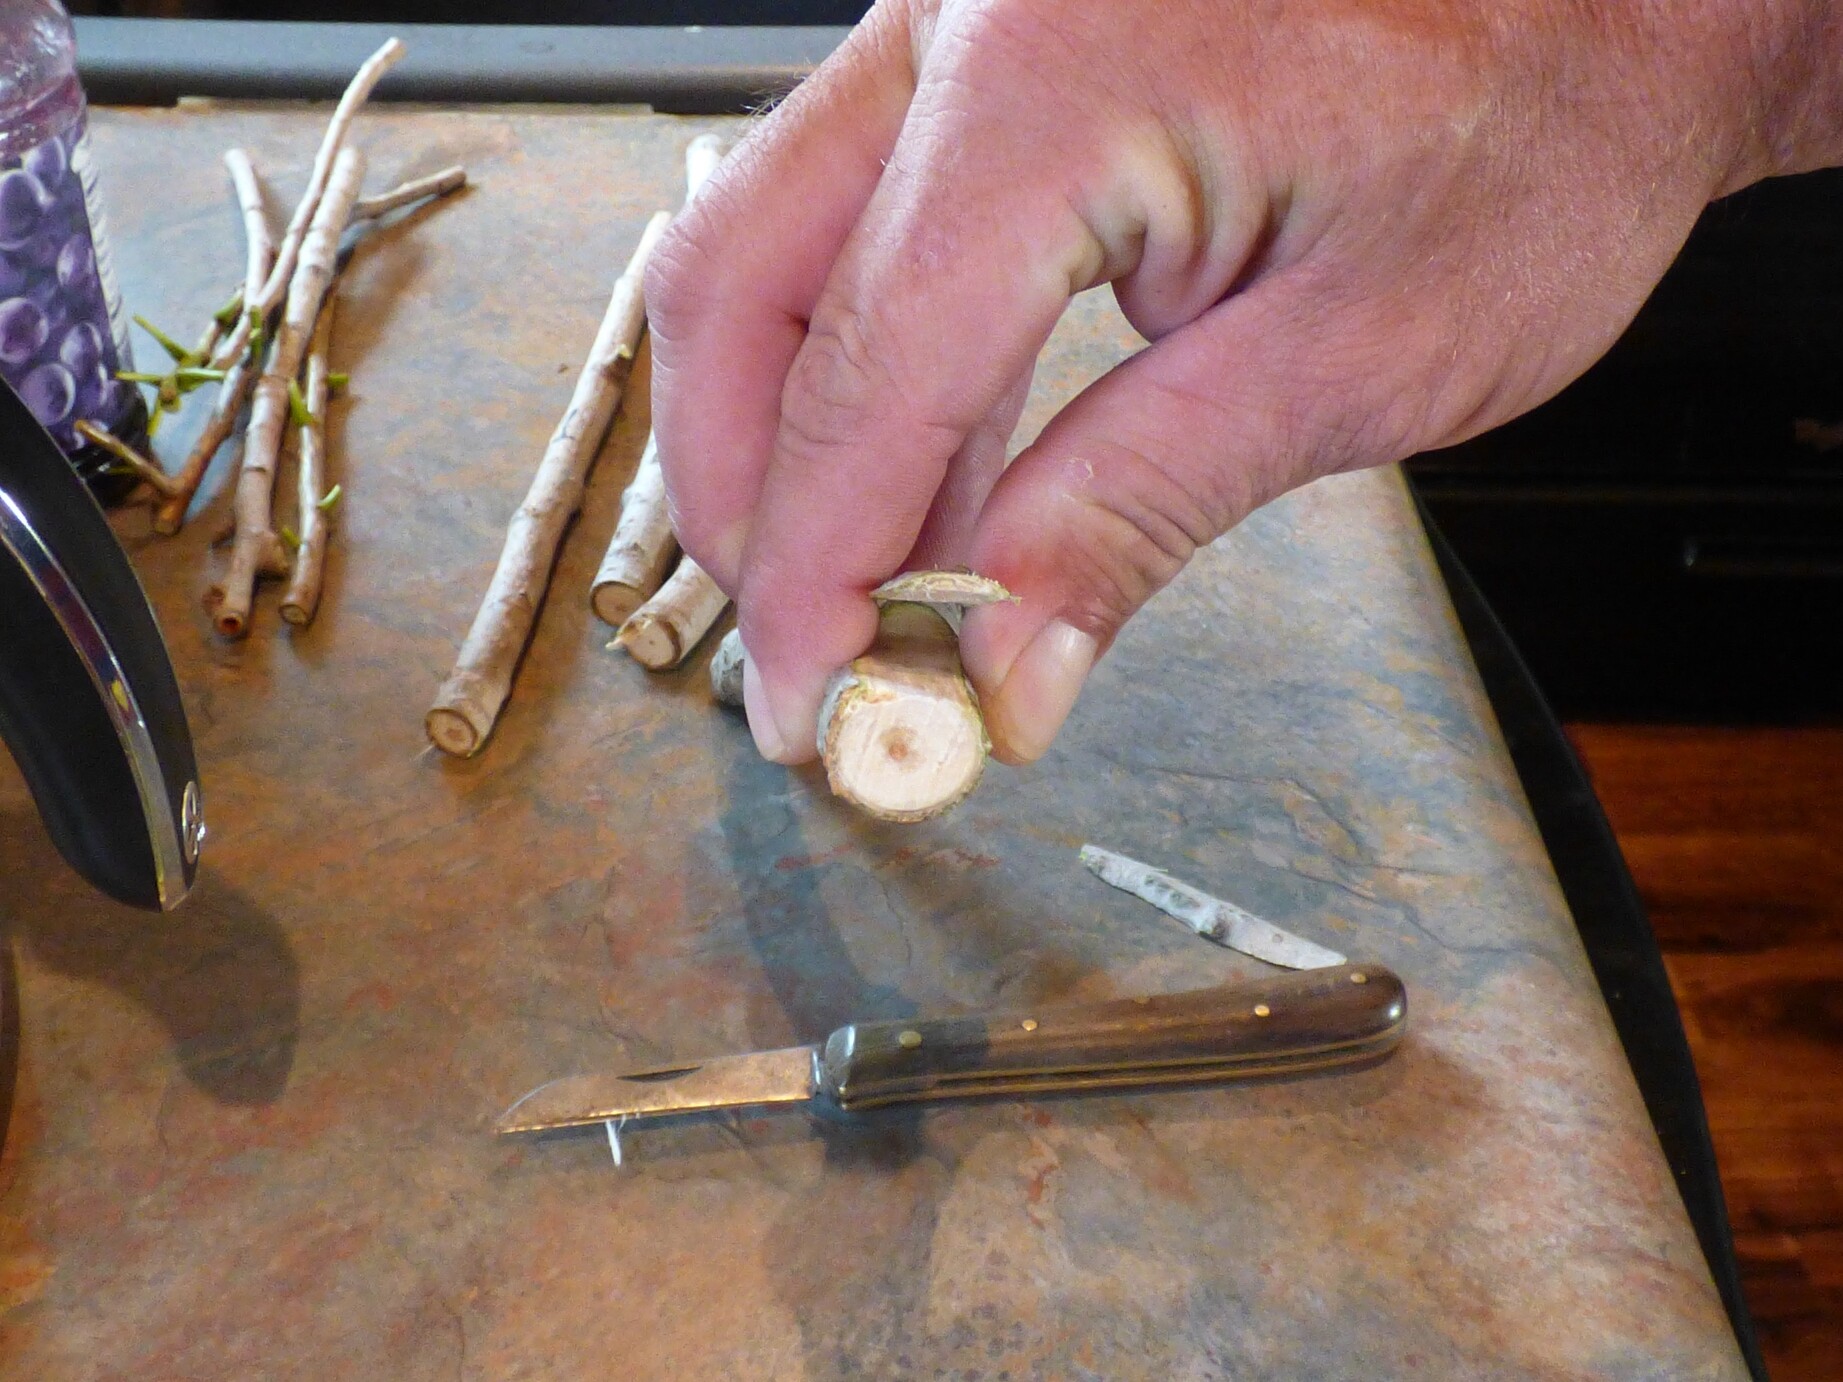
Now you’re seeing all three sides of the scion:

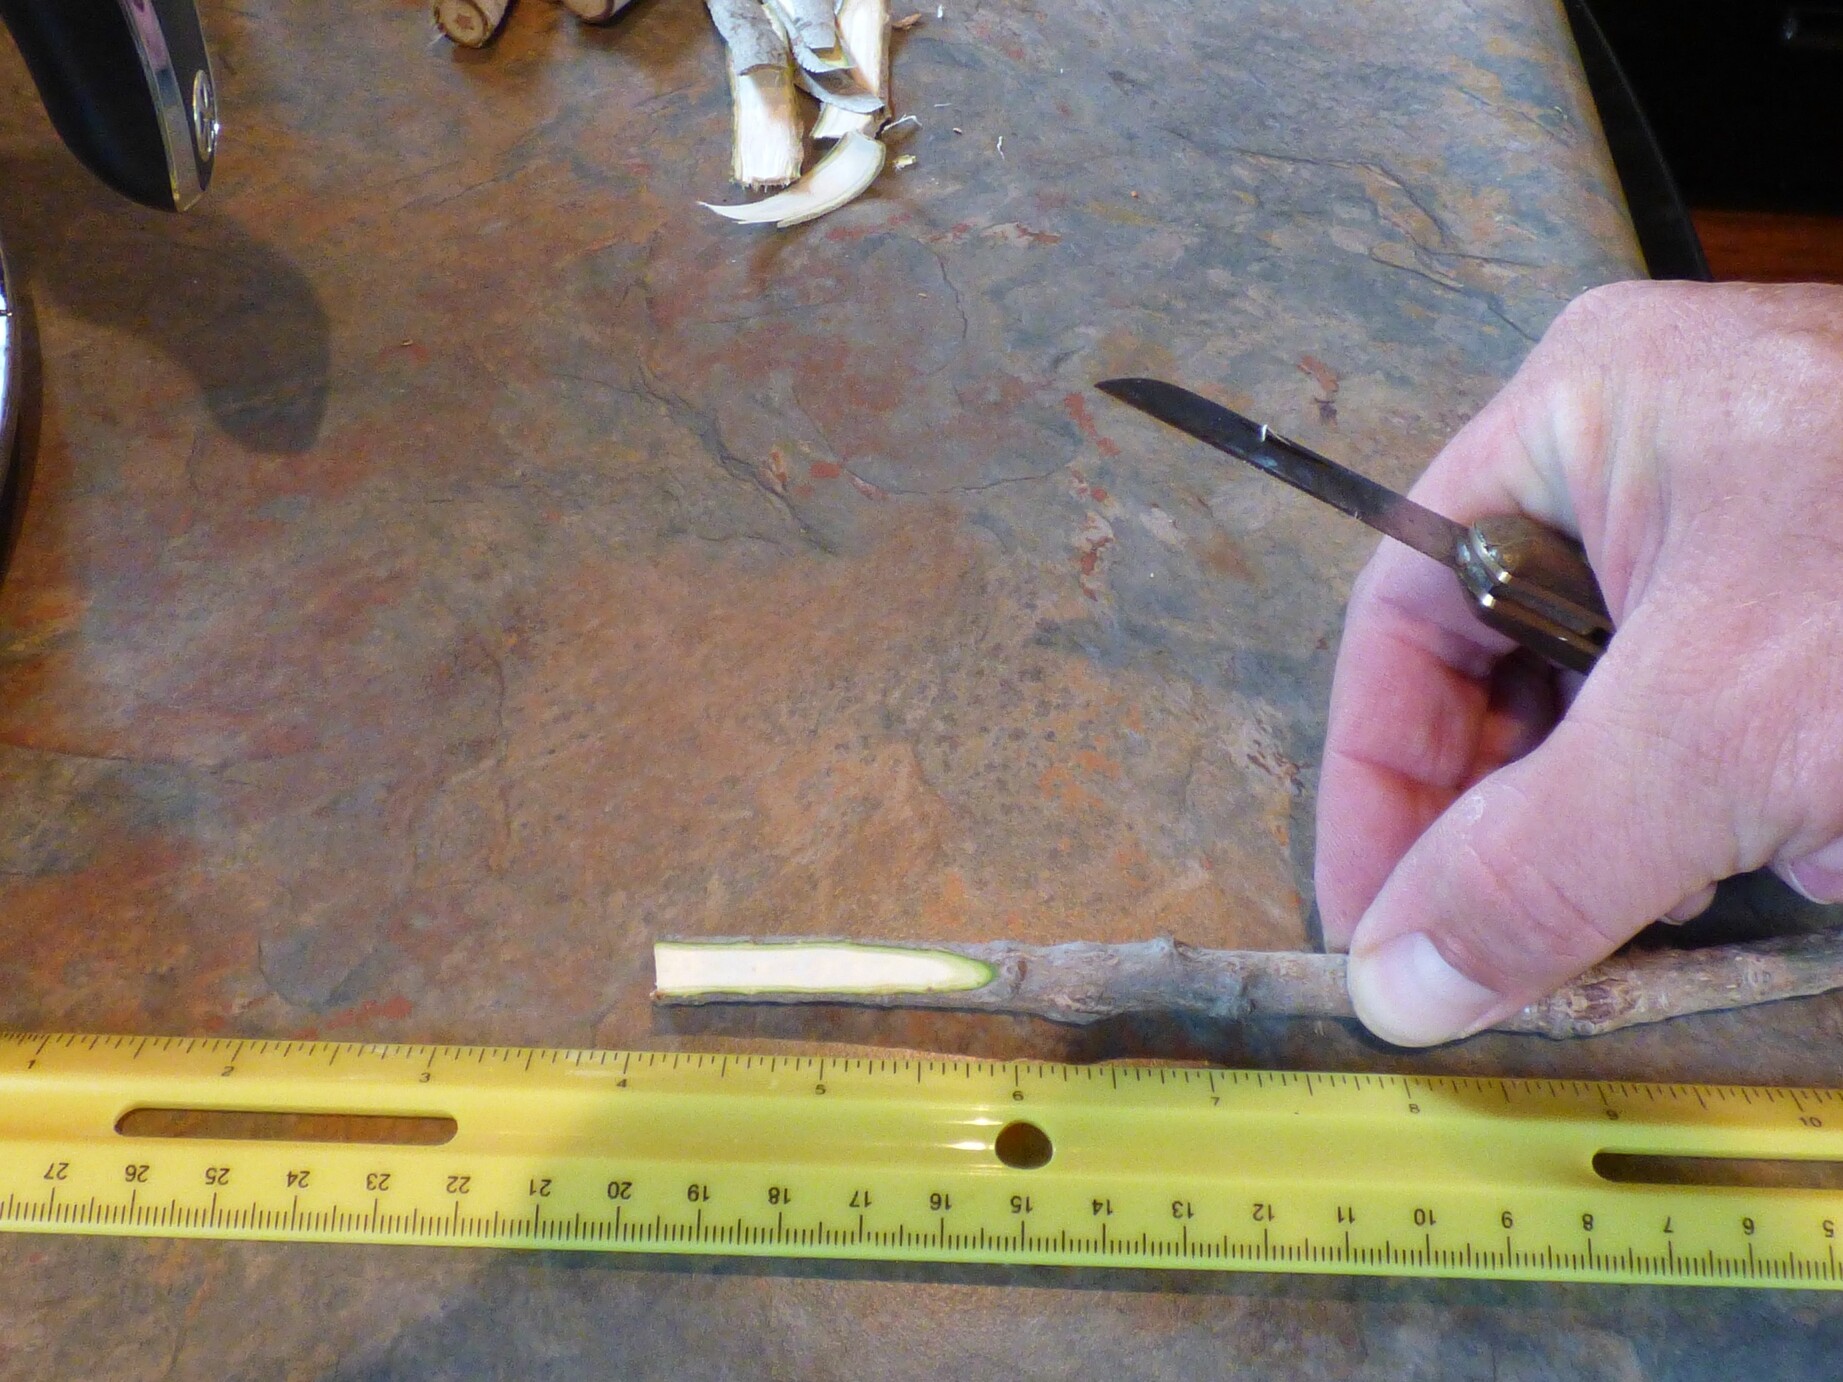
An additional photo with the scion turned a bit more:

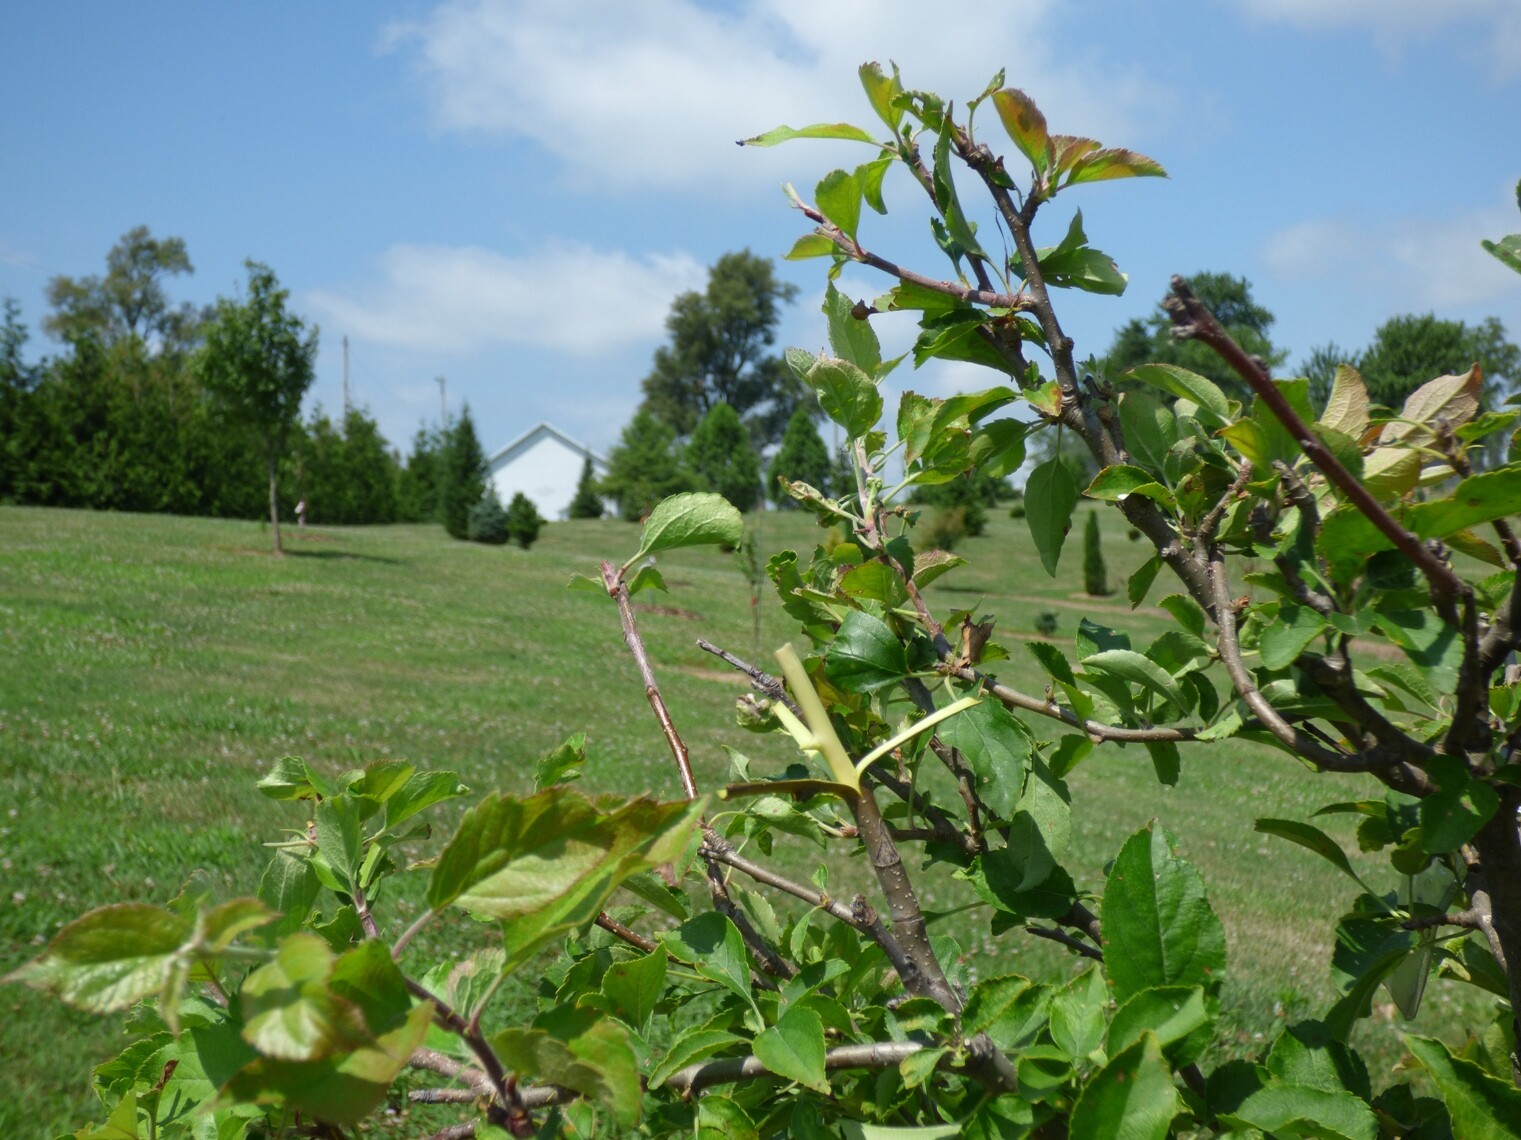
Look at the diameter of your flaps and the diameter cuts on your scion. Figure out which way the flaps cover the scion, best:

Hold the flaps in place at the top and have the clothespin in your free hand ready to attach it at the top:


Start wrapping from below. You don’t use much pressure. You take your time looking at all three flaps as you gently wrap until you reach the clothespin. Go all the way to the bottom of the clothespin and then you’ll remove the cloespin:


I needed more tape to be able to cover the flaps in entirety. So I’m beginning with a new piece where I left off:

Everything is covered. I’ll remind you again the scion should have been covered in parafilm or dipped in wax already:

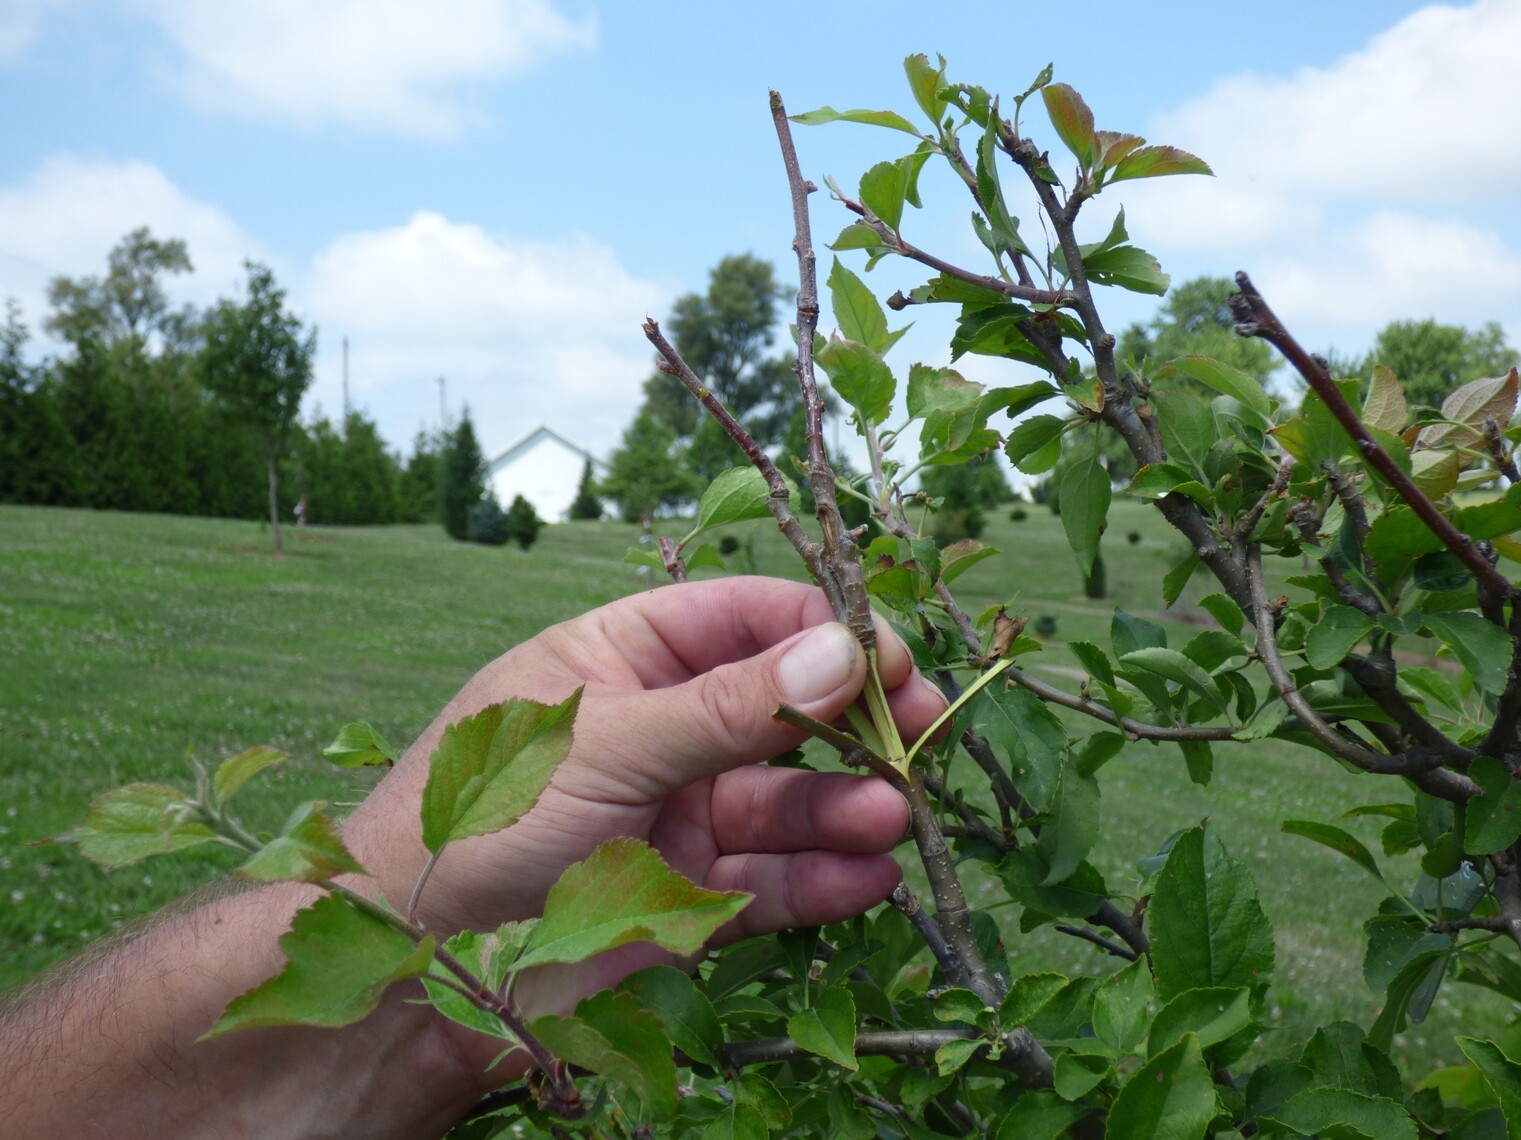
Now I’m going to return my tape slowly to the exact spot where the scion rested into the seedling:


I’m there! My tape is centered where the scion meets seedling. With force I’m going to wrap around this joining spot. I’ll go around at least twice. This is where sturdiness happens. While the scion will still be wobbly after finishing wrapping over this intersection tightly, it will go nowhere as it heals and stitches together:


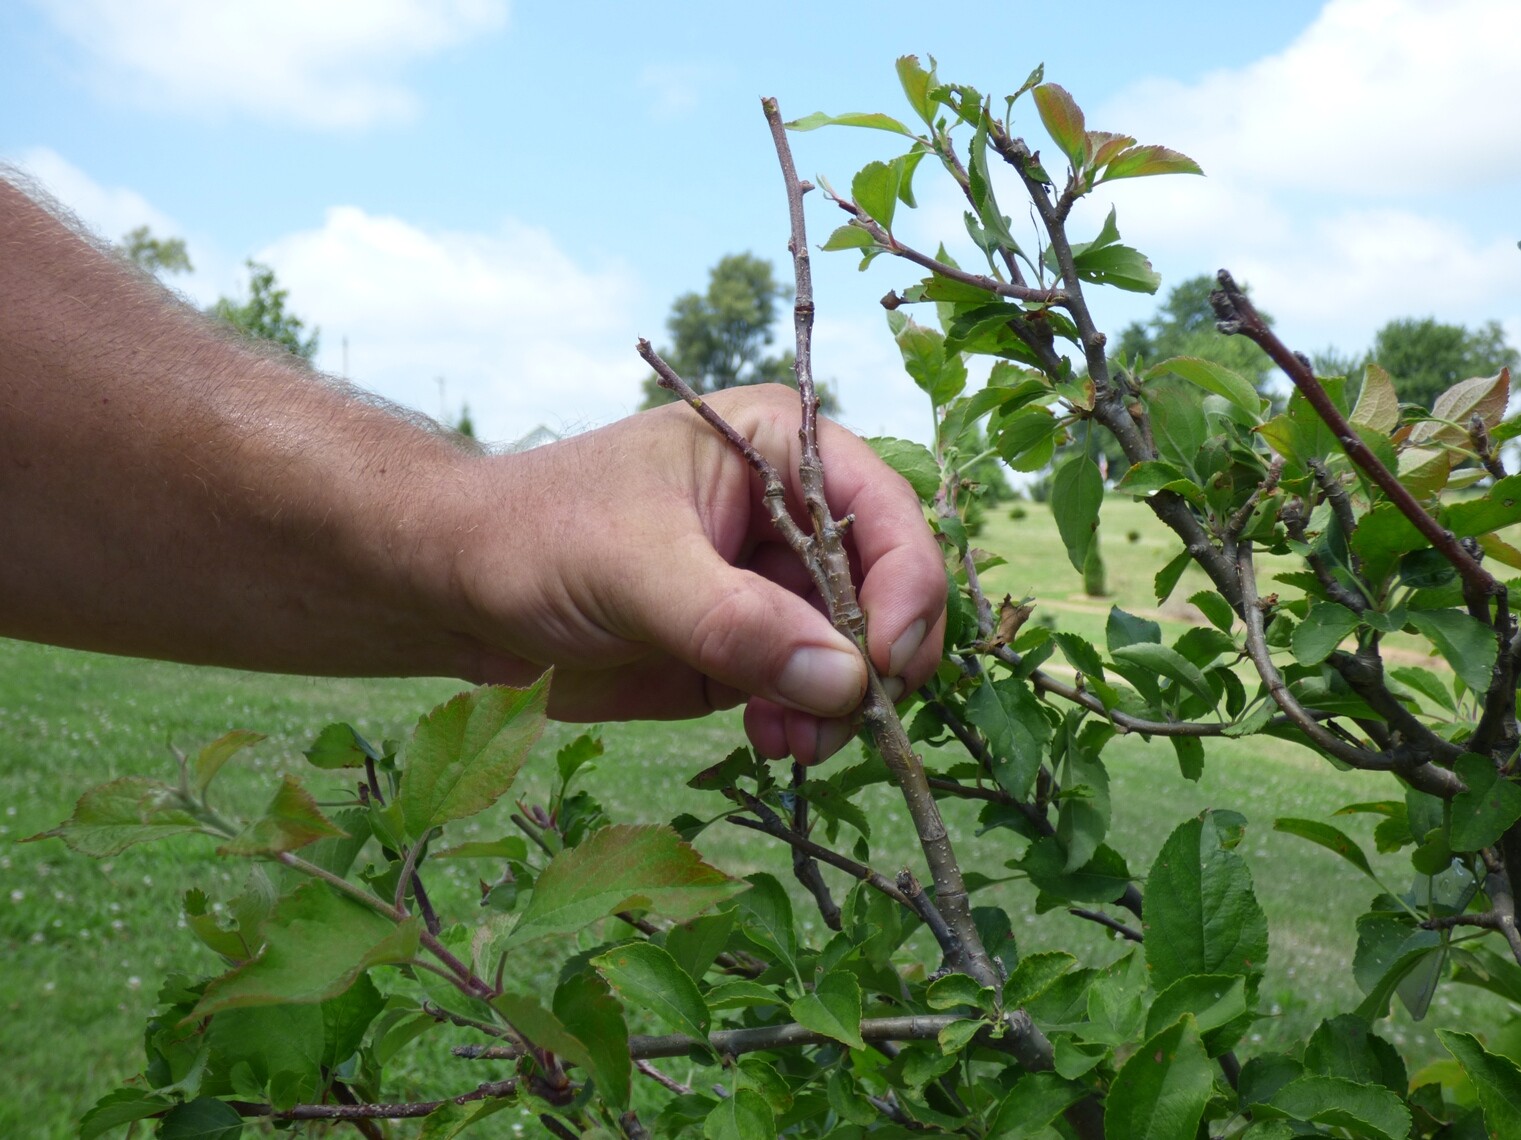
I’m finished with the exception of going up and down the entire taped area and pinching with my fingers to squeeze on the tape to complete the work:


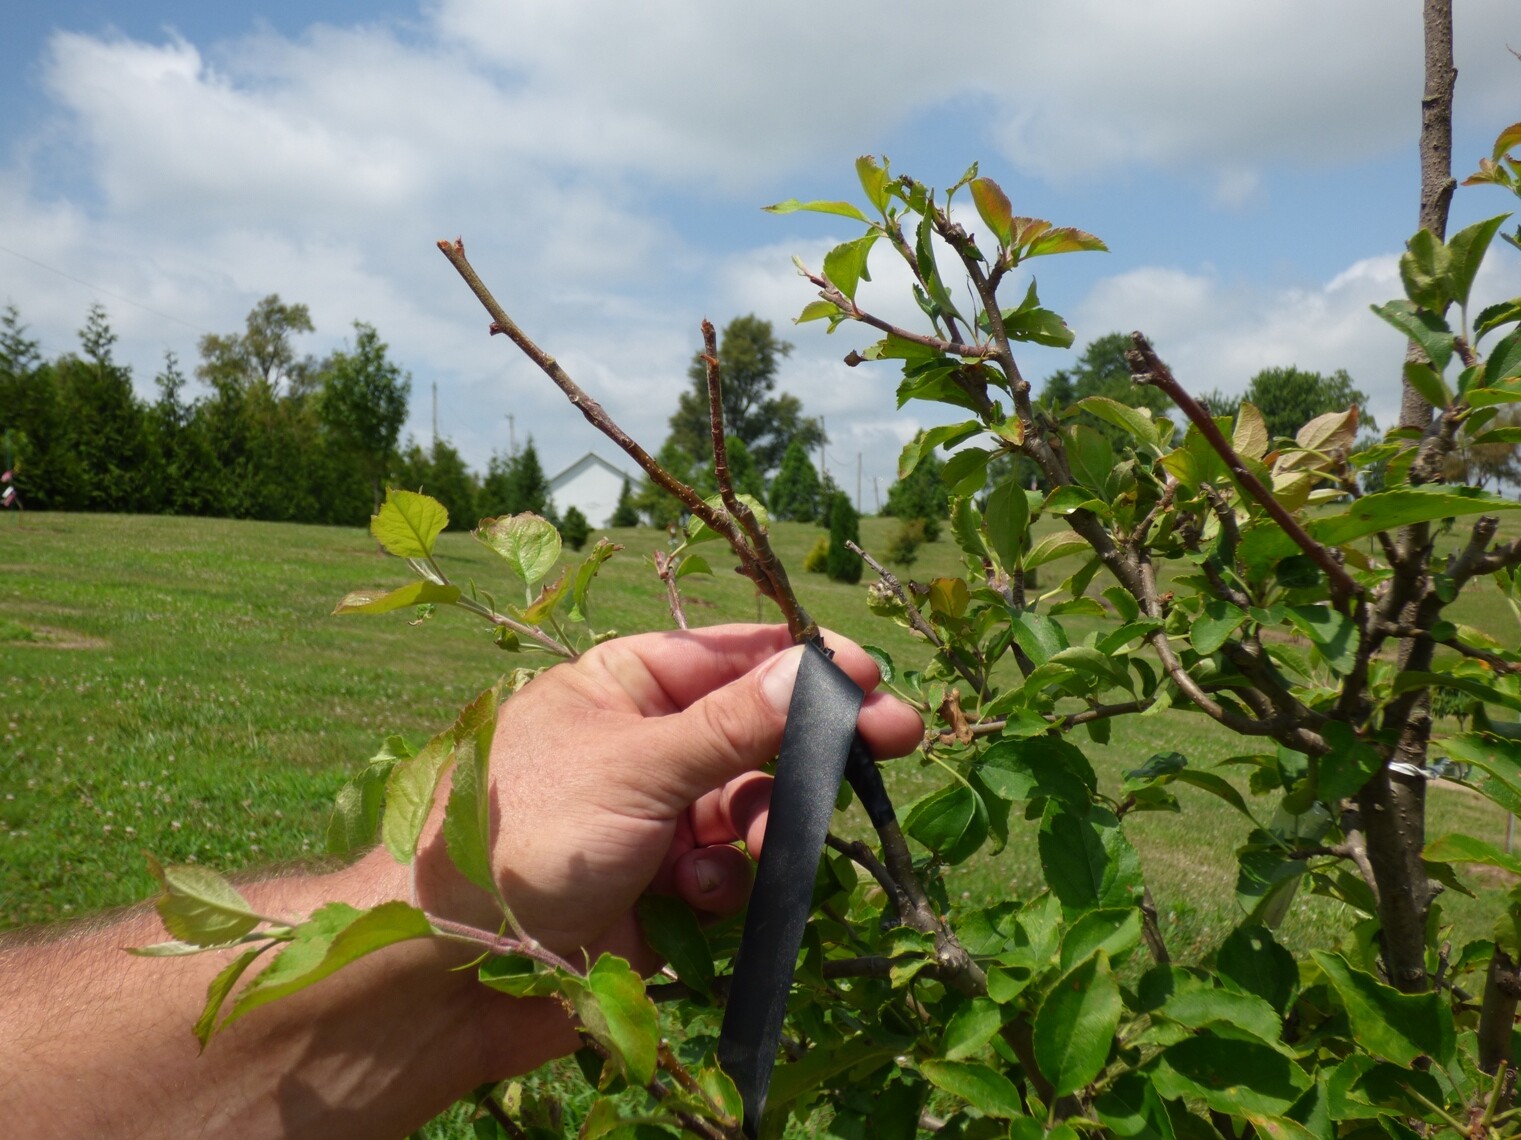
Last thing to do is add a bird perch that doubles as a stake to secure the scion to as well as the new growth from the scion.


Dax

27 Likes

Awesome! Thanks for taking the time to write and post this, Dax.

1 Like

Sure thing!

Dax

1 Like

Outstandanding, and very much appreciated. Great description, plenty of photos, clear explanations. It’s hard for me to accept that a butt joint will heal with strength, but I’ll trust your experience!

2 Likes

This is so interesting! I went out and tried a couple of them yesterday after I read it. I am sure the time is all wrong, and the scion wood is not dormant. But I just want to try it.:grinning_face_with_smiling_eyes:

4 Likes

I don’t know what I’m going to try out this method on but I have got to test it.

4 Likes

You’re a rocker Sara!

Dax

1 Like

I’m going to try this on hazelnuts! Have a good feeling about this!

4 Likes

I tried this 3- flap graft on July 17 (about 18 days ago) just for fun, grafting fresh cut plum to peach. This is what they look like today. Are these sprouts due to stored energy in scion wood or successful graft? How do I know?

5 Likes

Don’t do anything until next year, Sara. If it dies this year then take it apart to look at the reason(s) why.

Nobody will be able to tell you differently at this stage and especially due to the time of the year it was grafted with this method, as well as the time of the year it is now.

Good luck!

Dax

3 Likes

Thanks, Dax!

I will just keep watching them. Will come back to update with any new development.

2 Likes

I thinks this is the start of a successful graft. The length of time is about perfect for it to break buds. The graft being at the end of a limb will most likely help it push more growth this year.

1 Like

I can’t argue with any of that, Bill.

Dax

2 Likes

That’s really nice to know, thanks Bill! I will come back to update later this month.

3 Likes

Just want to update my experiment with 3 flap graft.

I tried graph 2 active plum to 2 different peach trees. both have leaf out after 2 weeks. now about a month and a half later, one is thriving, the other has died.

here is a picture of the thriving graft:

2 Likes

That’s great, Sara. :smile: :grin:

Dax

2 Likes

Thanks for the detailed lesson; very handy. It does raise a question I’ve wondered about which is about how cambiums interact: Is it better to have the scion bark, only the bark, cut away or to have the scion bark cut away with some wood, to expose the edges of the scion cambium? One way, the cambiums are in full contact and the scion wood surface is ‘rounded’ like the receiving stock bark; the other way the scion cambium edges are exposed which sometimes seems to be a critical point…remember the ‘cambium layers just have to cross’ topics regarding whip (and other) types of grafts. Any thoughts on this?

2 Likes

It seems to work pretty much the same way within limits. A T bud with wood removed from the scion bud has full contact. That works great. Leaving the wood in also works provided the stock is bigger diameter than the scion wood. Or if you choose a flat spot on the stock. If the scion wood is too big then you are trying to fit a flat surface on the scion to a round surface on the stock. That works fine if the stock is relatively large diameter or flat at point of insertion. If you can get the scion bud fully under the bark flaps on the stock it seems to work fine wood in or out.

3 Likes

I think @fruitnut explains it as well as anybody could. You have to remember the cambium actually has no color. The correct word is cortex. Most people never use the word cortex so I never think twice about trying to correct anyone.

What you’re trying to do @Seedy is to get a flat cut. That’s #1 most important. You get your knife in the grain and let the knife do the work. If you’re constantly pulling too hard your knife will leave the natural path of grain it’s slicing thru.

You try not to go far into the wood but if you can imagine the green layer that’s on top of the cortex and under the cortex is the pith; right in the middle of the two… that’s your target. Since it doesn’t have color you simply learn not to go too far on anything you do.

You need to look at your scion to determine if it’s going to work best to make three flat sides or four. That’s what @fruitnut is talking about. It’s all about diameter. Large wood = a square. You are creating a true square on the scion. On less diameter wood you are creating a three sided stick. It’s not a sharp triangle. Pictures to follow.

Dax

You see here my fourth and last side/cut is much slimmer than the other three sides. That’s why you choose the best orientation of the scion and the flap-widths when putting it all together.

I was going to do commentary but the whole point is you want long cuts. You see I showed 2" long and more than 2" for the first and thickest scion.

And I was going to say the first cut on my first scion didn’t even make it to the bottom. So the second cut did. That’s it in a nutshell.

Oh yes I was going to say one last thing. That last scion is curved. Well no big deal. The flaps will cover a curved stick just as easy as a straight stick. It’s up to you to determine your skill level. If your scion is long enough, you may want to cut the curved end off. You just need to be familiar with your knife and your (own) ability.

Even though it’s curved, my cuts are flat.

Dax

7 Likes

Dax:

On that top one with four sides it looks like to me you’ve almost cut away all the cambium. I think I’d rather see a thin strip of bark left on each corner. That way I know there’s some cambium left. But what I know about is T budding. I’ve done a few successful 4 flap banana grafts but not many.

3 Likes