After looking at the pictures I notice that. The pipe heater normal installation shows the thermostat wrapped to the pipe. So I expect the thermostat may shut off at 45F when used to prevent pipes from freezing but in this use and with a little heat escaping from the tube it takes more heat to make it work.
Nothing about ‘Easy Heat’ shuts off until its un-plugged.
I’ve got the stuff to set-up the hot callus for peaches, nectarines and persimmons and had a few questions before I start…
-
What about plums/pluots and/or jujubes? Necessary?
-
Someone mentioned earlier on this thread about putting the cable inside of a plastic pex pipe to keep it off the scion. Did that work or is it necessary?
-
I assume there’s sawdust or coir in the plastic bags covering the roots?
anything you want to use but remember that really moist roots will produce sap! You want “barely moist” for the whole callusing time.
the cable is affixed to the the bottom of the foam and runs flat. And the foam holds every size seedling & at any position (until it wears out - but mine have not. I have (3) pipes) w/o touching the cord.
I would put anything in the pipe, ALL.
Dax
2 Likes
I got mine set up tonight with plums, pluots, pluerries, peaches, and nectarines. Persimmons next week. It’s sitting in a basement storage room on the floor.
I have a wifi thermostat connected. So far the measured temp is 72 F. I plugged the ends but don’t know how I can get it any warmer.


4 Likes
Well plumbed!
You’re good to go, you should be believe that.
best regards
it’s self-regulationg (built in thermostat). You cannot and must not put an external thermostat to it. That’s an ‘Easy Heat Cable’ right? If yes, do not, I repeat do not add a thermostat.
As far as a wifi temperature monitor, that makes sense/a lost of sense just to learn the temperature.
Good?
1 Like
If you are trying to get it warmer, maybe try some of that blue painters tape along the top edge where heat could leak? It shouldn’t damage the insulation and should come off easily. Also find a piece of Styrofoam to glue on the very ends of each “tunnel” to seal them.
2 Likes
Just drop a tarp over it to heat it up more.
2 Likes
Hello Franc1969.
Yes this principle of the hot callus pipe can also be used to graft and root grape cuttings simultaneously. Therefore you need 2 parallel hot pipes. One for the graft and one for the base of the rootstock. But I think that it will not work in dry air. This got me thinking and finally I changed this setup to my “hot callusing ducts”. I’ve made 2 ducts of an insulation plate (4 cm thick). At the side of the grafts I’ve cut slots at both sides to put the grafts in, and at the side of the base i made only slots at the “inner” side, also to put the rootstock in the duct. The heating cable is fixed only in the ducts, not in the space between them.To prevent the cuttings from dehydration I filled the space between the ducts, and the duct for the bases with moist coco coir. If you want you can cover these two with a plastic cover (but is not really necessary). For the duct for the grafts I made a glass window, so I can follow the process of callusing.
To control the temperature, I use a time proportional controller. The heating element is perodically switched on for 1.8 sec and off for 20 sec. Because of the slow thermal response of the heating cable, the temperature stabilises within a few tenths of a degree (both time settings can be adjusted, to set the desired temperature).
Here some pictures of this setup. This is my prototype, I made it 6 weeks ago (20 cuttings). You can clearly see through the window that the callusing is going fine. Btw, I wrapped the grafts with grafting tape to prevent them from dehydration. Normally, the buds of the scions should be outside the duct, but the available scion wood had too short internodes, so I had to do with it. The last picture shows the callus at the base of one of the cuttings. These pictures were taken 3 weeks after startup.
I’m sure this setup can be used for other grafted cuttings too (maybe with a smaller space between the ducts). I’m going to do a test this month with rose cuttings.
Jack


3 Likes
Welcome to the forum Jack! Very cool setup, thank you sharing and explaining your process. Keep us posted with any updates.
1 Like
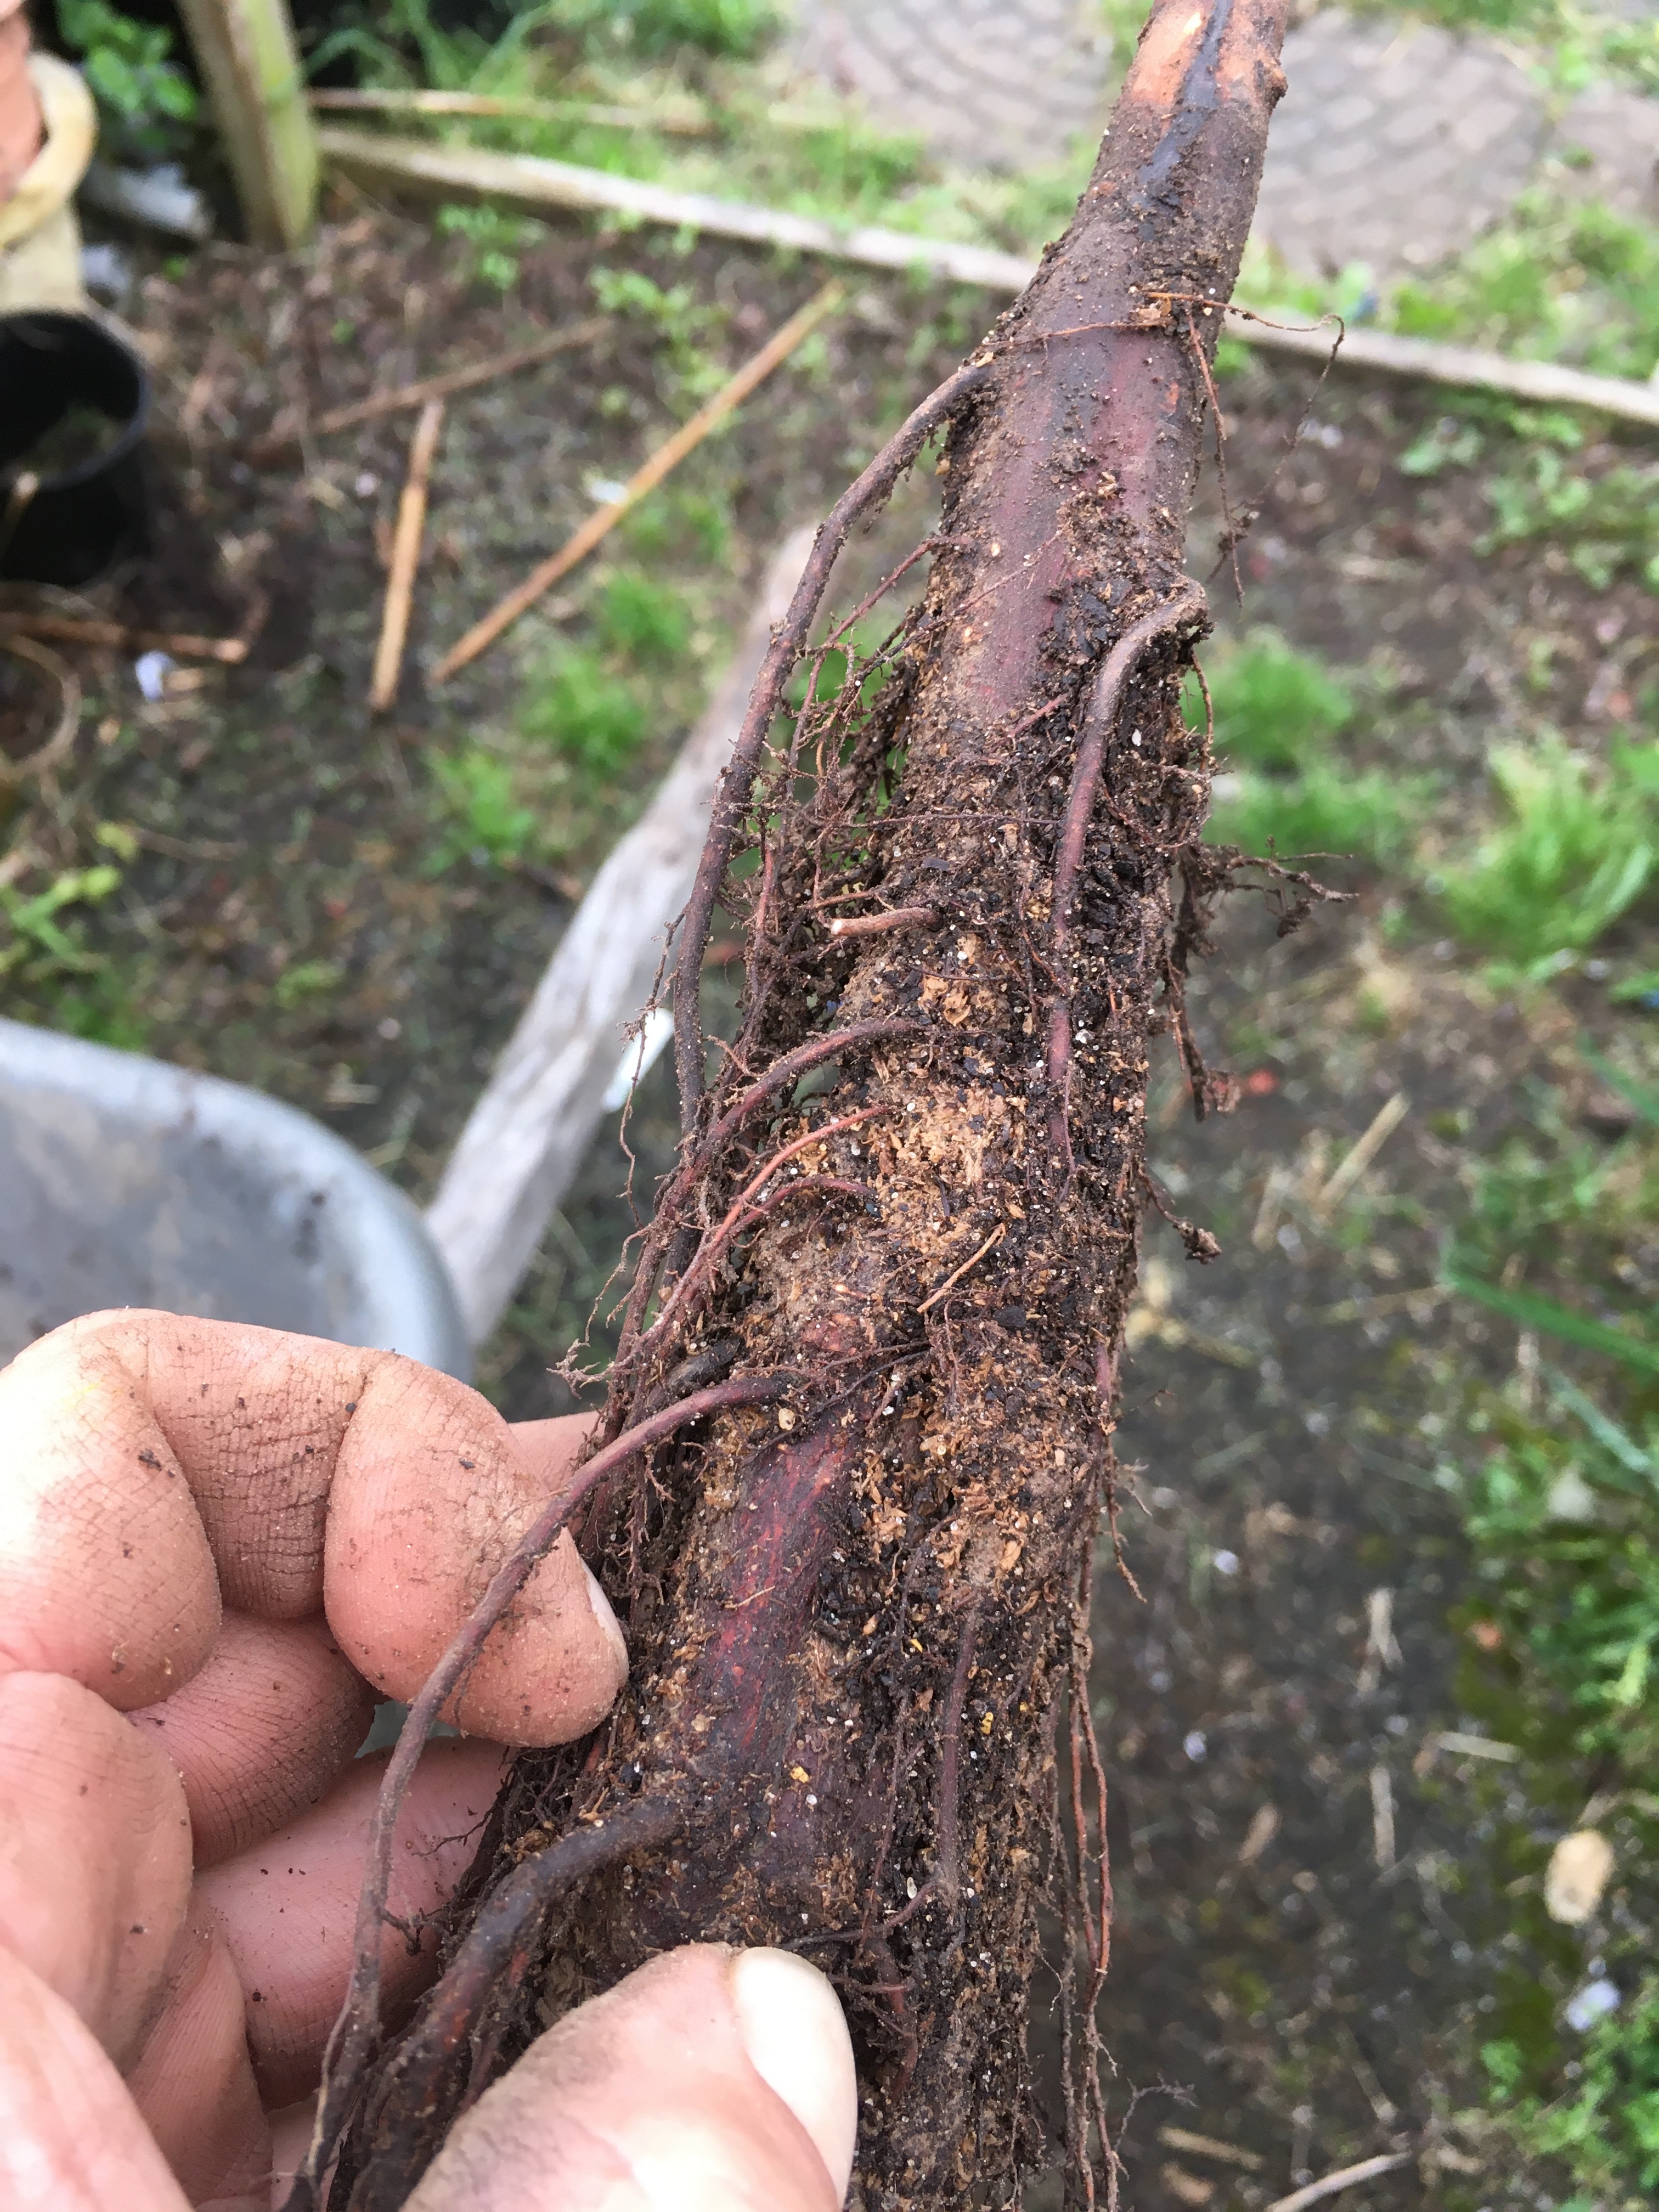
Use scissors to find all white tissue cleaning up a root-system prior to its’ planting:

This is the root-collar on this seedling and where it will be potted to. Root collars are where the roots are, not where/how they are often found inside of nursery containers:

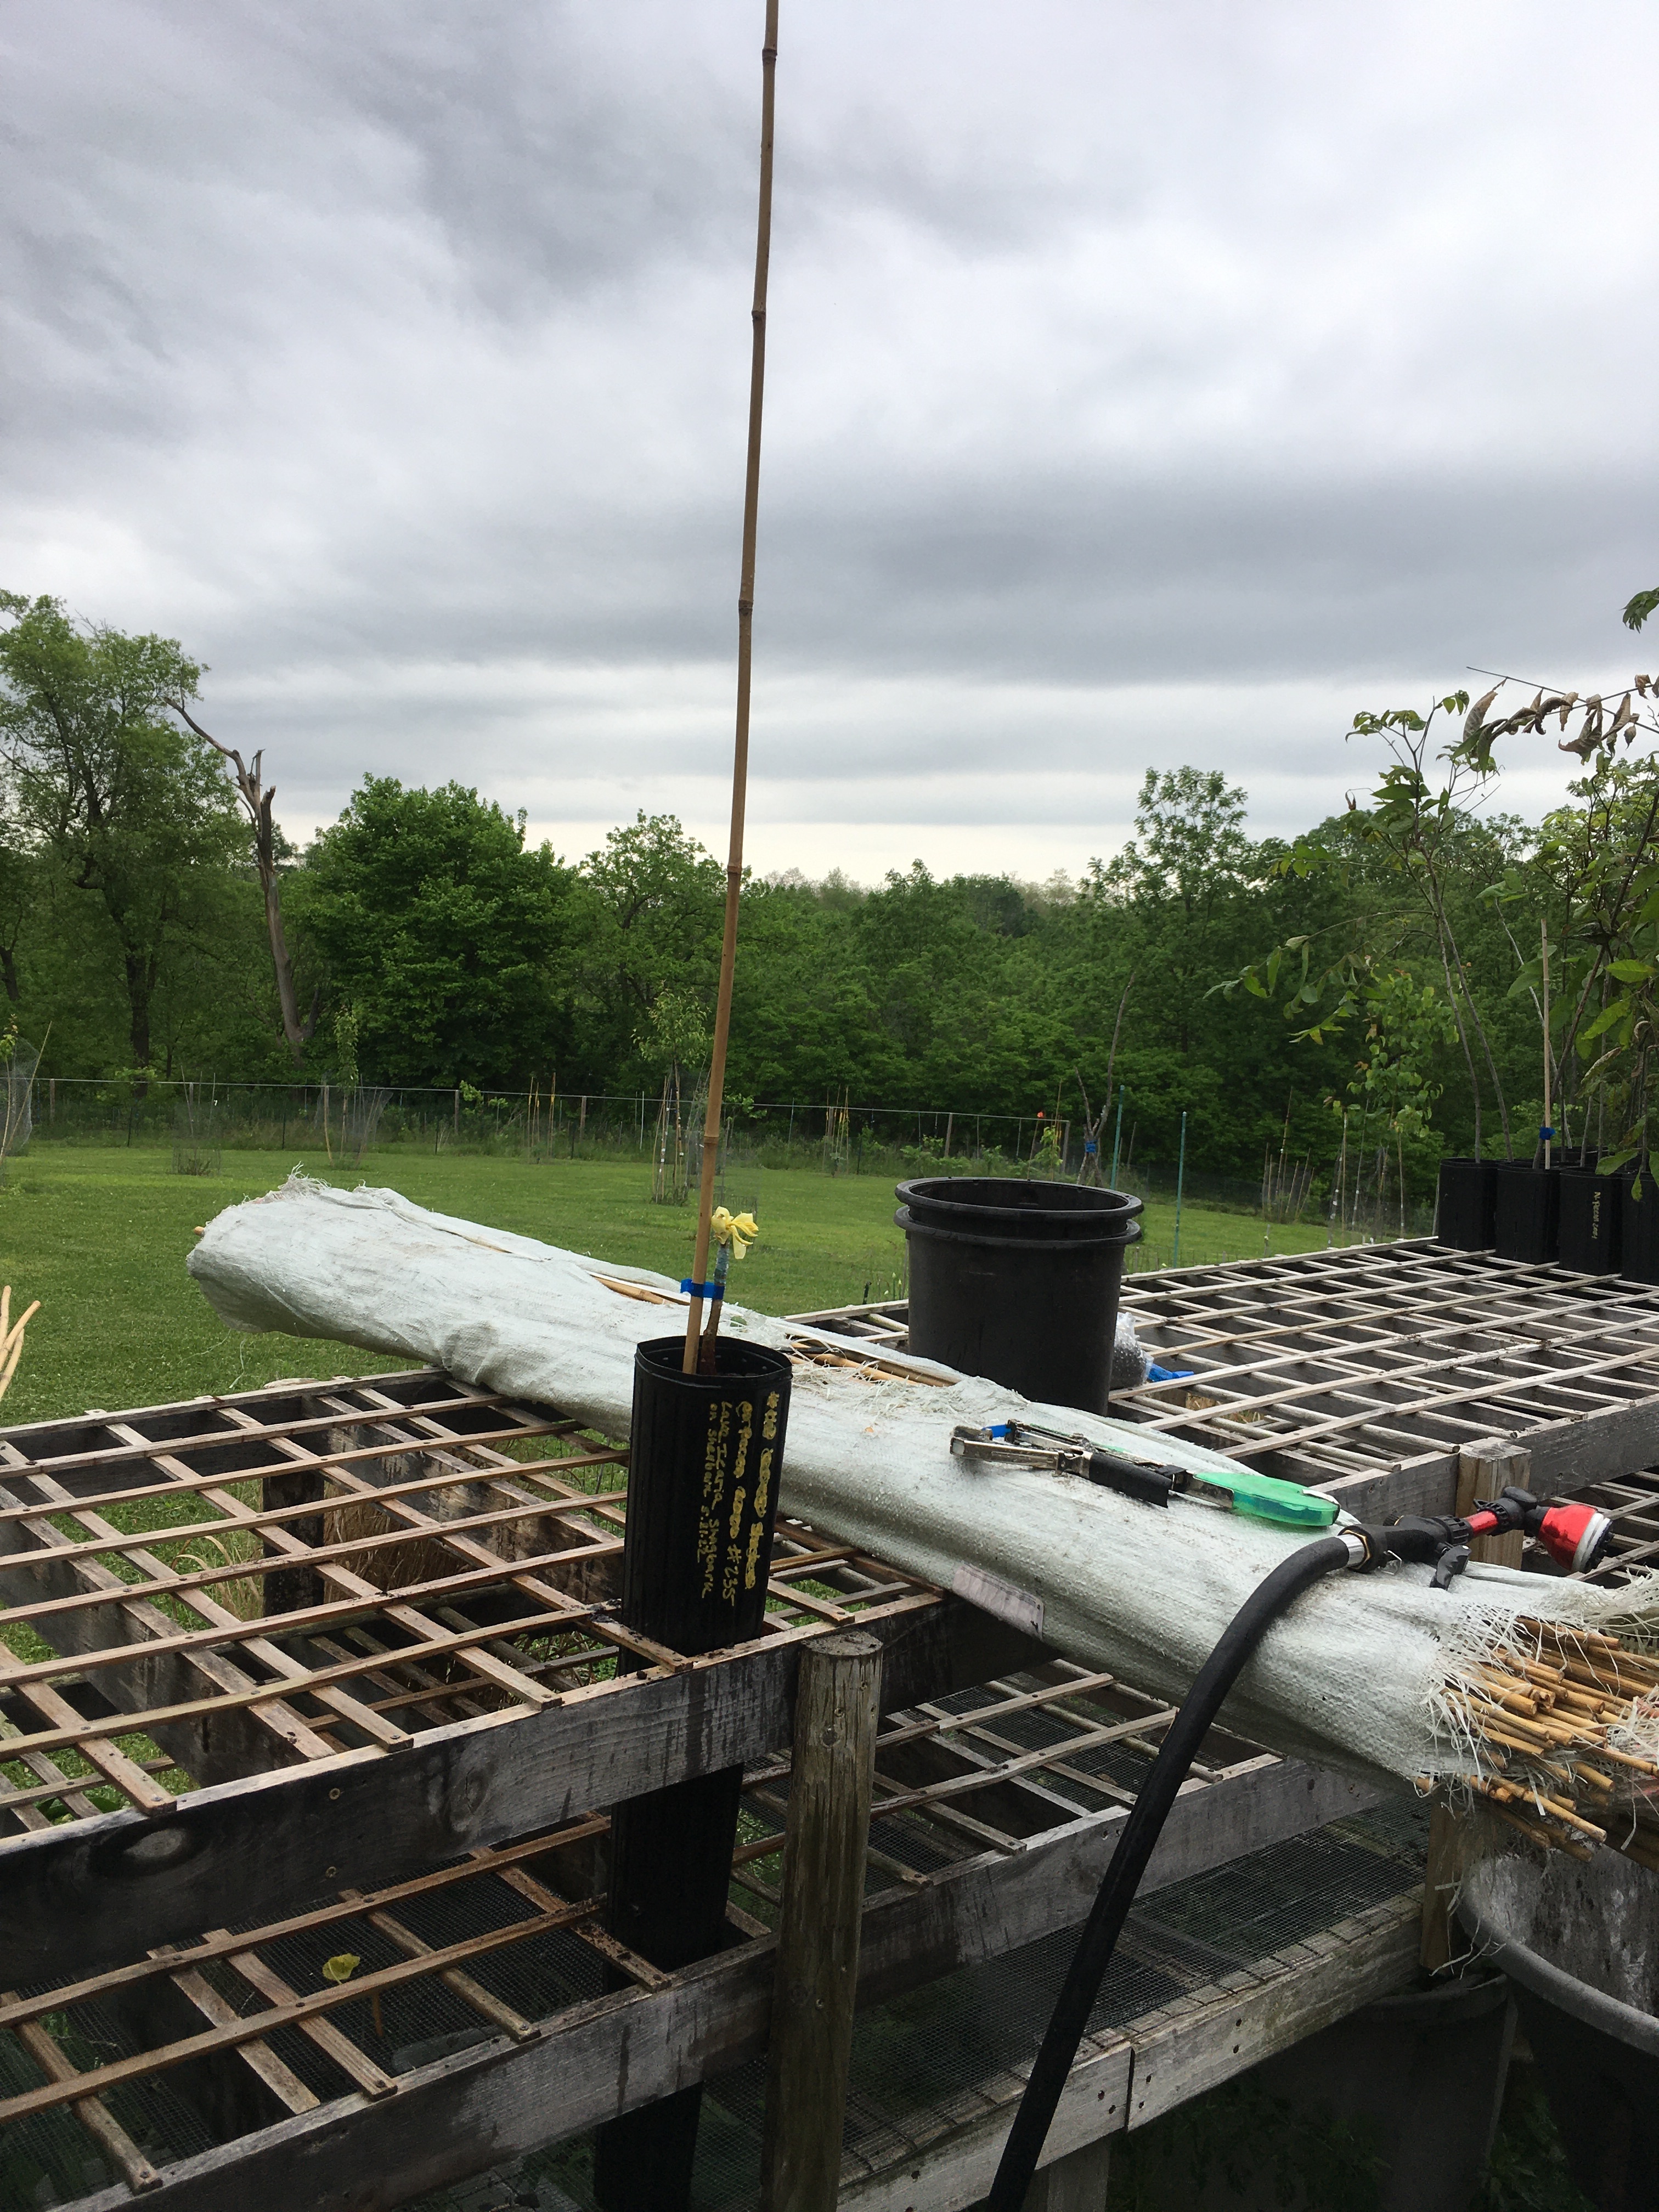
Stake:

Tapener Tool. (Weekly tie growth from the scion to your stake. Weekly rub off any green growth occurring on rootstock)
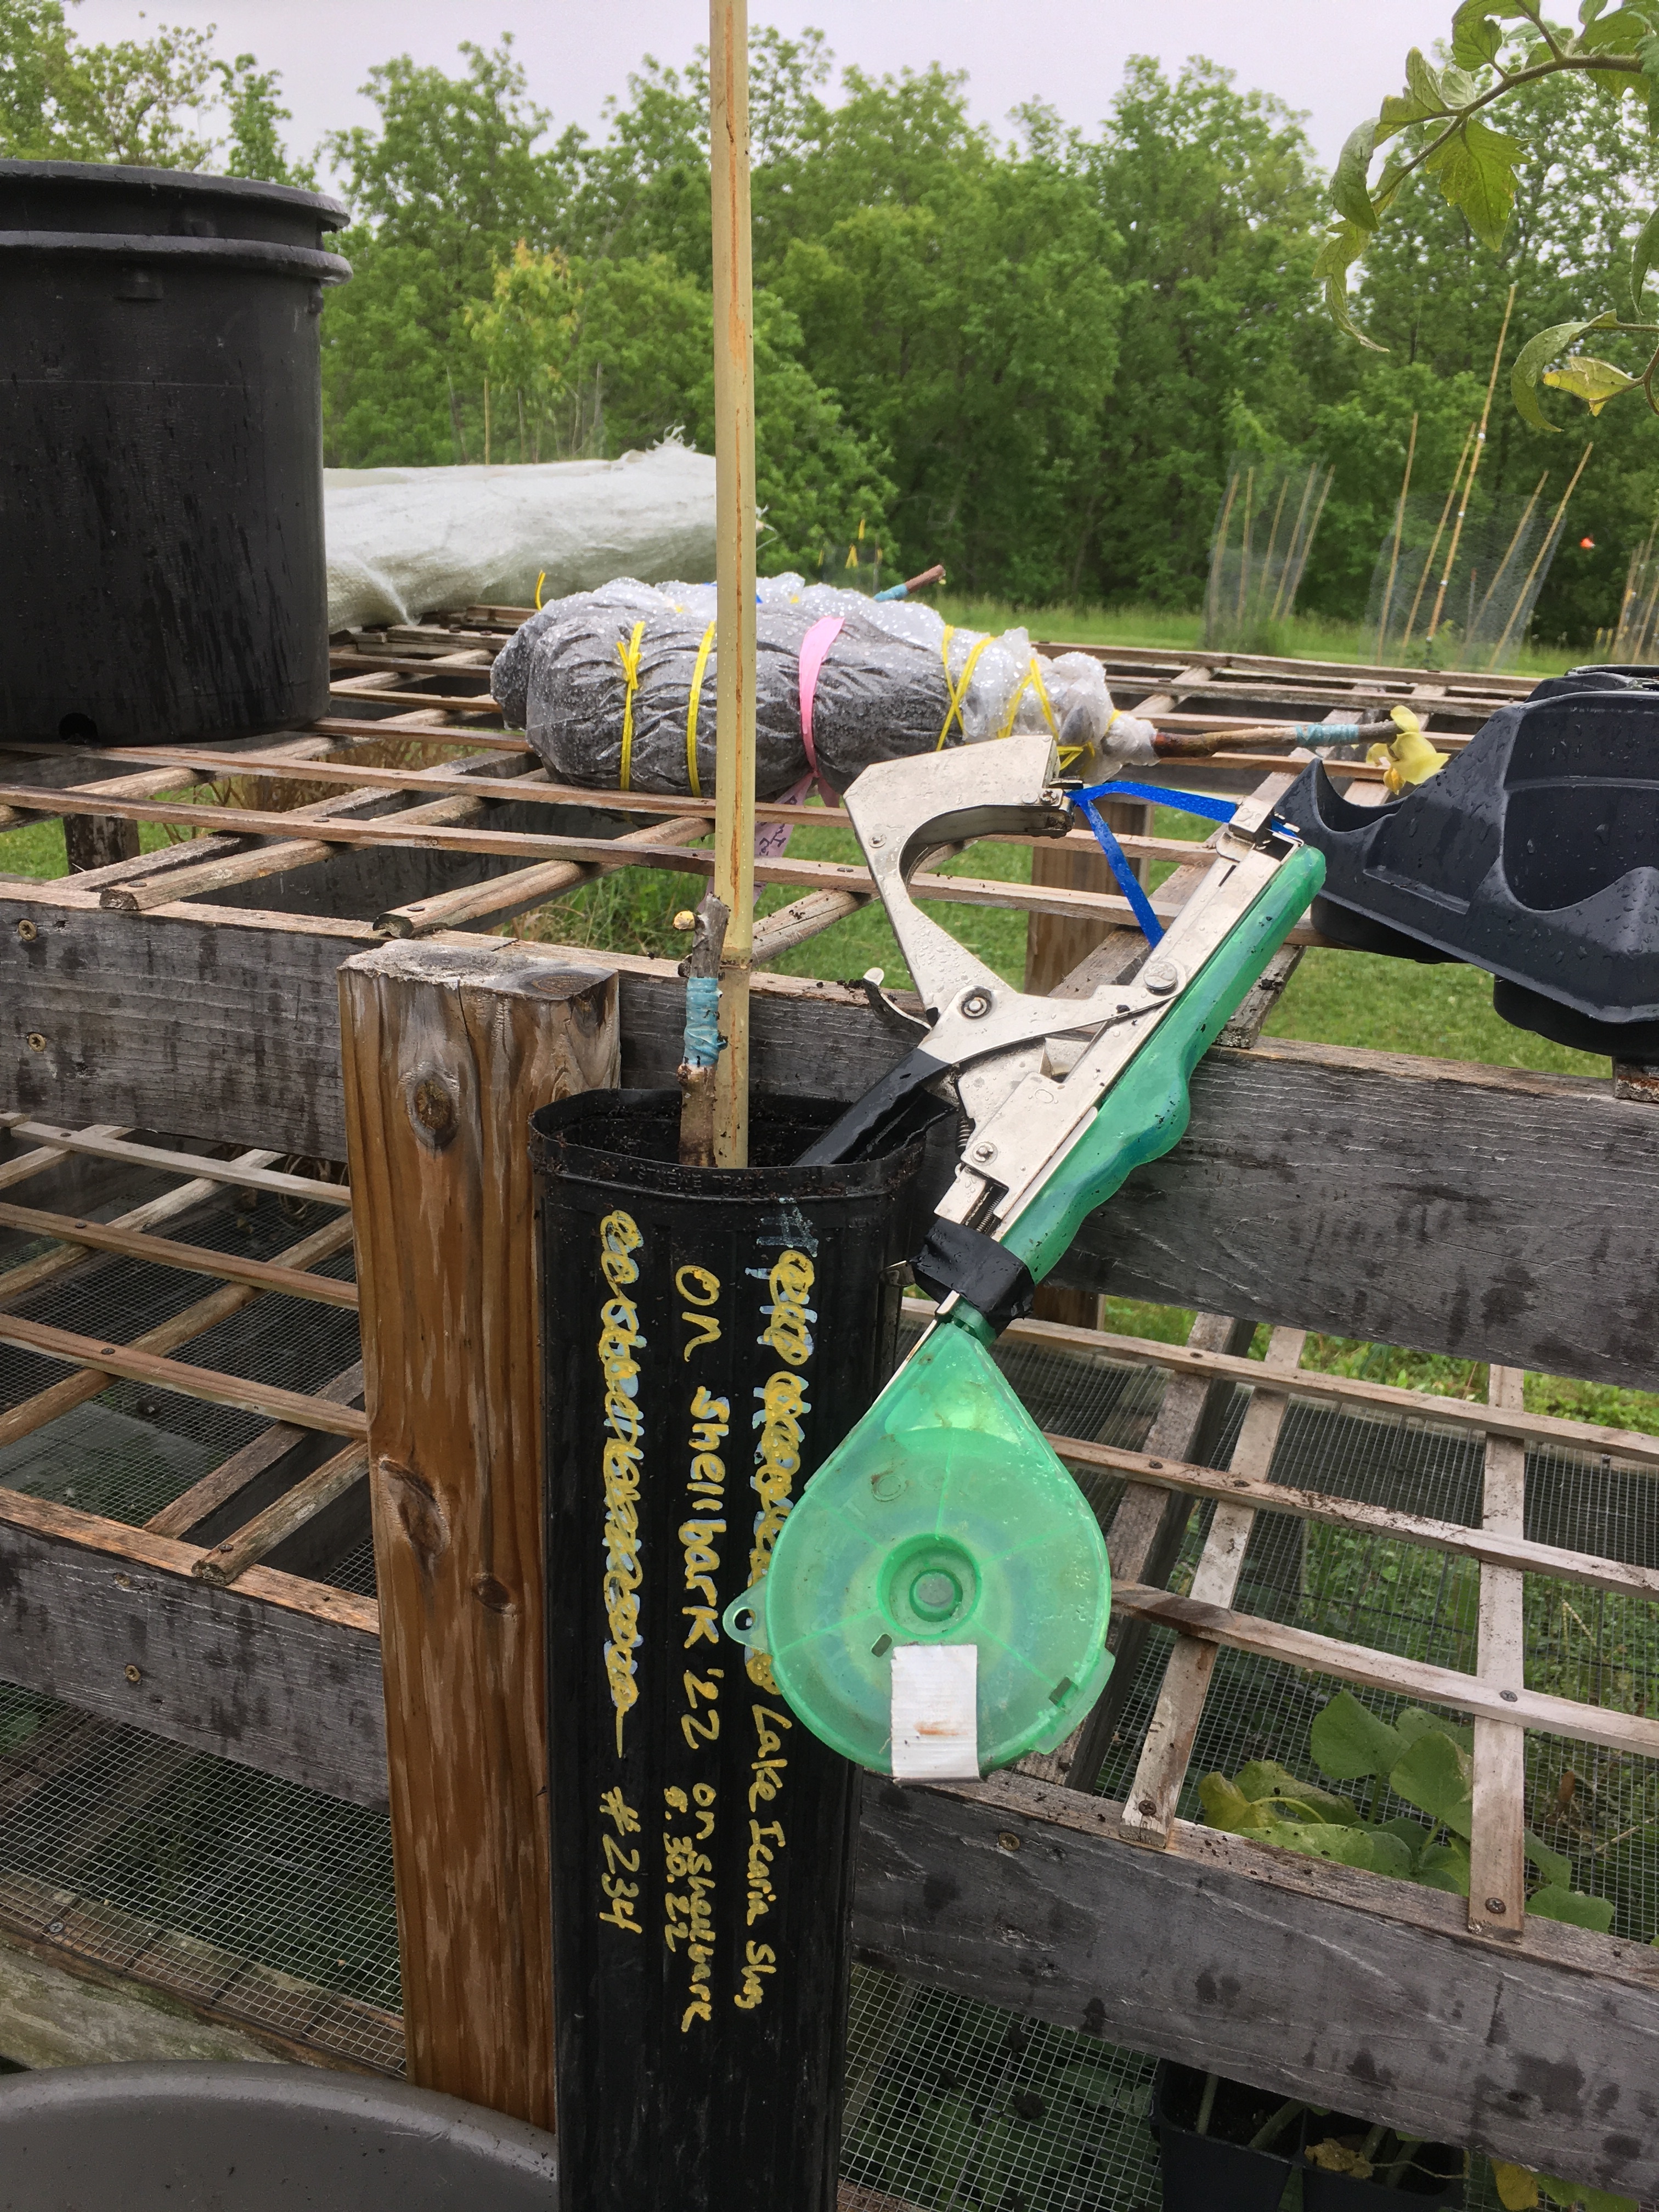
Blue tape stays blue after year one. Red tape turns translucent which is tougher to find when you wish to remove them:


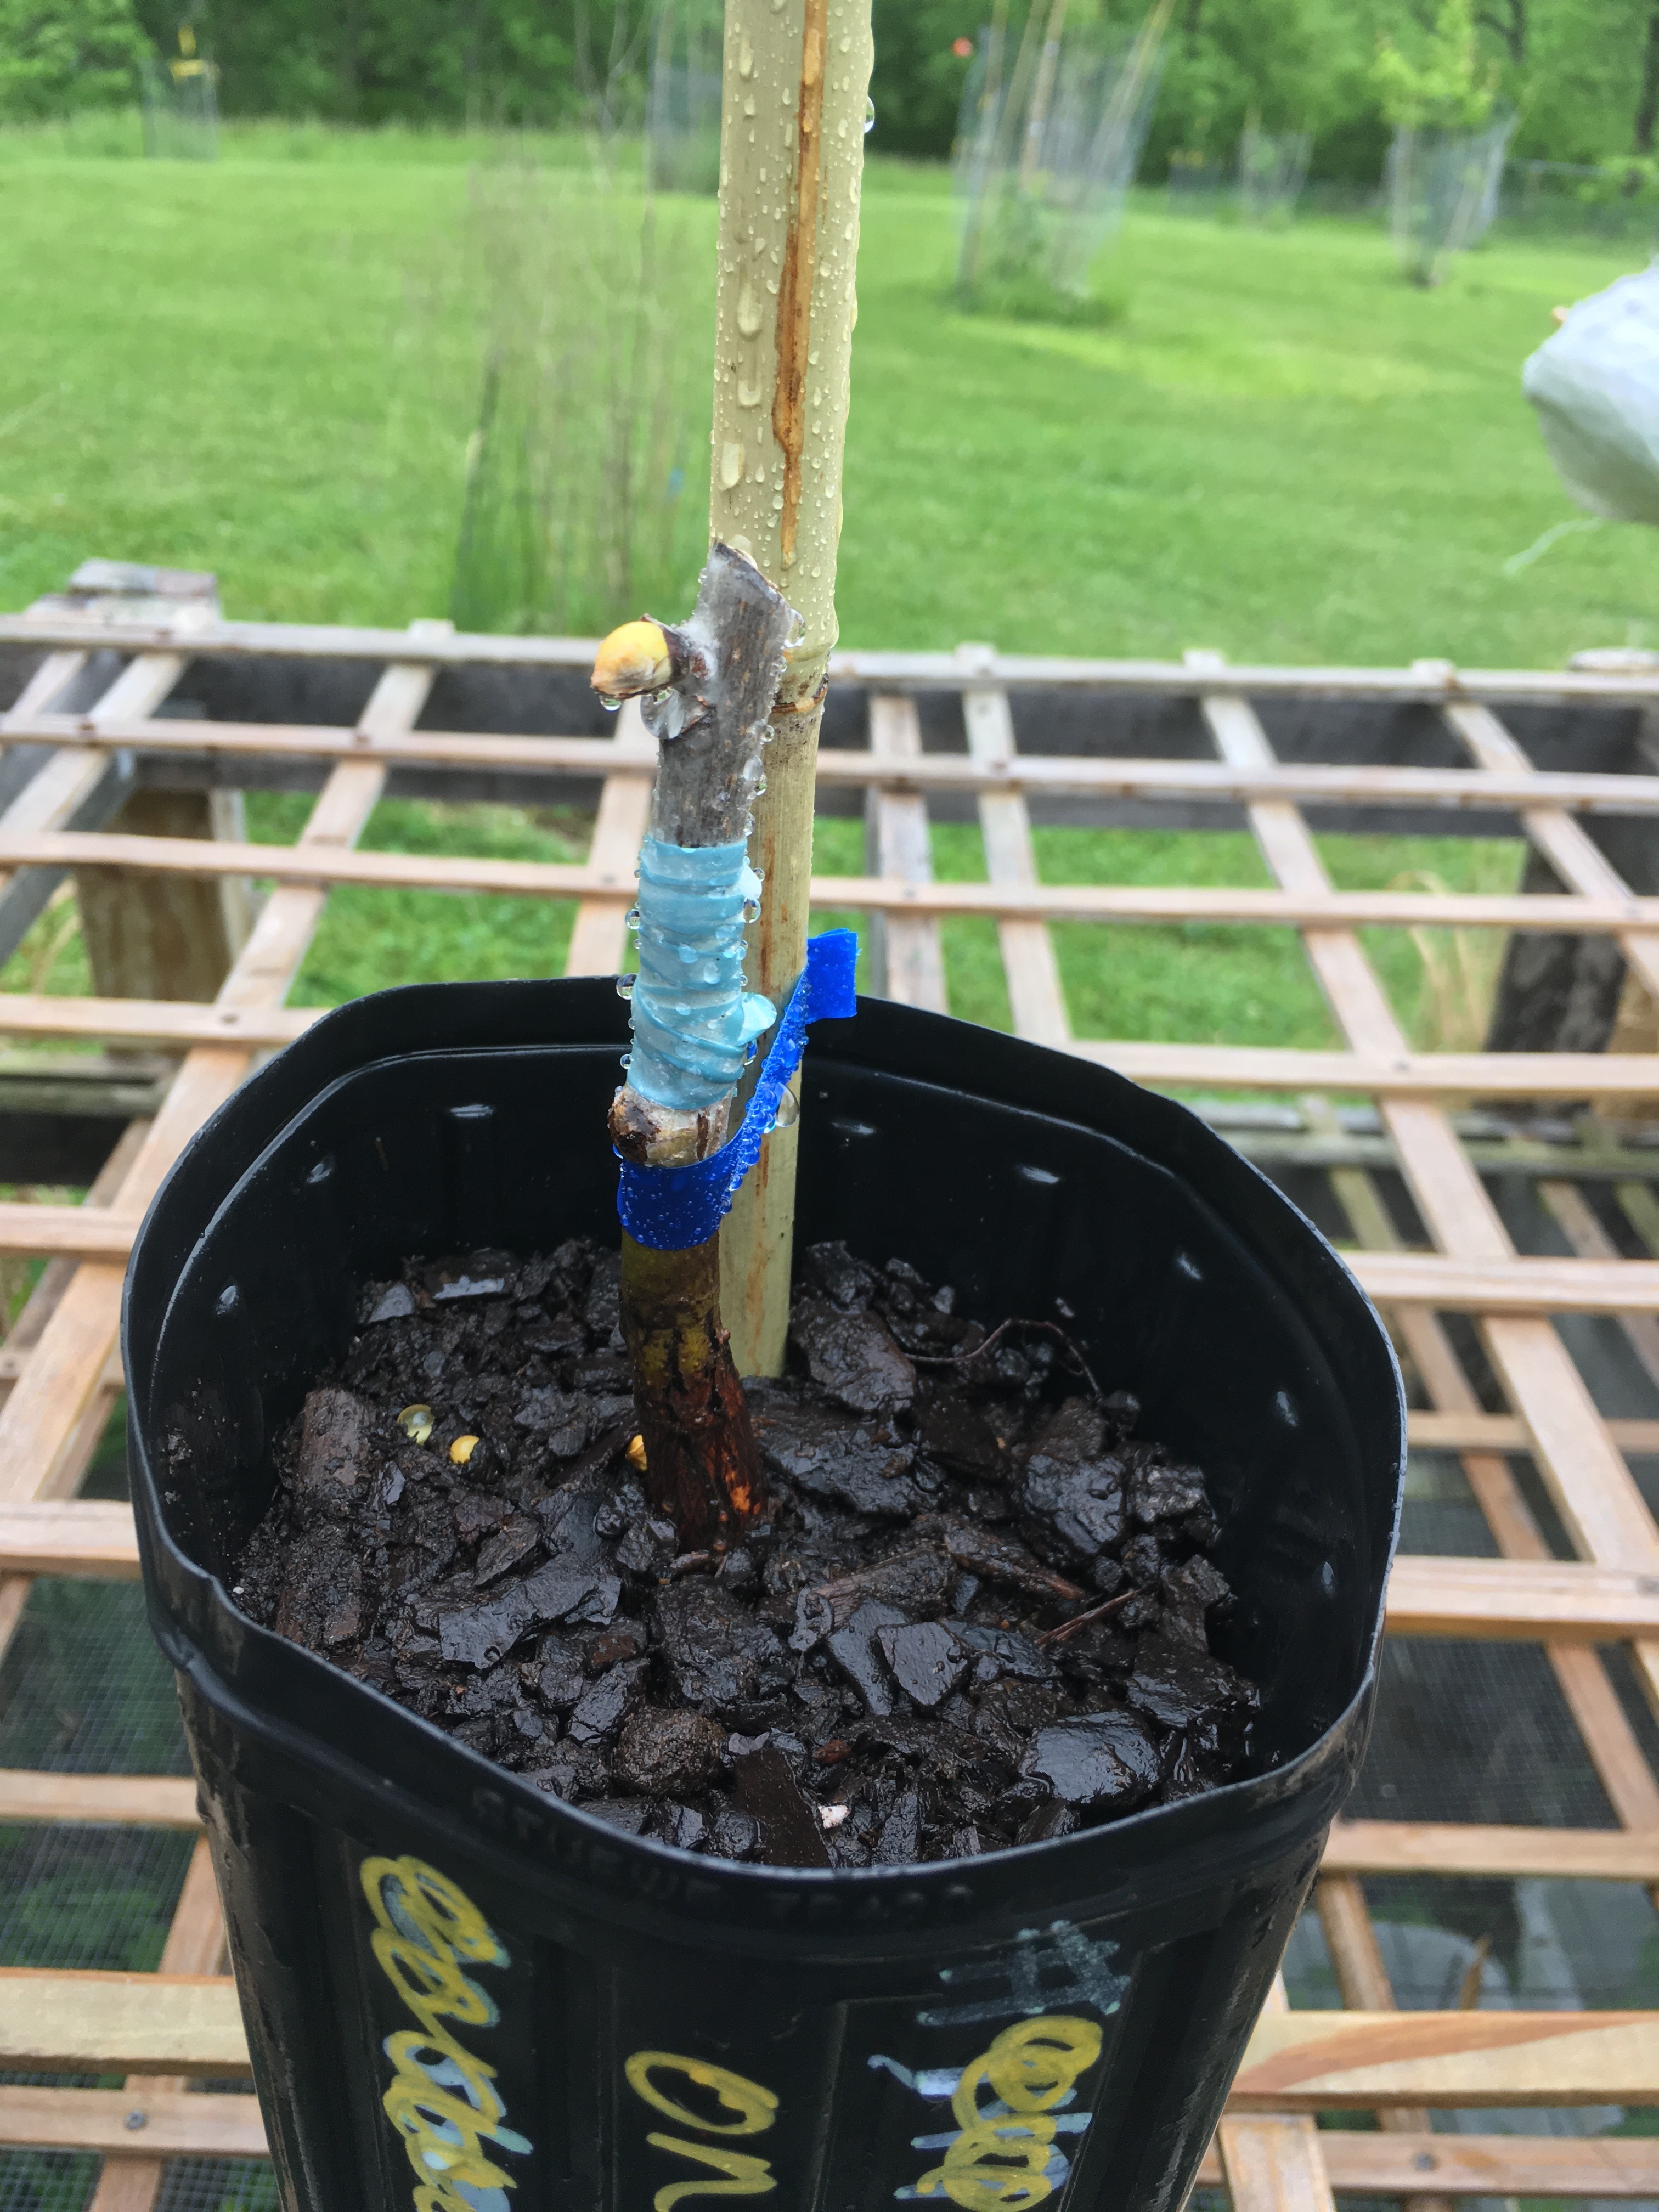
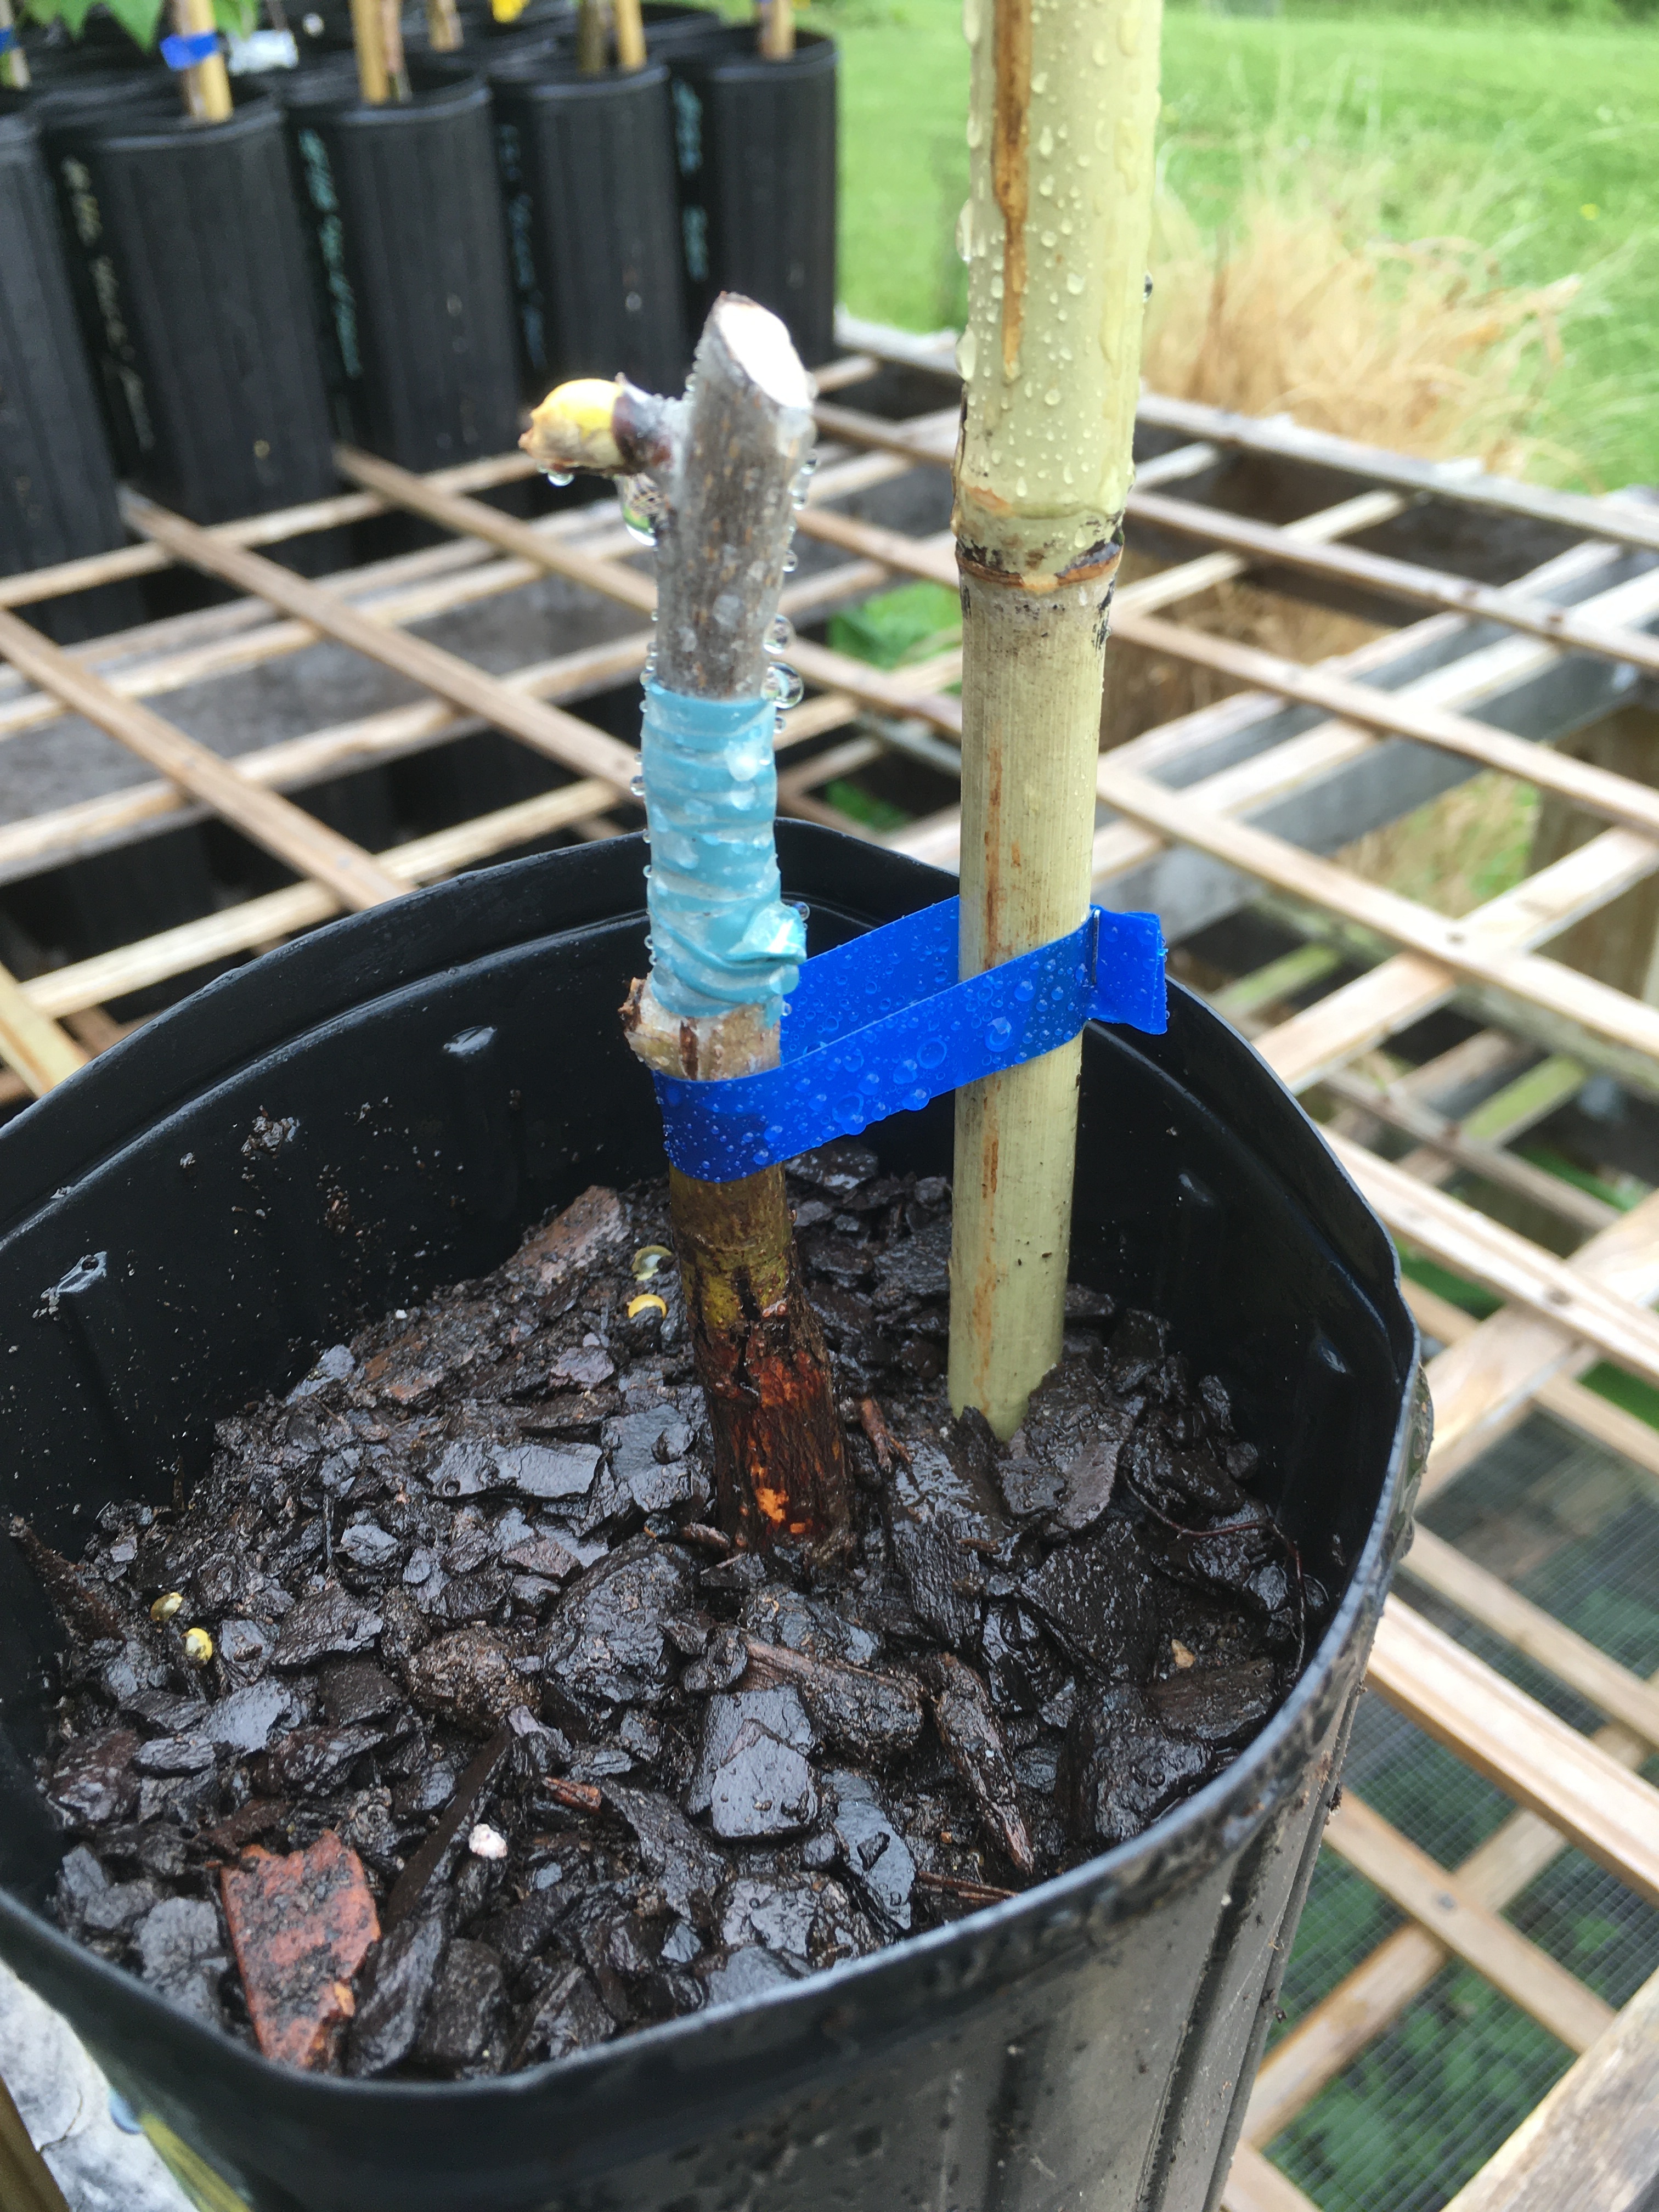
Showing the root collar again where the seedling’s soil level should be:
Starting on the end - the first graft potted from the callus pipe this year. A shagbark hickory on Shellbark hickory:
These are called J-roots and must be clipped so the root grows downward:

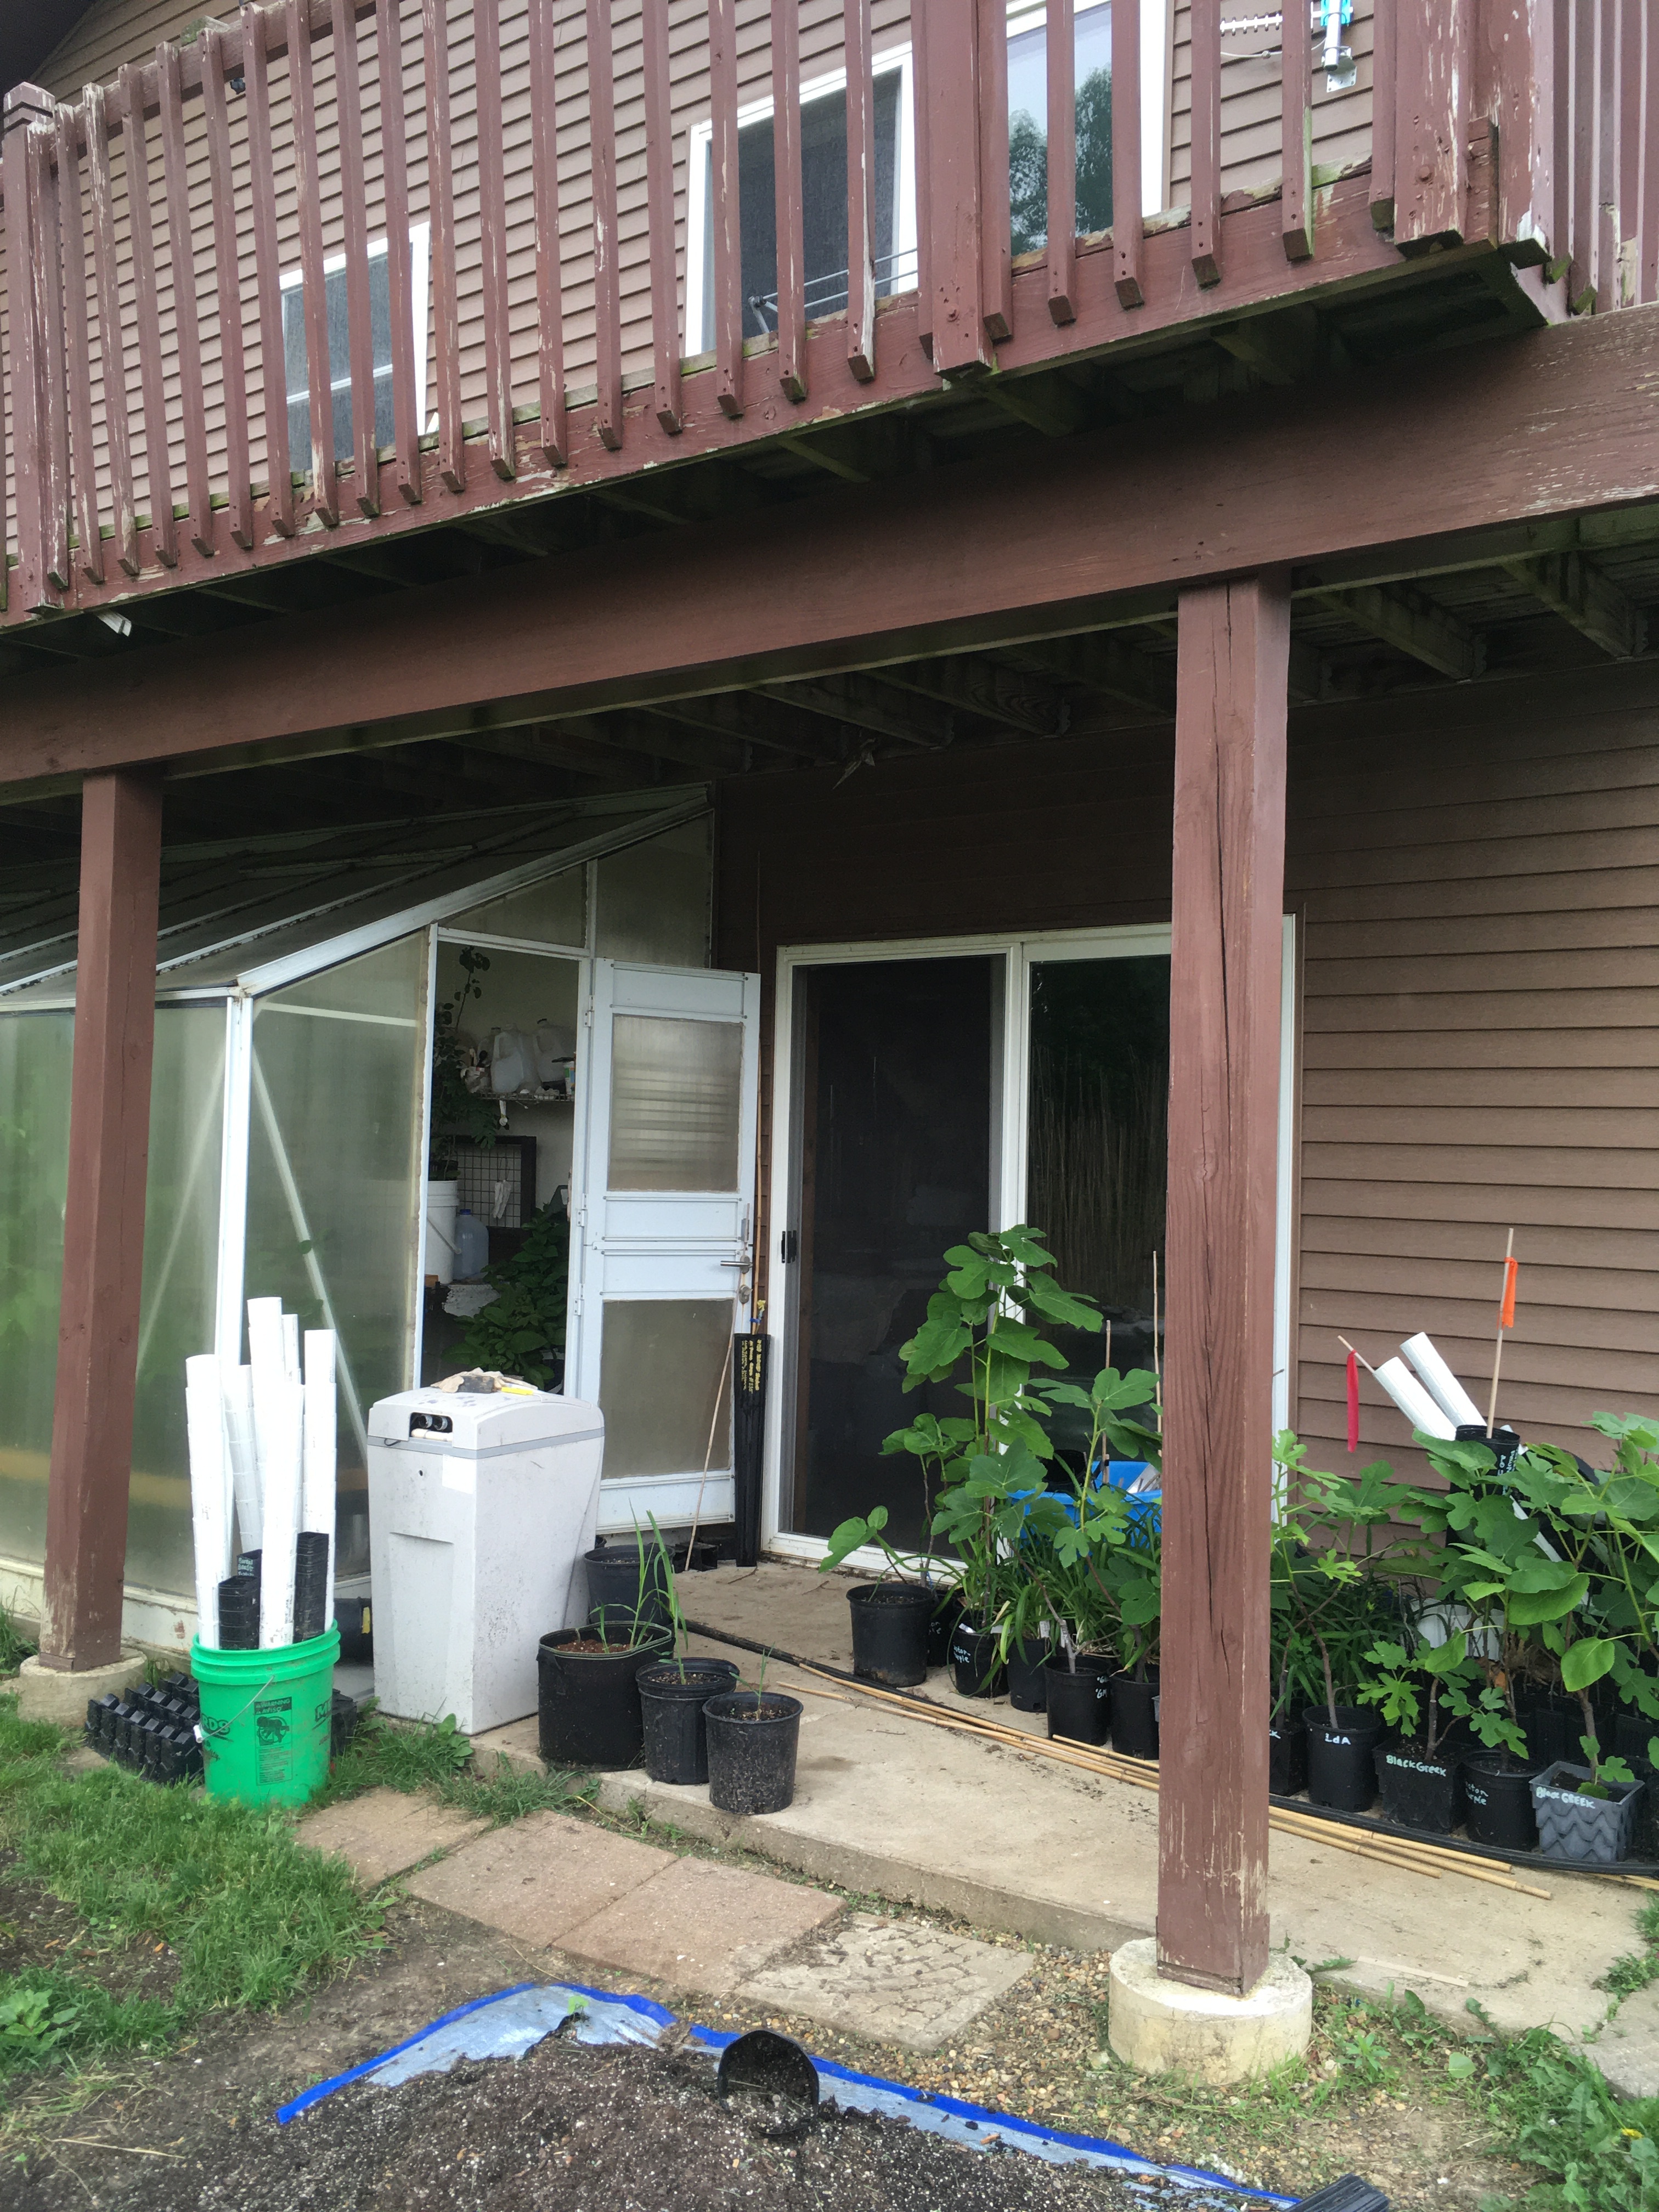
This yellow foliage needs to turn acclimate (turn green) before being introduced to the nursery. It will stand in indirect light until it’s lush green. This is an example of how to acclimate foliage that will instantly burn if given direct sun:

Here these roots have had a scissors haircut and all roots lead downward:


Staked and fastened to:

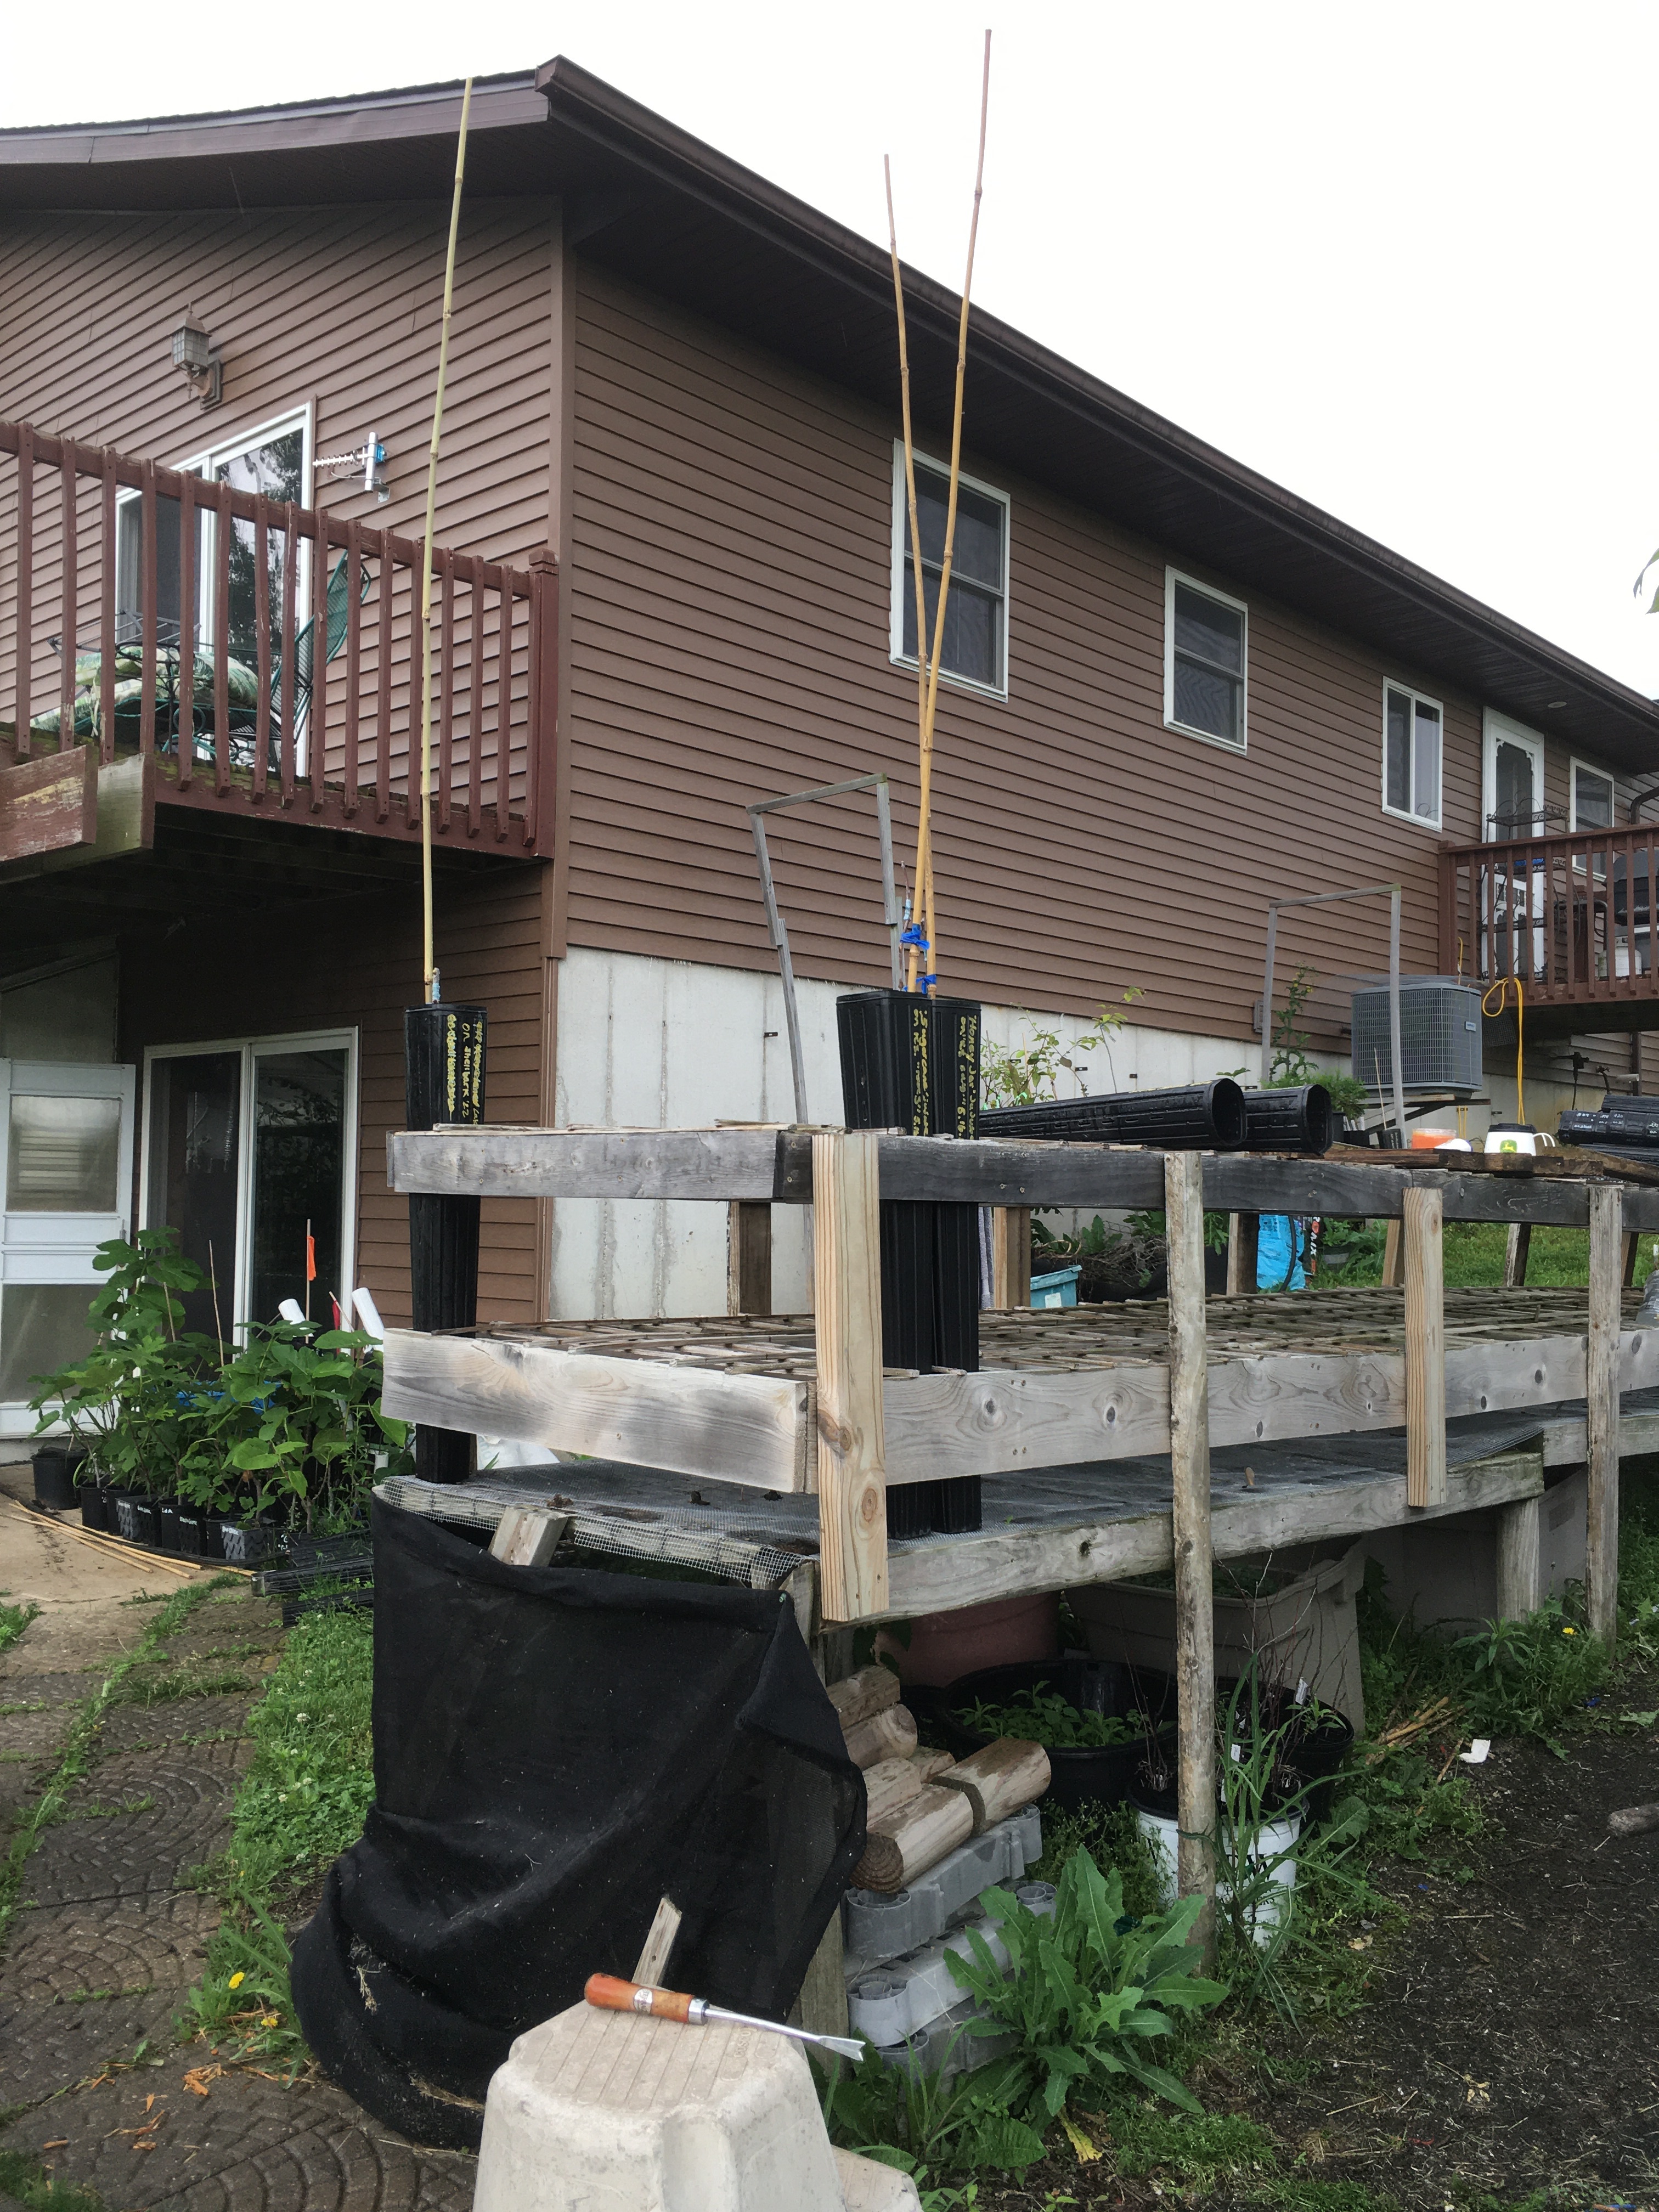
Under the deck and facing east and no direct sun. It should only take 10 days for it to return to green
(against greenhouse door)
My system/and mission of tree size. A lot of these are 5’ trees above the soil:
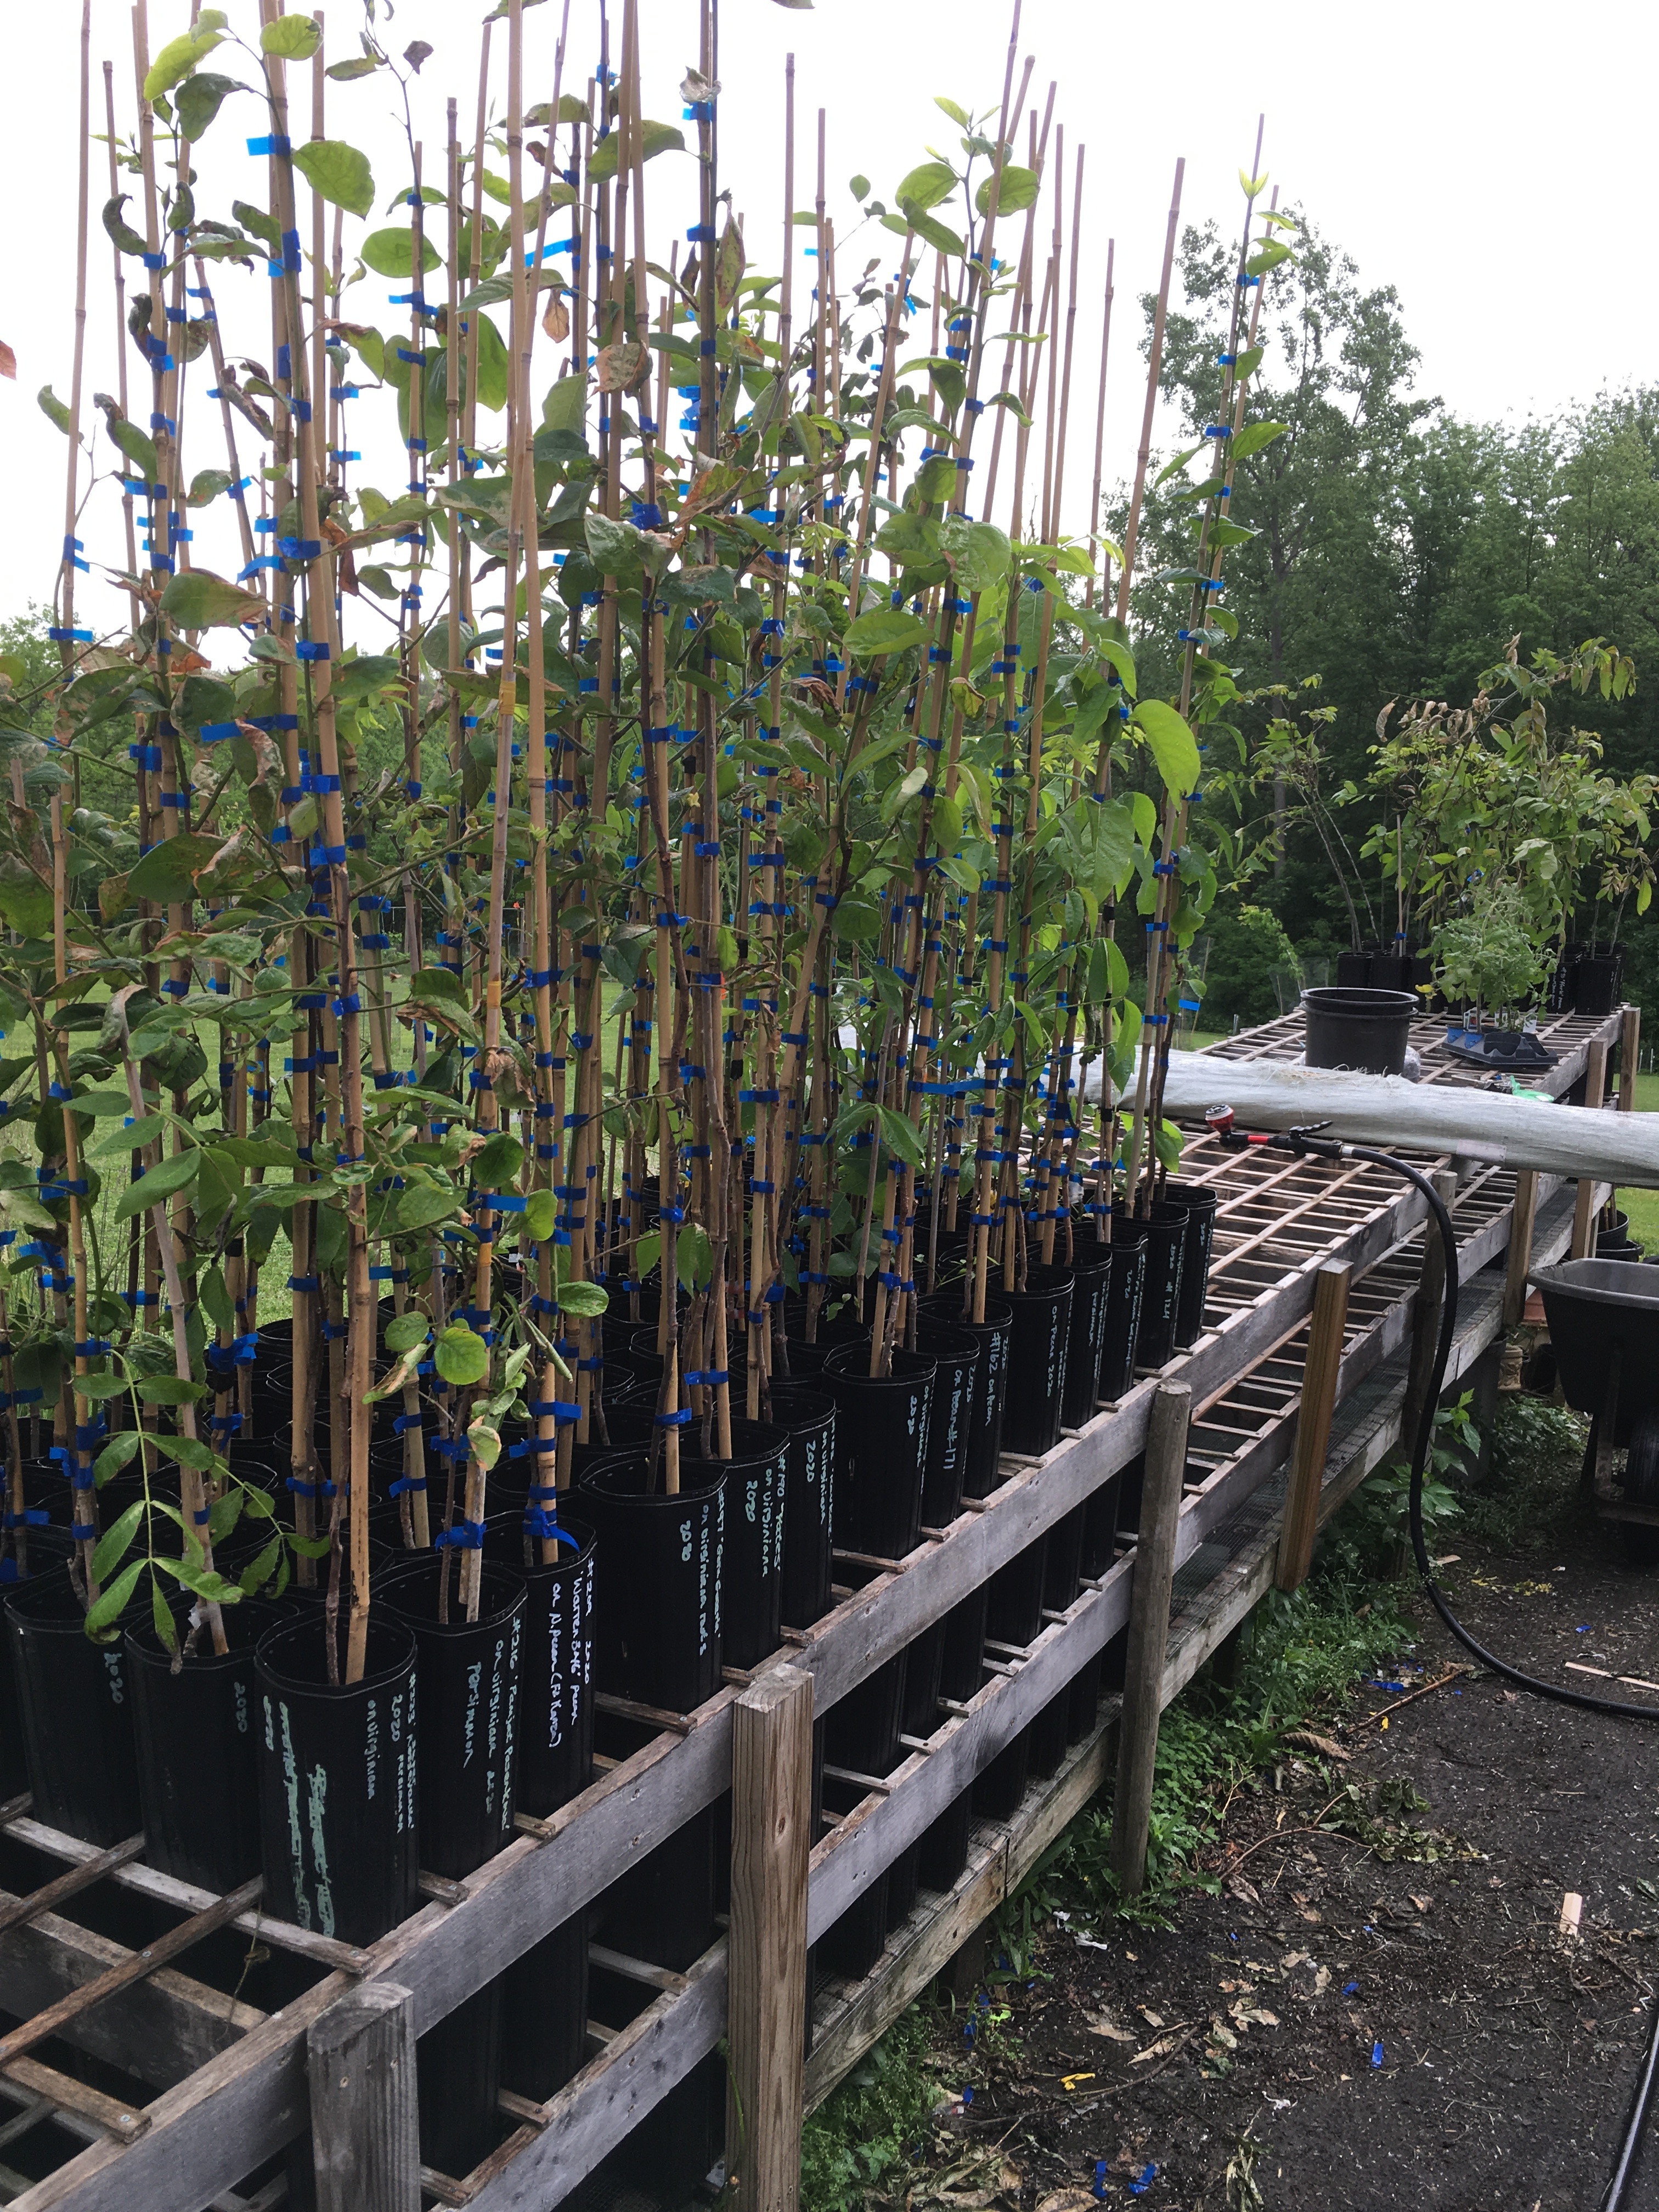
8 Likes
First grafts of 2023 with the hot callus pipe. The pipe stays outdoors. It’s been warm so far this year.
Mulberries, persimmons and Feijoa.

6 Likes
Very cool! Keeping set-up outside is a great idea. I’m going to give peach and persimmon a try next week …a little nervous!
2 Likes
Persimmon has been quite reliable for me. But I’ve never done it this early. March is usually when I start grafting. If it fails now, I can always try again in 21 days.
Good luck with your grafting!
3 Likes
I also like the idea of having the callous pipe outside. Do you have it covered or do you not mind if the heating cable gets wet? Would love to hear/see an update on how well this batch does for you.
The cables are made to handle wet/cold/snow. So there is no likelihood of damage to it.
The bigger worry is whether the graft union will stay warm enough in the rain. I think it will but it will be interesting to see if that is indeed the case.
1 Like
You could always cover it all with a plastic bag or a table?
1 Like
I’ll try with the whole thing exposed. If grafts dont take, I will cover it later.
PS: changed my mind. I covered the grafts with 2 layers of horticultural fleece.
Thank you so much for sharing this Barkslip! I don’t think I could successfully outdoor graft my persimmon seedlings here as the nights tend to get to cold (40-upper30’s are not to uncommon here at night even in July and August.) I was brainstorming how to go about it this coming spring, and came across this thread. It saved my bacon, as my wife will only let me keep a finite amount of potted trees in our small house. ![]() Your the best!
Your the best!
1 Like
I lost the last (2) of 602 chess matches, Linda, “thank you!”
Dax